

What’s Inside: Learn how to dehydrate cherries at home using a dehydrator. This easy step-by-step guide with tips and photos makes cherry dehydration simple and effective.
When I saw cherries on sale for just $0.99 a pound, I couldn’t resist. I bought several pounds—definitely more than we could eat fresh before they went bad. Rather than let any go to waste, I decided to preserve them by, among other things, dehydrating them. Now I’ll have sweet, shelf-stable cherries to enjoy long after cherry season is over.
This article includes affiliate links.
Whether you grow your own cherries or score a great deal at the grocery store or farmer’s market, dehydrating is a fantastic way to preserve them without taking up valuable freezer space. In this post, I’ll walk you through how to dehydrate cherries step-by-step using a dehydrator, including tips from my favorite resource, The Ultimate Dehydrator Cookbook (Amazon) by Tammy Gangloff.

Why Dehydrate Cherries?
Most often when I think of preserving cherries, making and canning cherry pie filling is the first thing that comes to mind. But dehydrated cherries are a great thing to add to your prepper pantry. Here’s why.
Dehydrated cherries are:
- Shelf-stable and lightweight
- Great for snacks, trail mix, and baking
- Space-saving for small pantry storage
- A great addition to any long-term food storage plan
They require no refrigeration and can last up to a year—or longer—when stored correctly.
So, now that we know the why, let’s get into how to dehydrate cherries.

Step 1: Prepare Cherries for Dehydration
🍒 Select and Wash
Start with ripe, firm cherries. Avoid any that are soft, overripe, or bruised.
- Wash thoroughly under cool water.
- Leave stems on for blanching, or remove the stems if you don’t plan to blanch the cherries.
🔥 Blanch and Cool
Tammy Gangloff recommends blanching cherries before dehydrating, but I decided to skip this step. If you do decide to blanch them, here are the steps to take:
“Place the cherries (leave any stems on) in a strainer and dip the strainer into a large pot of boiling water for 30 seconds. Remove and dip the strainer into a large bowl of ice water until the cherries cool.”
— Tammy Gangloff, The Ultimate Dehydrator Cookbook (Amazon)
🧼 Remove Stems and Pit the Cherries


After cooling (or if you skipped blanching):
- Remove the stems
- Pit the cherries using a cherry pitter or DIY tool (like a straw or chopstick).
I chose to pit the cherries using this cherry pitter (Amazon), but any cherry pitter such as these that you can pick up on Amazon will do. While any cherry pitter will do, I recommend buying one that will pit multiple cherries as a time. No matter how you do it, pitting cherries takes time and the more you can do at a time the better.
While a cherry pitter makes the job easier, you don’t need any fancy tools. Below are two quick videos showing alternative methods for pitting cherries using everyday items you probably already have at home. Pick the one that works best for you!
🍋 Optional Pre-Treatment
To prevent darkening and enhance storage quality:
- Lightly spray or dip the cherries in lemon juice or an ascorbic acid solution.
Pro tip: While it’s fine to dehydrate whole cherries, cherries take a long time to dehydrate. So, unless you really want whole cherries, I recommend cutting them in half.
Step 2: Load the Dehydrator Trays with Prepared Cherries
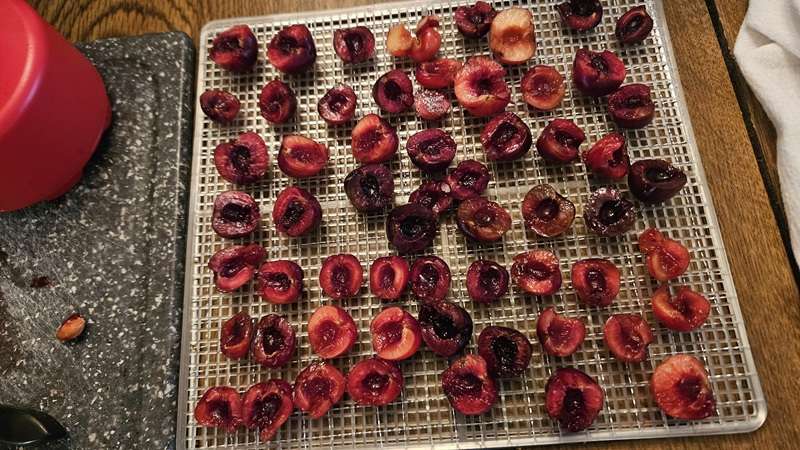
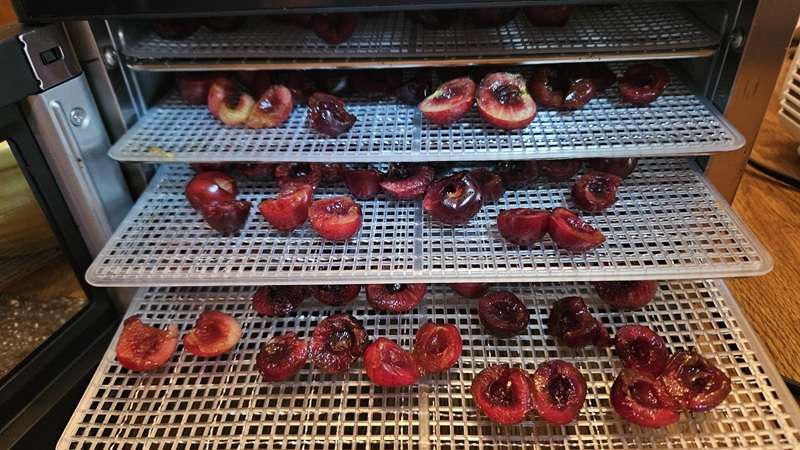
Next, it’s important to load the dehydrator trays properly. Here’s how.
- Arrange cherries skin side down (cut side up if halved) on dehydrator trays.
- Leave space between pieces for air circulation.
There are a couple of reasons for placing the cherries skin side down. The first is that the exposed inner flesh dries better than the skin side, so putting the cut side up means that part of the cherries gets better air circulation, and thus dry better.
Secondly, like most fruit, cherries have a lot of sugar, and they are prone to stick to dehydrator trays. If you put the skin side down when first dehydrating them, they won’t stick to the trays. Note that as I’ll get into under step 3 below, you’ll flip them over halfway through the dehydrating process, but by this time, they will no longer be sticky, so you won’t have the problem of them sticking to the trays.
Step 3: Dehydrate the Cherries


Now let’s get into the actual process of dehydrating the cherries.
Set your dehydrator to:
- 125°F (52°C) if following The Ultimate Dehydrator Cookbook (Amazon)
- Or 135°F (57°C) if you’re short on time. However, don’t go above 135°F (57°C) or the cherries will dry on the outside, but not on the inside – and will end up molding over time.
Drying Time:
- Expect 24 hours at 125°F (per Tammy Gangloff)
- Shorter at 135°F depending on your dehydrator and cherry size
Cherries after 6 Hours in the Dehydrator
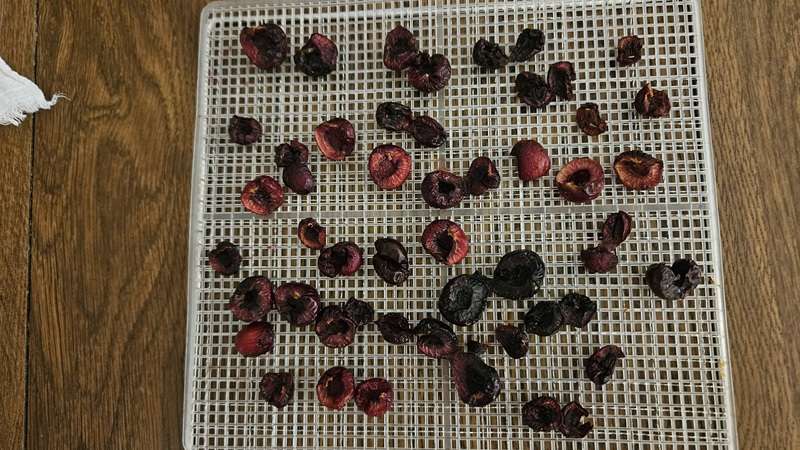
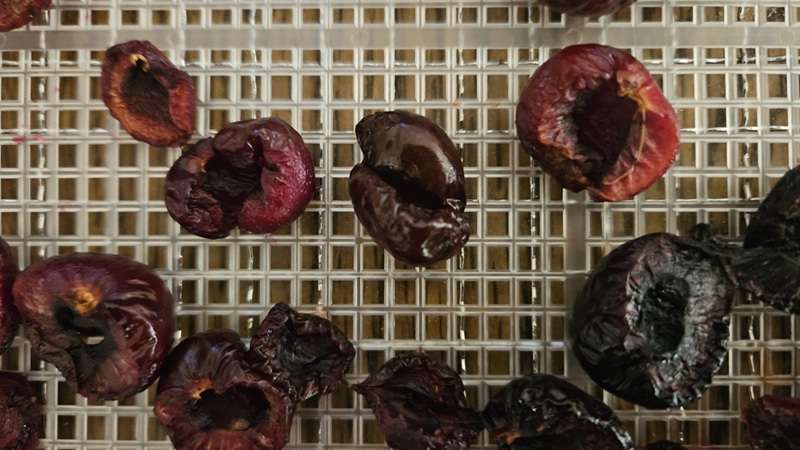
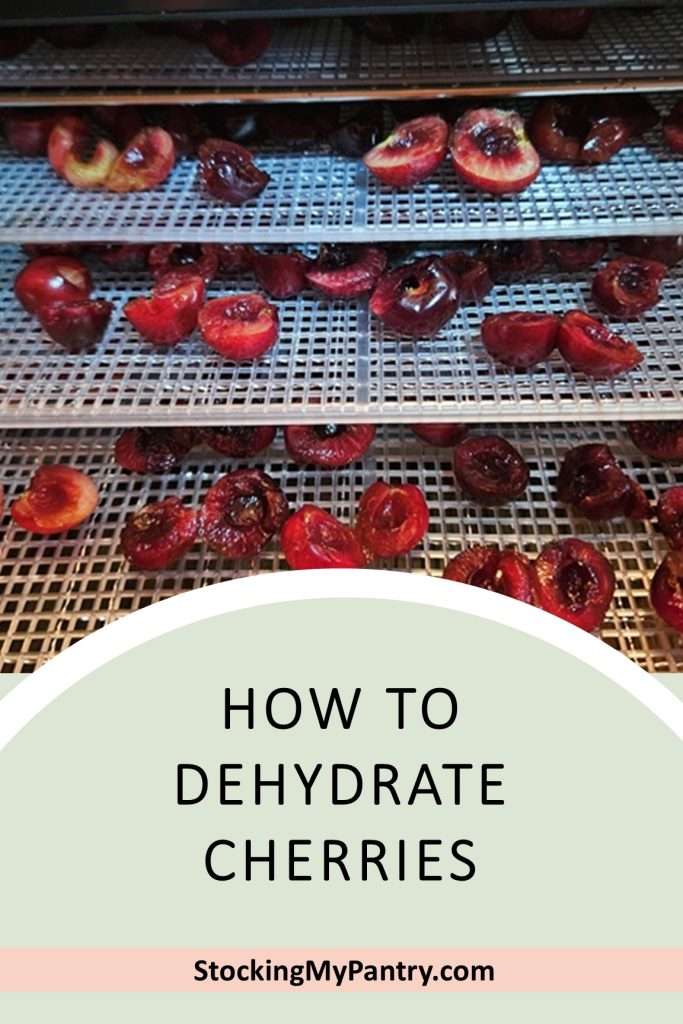
I first checked on the cherries after they had been in the dehydrator for 6 hours. Since the anticipated amount of time to dehydrate is around 24 hours, I didn’t have any expectation that they would be dehydrated after only 6 hours. And of course, they weren’t. They were still very plump, but as you can see in the photos, they have shrunk up quite a bit. Note that at the time that the cherries went into the dehydrator, the trays were mostly full, and you can see the amount of space there is in the photos. You can also see that they are starting to shrivel up around the edges.
Cherries after 10.5 Hours in the Dehydrator
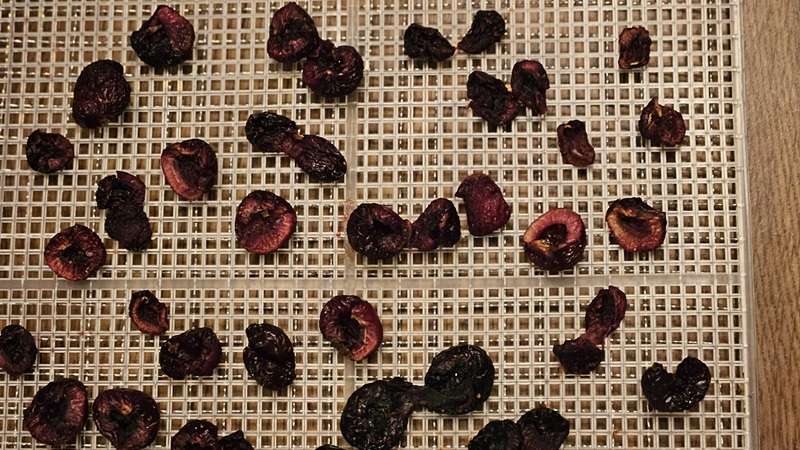
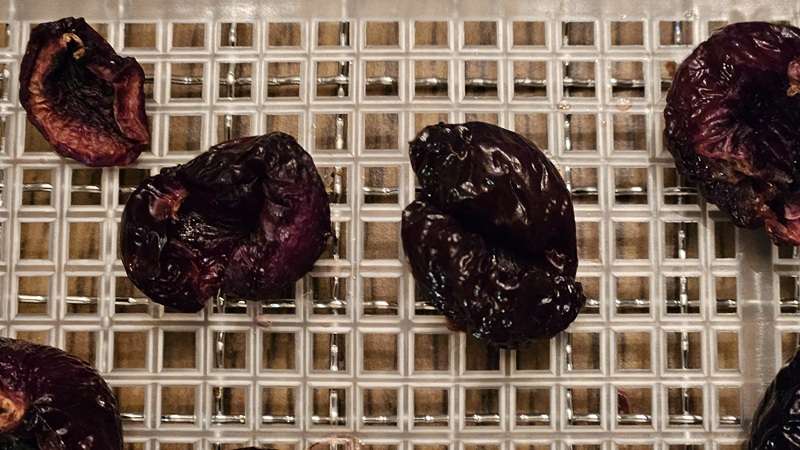
After 10 1/2 hours in the dehydrator, the cherries had shrunk up a bit more and were shriveling more, but for the most part were still very moist and plump.
Cherries after 12.5 Hours in the Dehydrator
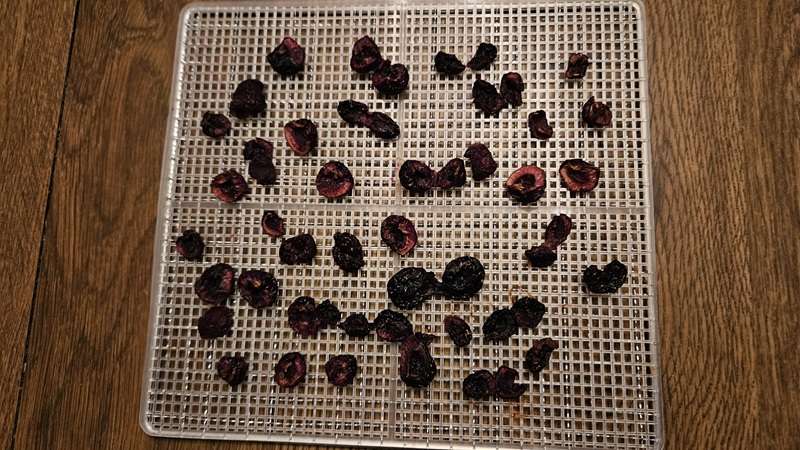
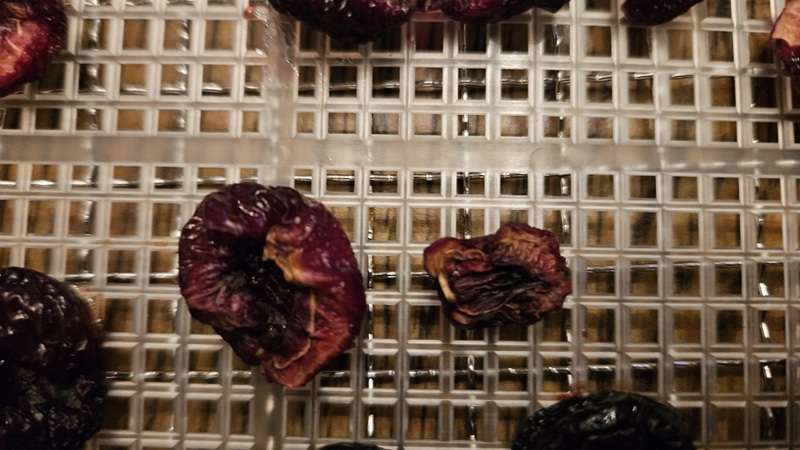
I checked the cherries a couple of hours later after they had been in the dehydrator for about 12.5 hours.
At this point the smaller cherry halves had completely dried, so I removed them and let them cool on a plate before putting them into a jar. Once they had cooled completely, I put a lid on so that no additional moisture got into the cherries.
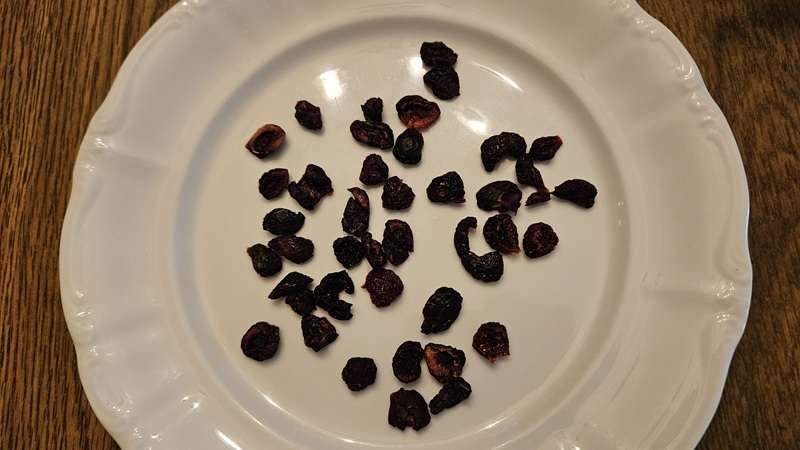

At this point, it was time for me to go to bed so I put the cherries that still needed to dehydrator more back into the dehydrator.’
This small, easy-to-store vacuum sealer is made for mason jars. It’s cordless, simple to use, and a great tool for long-term food storage.
👉 Check it out here.
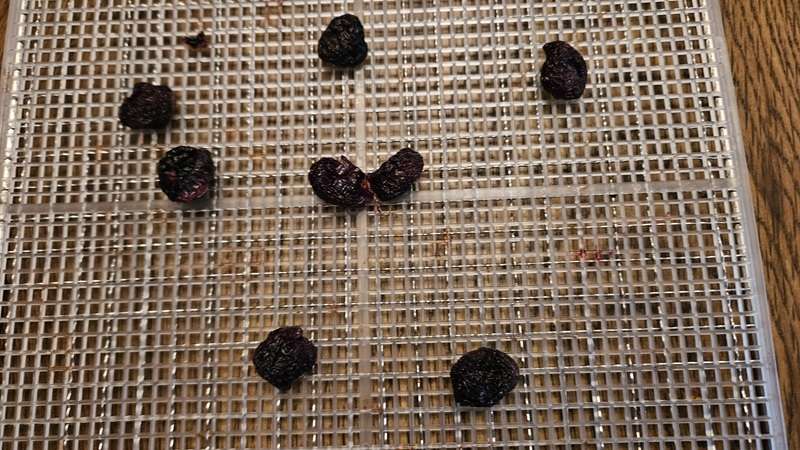

Since it was at about the halfway point, you can also see that I flipped the cherries over so they would dry more evenly.
Dryness Test
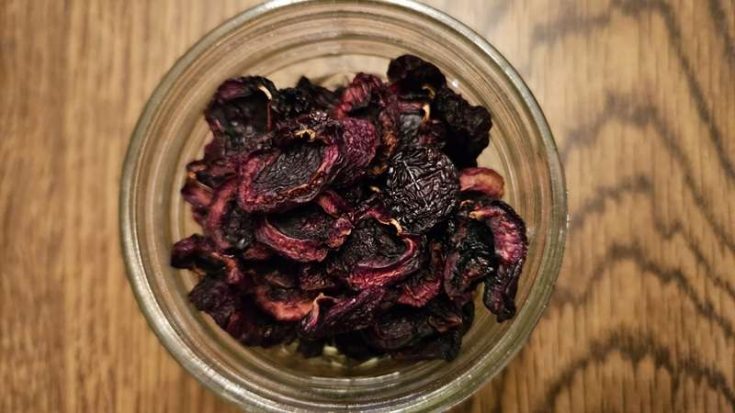
The next morning when I got up, almost all of the cherries were completely dehydrated. But there were some that were still on the plump side, so I made a point of doing a dryness test to make sure they were dry enough to remove from the dehydrator.
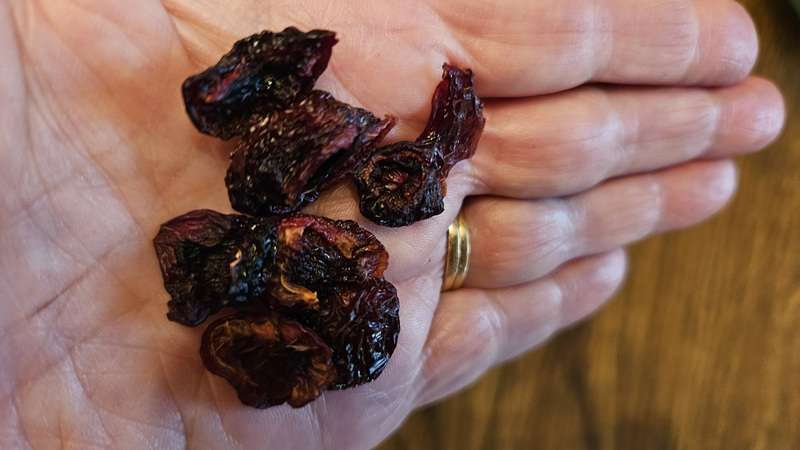
According to Tammy Gangloff:
“Dehydrated cherries develop a hard outer coating and will click when dropped on the counter. The cherries should not stick together when squeezed in your hand.”
Step 4: Condition the Dried Cherries
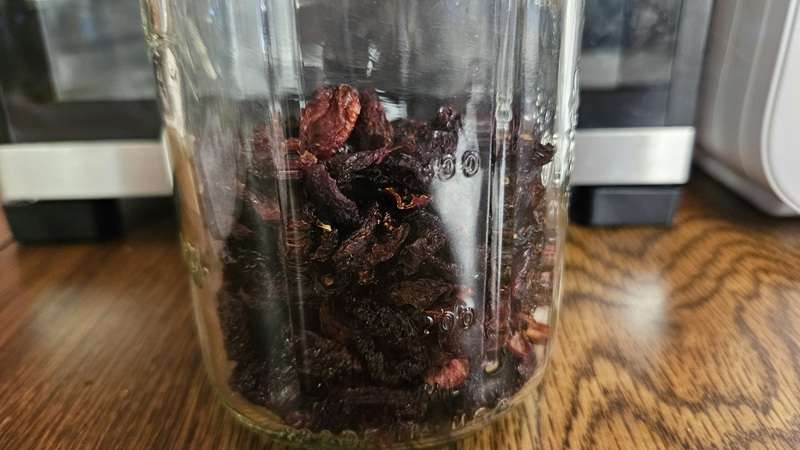
Conditioning helps distribute any remaining moisture evenly:
- Fill mason jars 2/3 full with cooled dried cherries.
- Shake jars daily for 7–10 days.
- If condensation appears, return cherries to dehydrator for a few hours.
Step 5: Store for Long-Term Use
Once conditioned, transfer to one of these options available on Amazon:
- Vacuum-sealed bags
- Mason jars – ideally sealed with vacuum sealer, using mason jar attachments like these.
- Mylar bags with oxygen absorbers
Store in a cool, dark place for best shelf life—up to 12 months or more.
Optional: Storing Chopped Dried Cherries
Tammy Gangloff suggests that if you want to store your cherries chopped:
“Chop them in a food processor after dehydration, then add 1/4 cup granulated sugar per 1 quart jar and shake. This will keep the small pieces from sticking together.”
Since they shrunk up quite a bit during the dehydration process, I chose not to chop the cherries at all, and therefore, didn’t use any sugar.
Bonus: How to Rehydrate Dehydrated Cherries
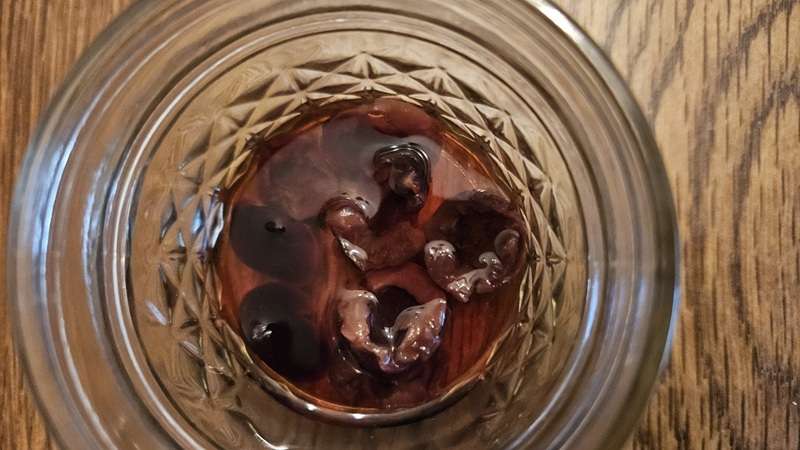
Use dried cherries in more ways by rehydrating them:
- Soak in warm water or juice for 15–30 minutes
- For desserts or sauces, try soaking in wine, rum, or brandy
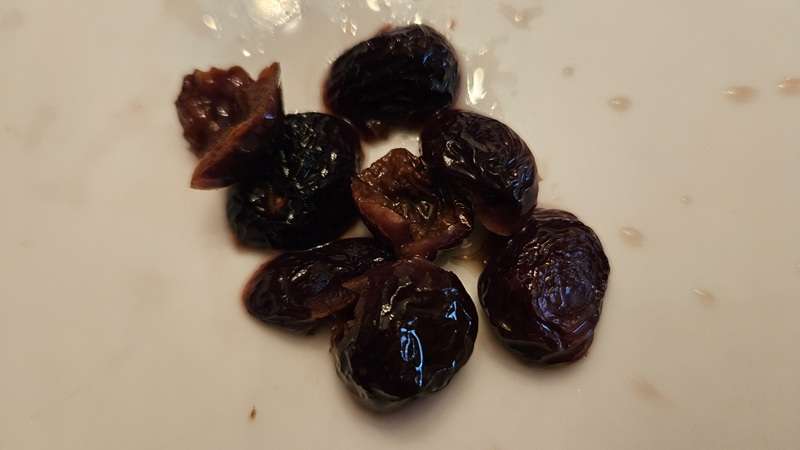
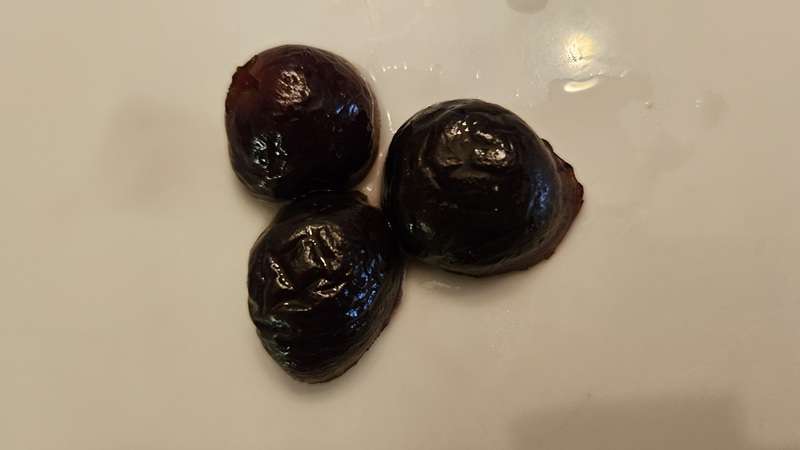
After letting the dehydrated cherries soak, I decided to simmer a few (that I hadn’t yet soaked) for a few minutes to see if they would plump up more. They did! This is good news because it shows that if you were to do something that requires simmering, such as cherry pie filling, you can’t really even tell they were dehydrated. So you can indeed use dehydrated cherries to make cherry pie, ice cream topping, etc.
Conclusion
Dehydrating cherries is a rewarding way to preserve your summer harvest, especially if you’re short on freezer or fridge space. Whether you’re making trail mix, prepping for winter, or just enjoying homegrown fruit year-round, this method gives you a shelf-stable supply with minimal fuss.
For more in-depth information, I highly recommend The Ultimate Dehydrator Cookbook by Tammy Gangloff—it’s my go-to resource and offers expert insight into everything from fruit prep to storage.
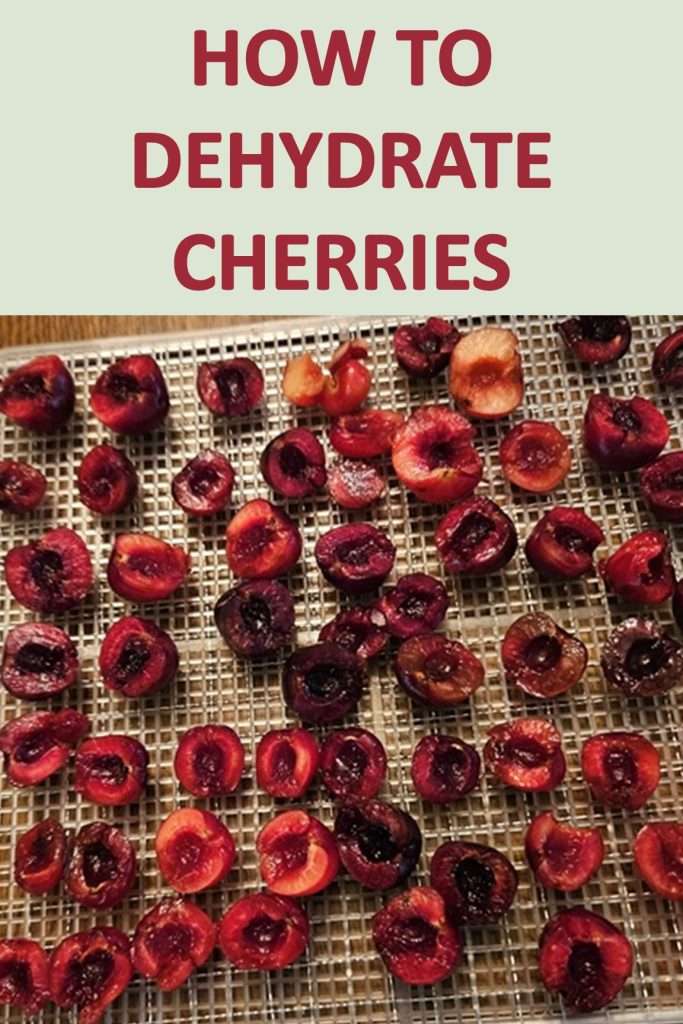
Pin it for Later


Related Articles
If you enjoyed this article, you’re sure to enjoy these related articles.
How to Dehydrate Cherries
Learn how to dehydrate cherries step by step using a food dehydrator. This method is perfect for making shelf-stable, snackable fruit for your prepper pantry.
Materials
- Fresh, ripe cherries
- Lemon juice or ascorbic acid (optional, for pre-treatment)
- Water (for rinsing and blanching, if desired)
- Storage containers (mason jars, mylar bags, or other airtight storage containers)
Tools
- Cherry pitter (optional but helpful)
- Food dehydrator
- Strainer or colander
- Large bowl (for ice bath if blanching cherries)
- Cutting board and knife (if halving cherries)
Instructions
1. Wash and Prep the Cherries
Rinse cherries in cool water. Remove stems. Pit the cherries using a cherry pitter or a tool like a chopstick. Halve the cherries if desired for faster drying.
2. Optional: Pre-Treat to Prevent Browning
Dip cherries in lemon juice or an ascorbic acid solution to preserve color and quality.
3. Load the Dehydrator Trays
Place cherries on dehydrator trays skin side down (cut side up if halved), spaced apart for air circulation.
4. Dehydrate the Cherries
Set dehydrator to 125°F (52°C) or 135°F (57°C). Dry for 12–24 hours depending on cherry size and moisture content. Flip halfway through to ensure even drying.
5. Check for Doneness
Cherries should be leathery and not sticky. Fully dry cherries won’t stick when squeezed and may “click” when dropped on a hard surface.
6. Condition the Cherries
Place cooled cherries in mason jars about two-thirds full. Shake daily for 7–10 days to evenly distribute any remaining moisture.
7. Store for Long-Term Use
Transfer cherries to airtight storage: vacuum-sealed bags, mylar bags with oxygen absorbers, or mason jars. Store in a cool, dark place for up to 12 months or longer.
Notes
Recommended Products
As an Amazon Associate and member of other affiliate programs, I earn from qualifying purchases.


💬 I’d love to hear from you!
Have you tried this yourself? Have a question or tip to share? Leave a comment below — your experience or question could help someone else, too!