

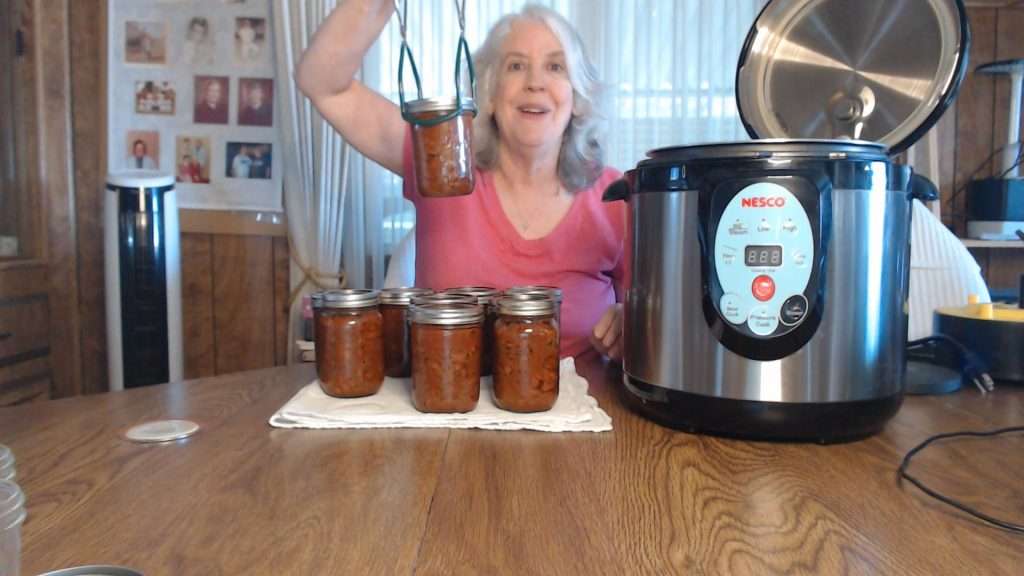
Canning chili con carne is a fantastic way to preserve a hearty, delicious meal that can be ready to serve at any time. In this post, I’ll walk you through the process of making and canning chili con carne, using the Nesco canner, although any pressure canner will work.

This article includes affiliate links.
The recipe I’m using is adapted from the USDA Complete Guide to Home Canning (Amazon), which ensures that the process is safe and effective.
Whether you have a Nesco canner (Amazon) or another brand, the important thing is that you’re using a pressure canner because chili contains meat and beans, both of which need to be pressure canned for safe preservation.
Let’s dive in!
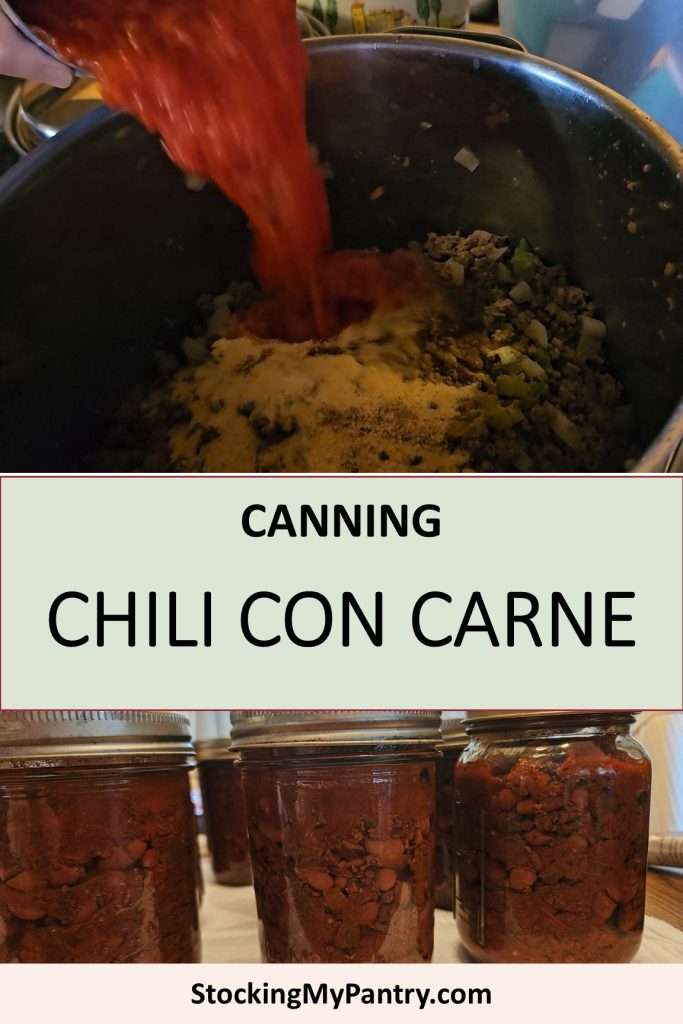
Canning Chili Con Carne (Video)
Check out this video for a step-by-step demonstration of preparing and canning chili con carne.
Chili Con Carne Ingredients
While I’ll provide all of the ingredients that you need to add throughout this article, for your convenience, I’m providing them here as well.
Note that with the exception of dry spices, the ingredients, and the amounts of each item such as meat are important to stick with, in order for this chili con carne to be safe for canning. I’ve added notes to indicate any flexibility or changes to the original recipe.
Also note that I’ve added some additional spices to the chili to make it more flavorful. Those are listed as optional.
- 3 cups dried pinto beans or red kidney beans
- 5 1/2 cups fresh water (for cooking the beans)
- 2 teaspoons salt (for the beans)
- 3 pounds ground beef (or slightly less, but not more)
- 1 cup chopped bell peppers (optional; other peppers like jalapeños can be used)
- 1 1/2 cups chopped onions
- 3 teaspoons salt (for seasoning)
- 1 teaspoon black pepper
- 3 to 6 tablespoons chili powder
- 1 tablespoon ground cumin (optional)
- 1 tablespoon smoked paprika (optional)
- 1 tablespoon granulated garlic (optional)
- 2 quarts crushed or whole tomatoes (about two 28-ounce cans)
- 4 ounces tomato paste (optional) -added because I had some leftover from another recipe.
- Water (as needed to adjust thickness). I added this to thin out the added tomato paste, and also to think down the chili if it’s too thick.
Ready to can with confidence this year? Grab the Home Canning Success System—your step-by-step guide to organized, stress-free home canning!
👉 Check it out on AmazonPrepping the Meat and Beans for Canning
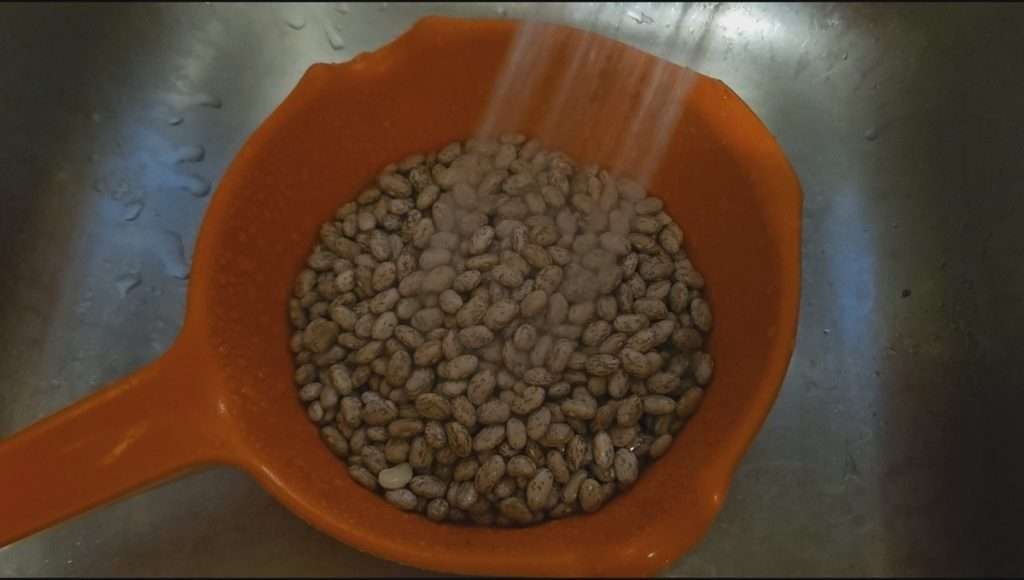
To get started, you’ll need three cups of dried pinto or kidney beans. Make sure to sort through them and remove any rocks or split beans.
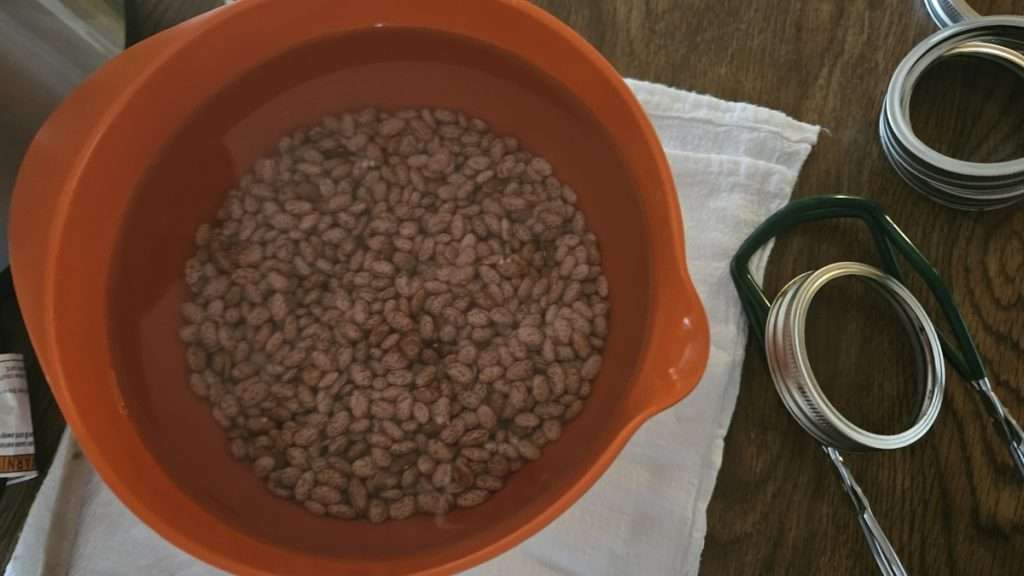
Once they’re cleaned, soak the beans in a pot with enough cold water to cover them by about two to three inches. You’ll let the beans soak for 12 to 18 hours.
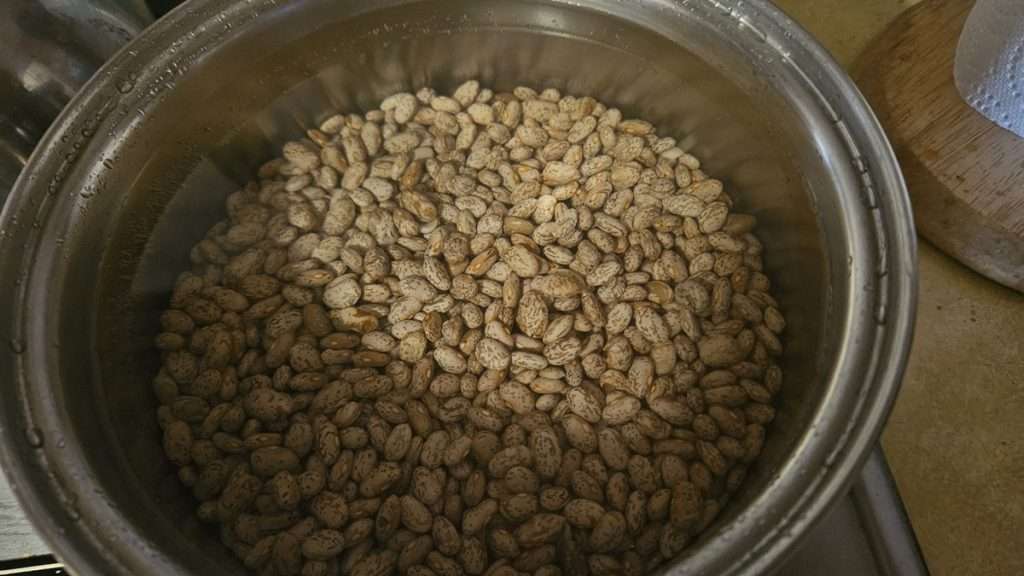
After soaking, drain the beans and combine them with 5 1/2 cups of fresh water and 2 teaspoons of salt in a large pot. Bring it all to a boil, then simmer the beans for 30 minutes.
This step is critical because the canning process is based on the beans being soaked, partially cooked and hot. While some people swear to the effectiveness of canning dry beans without soaking and partially cooking, the processing time to make this safe for canning starts with the assumption that the beans are soaked, partially cooked, and hot.
Brown and Drain the Ground Beef
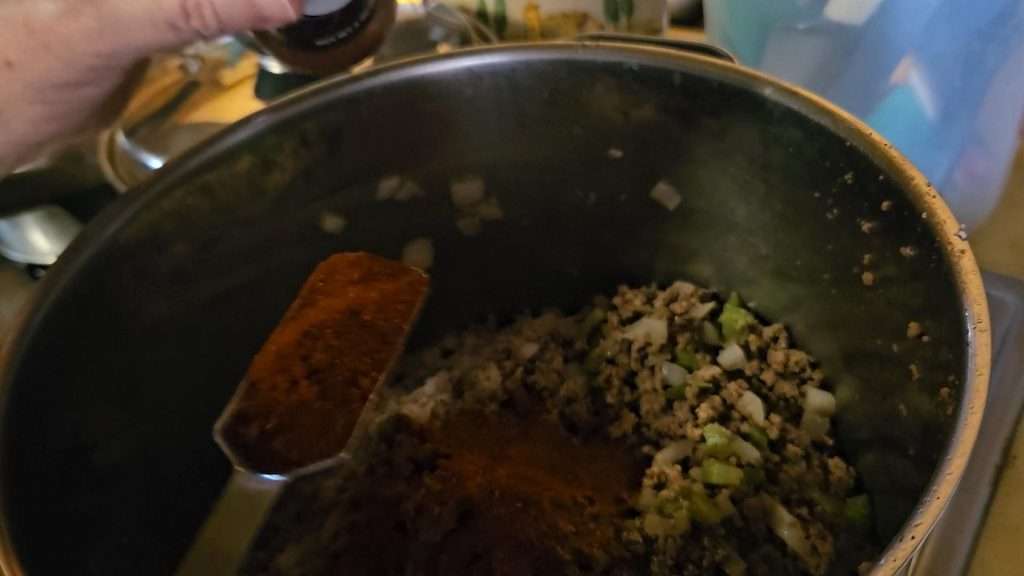
While you’re boiling the beans, take 3 pounds of ground beef (or in my case, 2 1/2 pounds, which is okay as long as you don’t exceed the recipe amount), and brown it in a large skillet or pot.
If you’re like me and love a bit of added flavor, you can throw in 1 1/2 cups of chopped onions and 1 cup of chopped peppers (bell peppers are great, but feel free to experiment with jalapenos for some kick!). You can leave out the peppers completely if desired.
Once everything is nicely browned, drain off any fat and set the meat aside.
Seasoning the Chili
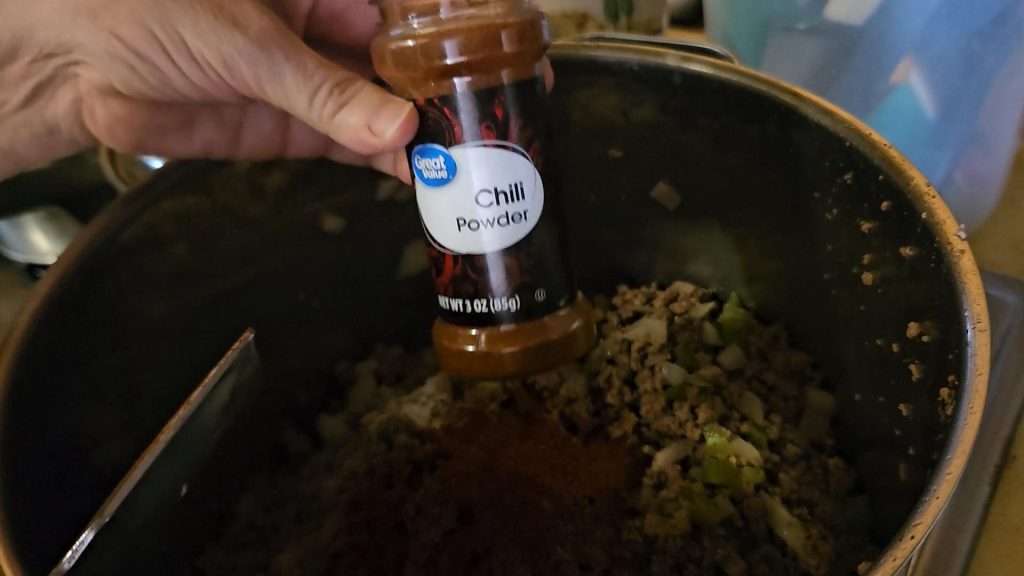
Now it’s time to season the chili! Start by adding the following spices to the ground beef mixture:
- 3 teaspoons of salt
- 1 teaspoon of black pepper
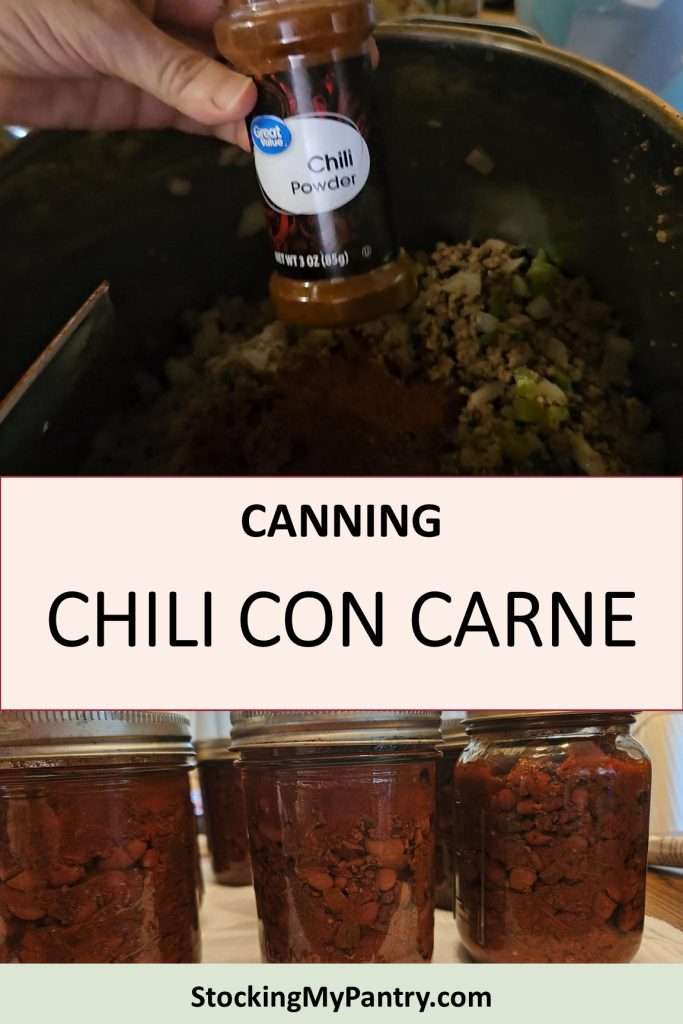
- 3 to 6 tablespoons of chili powder (depending on how much heat you want)
I like to customize my chili by adding some extra flavors. In this batch, I included:
- 1 tablespoon of ground cumin
- 1 tablespoon of smoked paprika (for a smoky depth)
- 1 tablespoon of granulated garlic
You have a lot of flexibility with the dry spices. If you want to stick with the recipe as it’s written in the USDA Complete Guide to Home Canning (Amazon), the only seasonings you’ll use are the salt, pepper, and chili powder.
Add Tomatoes to the Chili Con Carne Mixture
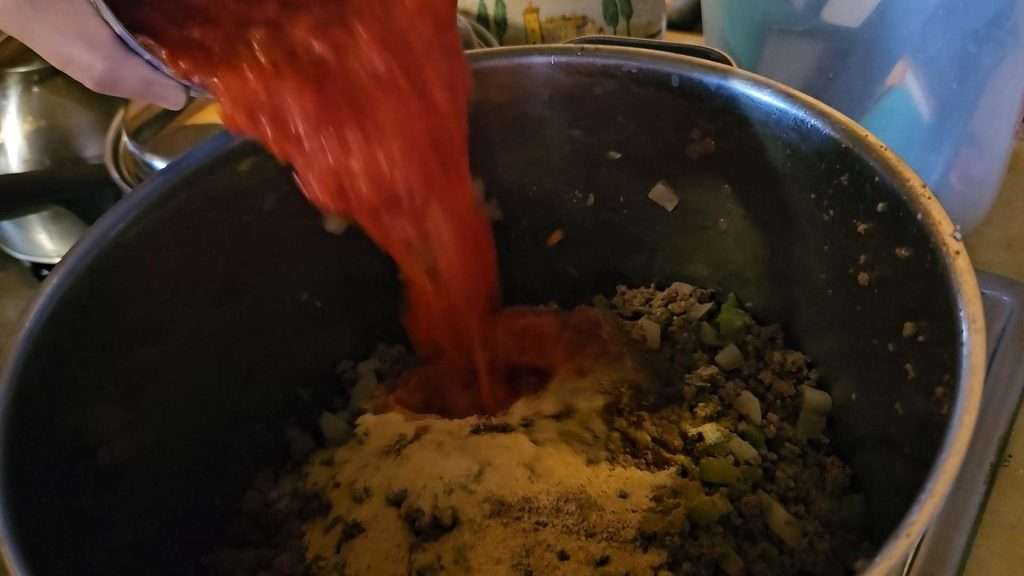
Next, you’ll add two quarts of crushed or whole tomatoes. I used canned tomatoes, but if you prefer fresh, go for it!
To make sure my chili wasn’t too thick, I also added a couple of four-ounce containers of water. I had some leftover tomato paste from another recipe that I didn’t want to go to waste. This chili was a perfect way to use up the leftover tomato paste and the added water thinned it out so it wouldn’t be too thick for canning.
Lastly, add in the partially cooked beans, and stir everything together.
Bringing It All Together: Cooking the Chili
Once your ingredients are combined, bring the chili to a gentle simmer and cook it for about 5 minutes. At this point, if you feel the chili is too thick, don’t hesitate to add a bit more water. When canning, a thinner consistency is better to ensure proper heat penetration during the canning process.
After simmering, if you’re not planning to can immediately, let the chili cool down and store it in the fridge. That’s what I did. Since making and canning the chili is a long process, I decided to take two days to complete this process.
If you don’t can the chili right way, the next day bring it back up to a simmer before you fill your jars. This way, your chili is hot when you begin the canning process, which is important since this is a hot pack recipe.
Canning Chili Con Carne: The Process
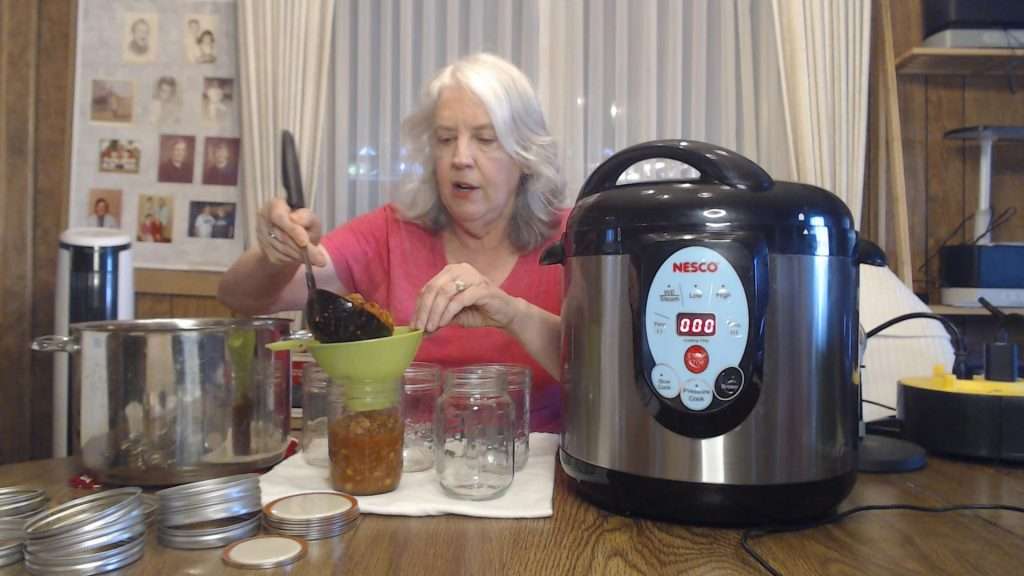
Now it’s time to get your jars ready. I used my Nesco canner to heat the jars before filling them. If you don’t know how to heat your water and jars in the Nesco, be sure to check out my article, How to Heat Jars in the Nesco Canner.
Running Two Canner Loads
The recipe makes 9 pints of chili, but because my Nesco canner only holds 5 pints at a time, I prepared two separate batches. If you have a similar setup or only one canner, you can break the process into two loads or even over two days.
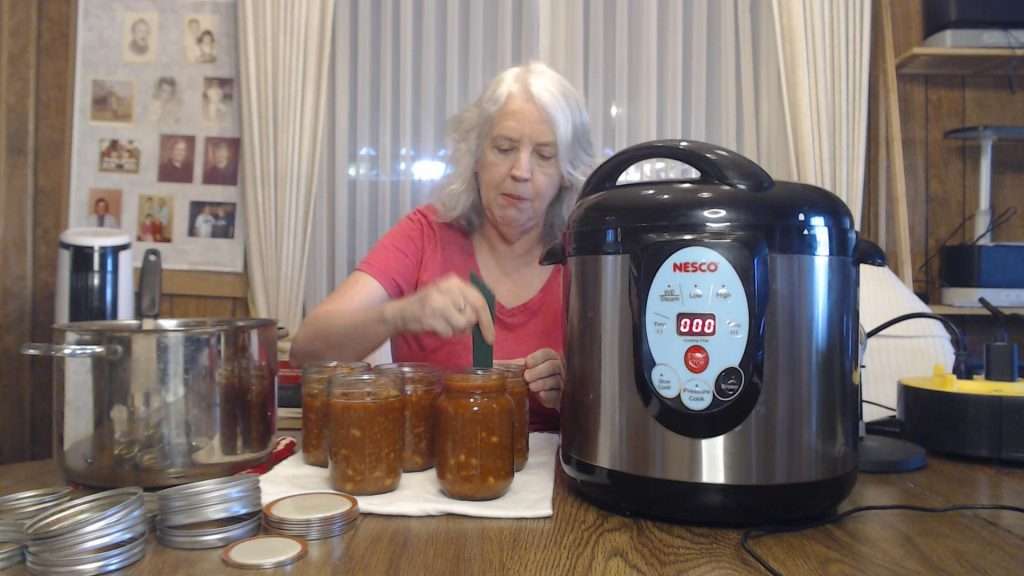
When filling the jars, be sure to leave one inch of headspace. Stir the chili as you go to evenly distribute the beans and liquid.
After filling, de-bubble the jars using a non-metallic spatula or tool, and adjust the headspace if needed.
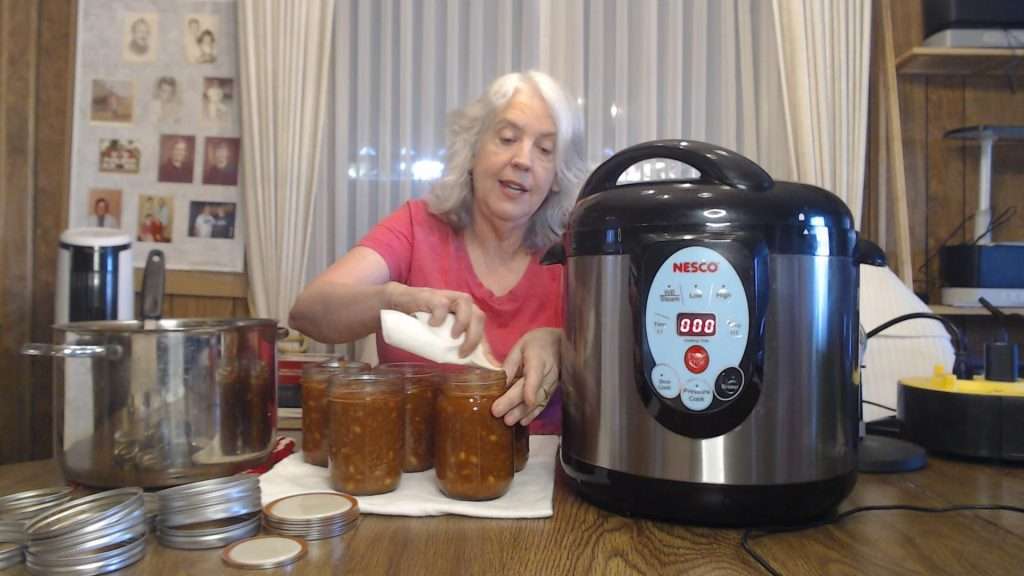
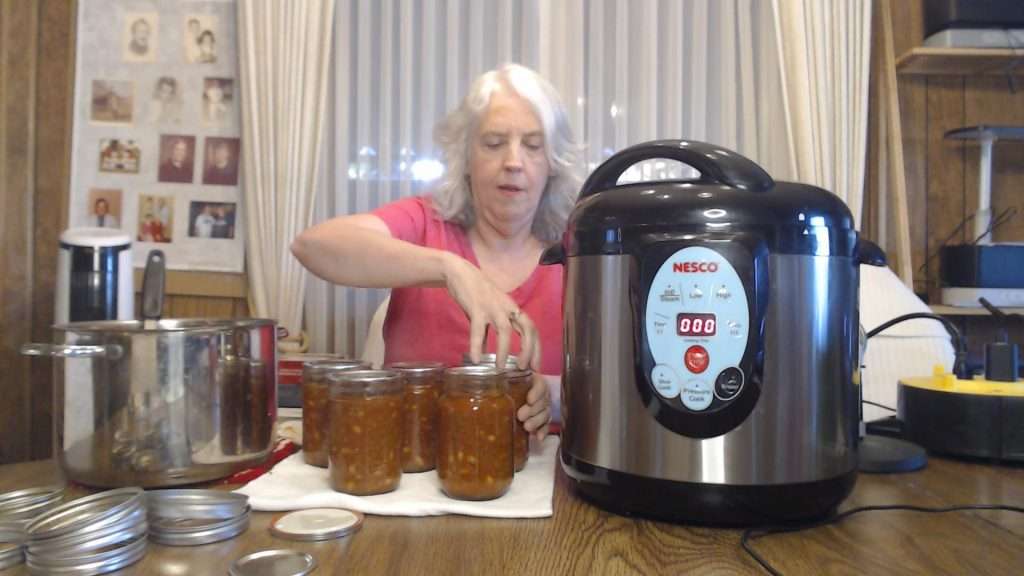
Wipe the rims of the jars, apply the lids, and load them into the canner.
Canning Chili Con Carne
I used my Nesco canner to can the chili con carne. If you’re unsure of how to use the Nesco canner, check out this blog post.
Now it’s time to pressure can your chili! According to the USDA guide, this chili is only suitable to be canned in pints or smaller. Pressure can the chili for 75 minutes.
Also, be sure to for altitude. While when pressure canning you use the same processing time regardless of your altitude, be sure you use the appropriate weight. You can learn more about how to adapt canning recipes based on altitude in this article:
Pin it for Later
Your All-in-One Canning Companion

The Home Canning Success System is your all-in-one canning companion. Whether you’re brand new or a seasoned canner, this book helps you plan, organize, and track your projects with confidence. Ditch the guesswork—preserve with purpose!
Final Thoughts on Canning Chili Con Carne
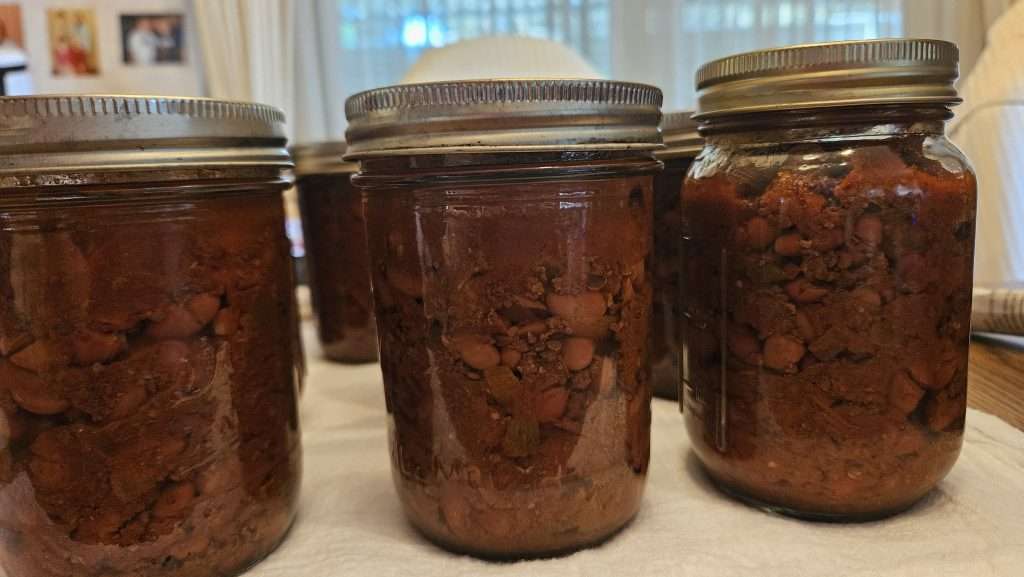
Canning chili con carne is an excellent way to prepare hearty, convenient meals ahead of time. Whether you use it for a quick family dinner or simply want to have it available in your prepper pantry, it’s a valuable skill to master.
Just remember to follow the proper steps, especially when it comes to using a pressure canner and adhering to USDA-tested recipes.
Now that you know how to can chili con carne, why not give it a try? You’ll love having jars of this flavorful chili ready to go anytime you need a quick and satisfying meal!
💬 I’d love to hear from you!
Have you tried this yourself? Have a question or tip to share? Leave a comment below — your experience or question could help someone else, too!