


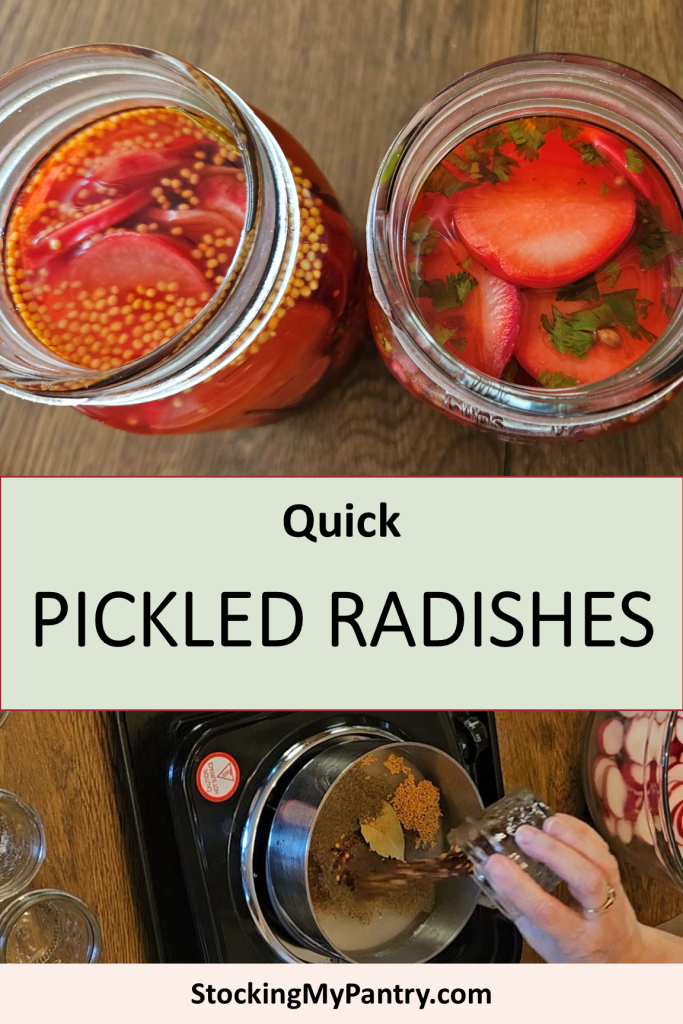
In this article I share two fantastic quick pickled radishes recipes that are perfect for adding a burst of flavor to your meals. Since these are quick pickles, they’re not canned but instead stored in the refrigerator.
This article includes affiliate links.
Even though they aren’t canned, these quick pickled radishes will last up to three months in the fridge, making them a convenient and easy way to preserve your radishes. Both recipes come from the All New Ball Book of Canning and Preserving (Amazon), and I’m happy to walk you through them step by step.
Making Quick Pickled Radishes – 2 Ways (Video)
If you prefer to watch a video demonstration of me making the quick pickled radishes, check out the video here.
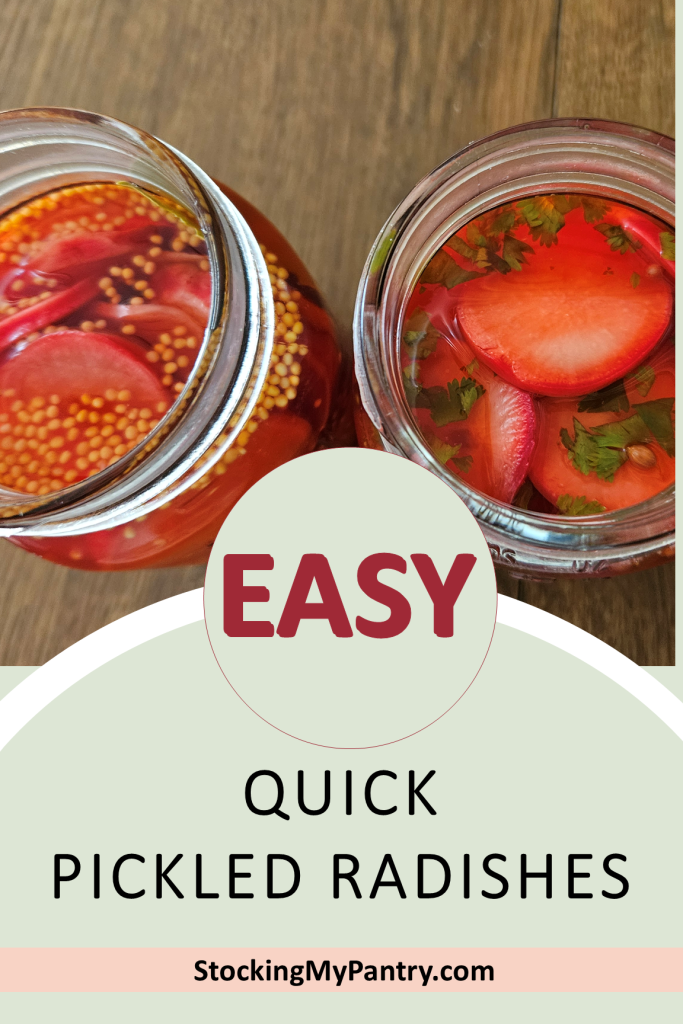
Lime Quick Pickled Radishes
The first recipe we’re making is lime pickled radishes. The thing that I love most about this recipe is that it uses lime juice instead of vinegar, giving the radishes a fresh and tangy flavor that’s a bit different from traditional pickles. I personally love lime juice more than vinegar, so that’s the main thing that drew me to this recipe. Another thing is that it has cilantro, and I personally love the lime and cilantro combination.
Now let’s get into the ingredients.
Lime Quick Pickled Radishes Ingredients:
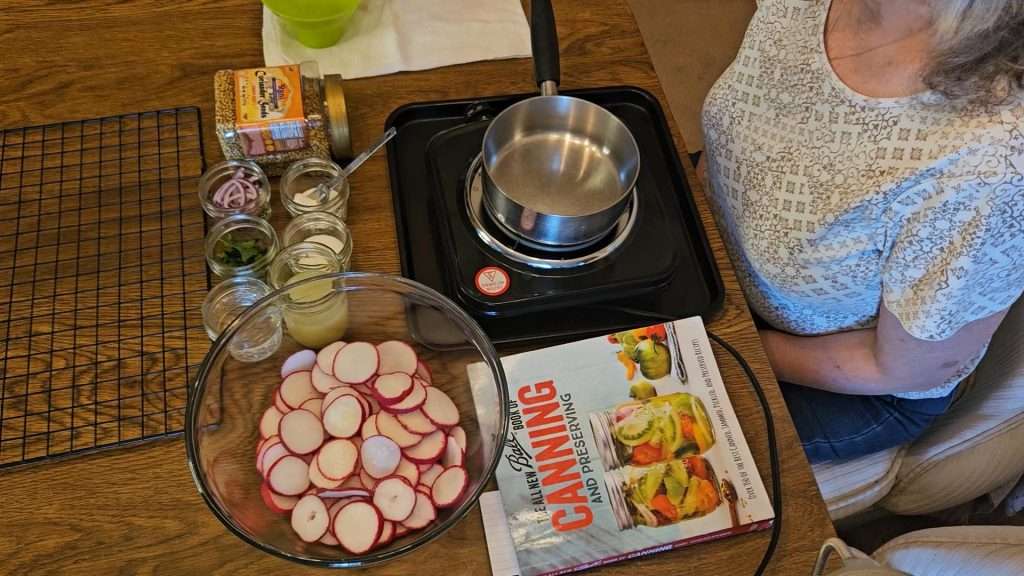
- 1/2 cup bottled lime juice
- 1/4 cup water
- 2 tablespoons sugar
- 1 teaspoon salt
- 1 teaspoon coriander seeds
- 1 bunch of radishes (about 1/2 pound), leaves and roots trimmed and sliced into 1/8-inch slices
- 1/4 cup thinly sliced red onion
- 1 tablespoon chopped fresh cilantro
Instructions:
Now let’s get into the instructions for making the lime quick pickled radishes.
Step 1:
In a small stainless steel or enameled saucepan, combine the lime juice, water, sugar, salt, and coriander seeds. Bring the mixture to a boil.
 Lime juice
- Water
- Sugar
- Salt
- Coriander seeds


Step 2:
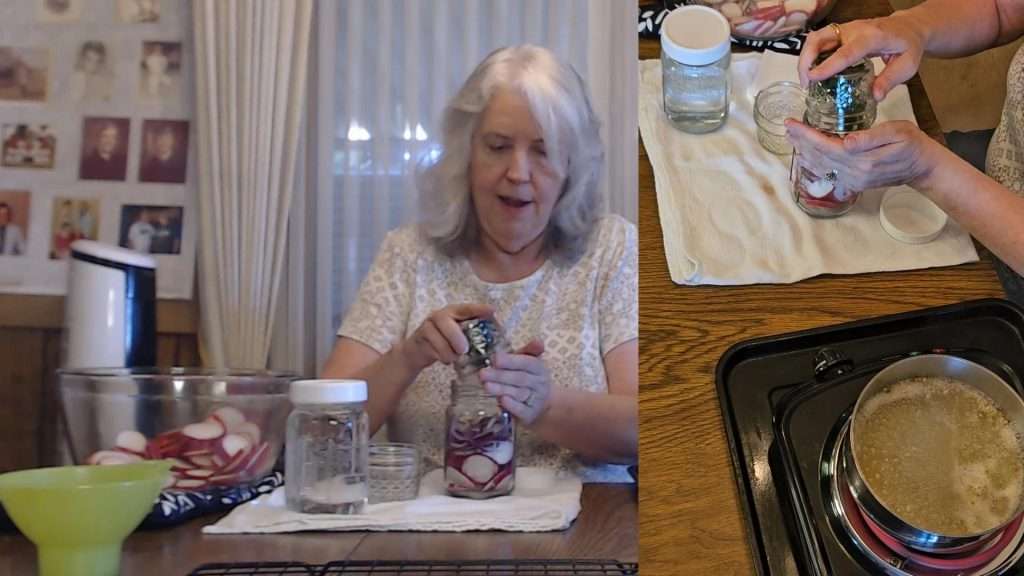
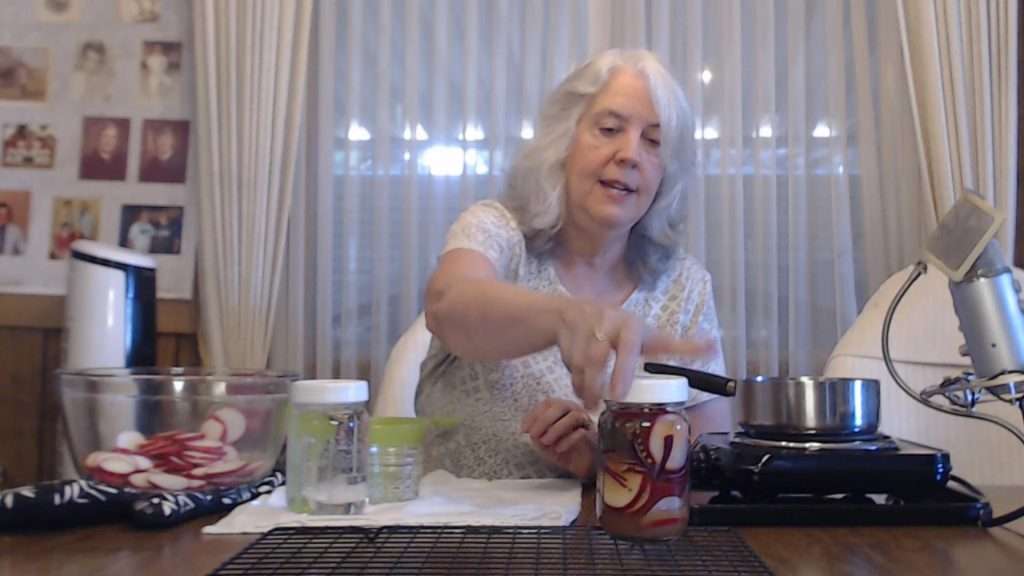
While the brine is heating, pack the radish slices, onion, and cilantro into a hot, sterilized jar.
Step 3:
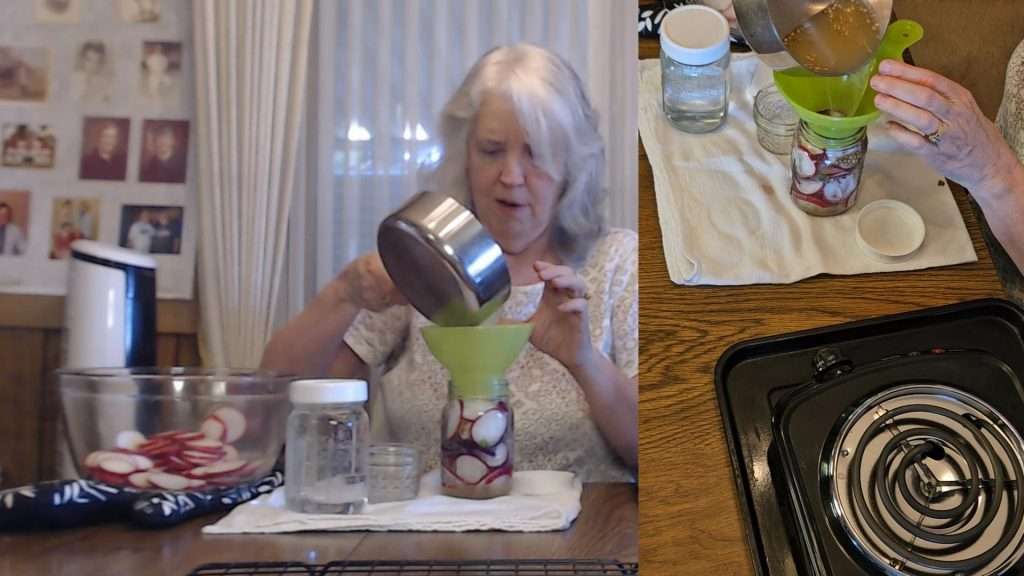
Once the brine reaches a boil, carefully pour it over the radish mixture in the jar, ensuring all the radishes are covered.
Step 4:
Secure the jar with a lid and let it cool on a rack for about an hour before placing it in the refrigerator. The radishes need to marinate for at least six hours before they’re ready to eat.
Ready to can with confidence this year? Grab the Home Canning Success System—your step-by-step guide to organized, stress-free home canning!
👉 Check it out on AmazonSweet Quick Pickled Radishes
Next up, we have sweet pickled radishes. This recipe is more traditional, using vinegar and sugar to create a sweet yet tangy flavor that complements the natural spiciness of the radishes.
Here are the ingredients in Sweet Pickled Radishes.
Sweet Quick Pickled Radishes Ingredients:
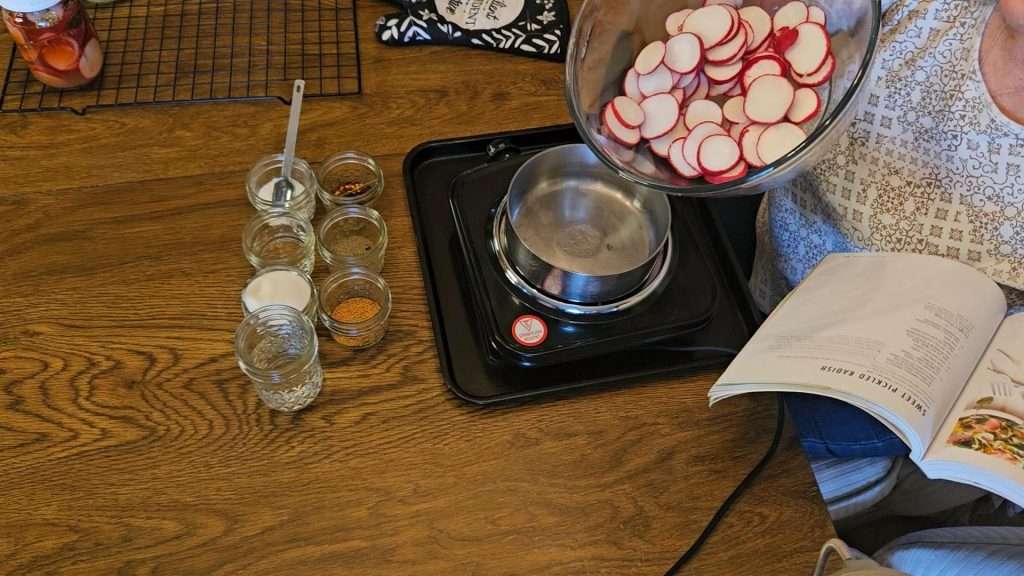
- 1/2 cup white or apple cider vinegar
- 1/2 cup sugar
- 1/4 cup water
- 1 teaspoon Ball salt for pickling and preserving
- 1 teaspoon mustard seeds
- 1/2 teaspoon ground black pepper
- 1 bay leaf
- 1/2 teaspoon dried crushed red pepper flakes (optional)
- 1 bunch of radishes (about 1/2 pound), stem and root ends removed, sliced into 1/8-inch slices
Instructions:
Here are the step-by-step instructions for making sweet quick pickled radishes.
Step 1:
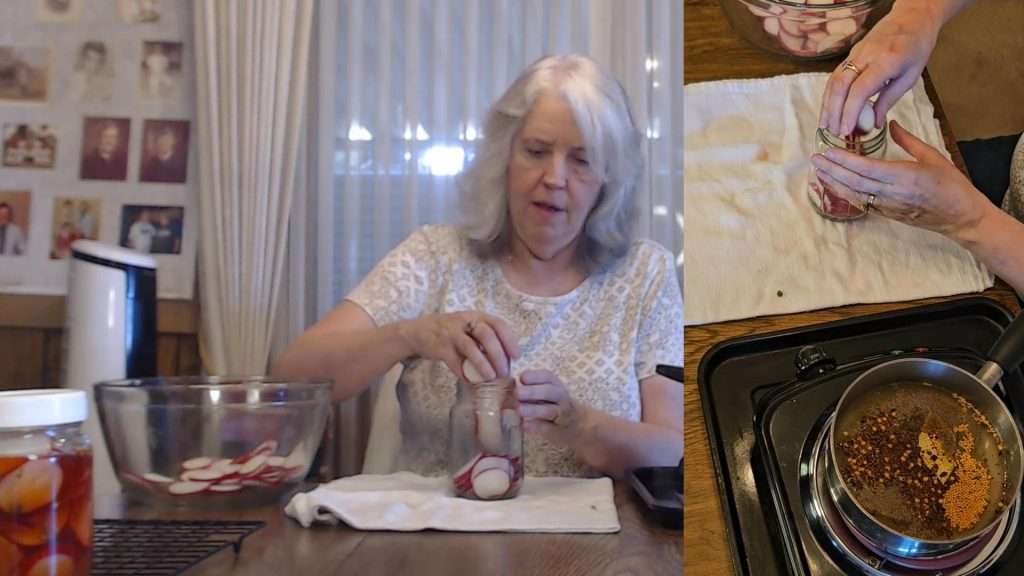
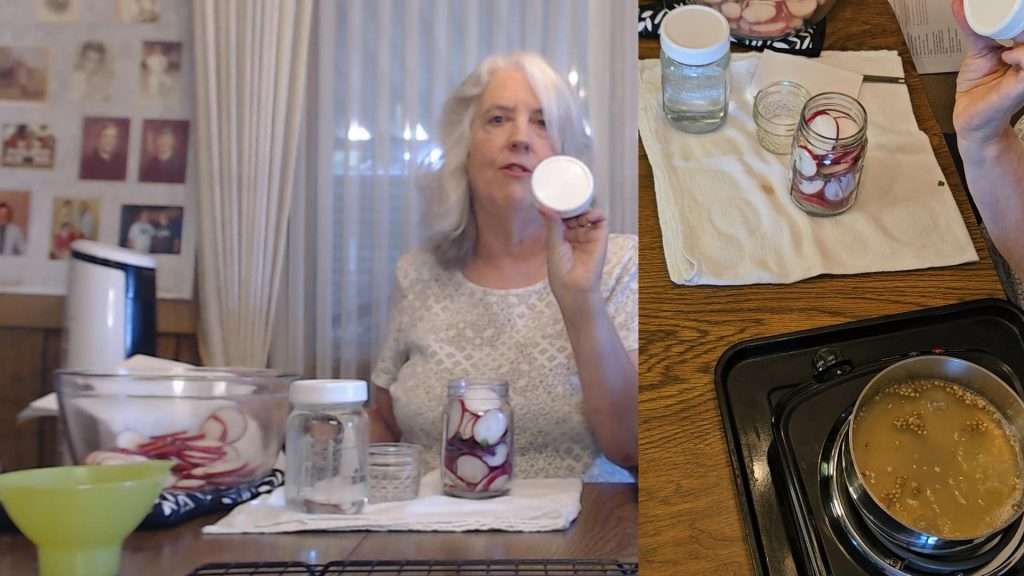
Place the radish slices into a hot, sterilized jar.
Step 2:
In a small saucepan, combine the vinegar, sugar, water, pickling salt, mustard seeds, ground black pepper, bay leaf, and red pepper flakes (if using). Bring the mixture to a boil.
- Vinegar
- Sugar
- Water
- Pickling salt
- Mustard Seeds
- Black pepper
- Bay leaf
- Red pepper flakes


Step 3:
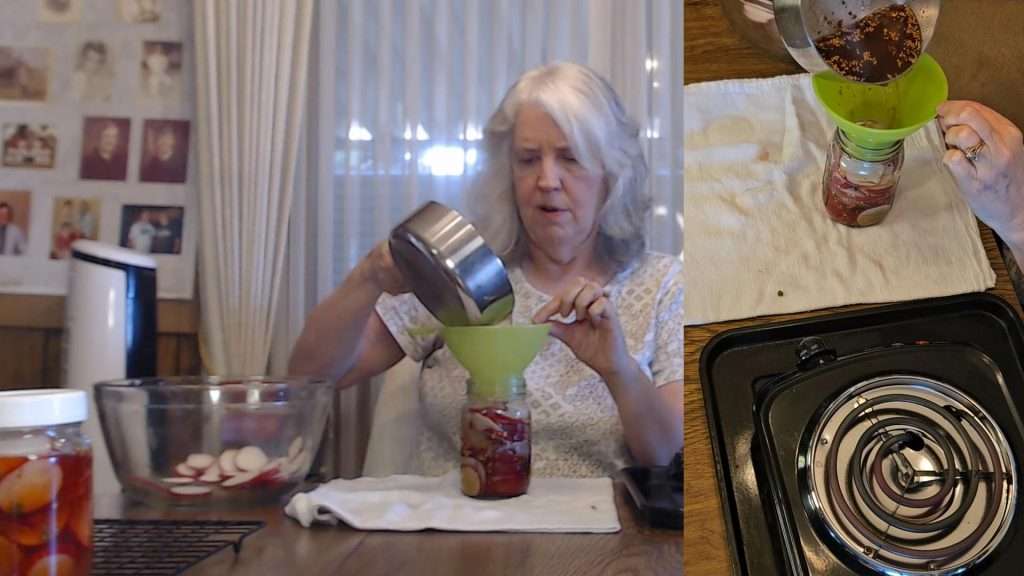
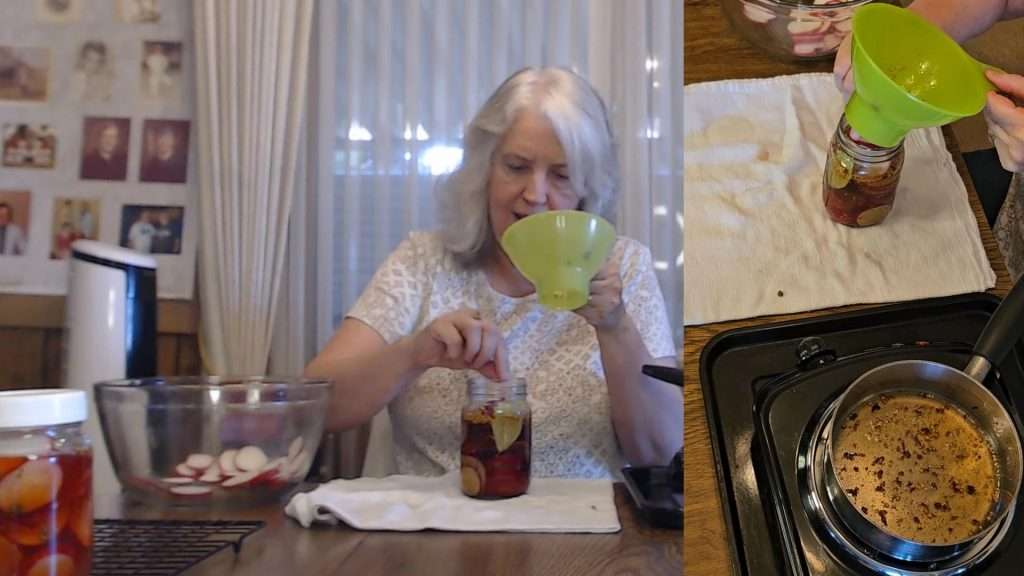
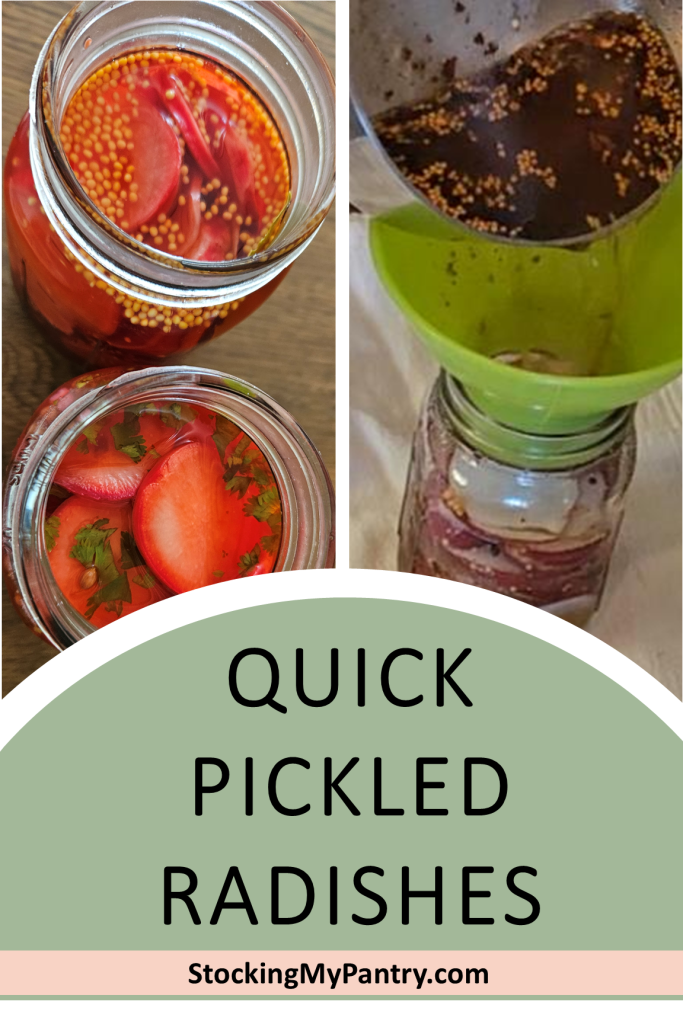
Once the brine has reached a boil, carefully pour it over the radish slices in the jar, making sure all the radishes are submerged.
Step 4:
Secure the jar with a lid, let it cool on a rack for about an hour, and then refrigerate. Allow the radishes to marinate for at least six hours before enjoying.
Quick Pickled Radishes Taste Test and Final Thoughts
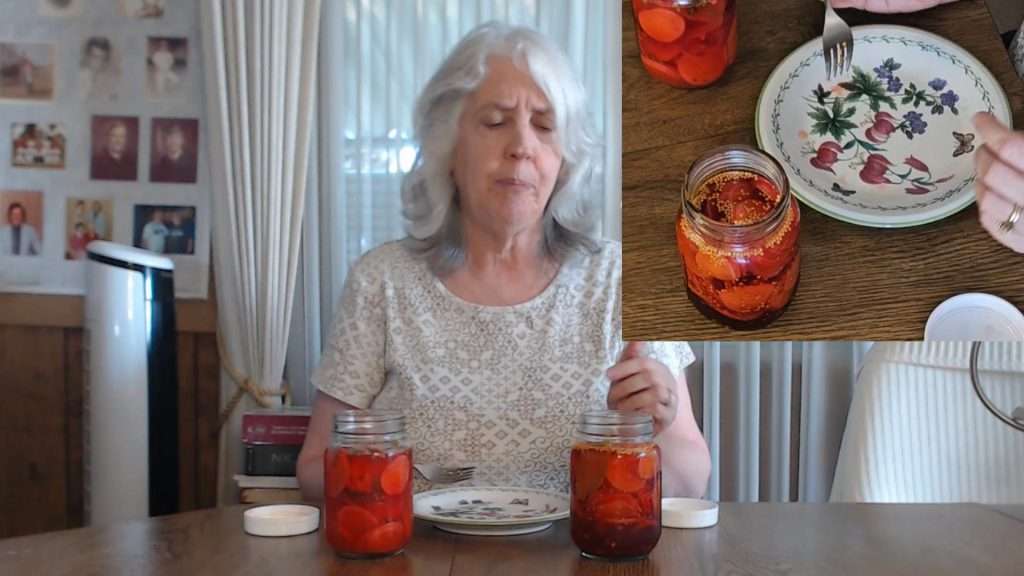
After letting both jars sit in the fridge for about eight hours, I was eager to taste the results. I started with the lime pickled radishes, and I was pleasantly surprised by how well the lime juice complemented the radishes. The lime flavor was intense but not overpowering, and the radishes retained a satisfying crunch. If you enjoy lime-flavored foods, you’ll love this recipe.
Next, I tried the sweet pickled radishes. These were more tart than I expected but still delicious. The combination of vinegar and sugar gave them a classic pickled taste, and they had a nice sweetness that balanced the tartness.
Conclusion
Both of these quick pickled radish recipes are fantastic in their own way. The lime pickled radishes offer a unique twist with their bright citrusy flavor, while the sweet pickled radishes provide a more traditional taste with a sweet and tangy punch.
I personally favoried the Lime Pickled Radishes, and my husband preferred the Sweet Pickled Radishes. Since each recipe makes a single pint, I recommend trying both to see which one you prefer.
Whether you’re looking for something a little different or prefer a classic flavor, these recipes are sure to please. Give them a try, and leave a comment on the YouTube video to let me know how they turn out for you! If you’re new to my channel, don’t forget to subscribe and hit the notification bell so you never miss a new video. Thanks for joining me today, and happy pickling!
Pin for Later
Your All-in-One Canning Companion

The Home Canning Success System is your all-in-one canning companion. Whether you’re brand new or a seasoned canner, this book helps you plan, organize, and track your projects with confidence. Ditch the guesswork—preserve with purpose!
Related Articles
If you enjoyed this article, you’re sure to enjoy these related articles:
💬 I’d love to hear from you!
Have you tried this yourself? Have a question or tip to share? Leave a comment below — your experience or question could help someone else, too!