

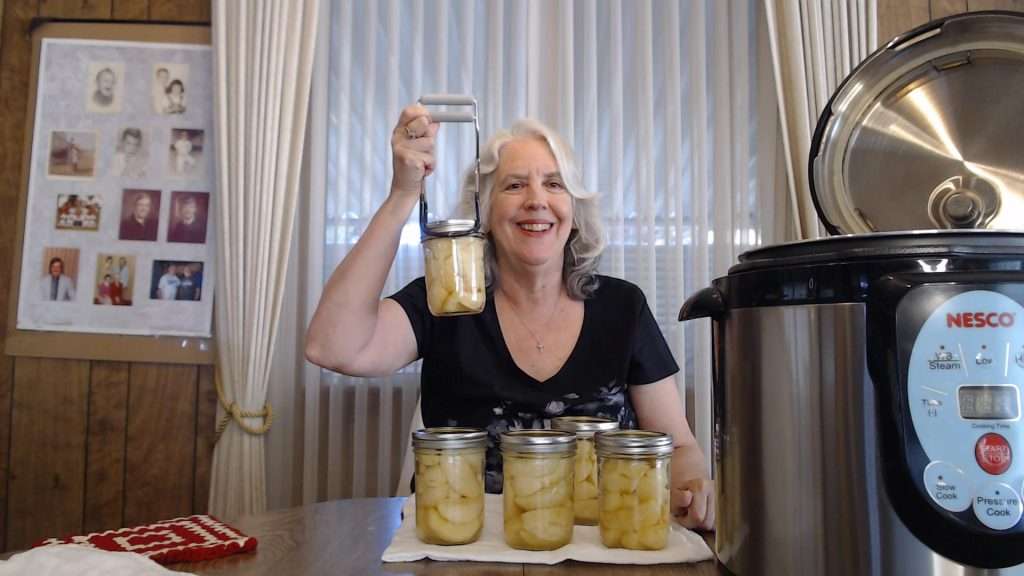
In this article I’m excited to share my first experience canning apples in syrup.
This article includes affiliate links.
I got my recipe from the Ball Complete Book of Home Preserving. (Amazon)
While I’ve canned various fruits before, this was my very first time canning apples, and I’ll admit—I was a bit nervous. When canning apples in syrup, there is no raw pack option.
That’s fine, but when I looked at the recipe, there seemed to be a whole lot of apples compared to the amount of syrup. I was concerned that there wouldn’t be enough syrup to boil the apples in.
But surely Ball recipes have been tested and they wouldn’t instruct me to do something that wouldn’t work, right?
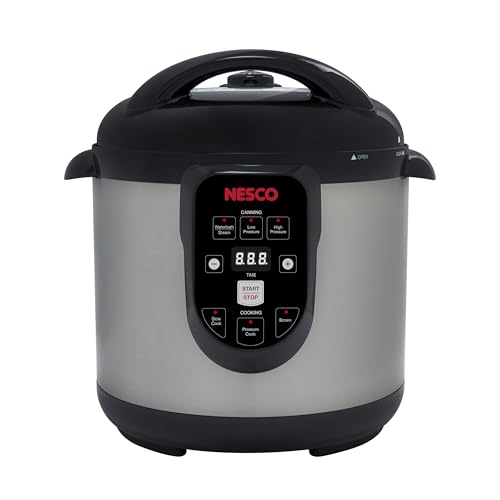
So, for the most part I decided to follow the recipe exactly as it’s written in the book (Amazon), with one pretty big exception. The exception is that I used half as many apples. The main reason I did that was because I can only fit a maximum of 5 pints in my Nesco canner (Amazon), and according to the book, this recipe yields 8 pints.
Canning Apples in Syrup (Video)
Be sure to check out my video to watch me can apples in syrup!
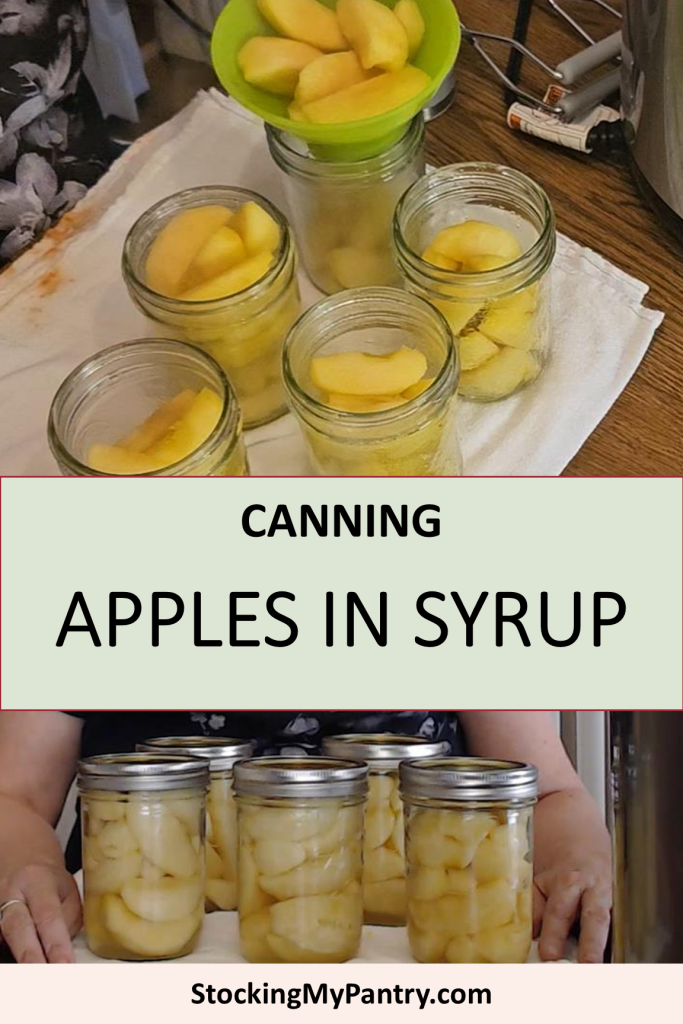
Apples in Syrup Ingredients
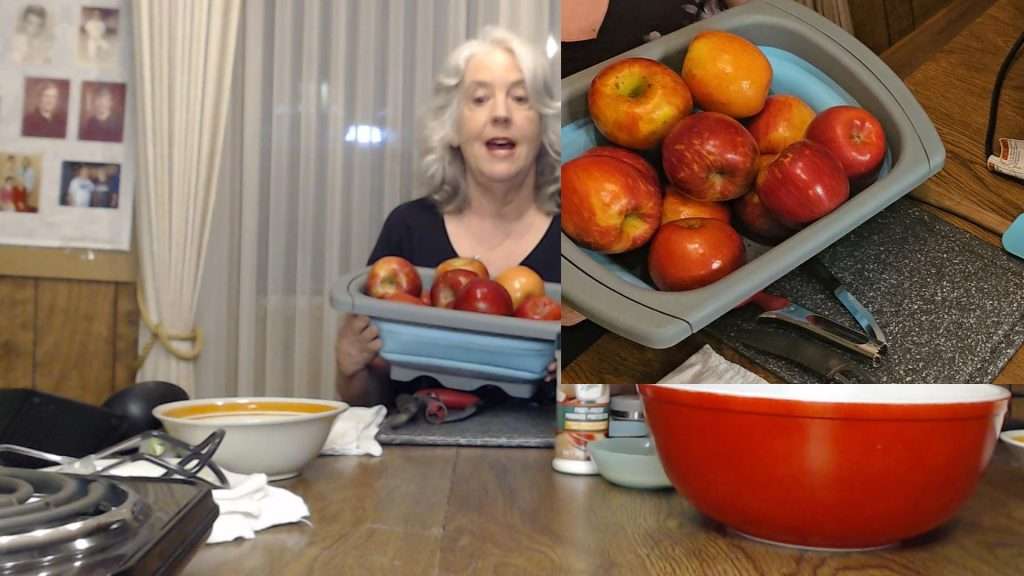
Thankfully, the ingredient list is super short! Here’s what you’ll need:
- 10-12 pounds of apples (for a full recipe)
- 2 1/2 cups of granulated sugar
- 5 1/4 cups water
- Ball Fresh Fruit Produce Protector (Amazon)
Note: The Ball Fresh Fruit Produce protector is not listed in the book, but as you’ll see below, I used it to keep the apples from turning brown.
Preparing the Apples
The first and most time-consuming step is to prepare the apples.
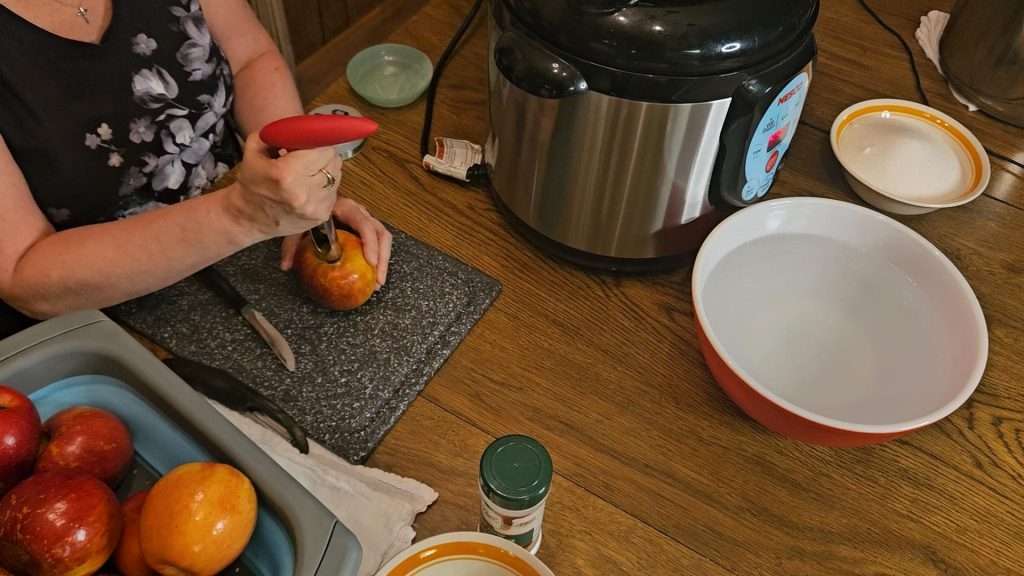
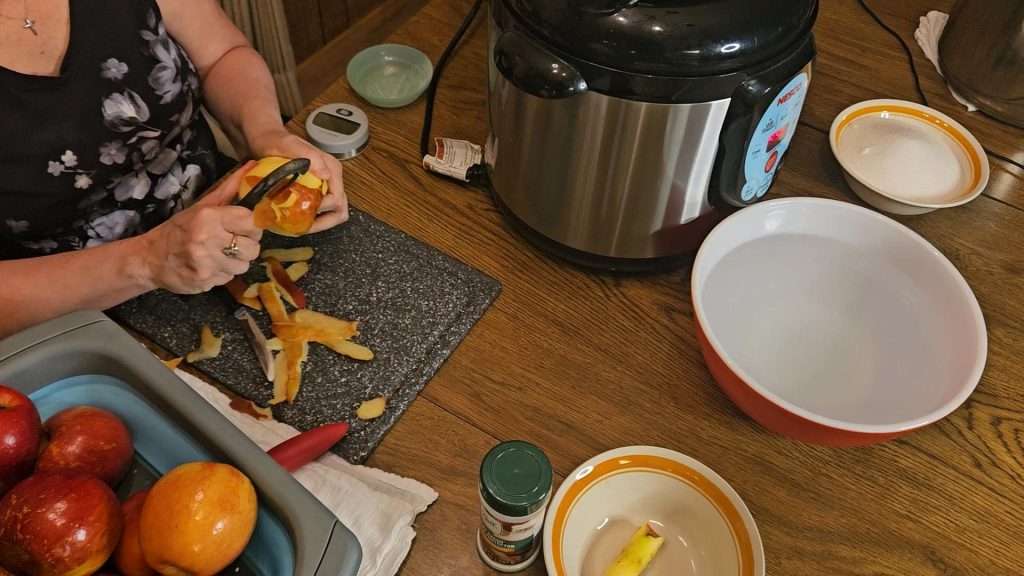
First, peel and core the apples.
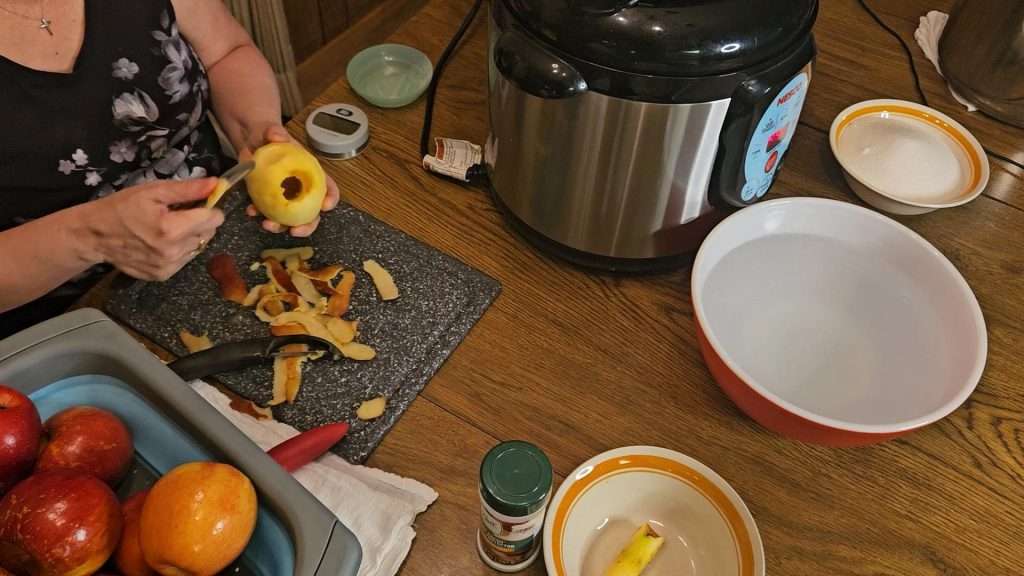
Be sure to cut off any bad spots on the apples.
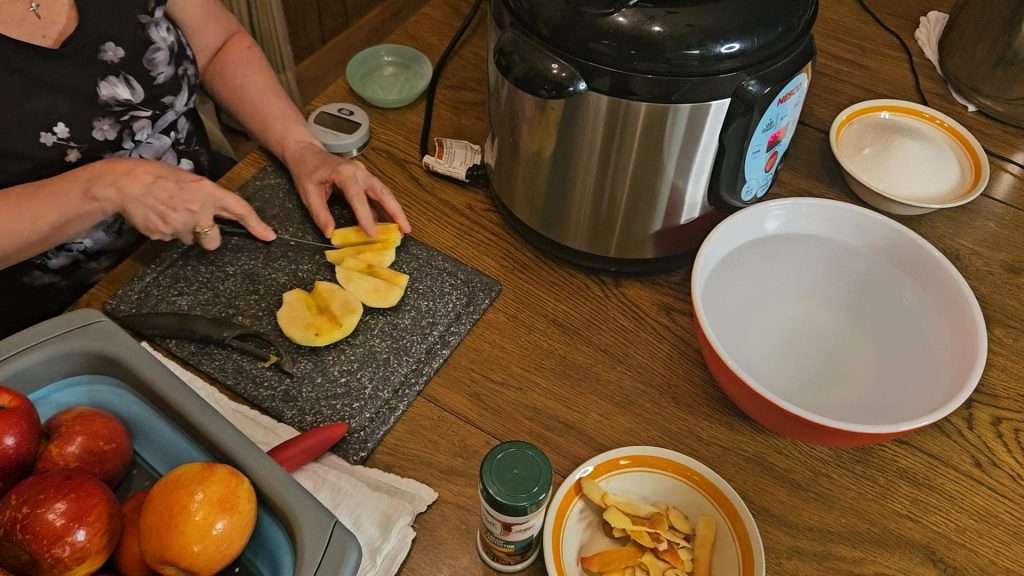
Next, cut the apples in half or smaller, if desired. The apples I used were pretty large, so I decided to cut mine into eighths.
Use Fresh Fruit Produce Protector
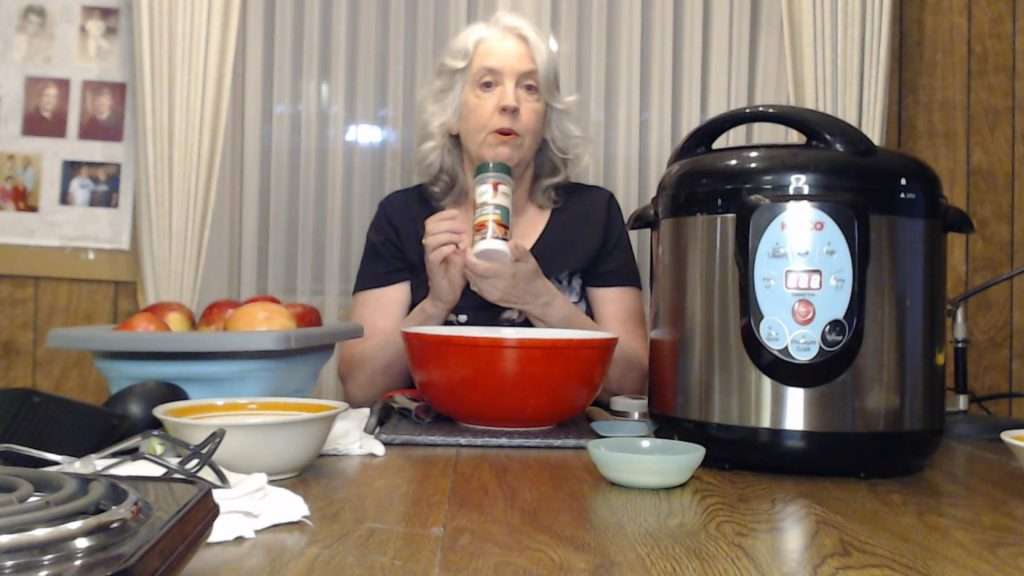
Since apples tend to brown quickly after being cut, it’s important to soak them as soon as you peel and cut them to keep them from turning brown.
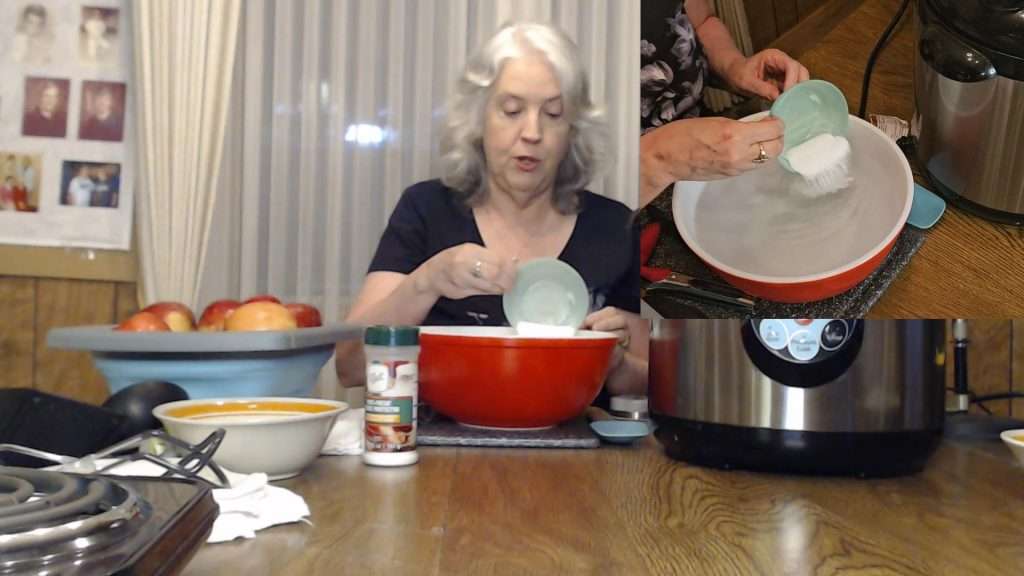
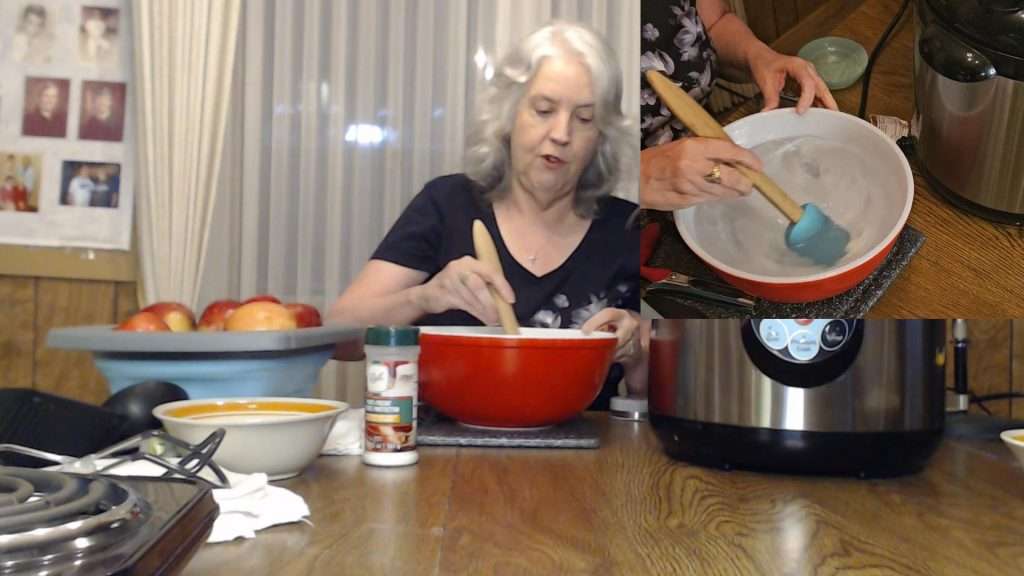
Before starting to prepare your apples, fill a bowl with 2 quarts water and 2 tablespoons Ball Fresh Fruit Produce Protector (Amazon).
Using Lemon Juice as an Alternative
You can use lemon juice instead of the produce protector, but you’d need to use 1/2 cup of lemon juice to 2 quarts water. Since I didn’t want my apples to taste lemony, I opted to use the Fresh Fruit Produce Protector instead.
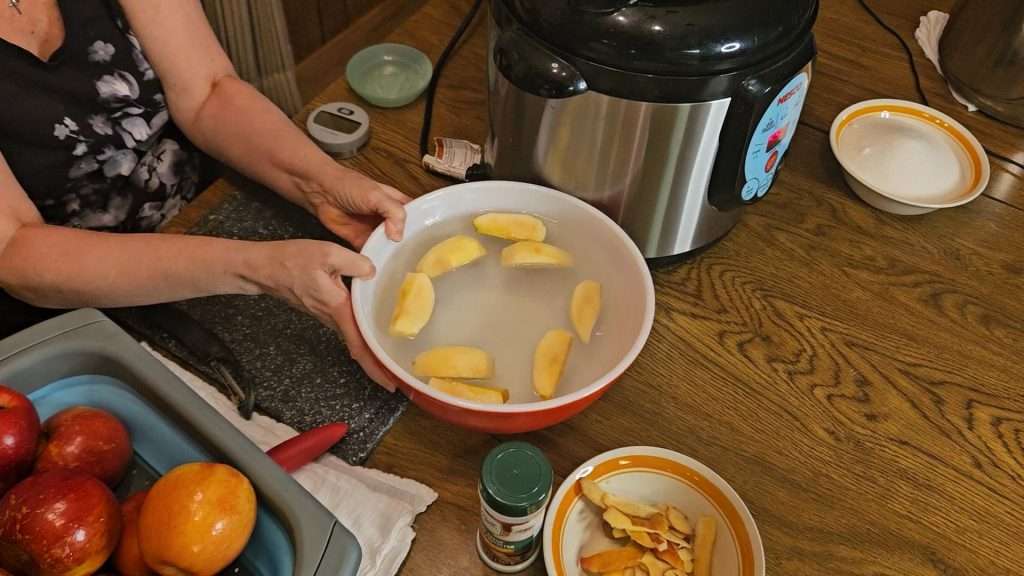
As I peeled, cored, and cut the apples, I immediately put them into the bowl with the produce protector.
Making the Syrup
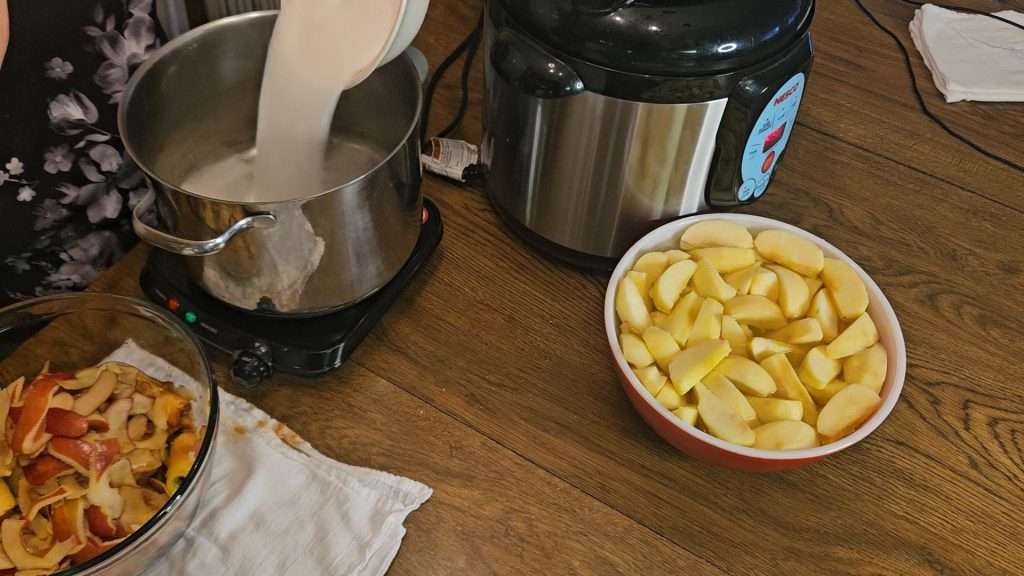
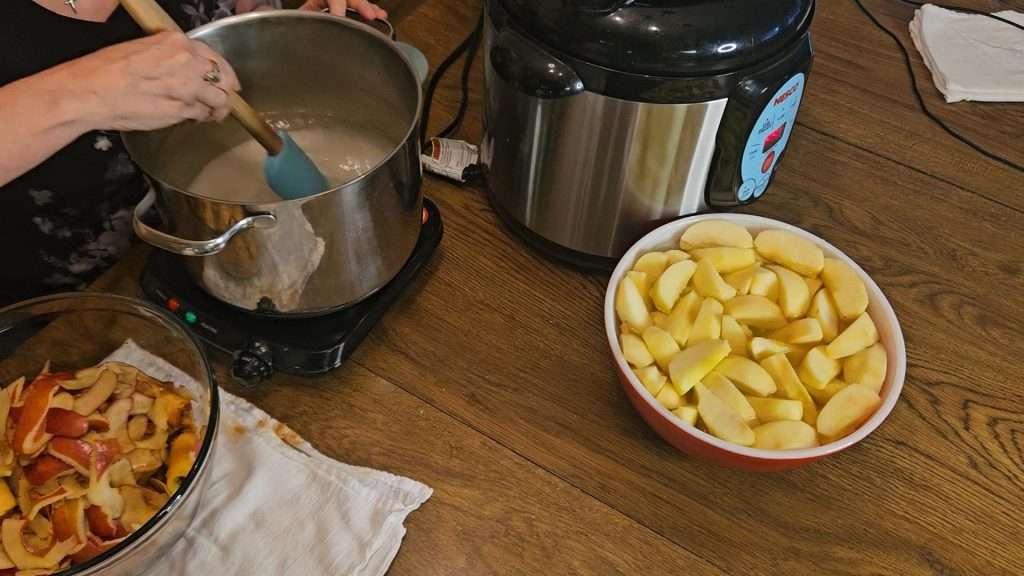
The syrup recipe I used was a light syrup, which is perfect for canning. It called for 5 1/4 cups of water and 2 1/4 cups of granulated sugar. I combined these ingredients in a large stainless steel saucepan and brought them to a boil.
Wish your canning was more organized? This practical guide + printable toolkit will transform the way you stock your pantry.
👉 See the book on Amazon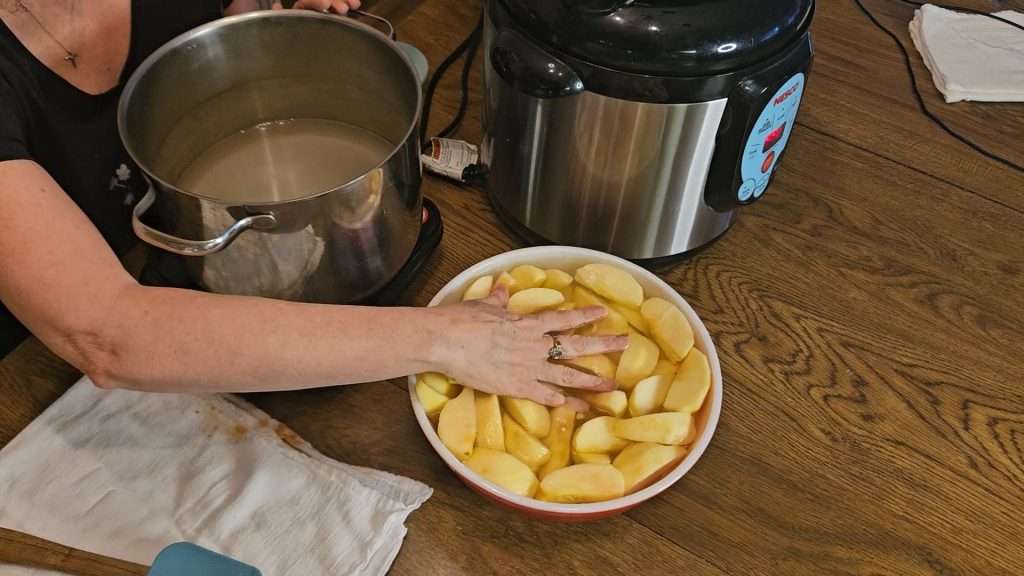
While waiting for the syrup to boil, I noticed that the apples, despite being soaked, tended to float above the water, so I kept pushing them down to ensure they stayed fully coated. This little trick helped prevent them from browning.
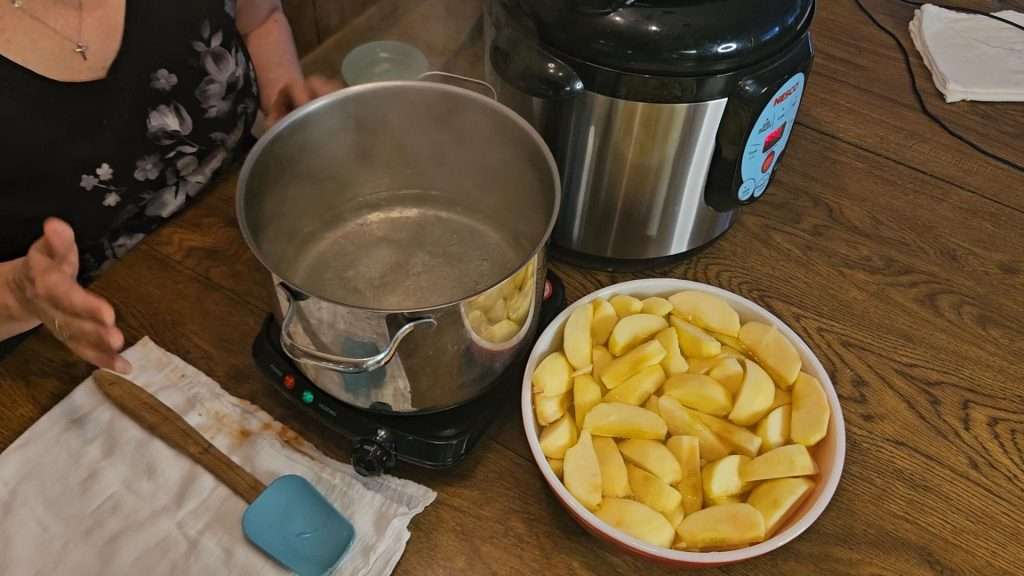
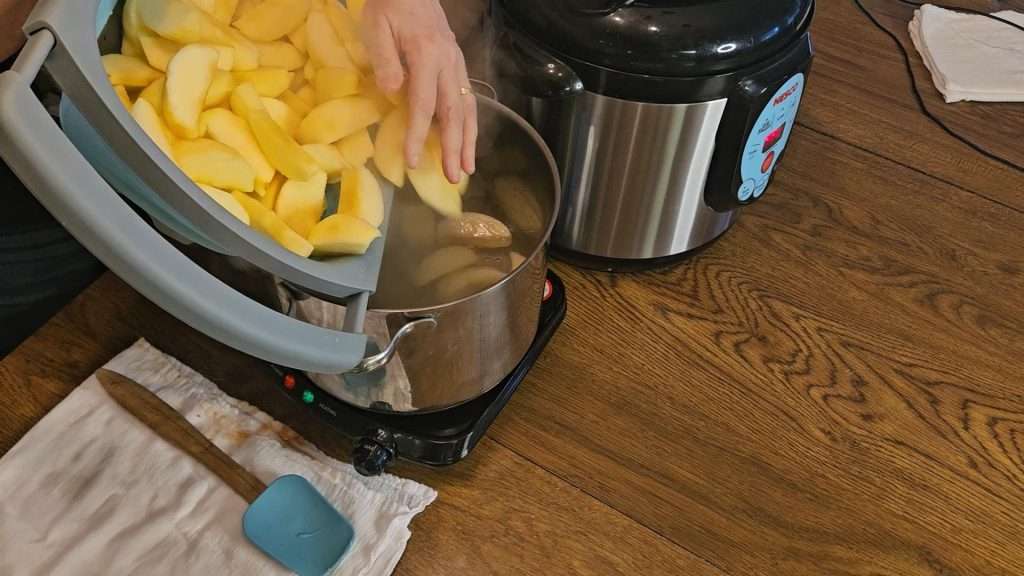
Once the syrup was ready, I drained the apples and added them to the pot.
At first, it seemed like there was more apple than syrup, which made me a little anxious, but I trusted that as the apples cooked, they would release their juices and everything would balance out.
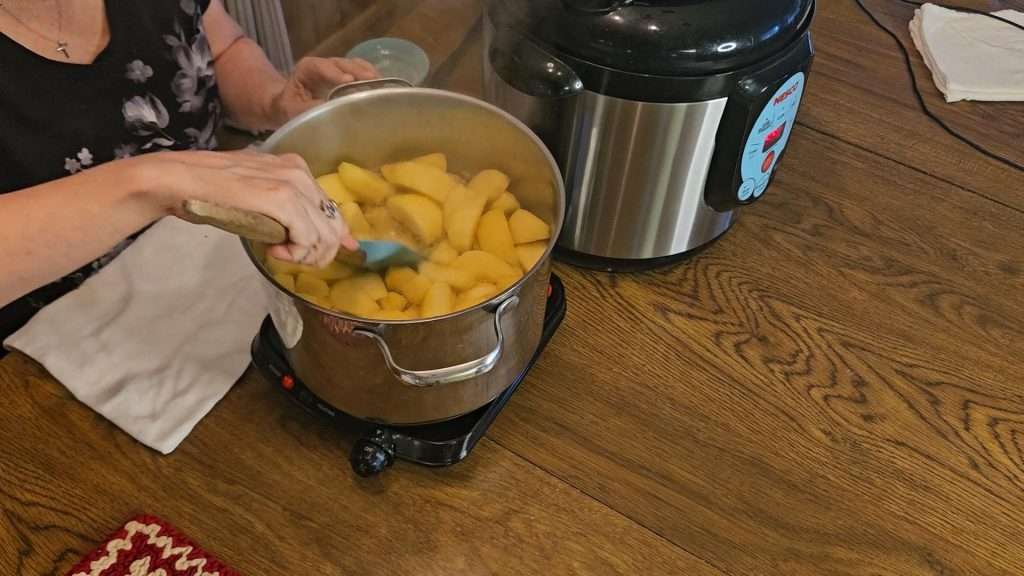
Sure enough, after boiling the apples in the syrup for five minutes, they softened and began to meld beautifully with the syrup.
While it may have worked just fine to use the just 6ish cups of syrup to 10-12 pounds of apples (which is what the recipe called for), I’m glad I made the full batch of syrup even though I used half as many apples.
Filling the Jars
Once I had boiled the apples in the syrup, it was time to fill the jars. The recipe was supposed to make 8 pints or 4 quarts, but since I was halving it, I prepared 5 pint jars, just in case.
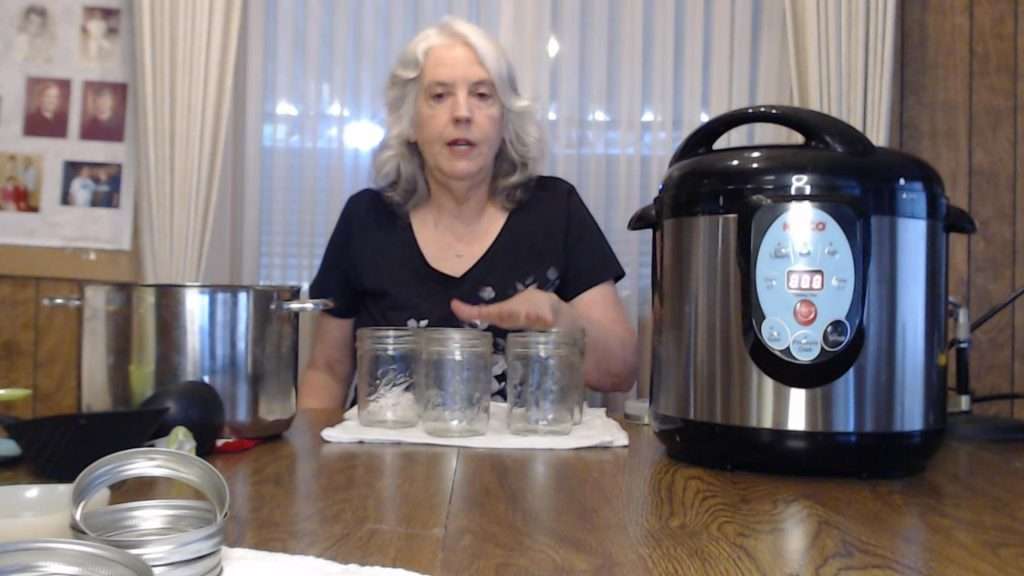
I heated the jars in my Nesco canner (Amazon) beforehand, so they were ready to go.
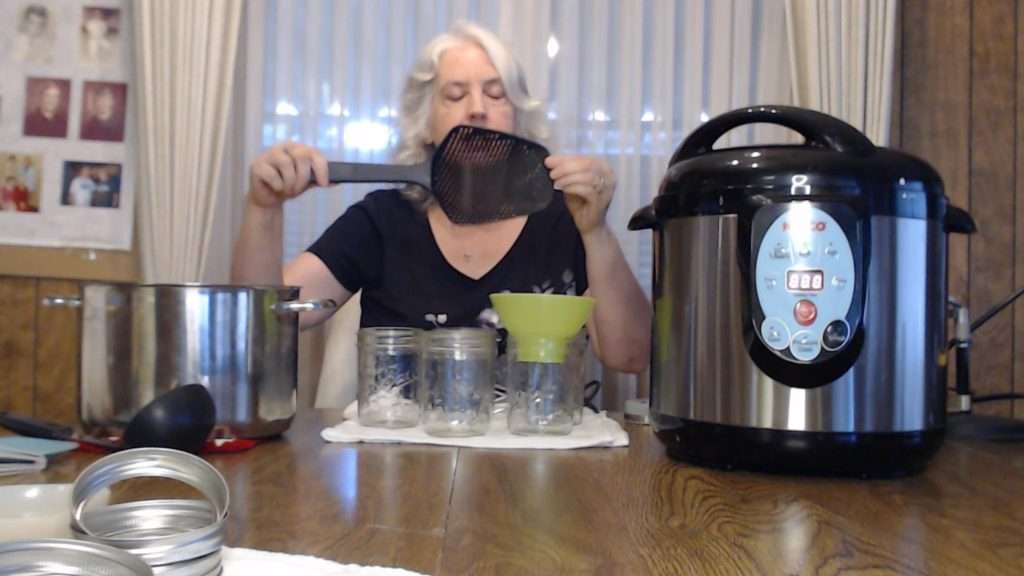
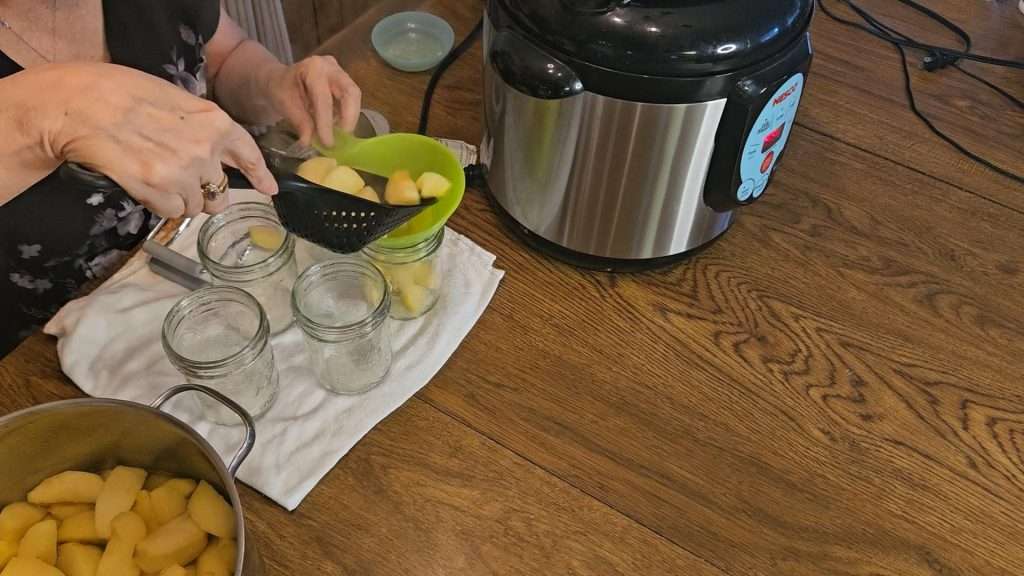
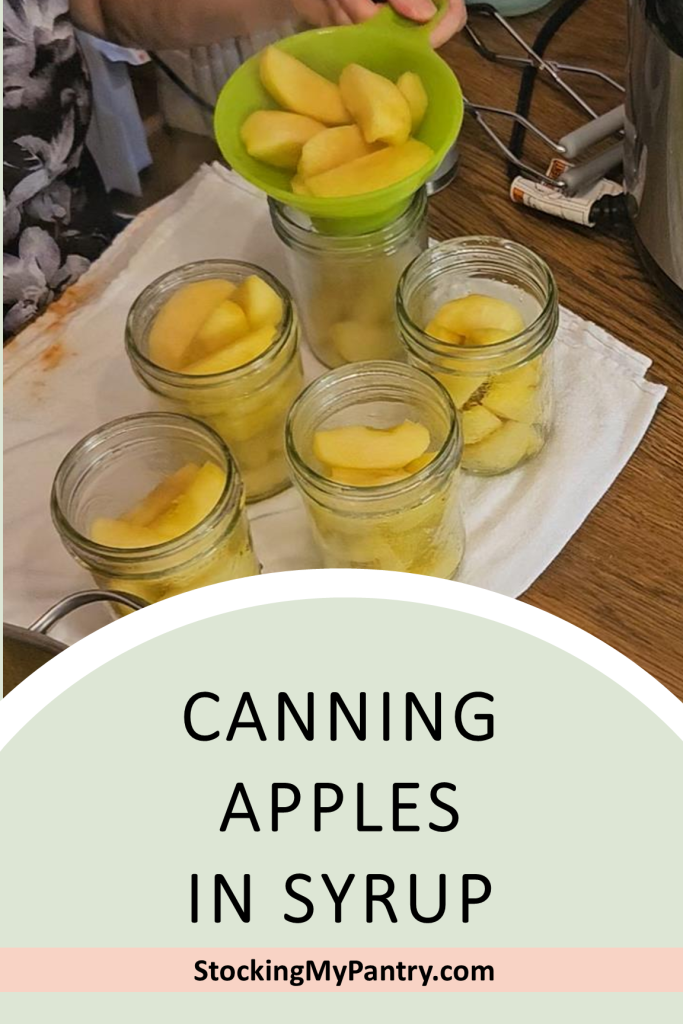
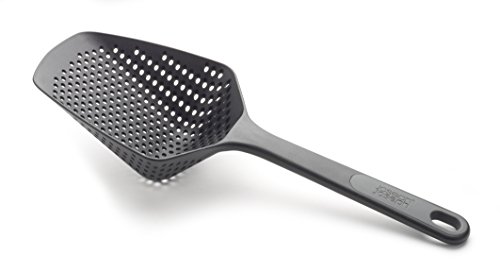
Using a this colander ladle (Amazon), I carefully filled each jar with the hot apples, doing my best to pack them in tightly.
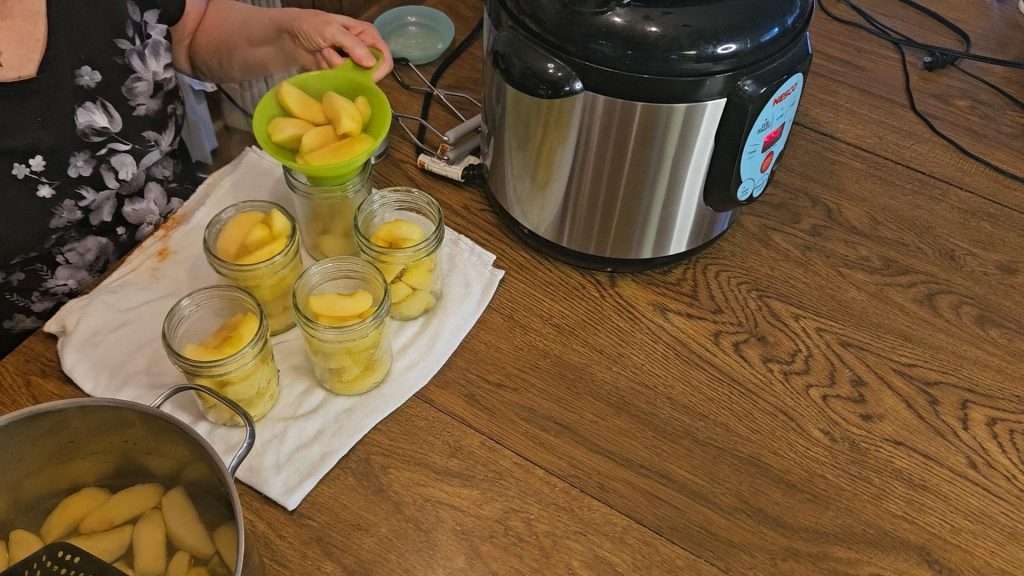
I started off using a funnel, but the apple wedges sometimes didn’t want to go through the funnel, so I ended up abandoning the funnel and just putting the apples directly into the jars.
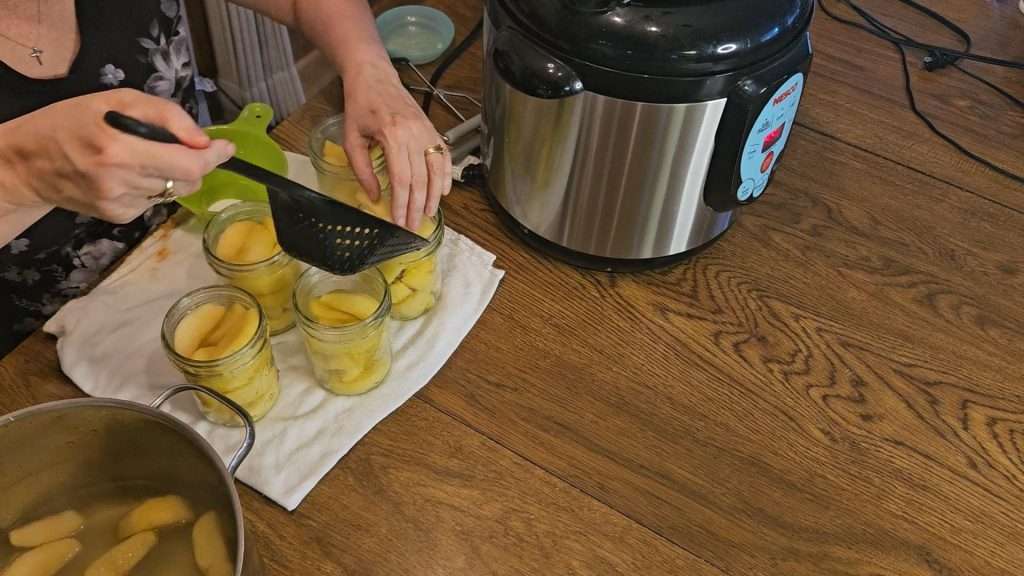
This process was a bit messy—I might just be the messiest canner on YouTube!
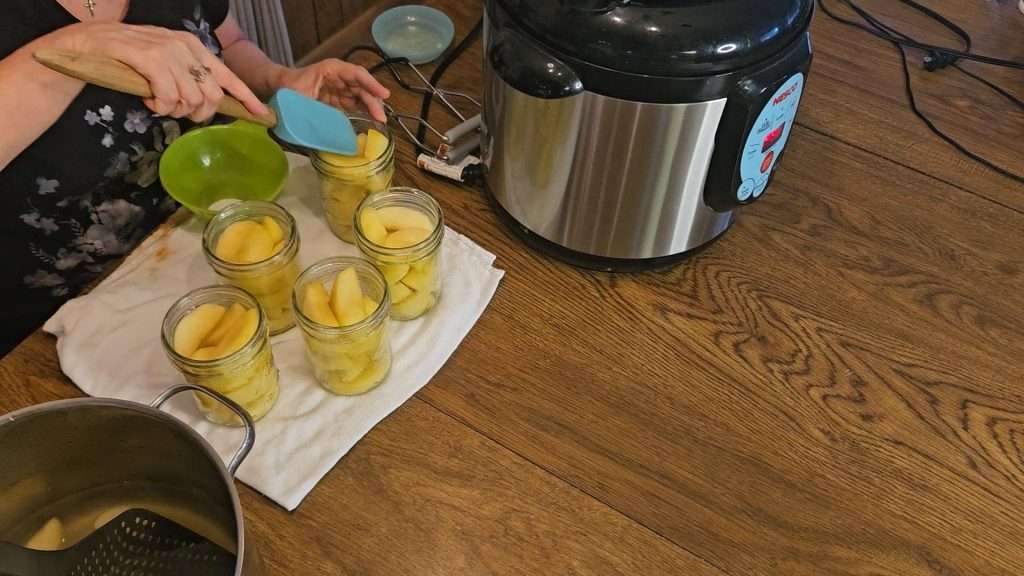
But it was worth it to ensure I fit as many apples as possible into each jar. Hot packing the apples allowed me to fit more into the jars compared to raw packing, which is great for stocking my pantry.
Filling the Jars with Syrup
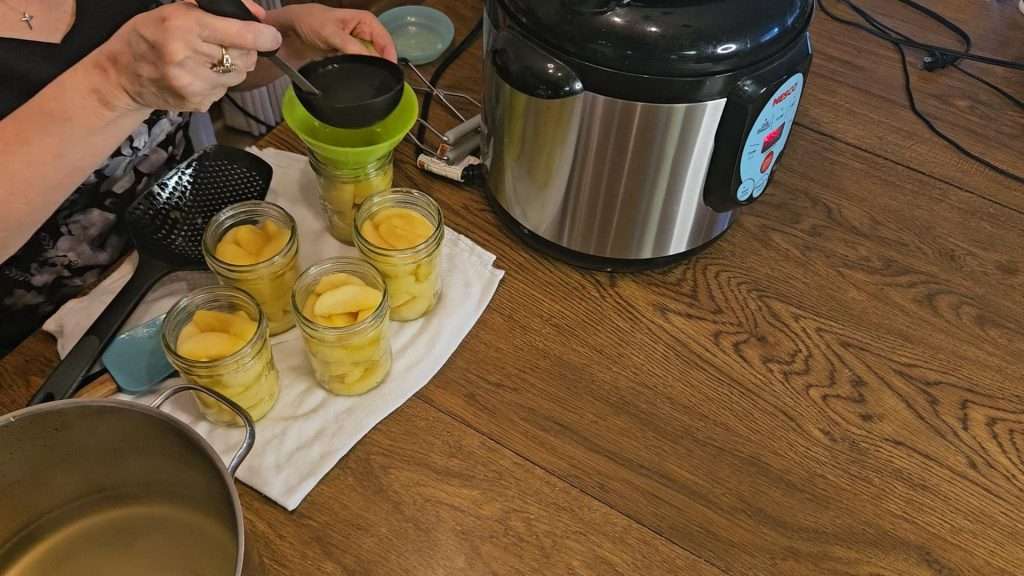
Once I filled all of the jars with apples, I then used a canning funnel (Amazon) to fill the jars with syrup, filling it to 1/2″ headspace. I found that I needed to remove a few of the apple slices that were sticking up a bit.
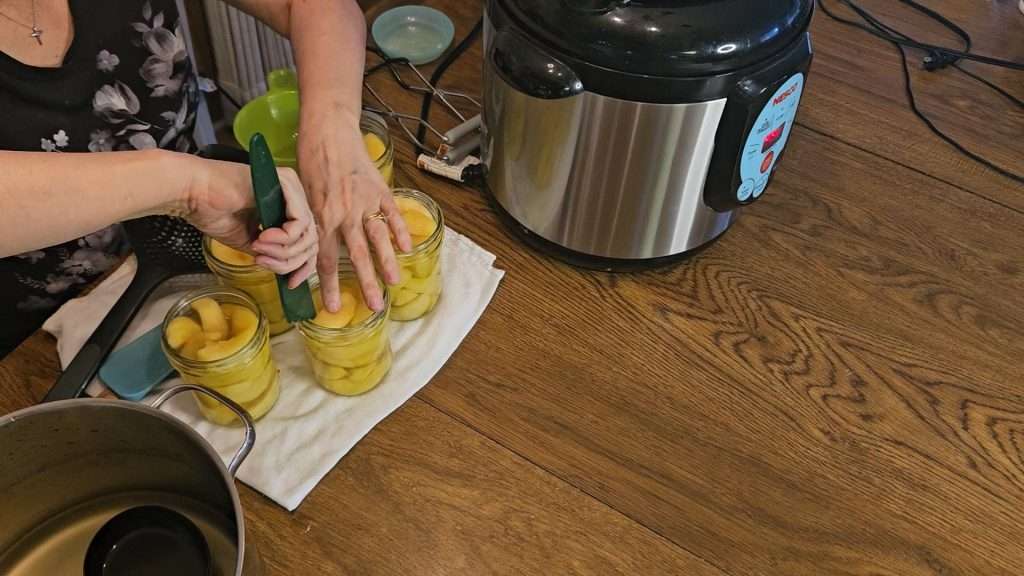
Next, I debubbled the jars, and double checked to make sure there was a generous 1/2″ headspace. (I use this tool I picked up on Amazon to both debubble and measure headspace.)
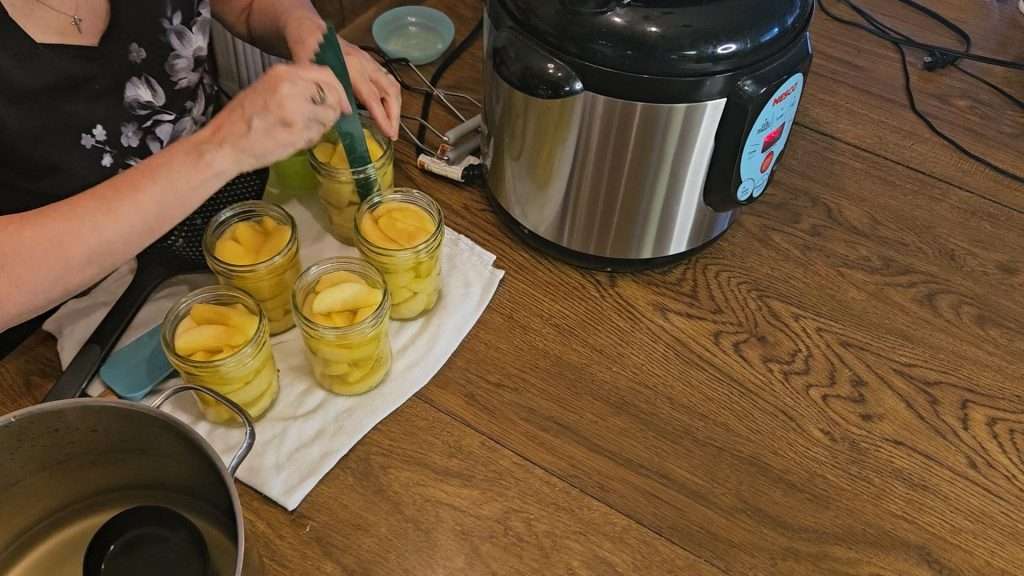
I ended up with a bit of leftover syrup, which I might adjust next time, but I’d rather have too much than not enough.
Wiping the Rims and Putting the Lids On
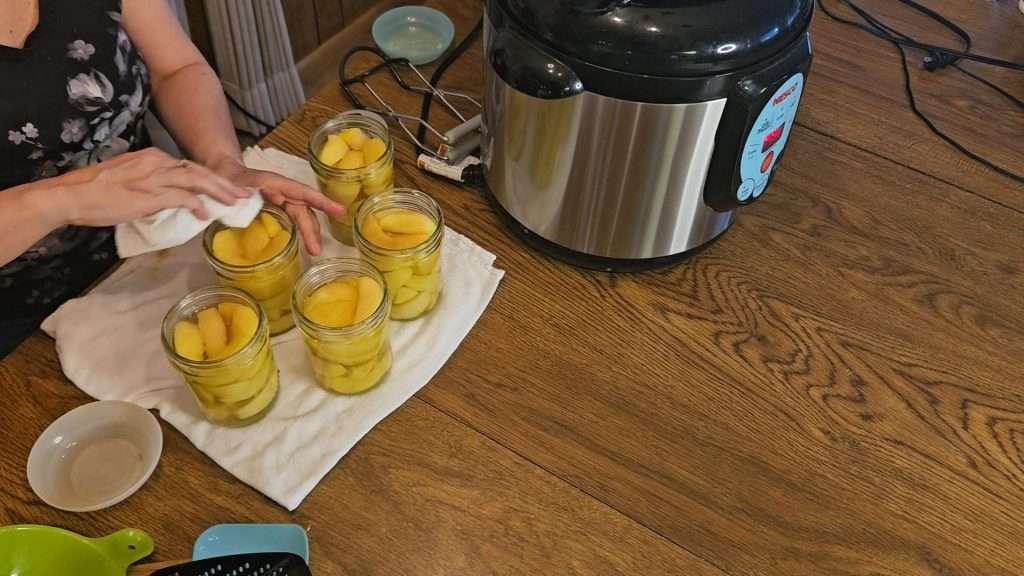
Once the jars were filled, I wiped the rims (a crucial step to ensure a good seal) and placed the lids and rings on top, fingertip tight.
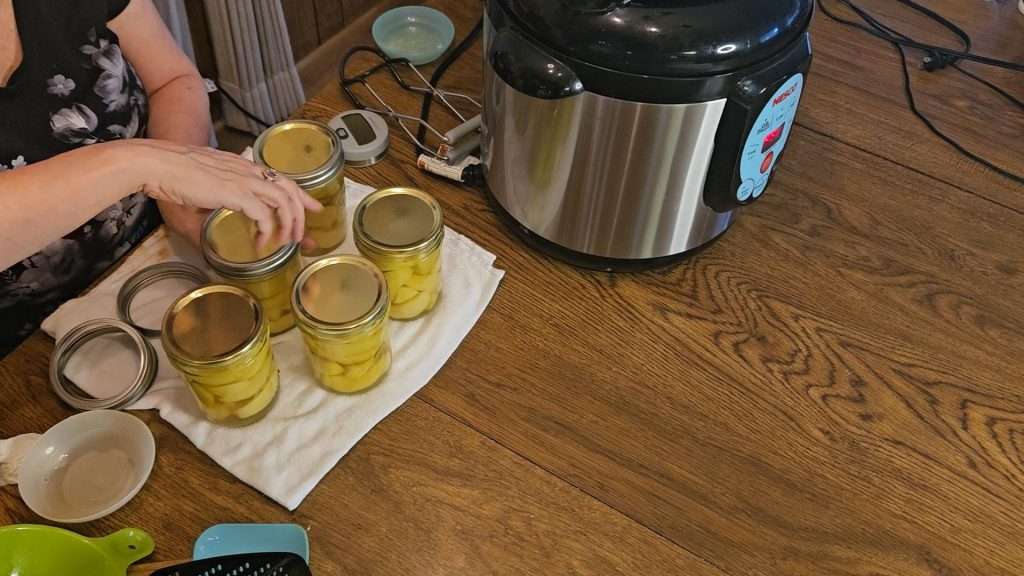
Processing the Jars
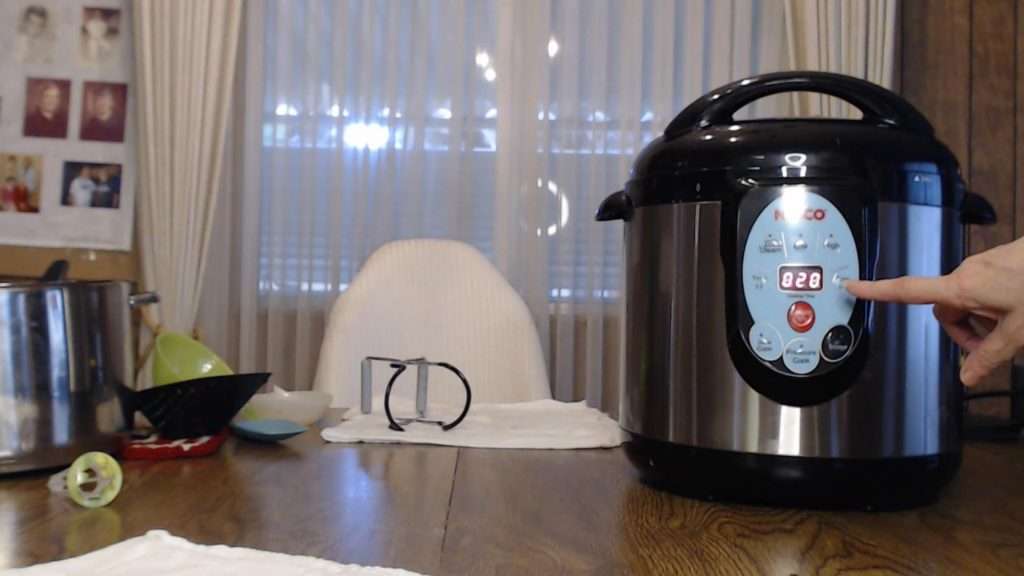
This recipe is suitable for both water bath and steam canning. The processing time is 20 minutes, adjusting for altitude.
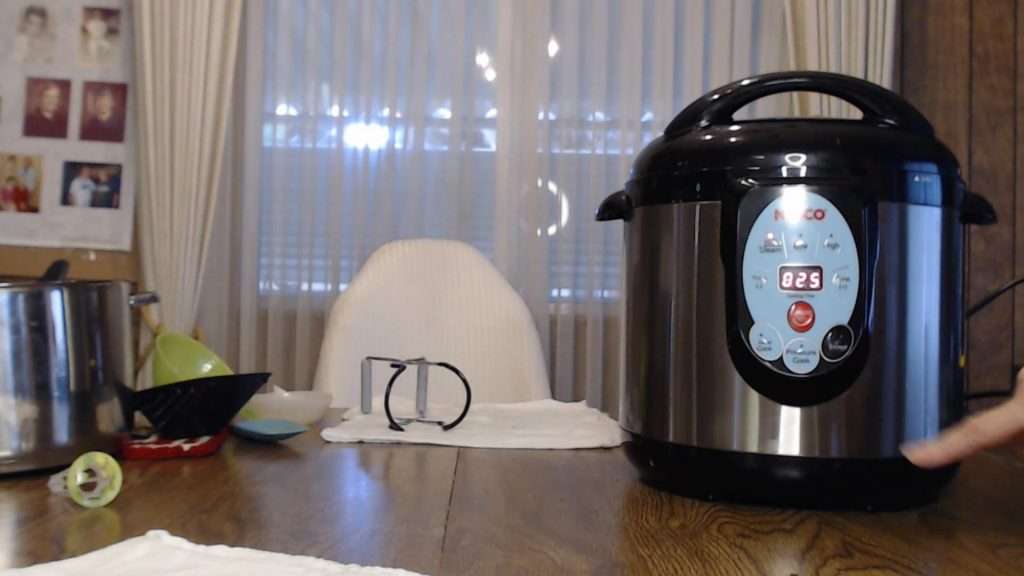
Due to my altitude, I needed to add on an extra 5 minutes, so set the timer on my Nesco canner for 25 minutes, and pressed start.
Once the canner reached a steady stream of steam, I pressed start again. This started the timer.
The Finished Apples in Syrup
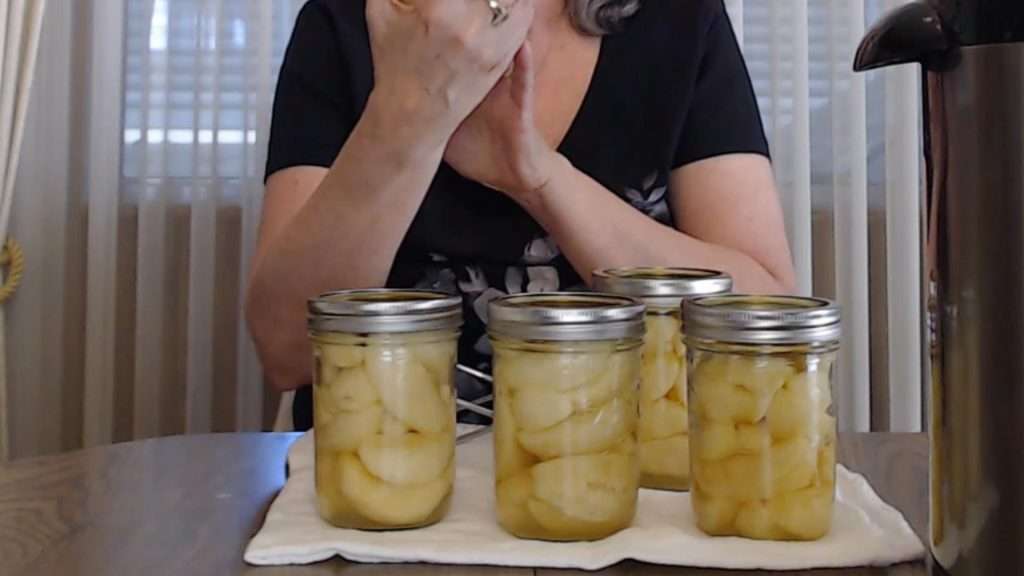
I was delighted to see that all the jars had sealed perfectly. Although it was too early to check the seals by tugging on the lids, I was confident they were secure. I even tasted some of the leftover apples that didn’t fit into the jars, and they were absolutely delicious—sweet, tender, and bursting with flavor.
Conclusion
My first attempt at canning apples in syrup turned out to be a success, and I’m thrilled with the results. Despite my initial concerns, the process went smoothly, and the final product was worth every bit of effort.
These canned apples are not only delicious but also a wonderful addition to my pantry. I can see this becoming one of my favorite canning recipes, and I look forward to experimenting with it again in the future.
Print it for Later
Canning Apples in Syrup
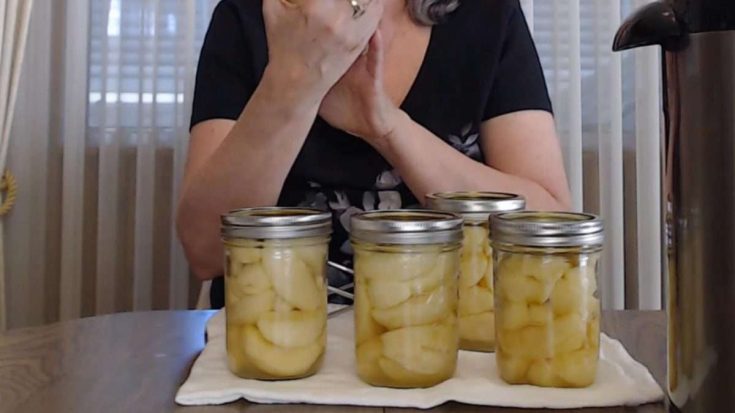
These delicious home-canned apples in light syrup are perfect for topping oatmeal, serving over pancakes, baking into desserts, or eating straight from the jar. This recipe is inspired by The Ball Complete Book of Home Preserving, but halved to yield about 5 pints—perfect for small-batch canners or those using a Nesco Smart Canner. This is a hot-pack recipe, producing tender, perfectly sweet apples and beautifully clear syrup every time.
Ingredients
- 10–12 pounds apples (peeled, cored, sliced)
- 2 ½ cups granulated sugar
- 5 ¼ cups water
- Ball Fresh Fruit Produce Protector (optional, to prevent browning). Use 2 tablespoons per 2 quarts water. OR substitute ½ cup lemon juice per 2 quarts water
Instructions
- Peel, core, and slice the apples. Remove any bruised or bad spots.
- Before cutting apples, mix 2 quarts of water with 2 tablespoons of Ball Fresh Fruit Produce Protector in a large bowl.
- Place each apple slice into the produce protector solution immediately after cutting to prevent browning. If not using produce protector, use ½ cup lemon juice per 2 quarts of water instead.
- Combine 5 ¼ cups water and 2 ¼ cups sugar in a large stainless-steel saucepan.
- Heat the syrup to a boil, stirring until the sugar dissolves.
- Drain the apples from the produce protector solution.
- Add the apples to the boiling syrup.
- Return the syrup to a boil and cook the apples for 5 minutes.
- Heat jars, lids, and rings to about 180°F to prepare for hot packing.
- Pack the hot apples tightly into hot jars using a slotted or colander ladle.
- Pour hot syrup over the apples, leaving ½ inch headspace.
- Debubble the jars using a debubbling tool.
- Add or remove syrup as needed to maintain ½ inch headspace.
- Wipe the rims of the jars with a clean, damp cloth.
- Place lids and rings on the jars and tighten to fingertip tight.
- Process pint jars for 20 minutes in a boiling water bath or steam canner., adjusting the processing time for your altitude as required.
- After processing, let the jars rest undisturbed for 12–24 hours.
- Check seals, wash jars, label them, and store in a cool, dark place.
Notes
Recommended Products
As an Amazon Associate and member of other affiliate programs, I earn from qualifying purchases.





Your All-in-One Canning Companion

The Home Canning Success System is your all-in-one canning companion. Whether you’re brand new or a seasoned canner, this book helps you plan, organize, and track your projects with confidence. Ditch the guesswork—preserve with purpose!
Related Articles
If you enjoyed this article, you’re sure to enjoy these related articles.
💬 I’d love to hear from you!
Have you tried this yourself? Have a question or tip to share? Leave a comment below — your experience or question could help someone else, too!