

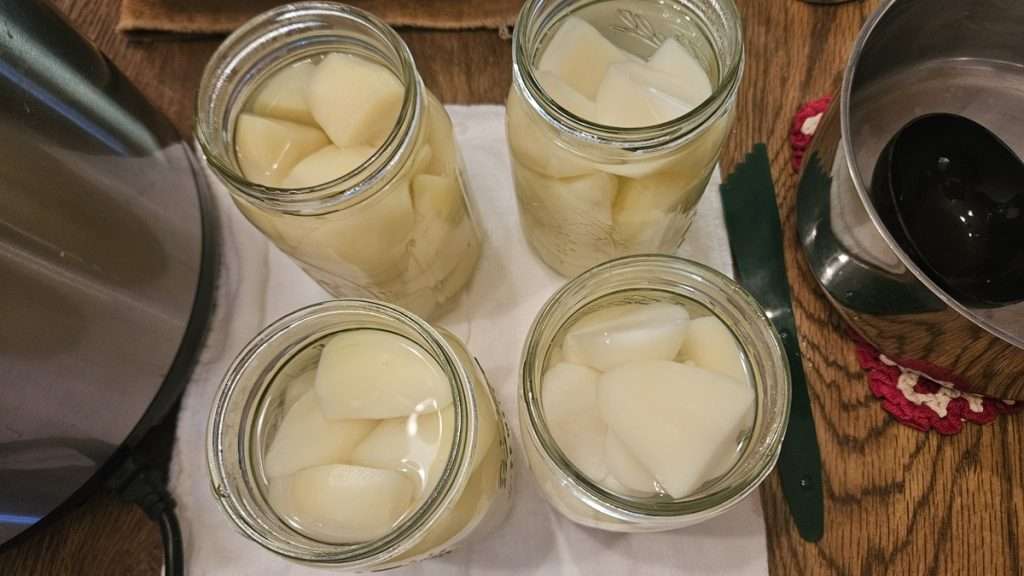
Are you interested in canning russet potatoes? If so, you’re in the right place! You see, I have long wanted to experience successfully canning russet potatoes, because let’s face it; they’re cheap.
Russet potatoes are the most common variety of potatoes, and tend to be cheaper than other potatoes. This is even more true when they go on sale such as around Thanksgiving. In fact, such a sale is what prompted me to give canning russet potatoes another chance. I simply couldn’t resist a recent sale on russet potatoes priced at $5 for two 10-lb bags. I grabbed 20 pounds of these humble spuds, and while I plan to dehydrate some, freeze some, and use some fresh, canning is one of my favorite methods of food preservation.
The problem is that when I’ve canned russet potatoes before, I ended up with a huge amount of starchy “sludge” in the jars. The sludge isn’t harmful in any way, and it’s perfectly safe to can russet potatoes in spite of the starch problem.
But I wondered. . . is there a way to can russet potatoes without ending up with all the starchy sludge?
I did my research and came up with the following method to successfully can russet potatoes. Or at least I hope it will be successful. (The potatoes are sitting in my canner, waiting for the pressure to drop as I type this.)
In this article, I’ll share my entire process of canning russet potatoes, and show you the results. I’ll show you what the potatoes look like when I first take them out of the canner, and also take a photo of them a few days later, since the sludge sometimes develops over time.
Canning Russet Potatoes
This article includes affiliate links.
Now let’s get into the process of canning russet potatoes.
Step 1: Peel and Cut the Potatoes into Chunks
You’ll start off by washing and peeling the potatoes. First, wash them, then peel them, and then wash them again.
While I often like to just scrub potatoes and leave on the skins when I’m cooking them for something like mashed potatoes, when canning potatoes, it’s important to peel them.
Now I know that you may see people leave the peels on, but if you focus on canning safety like I do, you’ll want to peel them. The reason is that botulism spores are often present on anything growing under the ground, such as carrots and potatoes. The peeling and washing process reduces that risk.
Step 2: Cut the Potatoes
Once you’ve washed, peeled, and washed again the potatoes, it’s time to cut them into cubes. Here are the instructions for cutting them found in The Ball Complete Book of Home Preserving (Amazon):
Leave small potatoes whole and cut large potatoes into quarters or small uniform cubes.
Since I want to avoid potatoes that are too mushy, I cut most of the potatoes into quarters, and larger potatoes into sixths. No matter how hard I try, I’m never super precise with this, but I went for larger chunks.
Step 3: Put the Potatoes in a Bowl of Water
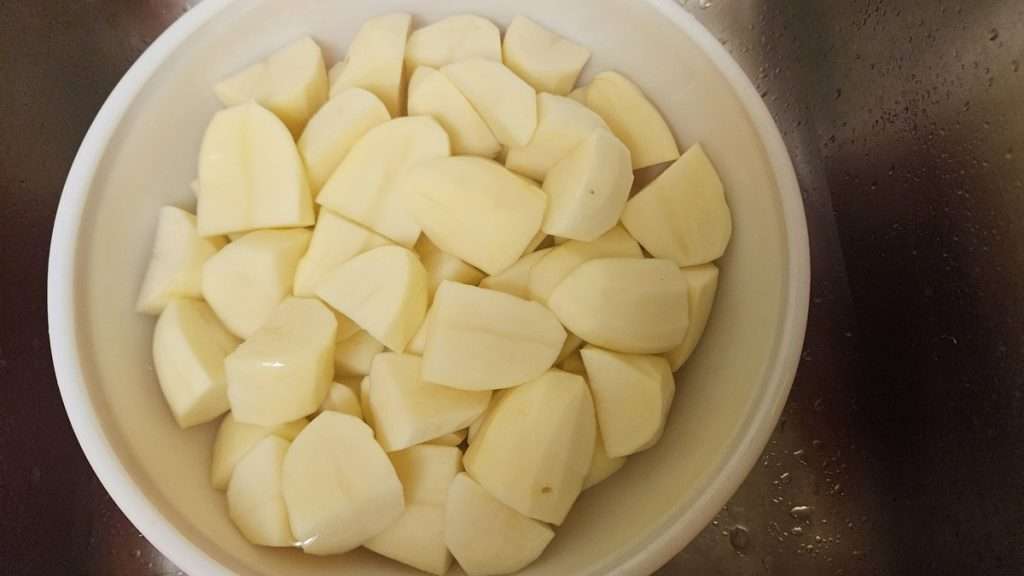
As you cut the potatoes, be sure to put them into a bowl of water to keep them from browning. If desired, according to the National Center for Home Food Preservation, you can add ascorbic acid (or lemon juice) to the water to help keep the potatoes from browning. I chose not to add lemon juice at this point, but did so a bit later. (More info below.)
Step 4: Change Out the Water Every Hour
In doing my research about how to reduce the starch when canning potatoes, one suggestion that came up was to dump the soaking water about once an hour, and refill the bowl with the potatoes with fresh water. Do this three to four times.
The goal of this is to keep reducing the amount of starch, as some of the starch leaches into the water as the potatoes soak.
Step 5: Store Potatoes in Water Overnight in the Fridge
After my fourth soak, I dumped the water off, and evenly divided the potatoes between two half-gallon mason jars.
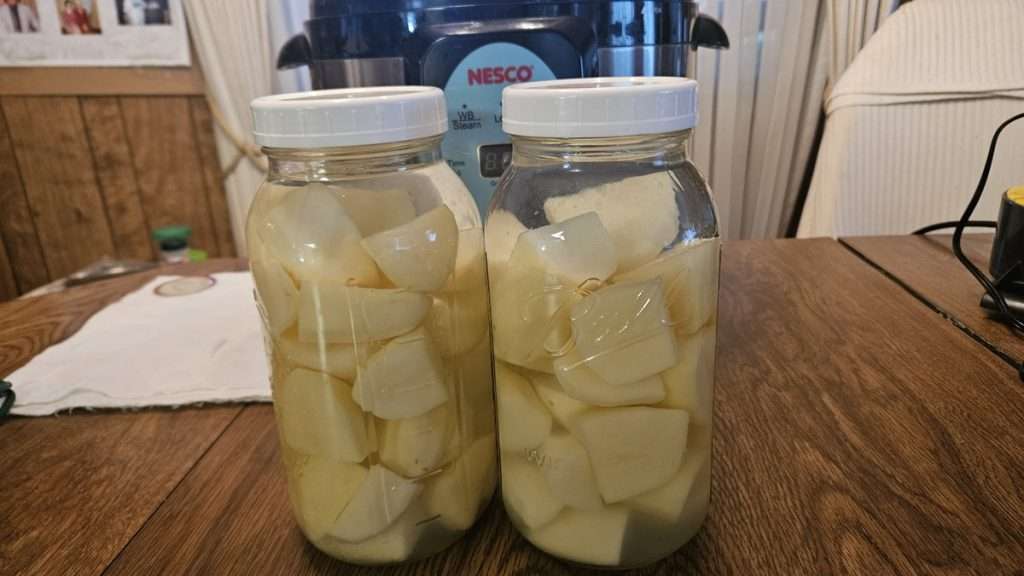
I added one tablespoon of lemon juice to each jar, and filled the jars with fresh water.
I then stored the potatoes in the fridge overnight.
Step 6: Dump the Soaking Water
As you can probably guess by now, I again dumped the water the potatoes were soaking in over night.
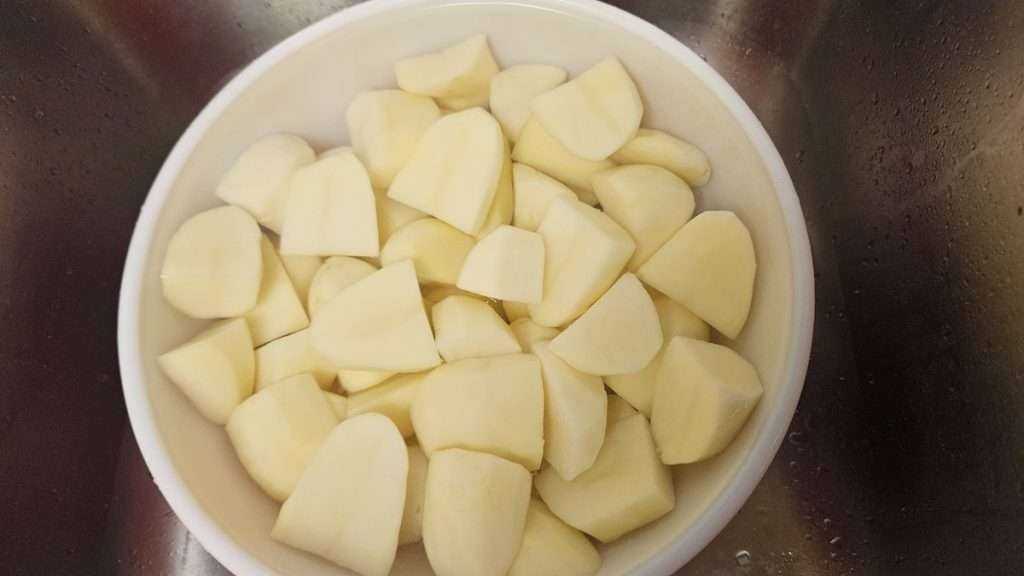
I put them into a bowl, and covered them with water. I wanted to give them some time to come to room temperature, because of course they were very cold from being in the fridge all night.
Step 7: Prepare the Jars, Canner, and a Pot of Water
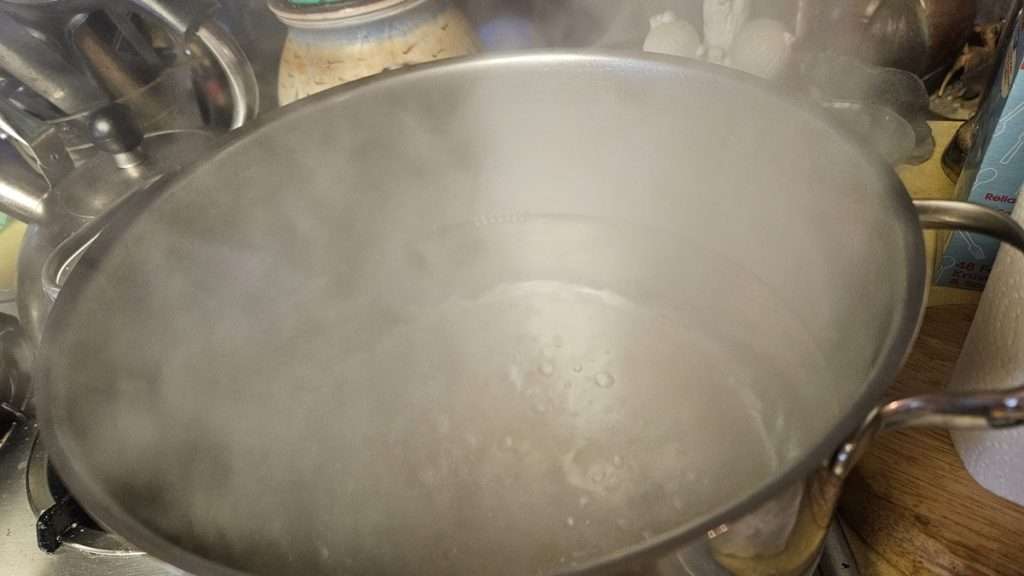
While the potatoes were coming to room temperature, I heated the jars and water in the canner, and also bought a large pot of water to a boil.
Step 8: Parcook the Potatoes
I’ll be the first to admit that the thought of cooking potatoes before canning them doesn’t thrill me, simply because I don’t want the potatoes to turn to mush. At the same time, safe canning recipes, such as the ones in the Ball Complete Book of Home Preserving (Amazon) recommend hot pack only, for canning potatoes. Because of that, you need to boil them for 2-10 minutes, depending on the size of the potatoes. The goal isn’t to cook them, but to heat them through.
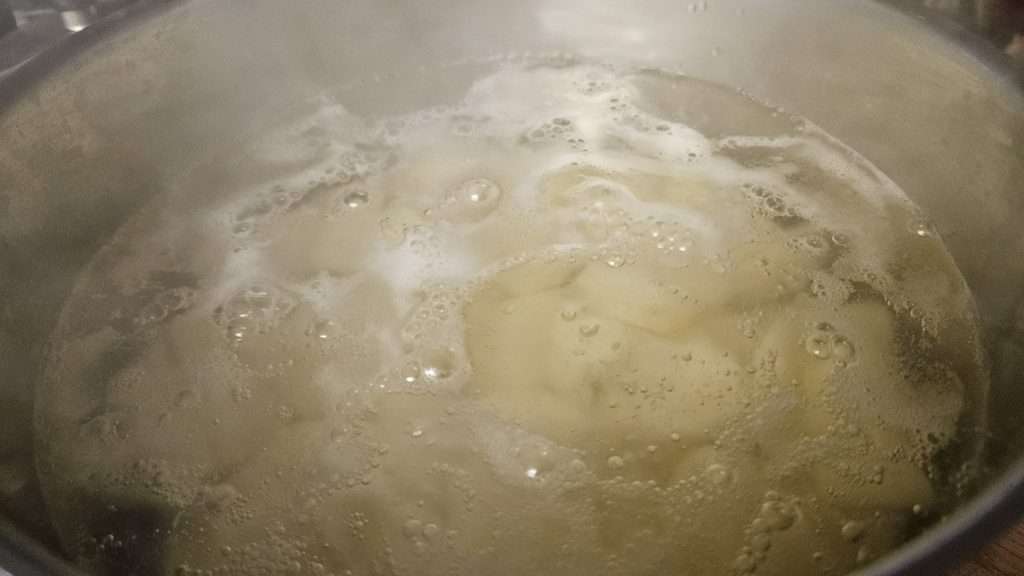
With the size of my potato chunks, I decided to boil them for 5 minutes.
Step 9: Drain and Rinse the Potatoes
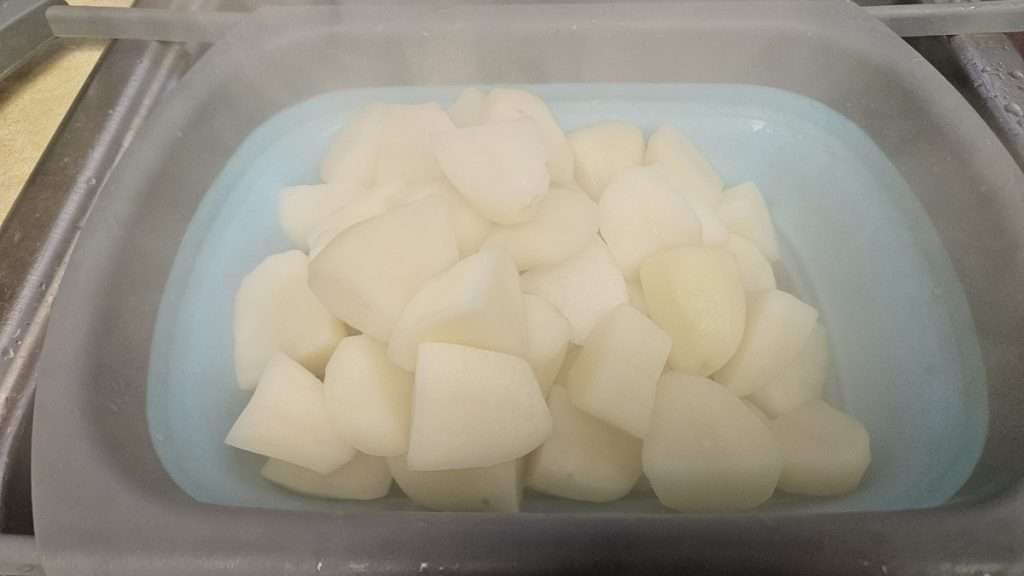
Once I had boiled the potatoes, I drained and rinsed them. Note that the rinsing was to get a bit more starch off them before canning them. It was NOT to cool them, as the point of boiling the potatoes was to heat them through.

Step 10: Filled the Jars with Potatoes
Next, fill the jars up to 1″ headspace with potatoes. Add in 1 teaspoon of canning and pickling salt (Amazon) to quarts, or 1/2 a teaspoon to pints.
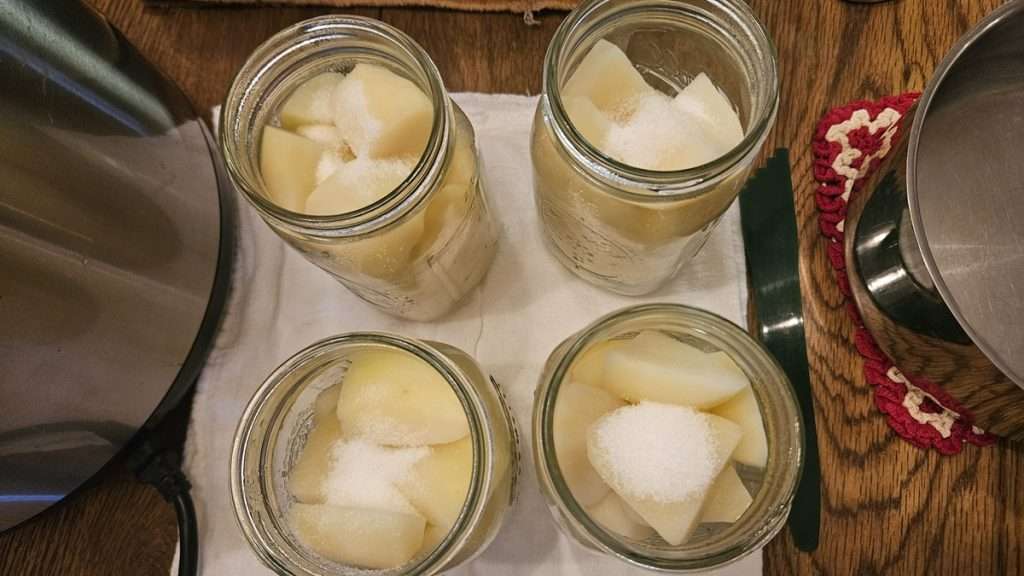
Fill each jar with boiling water. Note that to avoid excess starch, you want to use fresh boiling water rather than the water that you used to boil the potatoes.
Step 11: Debubble and Check Headspace
After filling the jars with boiling water, debubble the jars, and recheck the headspace. If needed, add additional boiling water to bring the level back up to 1″ headspace.
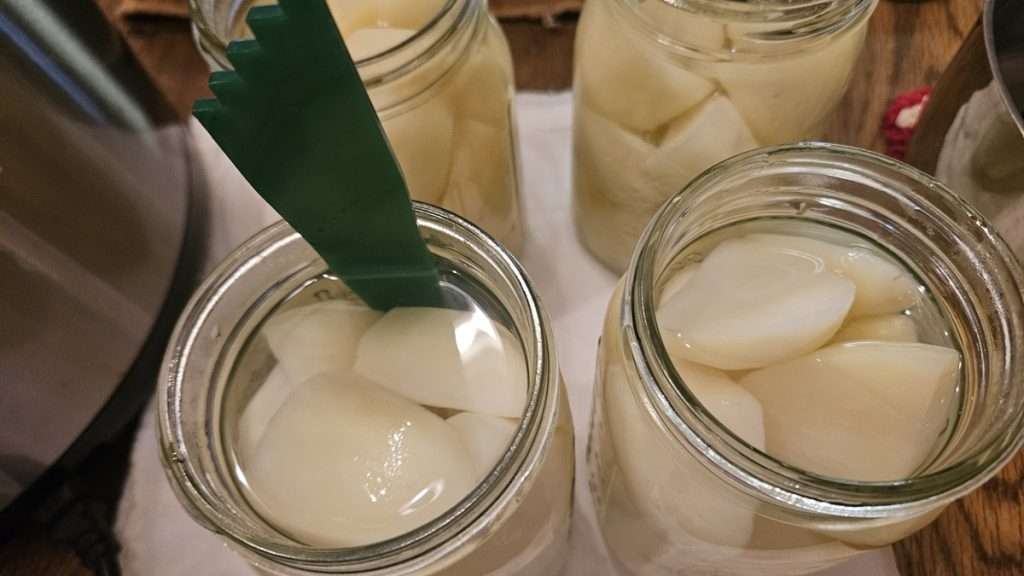
Step 12: Wipe the Rims
As always, once you’ve debubbled the jars, be sure to wipe the rims. I often use a paper towel dampened with vinegar to wipe the rims. However, since in this case I was canning plain potatoes with water – neither of which are sticky or greasy – I chose to use a paper towel dipped in water to wipe the rims.
Step 12: Put the Lids and Rings On
Now it’s time to put the lids and rings on. Center the lids, and put the rings on fingertip tight.
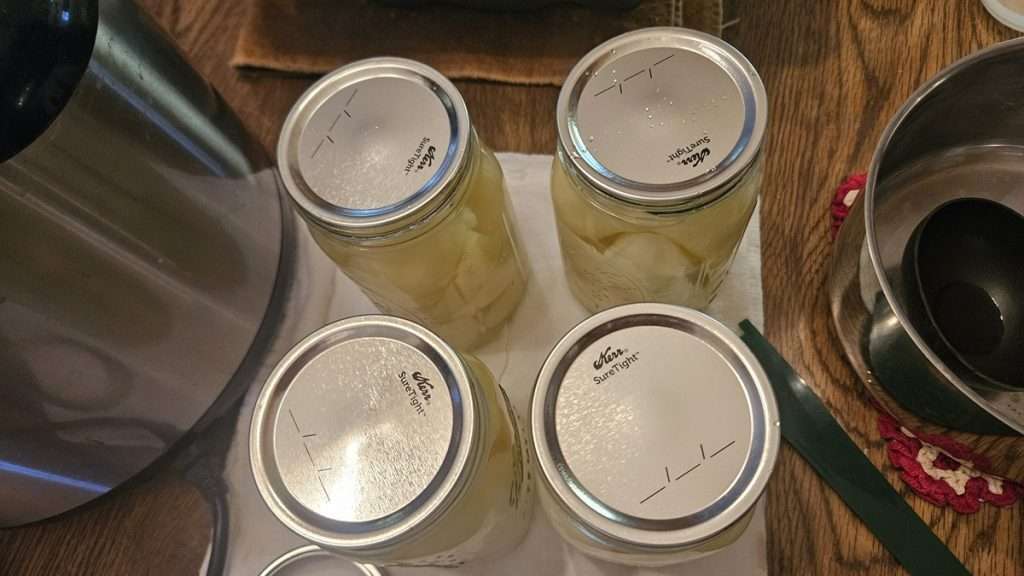
Pressure Can the Potatoes
Since potatoes are a low acid food, you need to pressure can them. Pressure can pints of potatoes for 35 minutes, and quarts for 40 minutes.
Pressure Canning Russet Potatoes: The Results!

As I mentioned at the beginning of this article, my previous experience with canning russet potatoes was less than great. While they were safe to eat, there was a lot of starchy sludge in them.
My hope with this experiment was that the more lengthy process with all of the soaking and draining, including the overnight soak of the potatoes would reduce the starch. So, did it work?
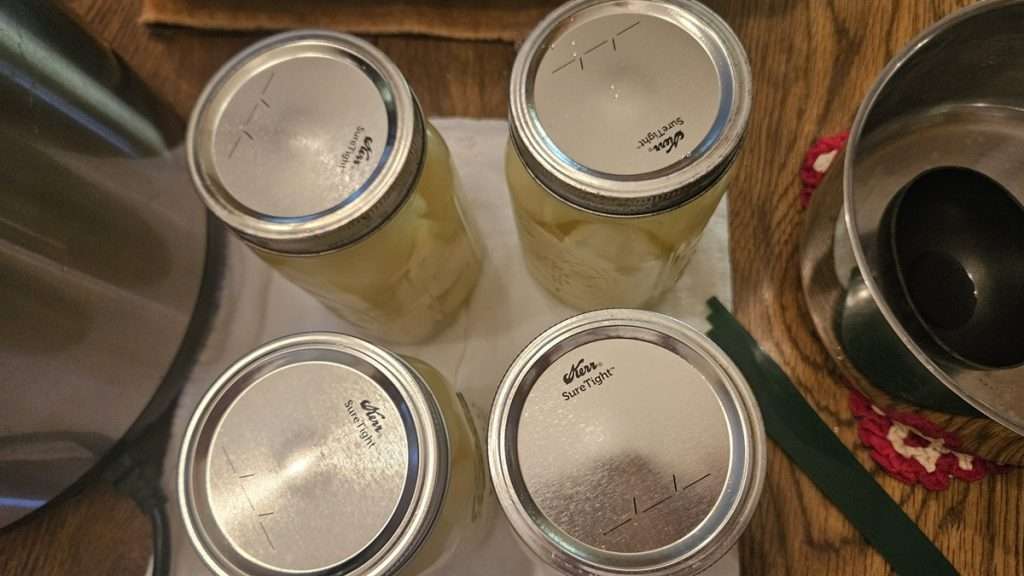
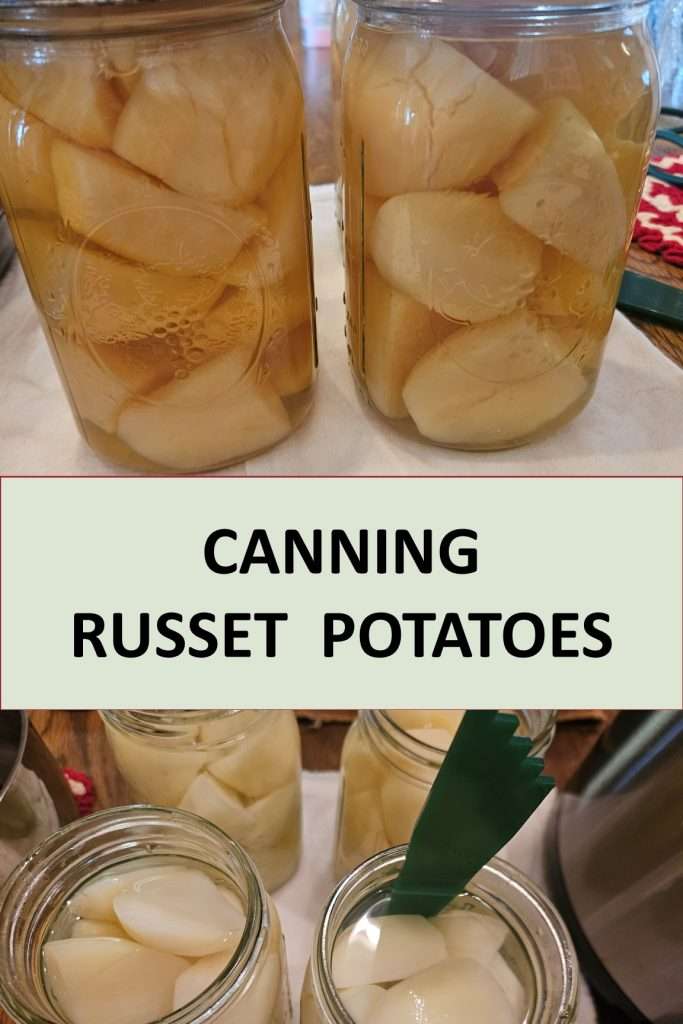
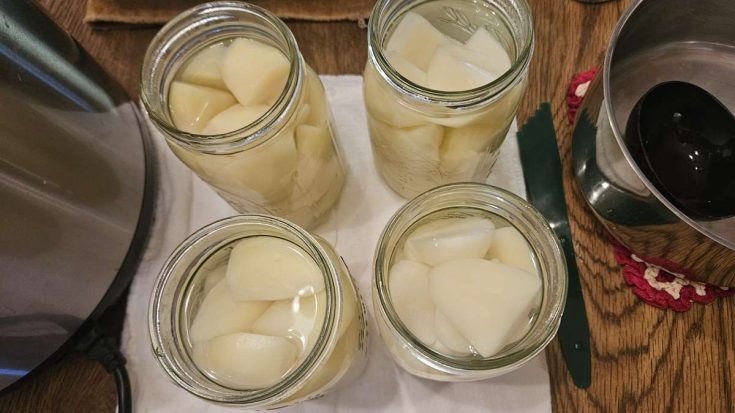
When I first took the jars of potatoes out of the canner, it looked promising. Note that in the photo the potatoes look a little yellow, but that was just the lighting. The potatoes are actually white and the liquid in the jars are clear.
The only problem I see is that some of the potatoes had cracked, which I was hoping to avoid. Next time I might set my timer for five minutes after I put the potatoes into the boiling water, rather than waiting for the water to come back to a boil before starting the timer.
Russet Potatoes 3 Days After Canning
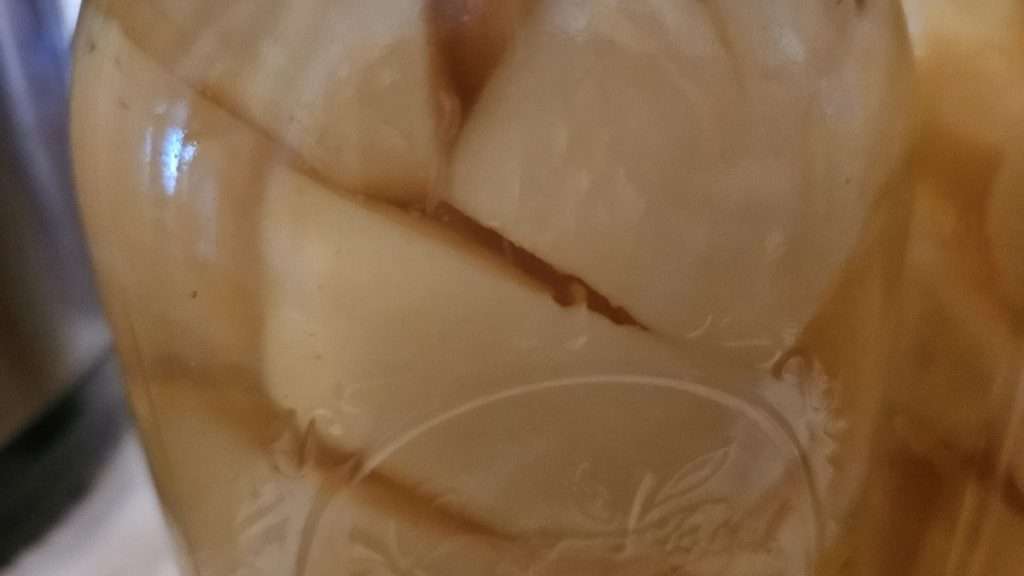
Here is what the russet potatoes looked like 3 days after canning. As you can see, they are still nice and clear. I do believe that it’s still better to can a more waxy variety of potatoes, such as red potatoes instead of russets because they will hold up better. But if you find russet potatoes on sale for a really good price, then by all means, canning them – after first soaking them as instructed above – is a good option.
Related Articles
If you enjoyed this article, you’re sure to enjoy these related articles.
Pin it for Later

Print it for Later
Canning Russet Potatoes
Learn how to can russet potatoes with less starch and sludge. This step-by-step guide walks you through soaking, parcooking, and pressure canning for safe, shelf-stable potatoes.
Ingredients
- Russet potatoes (about 2 1/2 to 3 pounds per quart)
- Water (for soaking, parcooking, and filling jars)
- Lemon juice (optional, 1 Tbsp per half-gallon soaking jar)
- Canning & pickling salt (1 tsp per quart or ½ tsp per pint)
Instructions
- Wash, peel, and wash the potatoes again. Cut into quarters or uniform chunks.
- Place cut potatoes in a bowl of water to prevent browning. Optional: add lemon juice or ascorbic acid.
- Change soaking water every hour, 3–4 times.
- Store potatoes overnight in water with lemon juice in the fridge.
- Drain, cover with fresh water, and let come to room temperature.
- Prepare jars, canner, and a pot of boiling water.
- Boil potato chunks 2–10 minutes (5 minutes for medium chunks) to heat through.
- Drain and rinse potatoes.
- Pack hot potatoes into jars, leaving 1" headspace. Add salt.
- Cover with fresh boiling water (not cooking water).
- Debubble, adjust headspace, and wipe rims.
- Add lids and rings, fingertip tight.
- Process in a pressure canner: 35 minutes for pints, 40 minutes for quarts (adjust for altitude).
Notes
Recommended Products
As an Amazon Associate and member of other affiliate programs, I earn from qualifying purchases.
-
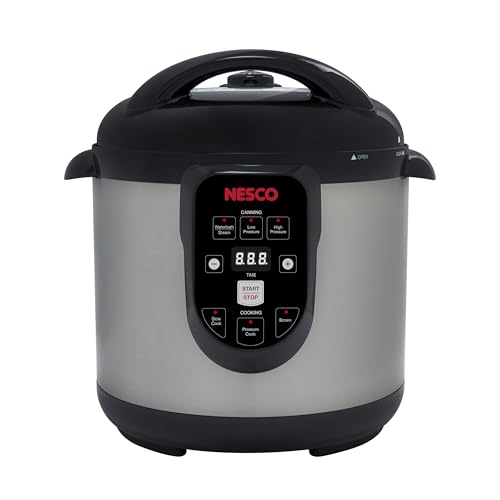 Nesco Electric Canner
 -
 Ball Complete Book of Home Preserving
 -
 Over the Sink Collapsible Colander
 -
 Morton All Natural Canning & Pickling Salt, 4 lb. Box
 -
 Debubbler and Headspace Measuring Tool
 -
 Ball Wide Mouth Lids for Glass Mason Jars,
 -
 Ball Wide Mouth Clear Glass Canning Quart 32 Oz Mason Jars with Lids, 12 Pack
💬 I’d love to hear from you!
Have you tried this yourself? Have a question or tip to share? Leave a comment below — your experience or question could help someone else, too!