

If you love the taste of real butter but wish it were easier to spread straight from the refrigerator, you’ll love this homemade soft spread butter! It takes just two simple ingredients—butter and oil—and is surprisingly easy to make.
Not only does this homemade version spread beautifully on bread and toast, it’s also an economical alternative to buying commercially prepared spreadable butter. And since you’re making it yourself, you know exactly what’s going into it.
After experimenting with different methods and proportions, I finally found a combination that works well for us. Best of all, I can make a large batch, keep a couple of containers in the refrigerator, and freeze the rest for later.

Why I Started Making Homemade Soft Spread Butter
I’m at an age where I think more about heart health and how the foods we eat affect our health. My 95-year-old mom recently underwent a heart procedure, which got me thinking even more about the choices we make when it comes to food.
We’ve always enjoyed real butter in our home. There’s nothing quite like the flavor of butter on a warm piece of homemade bread!
But traditional butter does have a couple of drawbacks.
First, butter is high in saturated fat. While I’m not interested in eliminating butter entirely, I do like the idea of replacing some of that saturated fat with unsaturated fat.
Second, butter is notoriously difficult to spread when it’s cold.
I can’t tell you how many times I’ve tried softening a little butter in the microwave, hoping to get it just right. Usually, I end up with butter that’s either still too hard or practically melted!
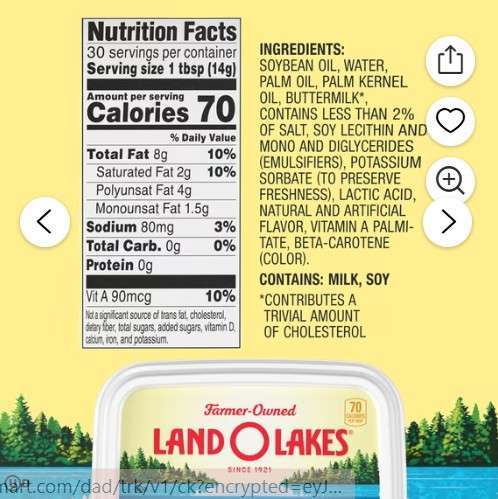
Then, during a recent lunch at a relative’s home, I noticed a tub of soft spread butter on the table. The package advertised 75% less saturated fat than regular butter, which caught my attention.
But when I turned the container around and read the ingredient list, I wasn’t quite so enthusiastic.
That experience got me thinking: Could I make my own spreadable butter using just butter and oil?
As it turns out, I could!
After some experimenting, I came up with this simple homemade soft spread butter recipe that gives me the convenience of spreadable butter without a long list of ingredients.
Is Homemade Soft Spread Butter Cheaper Than Store-Bought?
One of the things I love about making homemade food from scratch is comparing the cost to commercially prepared products.
When I compared prices, two pounds of commercially prepared spreadable butter made with canola oil cost $9.18.
Here’s what I paid for the ingredients to make approximately two pounds of homemade soft spread butter:
| Ingredient | Cost |
|---|---|
| 1 pound of butter | $2.96 |
| 2 cups of canola oil | $1.36 |
| Total | $4.32 |
That’s a substantial savings!
Of course, your actual cost will depend on the price of butter and oil where you shop. I tried to compare products of similar quality to make the comparison as fair as possible.
And there’s another advantage to making your own: you have complete control over the ingredients.
What About the Ingredients in Store-Bought Spreadable Butter?
Not all commercially prepared spreadable butter products are the same.
Some contain just butter, oil, and perhaps salt. Others, particularly products marketed as buttery spreads, have much longer ingredient lists.
I’ve seen products containing several types of oils, emulsifiers, preservatives, coloring, and flavoring ingredients.
Now, a long ingredient list doesn’t automatically mean a food is unhealthy, but when the ingredients are ones you can barely pronounce, that’s a bad sign! Also, when I can make something I enjoy using only two ingredients that I already have in my kitchen, that’s certainly appealing to me!
Ingredients for Homemade Soft Spread Butter
This article includes affiliate links.
One of the best things about this recipe is that you probably already have everything you need.
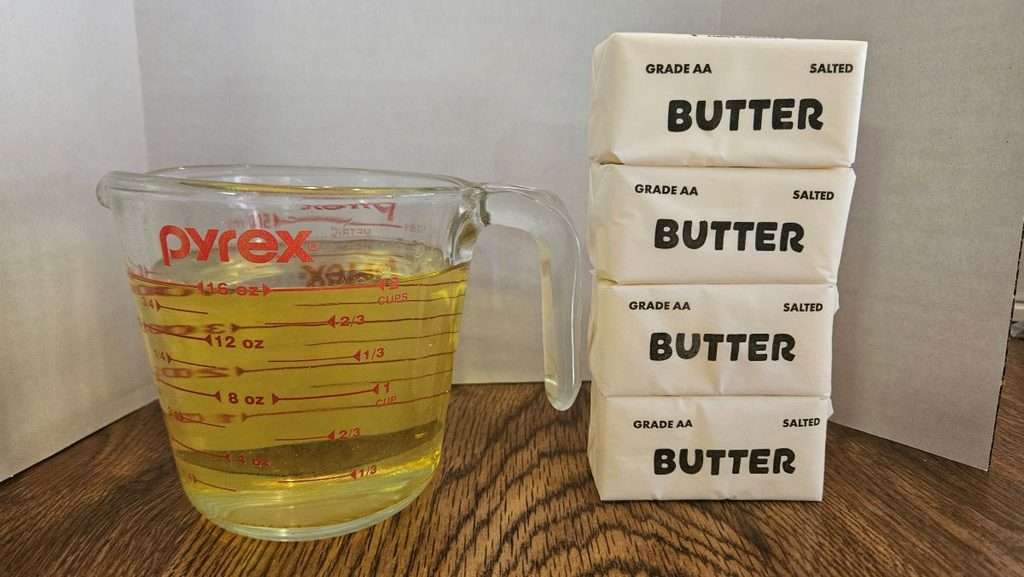
For my regular batch, I use:
- 2 cups (1 pound) of butter. I prefer salted butter, but unsalted butter works as well.
- 2 cups of canola oil. This is the oil I’ve chosen to use, but other liquid oils are options.
That’s it! Just two ingredients.
What Is the Best Oil to Use?
After doing some research, I decided to use canola oil.
One reason for my choice is that canola oil is relatively low in saturated fat and contains more unsaturated fat than butter. According to the American Heart Association, replacing saturated fats with unsaturated fats can support heart health. And the American Heart Association actually recommends canola oil.
I also like that canola oil has a mild flavor, allowing the butter flavor to come through.
However, I know some people prefer to avoid seed oils, and that’s entirely up to you.
You could experiment with olive oil or avocado oil instead. Just keep in mind that different oils can affect the flavor and possibly the consistency of your finished spread.
What’s the Best Ratio of Butter to Oil?
The ratio I’ve found works well is equal amounts of butter and oil, measured by volume.
In other words, I use one cup of oil for every cup of butter.
You can easily adjust the batch size to suit your household.
For example, if you live alone or simply want to try the recipe before making a large batch, start with one stick of butter (1/2 cup) and 1/2 cup of oil.
For a larger household, you can double the recipe.
I like making a fairly large batch because it freezes well, and that means I don’t have to make it very often.
How to Make Homemade Soft Spread Butter
Making homemade soft spread butter is straightforward. The main thing to remember is that you want your butter soft enough to cream thoroughly before adding the oil.
Here’s exactly how I make mine.
Step 1: Soften the Butter
Start by allowing your butter to soften at room temperature.
You want the butter to be quite soft, but not melted.
I prefer not to use the microwave for this step because it’s too easy to accidentally melt the butter.
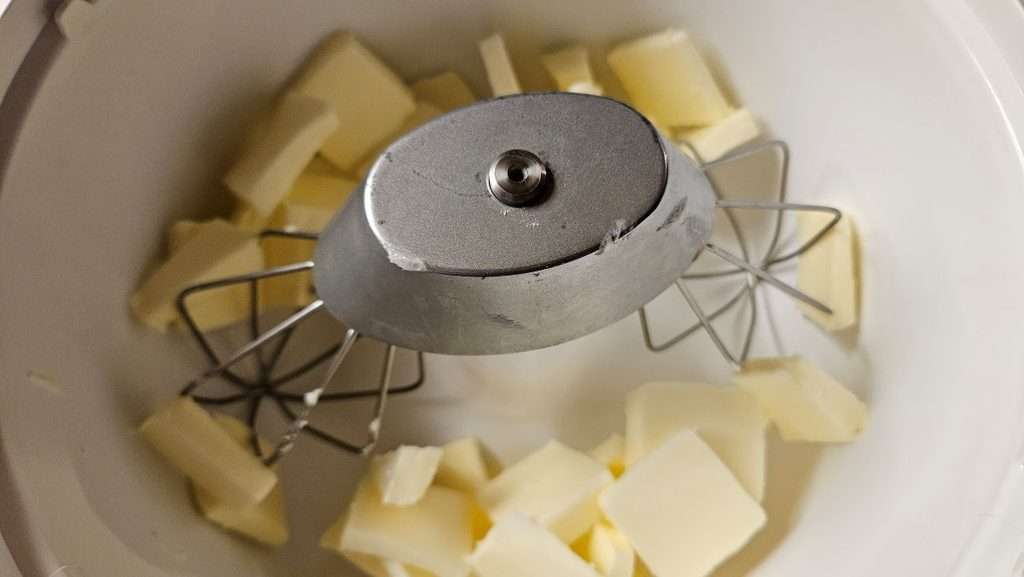
Once the butter has started softening, I cut it into smaller pieces. This helps it soften more evenly and makes it easier for the mixer to cream it.
Step 2: Cream the Butter
Once the butter is soft, it’s time to cream it.
You can use a hand mixer or stand mixer for this step. You could technically cream the butter by hand with a spoon, but that would take considerably more effort!
I use my NutriMill Artiste mixer (Amazon) with the wire whips. It’s the mixer I already use for making bread dough, and it works well for this recipe.
Begin beating the butter until it becomes smooth and creamy.
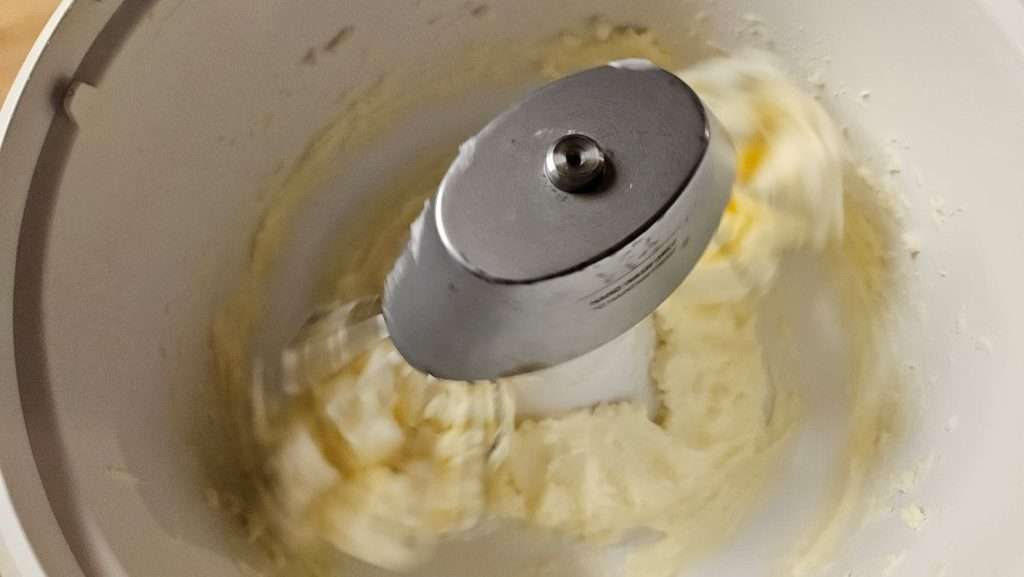
As you can see in my photo, the butter may still have some fairly large chunks when you first start mixing.
That’s normal. Just keep beating until those lumps disappear and the butter has a smooth, creamy consistency.
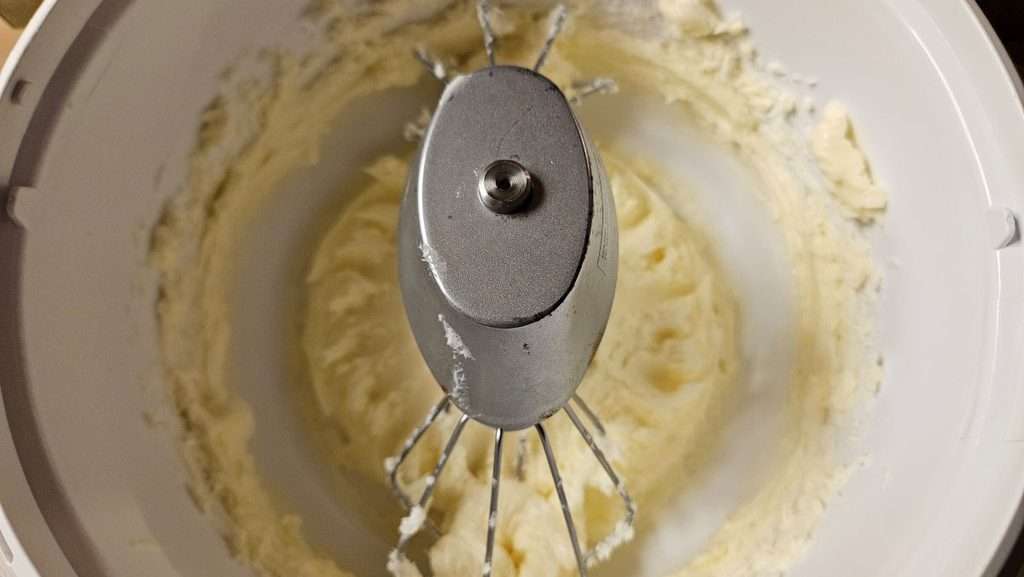
One thing I’ve noticed with my mixer is that some of the butter tends to stick to the sides of the bowl.
I stop the mixer and scrape down the sides a few times to make sure everything gets mixed thoroughly.
Don’t rush this step. Starting with well-creamed butter makes it easier to incorporate the oil.
Step 3: Slowly Add the Oil
Once your butter is smooth and creamy, begin adding the oil.
The key is to add the oil slowly while continuing to mix.
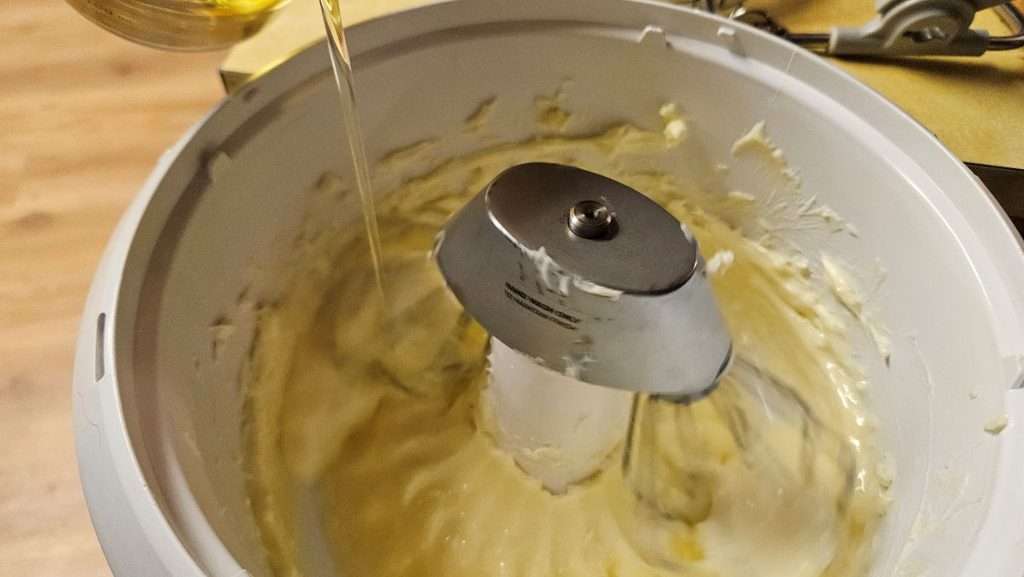
If you’re using a stand mixer, you can pour the oil in gradually while the mixer runs.
If you’re using a hand mixer, you may find it easier to stop periodically and add a small amount of oil, then mix thoroughly before adding more.
Continue until you’ve added all the oil and the ingredients are well combined.
I like to keep beating the mixture until the color lightens considerably. It changes from the familiar yellow color of butter to a much paler, almost white color.
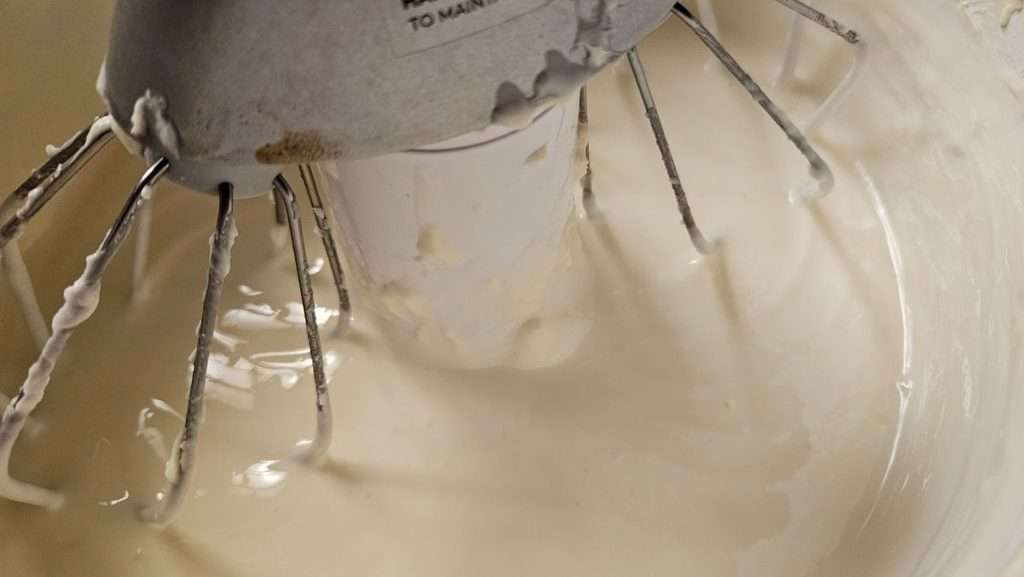
I’ve found that taking the time to whip the mixture thoroughly makes a difference.
When I’ve stopped mixing too soon, I’ve sometimes noticed a little separation after the spread has been in the refrigerator for a while.
Mixing it longer seems to help keep everything combined.
Step 4: Pour the Spread Into Containers
At this point, you might be wondering whether something went wrong!
The butter and oil mixture will be quite thin and pourable immediately after mixing.
Don’t worry. That’s completely normal.
It will thicken considerably once it’s refrigerated.
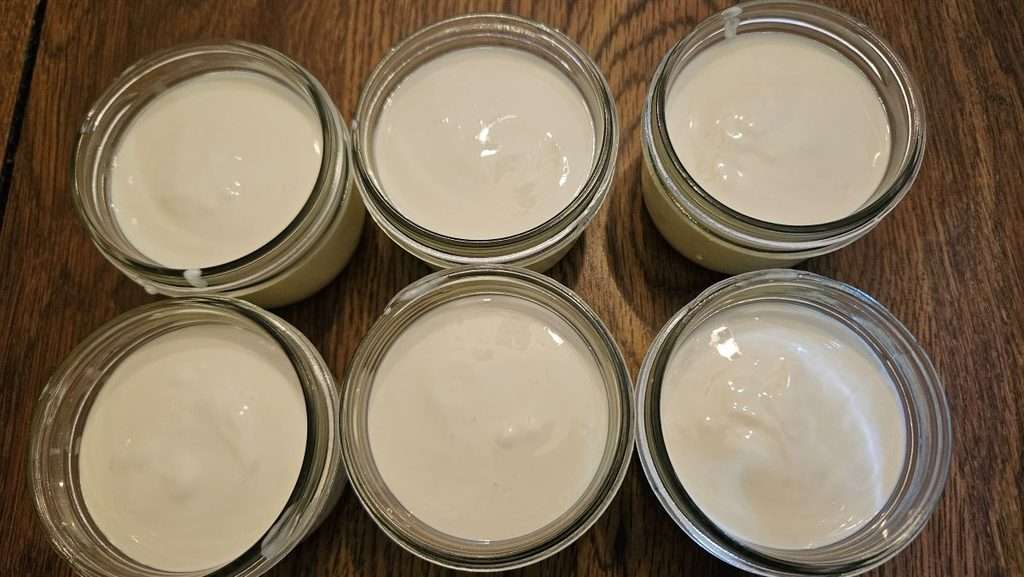
I like to divide my homemade spreadable butter into smaller containers instead of keeping it all in one large tub.
With my regular batch of two cups of butter and two cups of oil, I ended up filling six one-cup jars, leaving some empty space at the top of each.
Whipping incorporates air into the mixture, which helps explain why the finished mixture takes up more space than the original ingredients.
I also leave room at the top because I plan to freeze some of the containers.
If freezing, to be on the safe side, use freezer jars (Amazon), but I used regular Ball canning jars (Amazon) and they worked fine. Just be sure not to overfill them so there is room for the butter to expand a bit as it freezes.
Step 5: Refrigerate or Freeze
Once you’ve poured the soft spread butter into your containers, put the lids on and transfer them to the refrigerator or freezer.
Pro tip: I like using plastic mason jar lids (Amazon), because I don’t have to worry about them rusting over time.
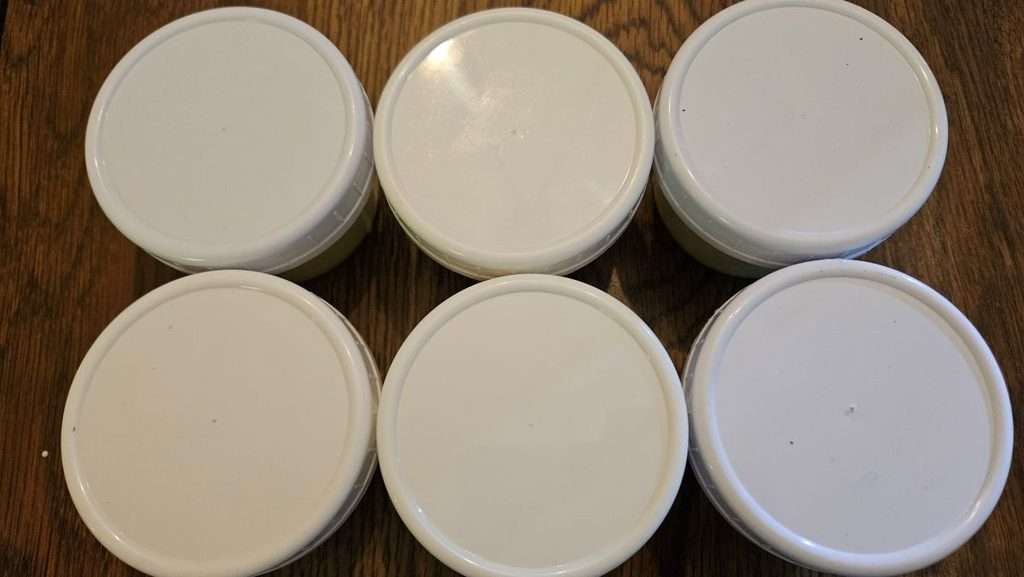
In my experience, it takes at least five hours in the refrigerator for the mixture to firm up.
Once chilled, it develops a soft, creamy consistency that’s easy to spread without having to leave it sitting on the kitchen counter.
And that’s exactly what I was hoping to achieve!
How to Store Homemade Soft Spread Butter
Because this spread contains real butter, it needs to be kept refrigerated.
I don’t have a tested refrigerator shelf life specifically for this homemade butter-and-oil mixture, so I don’t want to promise that it will keep for a particular number of weeks.
Instead, I divide it into small containers, refrigerate what we’ll use soon, and freeze the rest.
Can You Freeze Homemade Soft Spread Butter?
Yes! I’ve had good results freezing my homemade soft spread butter.
In fact, this is one of the reasons I like making a larger batch.
My usual routine is to keep two containers in the refrigerator and put the remaining containers in the freezer.
One refrigerated container is the one we’re currently using, while the second is ready when we need it.
When we finish a container, I move another one from the freezer into the refrigerator so it has time to thaw before we need it.
This way, I always have homemade soft spread butter available without having to make a fresh batch every week.
Be sure to thaw frozen containers in the refrigerator rather than on the counter.
Enjoy Your Homemade Soft Spread Butter!
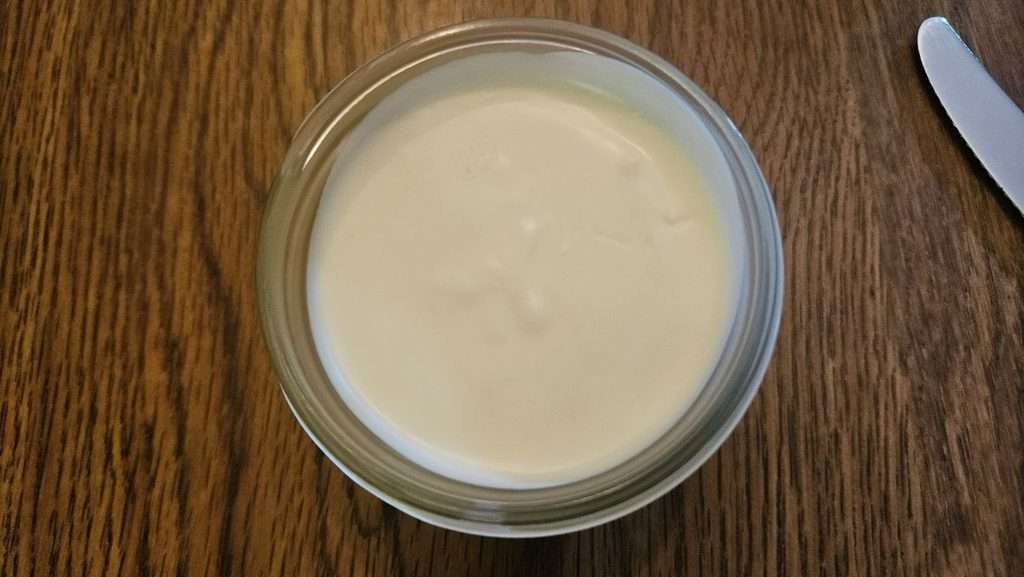
Here’s what the finished homemade soft spread butter looks like after refrigeration.
It has a lovely, creamy texture and spreads beautifully.
I especially love using it on bread and toast. There’s no need to wait for cold butter to soften, and I don’t end up tearing apart a piece of bread trying to spread hard butter on it!
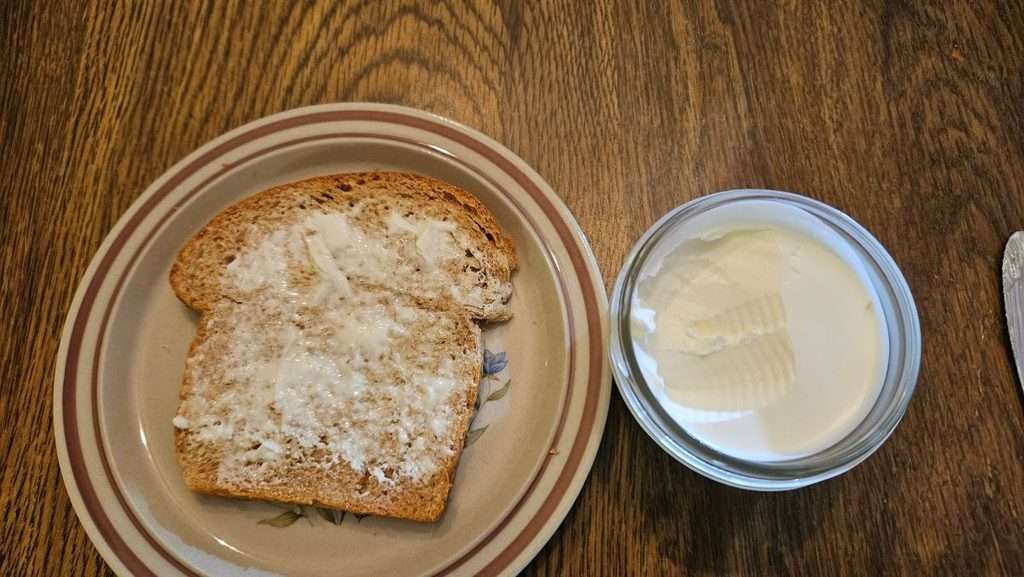
Of course, bread and toast aren’t the only things I use it for.
I also enjoy using my homemade soft spread butter on cooked vegetables, for sautéing, and when frying eggs.
It gives me some of the buttery flavor we enjoy, along with the convenience of a spread that stays soft in the refrigerator.
Is There a Downside to Homemade Soft Spread Butter?
There is one drawback worth mentioning.
Because this homemade version contains a substantial amount of liquid oil, it softens much more quickly at room temperature than regular butter.
If you set a container on the dining room table and leave it there for a while, you’ll notice that it becomes very soft and can eventually turn quite runny.
Some commercially prepared spreads seem to hold their consistency better at room temperature.
For that reason, I prefer to take out just what we need and return the container to the refrigerator promptly.
But for me, the advantages of making my own far outweigh this minor inconvenience.
Is Homemade Soft Spread Butter Worth Making?
For our household, the answer is definitely yes!
I love that it takes just two ingredients, costs less than the commercial spread I compared it with, and is so easy to make.
I also appreciate being able to replace some of the saturated fat in regular butter with unsaturated fat from canola oil, while still enjoying a buttery flavor.
And perhaps best of all, it’s wonderful to open the refrigerator and have butter that’s ready to spread immediately.
If you’ve been buying commercially prepared spreadable butter, or you’re simply tired of fighting with cold sticks of butter, give this homemade version a try.
You might find, as I did, that making your own is easier than you expected!
Print it for Later
Homemade Soft Spread Butter
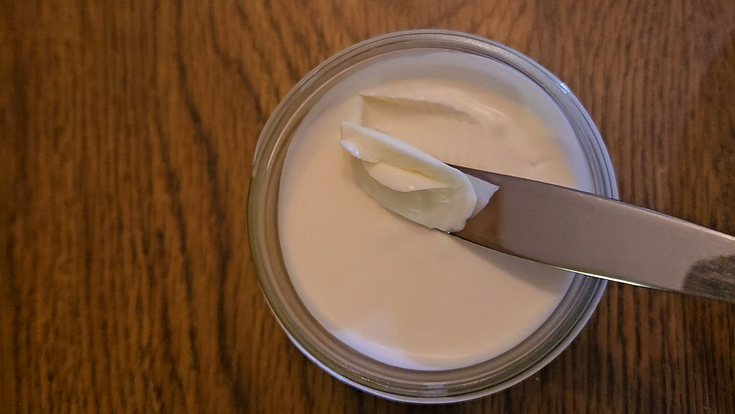
Make your own homemade soft spread butter with just two simple ingredients—butter and oil! This budget-friendly recipe is creamy, easy to spread straight from the refrigerator, and can be frozen for later use.
Ingredients
- 2 cups (1 pound) salted butter, softened
- 2 cups canola oil (or oil of your choice)
Instructions
- Allow the butter to soften, then cut into smaller pieces.
- Beat until smooth and creamy, scraping down the bowl as needed.
- Slowly add the oil while continuing to mix.
- Continue whipping until the mixture is smooth and pale.
- Pour into containers, cover, and refrigerate until firm, approximately five hours or longer.
Notes
- Butter: I prefer salted butter, but unsalted butter works just as well.
- Oil: I use canola oil because of its mild flavor, but you can experiment with other liquid oils, such as olive oil or avocado oil. Different oils may affect the flavor and consistency.
- Adjusting the recipe: Use equal amounts of butter and oil by volume. For a smaller batch, combine one stick (1/2 cup) of butter with 1/2 cup of oil.
- Mix thoroughly: Cream the softened butter before adding the oil, then continue whipping until the mixture becomes pale and smooth. I've found that thorough mixing helps prevent separation during refrigeration.
- Refrigerating: The mixture will be thin immediately after mixing but will firm up after approximately five hours or longer in the refrigerator.
- Freezing: I divide the spread into smaller, freezer-safe containers, keeping a couple in the refrigerator and freezing the rest. Thaw frozen containers in the refrigerator before using.
- Serving: This spread softens quickly at room temperature, so return it to the refrigerator promptly after use.