

A couple of years ago, I made a video about whether or not it was safe to steam can in the Nesco canner. At the time, I had my doubts and recommended against it. Over the past two years, I haven’t done any steam canning myself, sticking with my original stance.
However, I’ve since learned some new things that have given me a way to safely steam can in the Nesco or Carry canner, based on USDA guidelines.
In today’s post and video, I’ll share what I’ve learned and how you can safely steam can using your Nesco or Carry canner.
How to Safely Steam Can in the Nesco Canner (Video)
In the video above, I walk you step-by-step through the process of steam canning in the Nesco canner.
Exploring Safe Steam Canning Methods
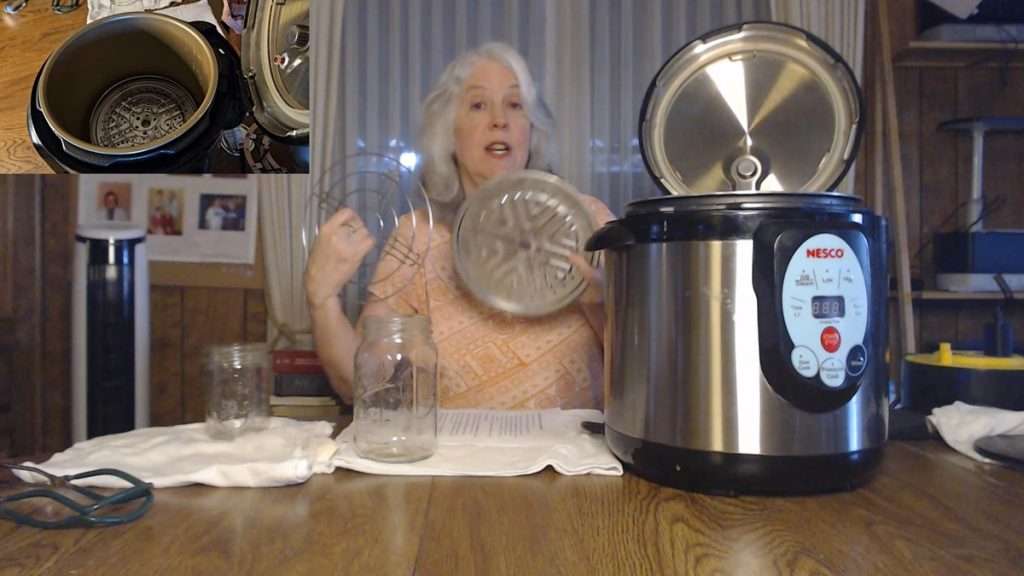
My initial idea for this method came from this video by RoseRed Homestead:
According to the USDA and various state extension offices, when steam canning, the jars should be above the water.
In this post, I’ll demonstrate three different ways to achieve this in the Nesco canner.
Disclaimer: It’s important to note that the Nesco or Carey companies have not, at this point, recommended steam canning. Because of that, there are no official recommendations for doing so in the Nesco canner. What I’m sharing in this post is based on general steam canning guidelines from the USDA, and my ideas for how to adapt the Nesco or Carey canners to steam can according to those guidelines. If you prefer, follow the instructions in this post to water bath can in the Nesco.
UPDATE: Since I wrote this article, Nesco did come out with recommendations for steam canning in the Nesco. Their guidelines for steam canning is to use the LOW pressure setting rather than the WB/Steam setting. If you do this, you will need to follow the basic process for pressure canning, such as starting with the valve in the Exhaust position, etc. If you’re unfamiliar with that process, you can read my article on How to Pressure Can in the Nesco for step-by-step instructions.
Method 1: Steam Canning in the Nesco with 4 Cups of Water
This article includes affiliate links.
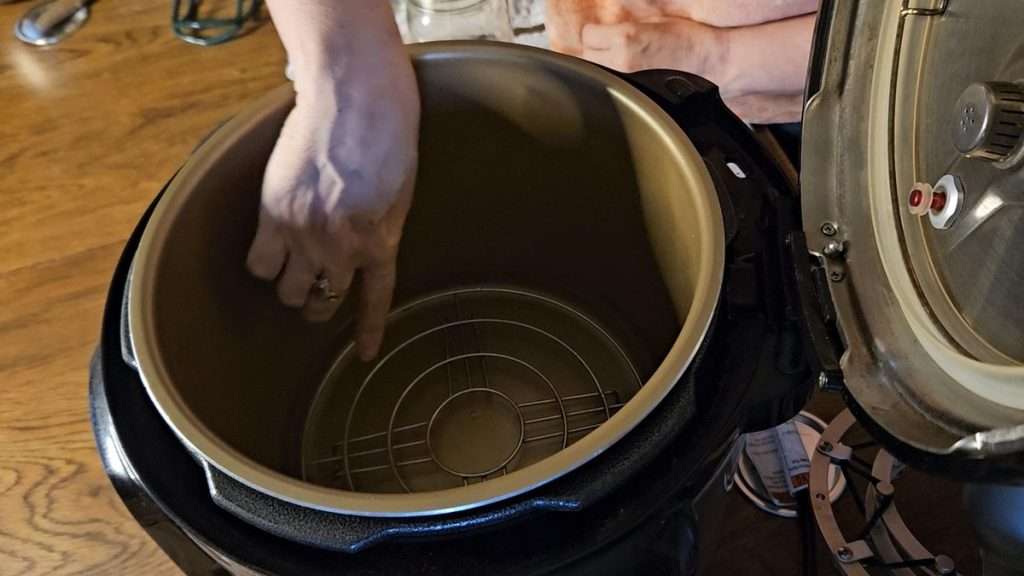
This method for steam canning in the Nesco canner (Amazon) is what I’ve seen demonstrated in various videos on YouTube. Here’s how it works, along with some concerns about it.
First, place the canning rack in the canner and add four cups of water. This amount of water sits just beneath the canning rack, ensuring the jars are above the water. Because the jars are above the water, using four cups of water fits with the USDA guidelines for steam canning.
However, four cups of water might not be sufficient for longer processing times. To test this out, I ran my canner for 20 minutes, with four cups of water. After 20 minutes, there was one cup of water left in the canner. That was cutting it close!
Wish your canning was more organized? This practical guide + printable toolkit will transform the way you stock your pantry.
👉 See the book on AmazonAlso, I happen to live at an altitude where I need to add five minutes to water bath or steam processing times. So, for me, this means that when processing a water bath canning recipe that calls for 15 minutes processing time, I’d be left with just one cup of water in the canner.
For canning recipes that require short processing times, like jams or jellies, using just four cups of water works fine, but wouldn’t work for water bath canning recipes that call for longer processing times.
Method 2: Using Six Cups of Water

I’ve also heard people recommend using six cups of water for steam canning in the Nesco canner (Amazon). This of course is preferable to four cups of water, as you’re less likely to run out of water in the canning process.
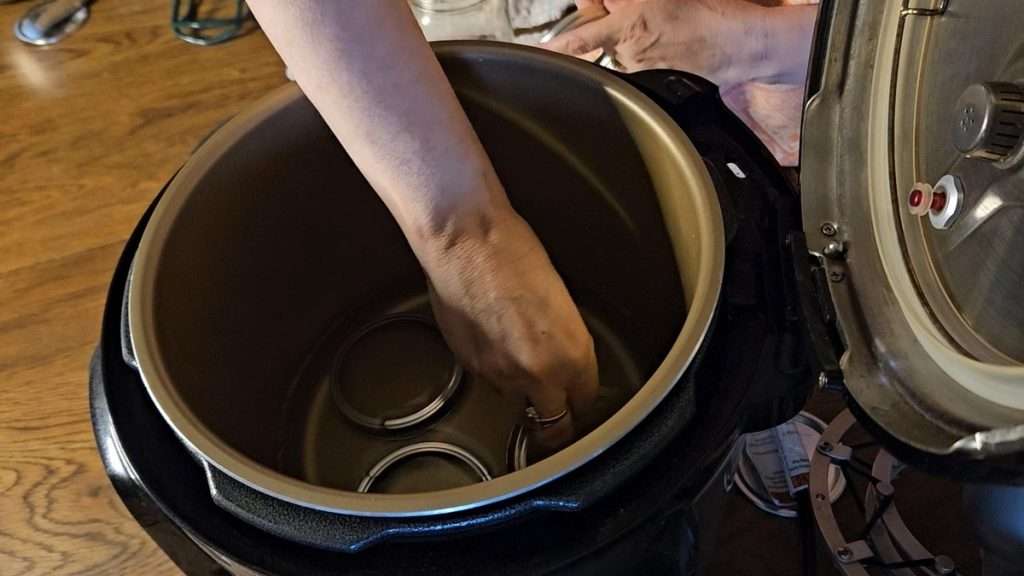
To use six cups of water, place four canning rings at the bottom of the pot, then add the steam rack and canning rack on top.
This setup raises the jars above the water, meeting USDA guidelines. This method works for pints, half-pints, and four-ounce jars, but not for quarts, as the quart jars are too tall with this set up.
Method 3: The Eight-Cup Water Method
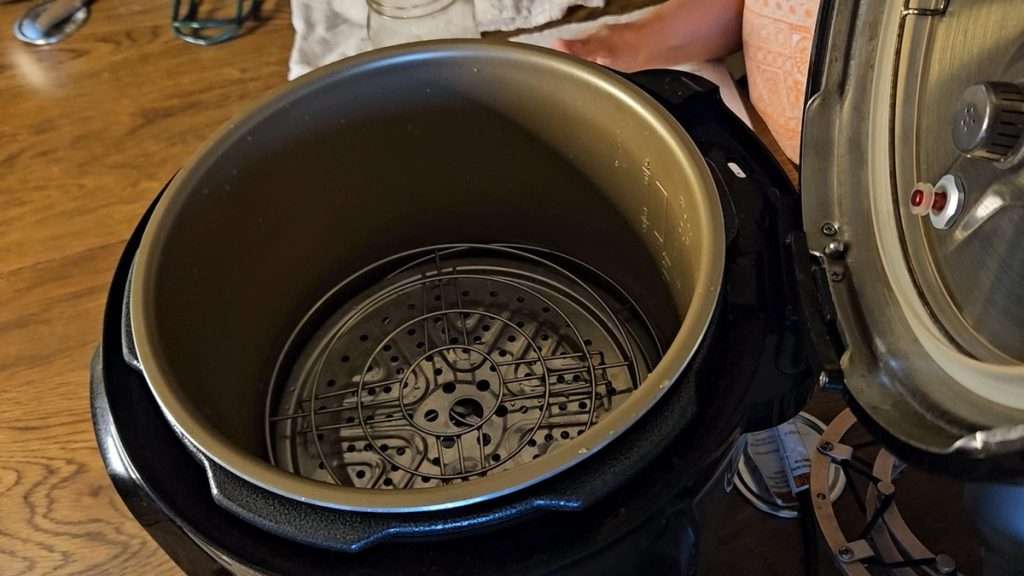
For longer processing times, you can use eight cups of water. If you have an additional steam rack and canning rack from another Nesco canner, you can stack them to provide more room above the water.
This is the method that I use. I put a steam rack on the bottom, then a canning rack. I then put another steam rack and an additional canning rack on top of the first set of racks. (I’m able to do this because I have two Nesco canners, and thus have an extra set of racks.)
Pro Tip: The Nesco and Carey canners are the exact same canner! I recommend purchasing whichever one is cheapest at the time. Here’s the current price for the Nesco and Carey canners on Amazon.
With the extra racks, eight cups of water comes just beneath the top rack, and thus it fits with the USDA steam canning guidelines.
This method allows for longer processing times without running out of water.
The only down side to any of these methods is that with the racks elevated, you can only steam can pints or smaller, as quart jars are too tall for the lid to close when elevating the racks.
Make every jar count. Learn how to set smart canning goals, track your inventory, and build a pantry your family will love—with the Home Canning Success System.
👉 Check it out on AmazonPreparing Your Jars
Before filling your jars, they must be heated. You can do this by placing them in the canner with water and using the brown function to heat them up.
Once hot, fill your jars with your recipe, wipe the rims, and place the lids on. Then, return the jars to the canner for processing.
The Steam Canning Process in the Nesco Canner
After placing the jars in the canner, close the lid and select the water bath/steam function, set the time, and press start. Wait for a steady stream of steam, then press start again to begin the countdown process.
Note that in the same way as you do with water bath canning, you need to adapt the time based on altitude. Here’s an article that explains how to do just that.
Following these steps ensures you’re adhering to USDA guidelines for steam canning.
Nesco Canner & Cooker Resource Hub
Looking for more guides on using the Nesco Canner & Cooker? Visit my Nesco resource hub for safety information, canning methods, and step-by-step tutorials.
Conclusion
In summary, steam canning in the Nesco canner can be done safely by ensuring your jars are above the water. Whether you use four cups of water for shorter processes, six cups with an elevated rack, or eight cups with additional racks, you can steam can confidently in your Nesco or Carey canner (both links go to Amazon).
I hope you found this guide helpful. If you did, please give me a thumbs up and subscribe to my YouTube channel for more tips and tricks on canning in the Nesco or Carry canner. Thanks for reading and happy canning!
Your All-in-One Canning Companion

The Home Canning Success System is your all-in-one canning companion. Whether you’re brand new or a seasoned canner, this book helps you plan, organize, and track your projects with confidence. Ditch the guesswork—preserve with purpose!
💬 I’d love to hear from you!
Have you tried this yourself? Have a question or tip to share? Leave a comment below — your experience or question could help someone else, too!