


Canning chicken chili verde is a fantastic way to preserve this flavorful and hearty meal for future use. It’s a great meal in a jar, and one of the best things about it is that it’s quick and easy to put together.
This article includes affiliate links.
Today, I’ll walk you through all the steps on how to can chicken chili verde using a tested recipe from The All New Ball Book of Canning and Preserving (Amazon).
With a few simple ingredients and some preparation, you can enjoy home-canned chicken chili verde that’s ready whenever you need a quick, delicious meal.
Whether you’re new to canning or have years of experience, this recipe is straightforward and will yield delicious results. I’ll also share tips and tricks to make the process easier, especially if you’re not a fan of raw-packed chicken.
How to Can Chicken Chili Verde (Video)
Ingredients for Home-Canned Chicken Chili Verde
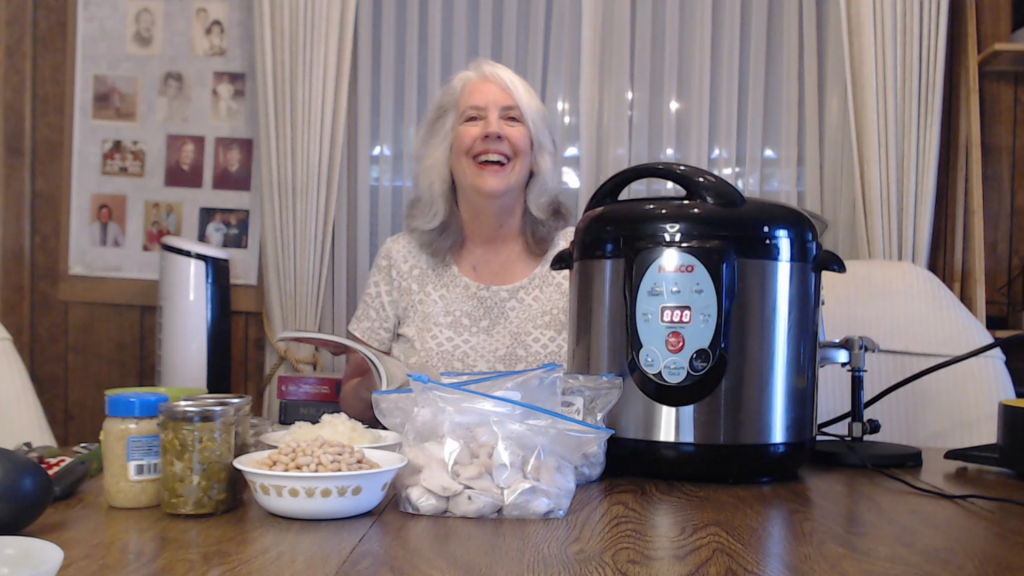
This recipe is enough to make 4 quarts of chicken chili verde. Here’s what you’ll need:
- 4 pounds raw chicken breast, cut into 2-inch cubes (can be partially cooked if preferred)
- 2 cups canned white beans, rinsed and drained
- 2 cups chopped onions (yellow, white, or green. The recipe actually calls for green onions, but I used yellow onions.)
- 2 cups tomatillo salsa (homemade or store-bought)
- 4 teaspoons canning salt (or any non-iodized salt)
- 4 cloves garlic, sliced (or about 3/4 teaspoon minced garlic per jar)
- 8 tablespoons pickled jalapeños, diced
- 8 tablespoons chopped fresh cilantro
- 4 teaspoons chicken bouillon granules (or 4 cups hot broth)
How to Can Chicken Chili Verde
Now let’s get into the step-by-step instructions for canning chicken chili verde.
Step 1: Prepare Your Jars and Equipment
Before you begin canning chicken chili verde, make sure your jars are clean and heated.
I’m using a Nesco canner today, but you can use any pressure canner.
Pro tip: If you don’t know how to heat your jars in the Nesco canner, be sure to check out this blog post.
Heat your jars in the canner until the water reaches about 140°F. That is the proper temperature for a raw-pack recipe.
Step 2: Pack the Chicken into Canning Jars
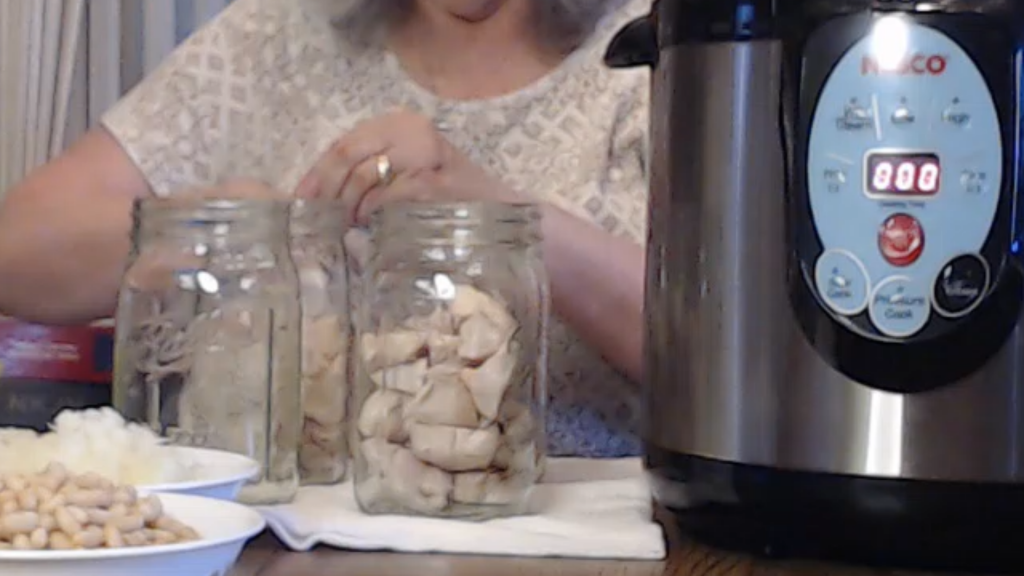
According to the recipe on the book (Amazon), you’ll start with raw chicken breasts.
However, I personally don’t like the white, slimy stuff that sometimes comes from raw chicken, so I partially cooked my chicken the night before and rinsed off the residue. I then refrigerated it overnight, so it was cold when I started.
If you prefer, you can skip partially cooking the chicken and use raw chicken as the recipe calls for.
Either way, you’ll start off with 4 pounds of raw chicken breasts that has been cut into 2-inch cubes. Divide the chicken equally between the 4 quart jars.
Step 3: Add the Remaining Ingredients
 putting chicken in the jars
- adding beans to jars
- adding onions to jars
- Adding tomatillo salsa to jars
- adding pickled jalapenos to jars
- adding cilantro to jars


Wish your canning was more organized? This practical guide + printable toolkit will transform the way you stock your pantry.
👉 See the book on AmazonNow it’s time to layer in the rest of the ingredients:
- Add 1/2 cup of rinsed and drained white beans to each jar.
- Add 1/2 cup of chopped onions to each jar. I opted for yellow onions, but green onions can also be used if you prefer a bit more color.
- Pour in 1/2 cup of tomatillo salsa (about half of a half-pint jar) into each jar.
- Add 1/2 teaspoon of canning salt to each jar.
- Add 1 clove of garlic (or 3/4 teaspoon minced garlic) to each jar.
- Add 2 tablespoons of diced pickled jalapeños to each jar.
- Add 2 tablespoons of chopped fresh cilantro to each jar.
Step 4: Add the Broth or Bouillon
Instead of using hot broth, I added about 1 teaspoon of chicken bouillon granules to each jar, then filled the jars with hot water to a 1-inch headspace.
If you’re using raw chicken, it will release some juices as it cooks, but with partially cooked chicken, you’ll need to add liquid to ensure the jars are filled properly. It’s important to note that even if you’re using raw chicken, this recipe calls for adding broth.
Step 5: Debubble and Adjust Headspace
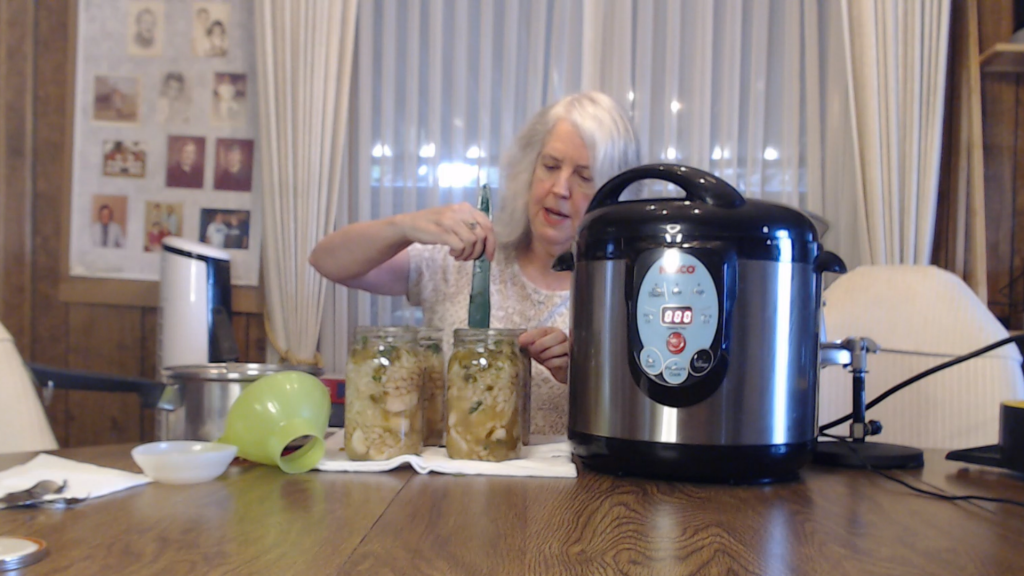
Once all the ingredients are in the jars, debubble them by using a non-metallic tool to release any trapped air bubbles.
Add more hot water if necessary to maintain the 1-inch headspace.
Step 6: Wipe the Rims and Add Lids
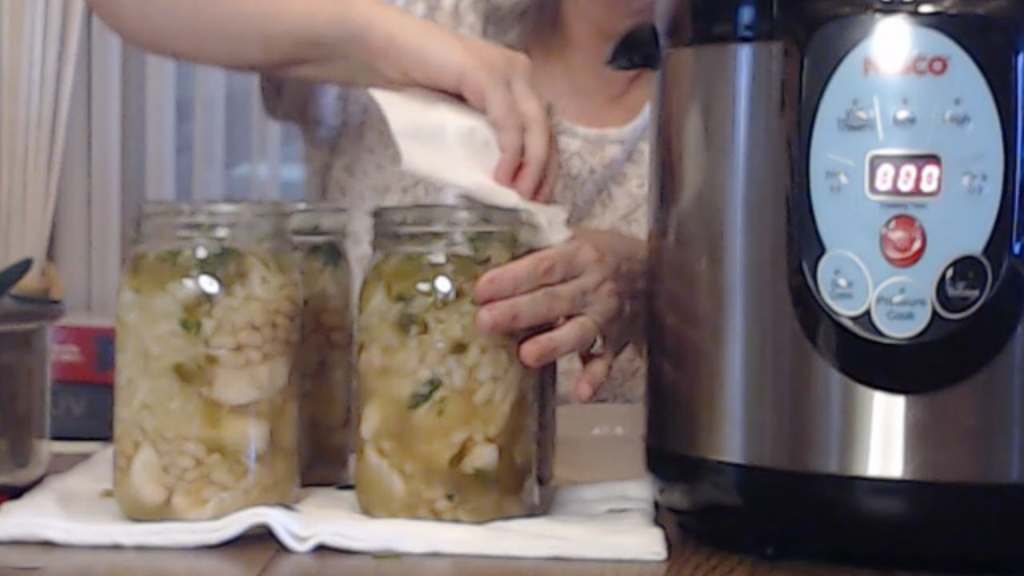
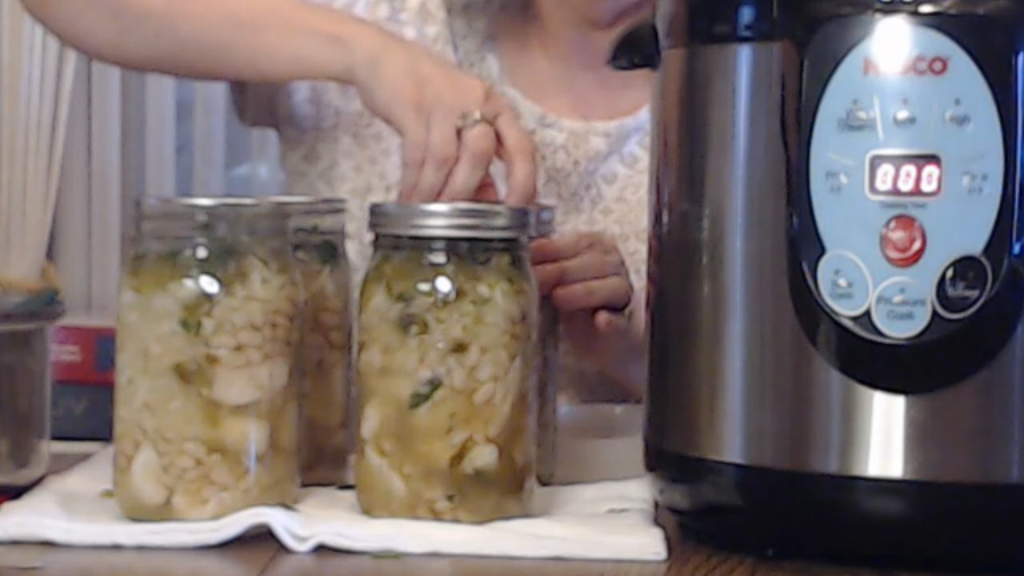
Wipe the rims of your jars with a clean, damp cloth or paper towel to remove any residue. I like to dip my paper towel in vinegar (and then squeeze out any excess vinegar). The vinegar helps to cut any grease from the chicken that may have gotten on the rims.
Wiping the rims ensures a good seal.
Place your lids on the jars and secure the rings until fingertip tight.
Step 7: Process the Jars
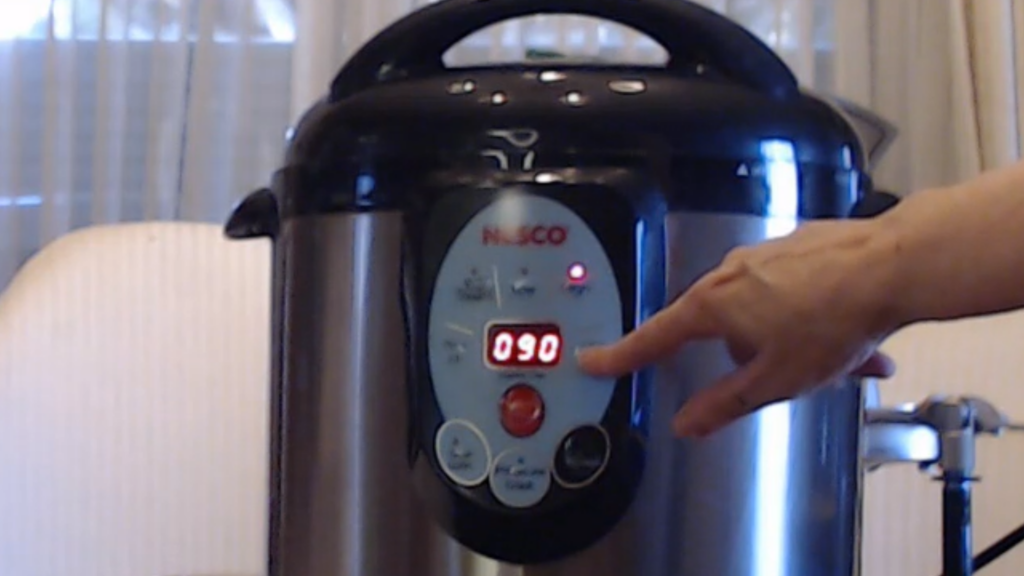
Place the jars in your pressure canner. Process quarts for 90 minutes (if you’re canning pints, process for 75 minutes).
Make sure to follow the manufacturer’s instructions for your specific canner. For the Nesco canner, I set the valve to “exhaust,” allowed the canner to come up to pressure, vented for 10 minutes, and then set it to airtight to finish the process.
If you need more information on how to pressure can in the Nesco canner, be sure to check out this blog post:
Step 8: Let the Jars Cool and Check the Seals
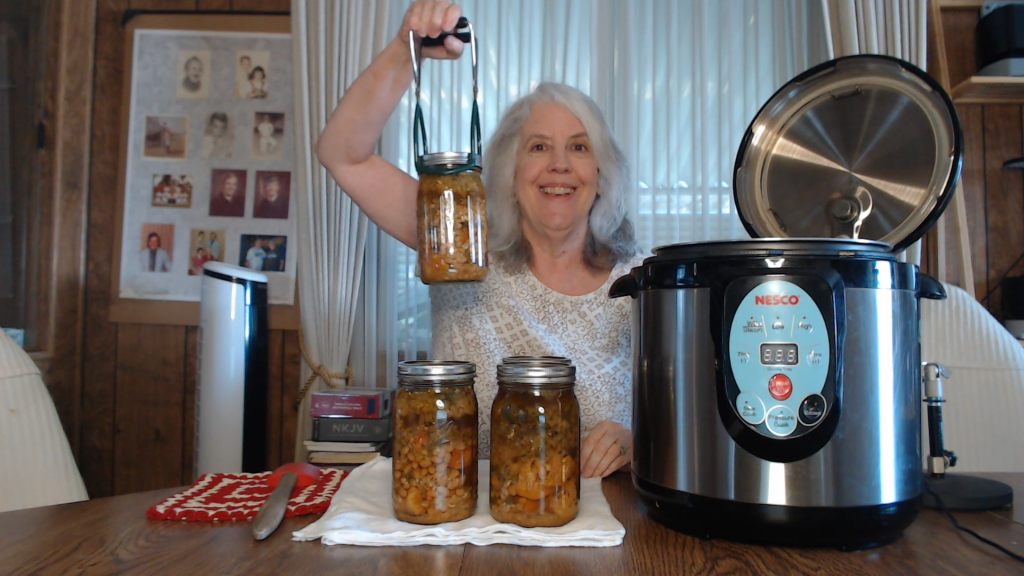
After processing, let the pressure release naturally. Remove the jars and allow them to cool for 12-24 hours.
Once cool, check to make sure the lids have sealed properly.
Conclusion
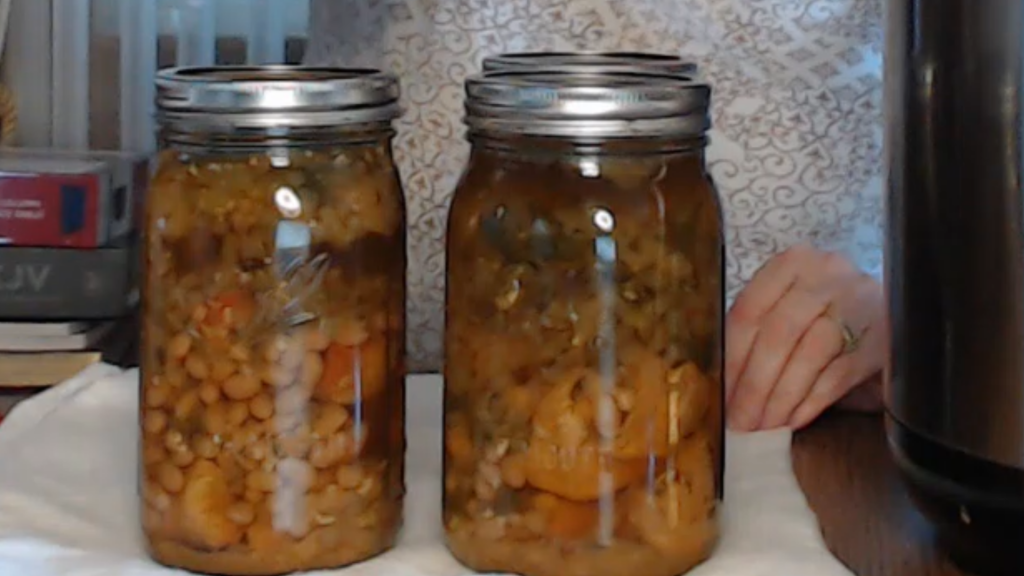
Canning chicken chili verde is a great way to stock your pantry with ready-to-eat meals that are packed with flavor. This home-canned chicken chili verde recipe is easy to follow and perfect for canners of all levels.
Whether you’re preparing for the winter or just like having meals on hand, this chicken chili verde will be a welcome addition to your pantry. Enjoy the convenience of a quick, delicious meal whenever you need it!
If you have any questions or tips to share, feel free to leave a comment on my YouTube video.
Your All-in-One Canning Companion

The Home Canning Success System is your all-in-one canning companion. Whether you’re brand new or a seasoned canner, this book helps you plan, organize, and track your projects with confidence. Ditch the guesswork—preserve with purpose!
Related Articles
If you enjoyed this article, you’re sure to enjoy these related articles:
💬 I’d love to hear from you!
Have you tried this yourself? Have a question or tip to share? Leave a comment below — your experience or question could help someone else, too!