

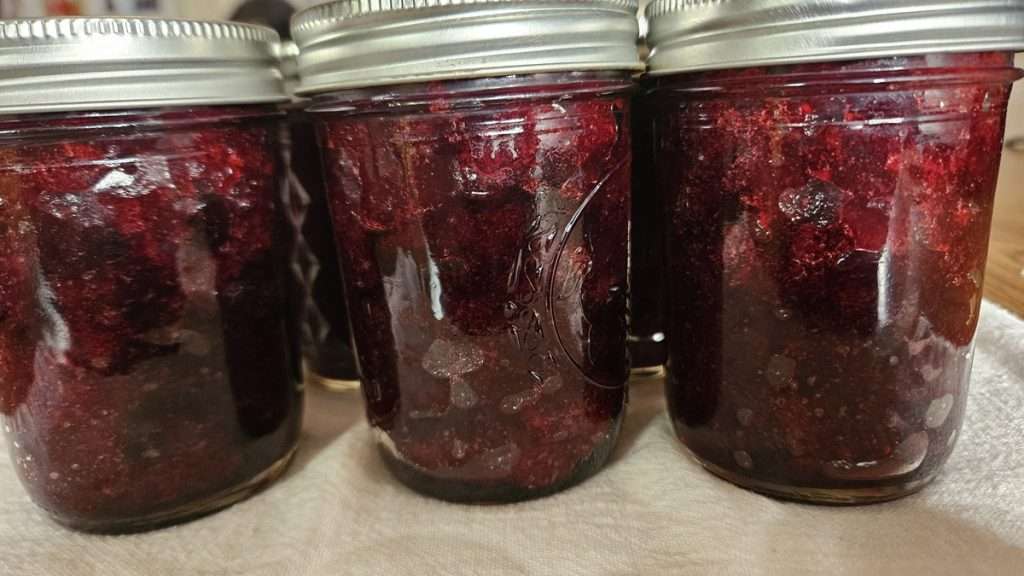
If you’ve every wondered how to can cranberry sauce, you’re in the right place! Canning cranberry sauce is an easy way to capture the fresh, tart taste of cranberries while they’re in season so you can enjoy it all year round. Homemade cranberry sauce has a vibrant, natural flavor that store-bought options just can’t match.
Since cranberries are only available fresh for a short time, canning them is a great way to make sure you have cranberry sauce ready for the holidays and beyond. In this article, I’ll share with you how to make and can cranberry sauce using two different methods: with the Ball Jam and Jelly Maker or on the stovetop.
Method 1: Canning Cranberry Sauce with the Ball Jam and Jelly Maker
This article includes affiliate links.
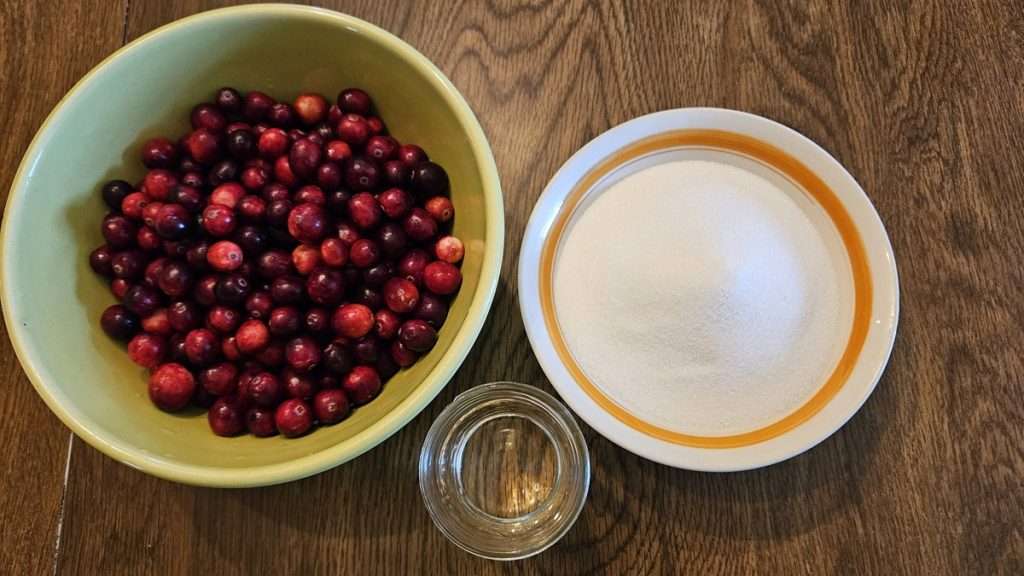
The Ball Jam and Jelly Maker makes making cranberry sauce for canning incredibly easy. I made two batches to perfect the recipe, as my first attempt came out more like a cranberry jam (it was delicious, just thicker than I’d intended).
My second attempt (which is listed below) is based on this recipe from the Ball Complete Book of Home Preserving (Amazon affiliate link).
Ingredients
- 2 cups granulated sugar
- 2 cups water
- 4 cups fresh cranberries (about 1 pound)
- Orange zest from a medium-sized orange (optional)
Yield: 4 half pints, or 2 pints
I left out the orange zest, and added in an extra ingredient, 1 teaspoon of butter. (More on that in a minute!)
As you can see from the above, the ingredient list is super basic.
Note that this is a half recipe, as the full recipe is too much for the Ball Jam and Jelly Maker. If you are making your cranberry sauce in a pot, feel free to double the recipe.
Instructions
Here are the instructions for the Ball Jam and Jelly Maker. The same instructions work for the Roots and Harvest Jam and Jelly Maker.
Step 1: Add the Cranberry Sauce Ingredients to the Jam Maker
Evenly distribute the sugar, water, and cranberries directly in the Jam and Jelly Maker.
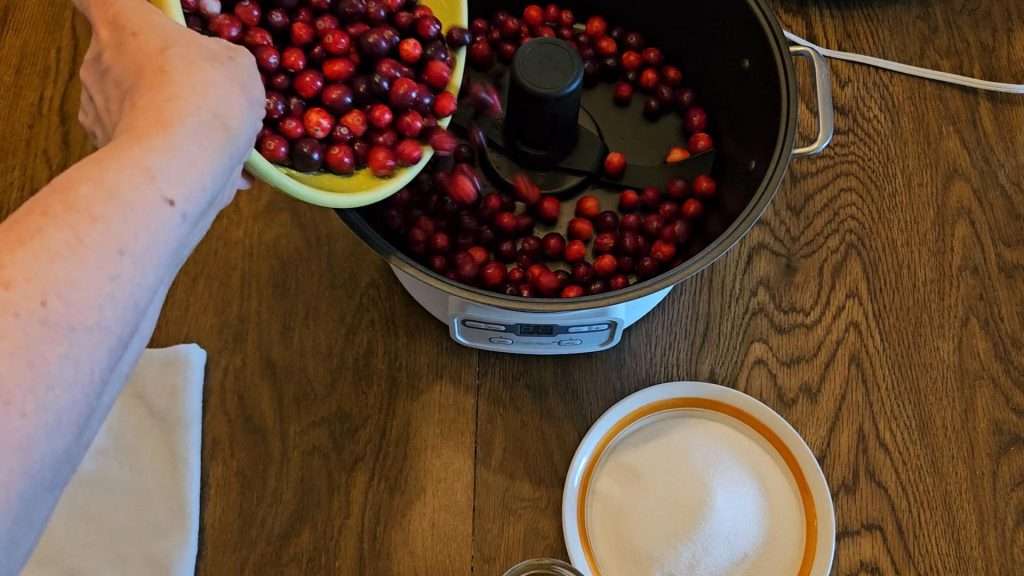
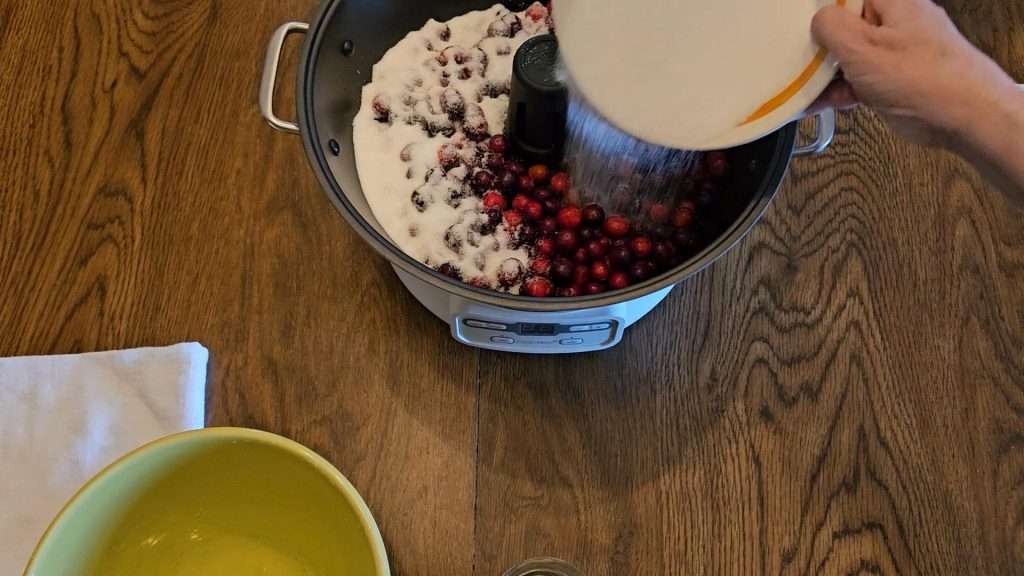
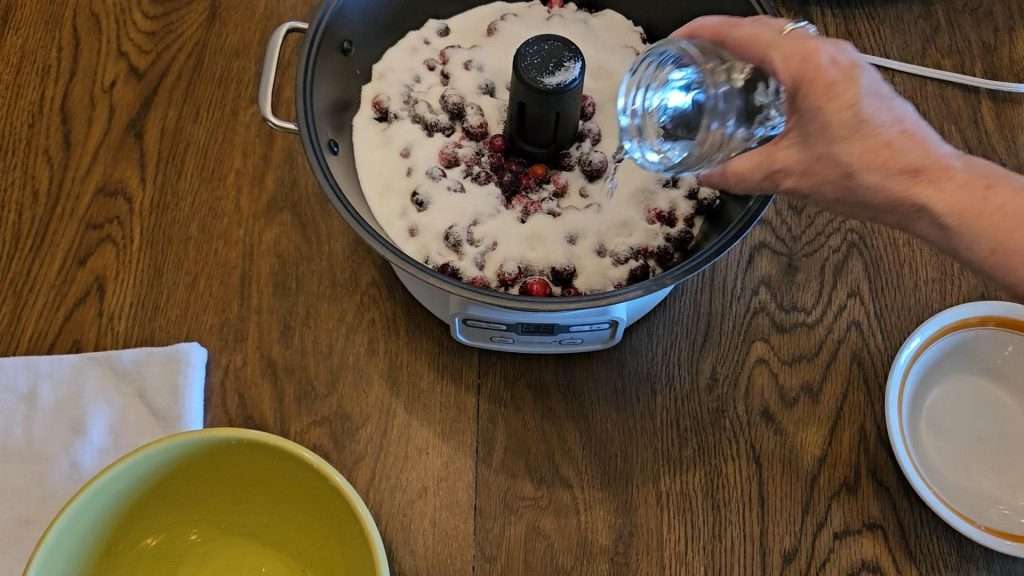
Note that this process is a bit different from making jam in the jam maker in that we’re putting all of the ingredients into the jam maker at a time.
Make every jar count. Learn how to set smart canning goals, track your inventory, and build a pantry your family will love—with the Home Canning Success System.
👉 Check it out on AmazonStep 2: Start the Jam and Jelly Maker
When it comes to making cranberry sauce in the Jam and Jelly maker, you’ll use the JELLY setting. Press Jelly, and then hit enter.
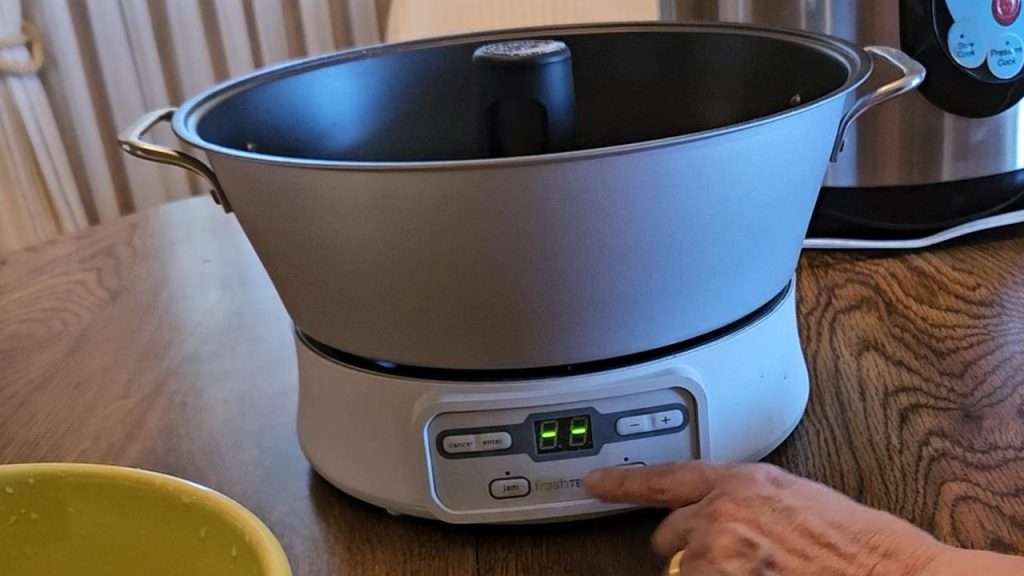
The jam maker will automatically set the cook time to 25 minutes.
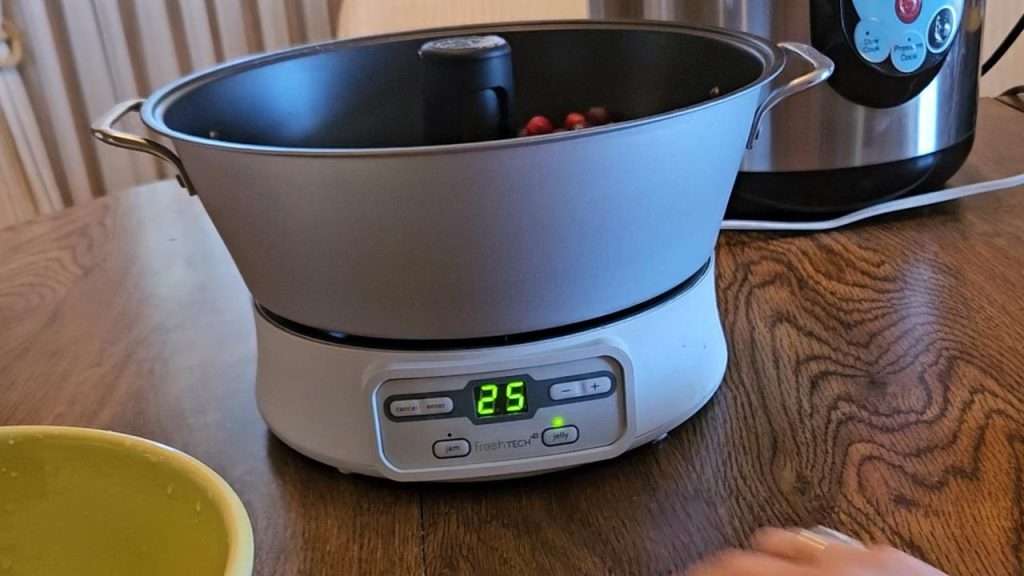
Note: The Jam Maker will beep at 4 minutes in. This is when you will typically add in the sugar when making jam. Since you put the sugar in at the beginning, ignore the beep.
Keep the lid off the jam maker during the entire process.
What to Expect when Making Cranberry Sauce in the Jam and Jelly Maker
I took some notes and photos throughout the process of making the cranberry sauce in the jam maker.
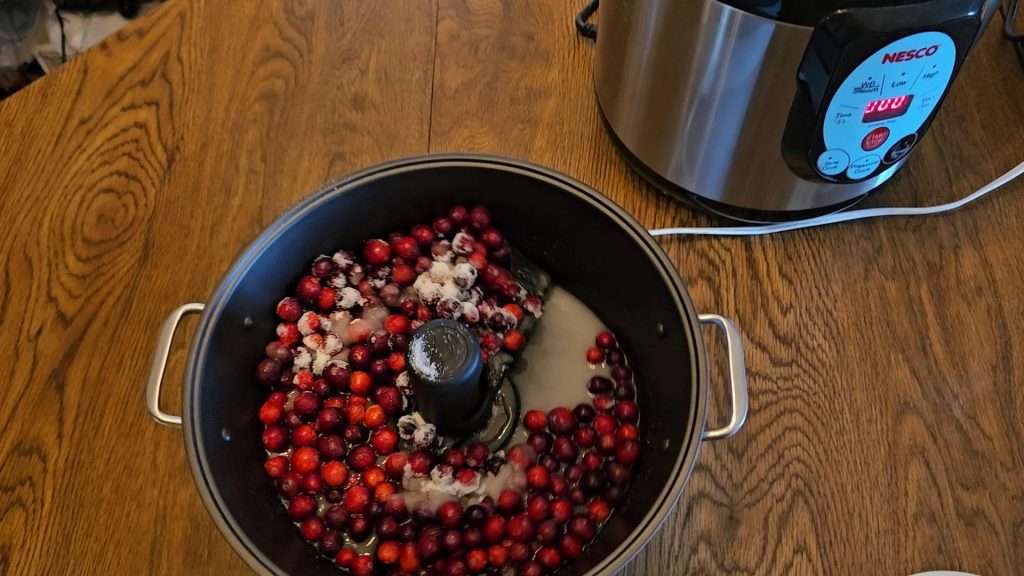
It takes a little bit of time for all of the ingredients to incorporate. At first, the stirrer just moved around, with the cranberries basically piling up on it. While it probably wasn’t necessary, I pushed the cranberries off the stirrer so they would be against the heated pan.
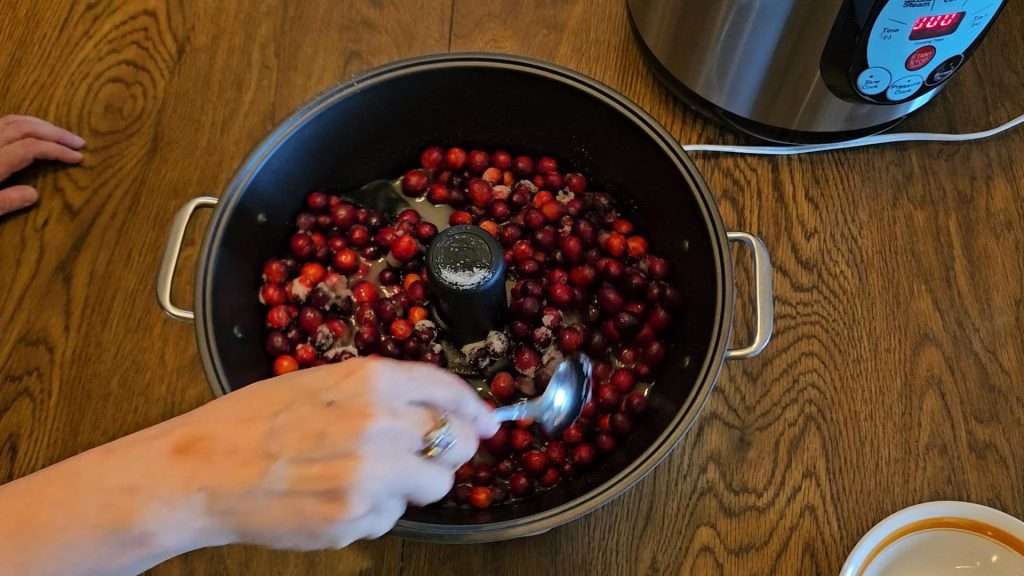
Cranberries After 5 Minutes in the Jam Maker
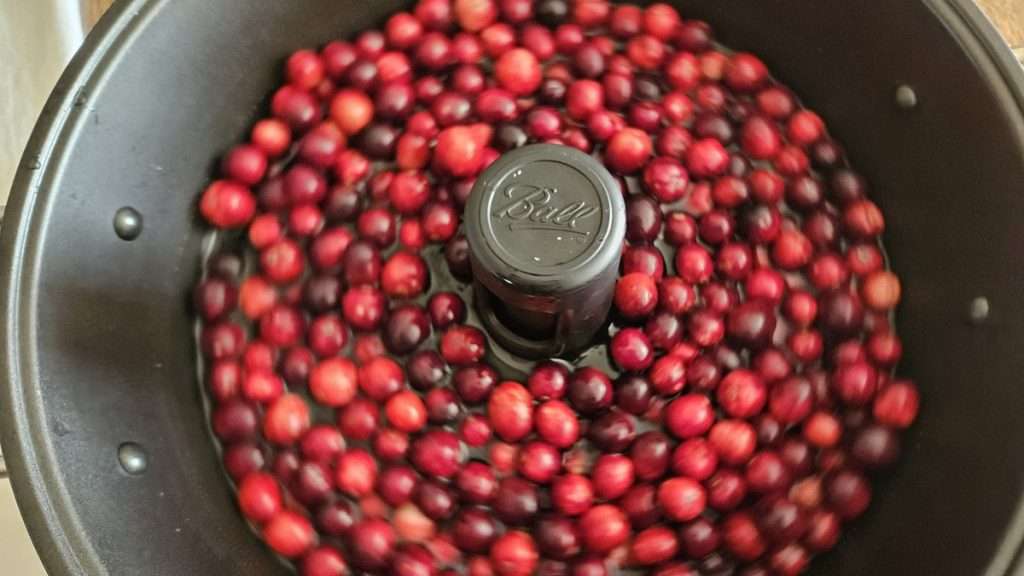
After 5 minutes, the sugar had melted, and the syrup was getting hot, but the cranberries hadn’t started popping.
Cranberries at the 10 Minute Mark
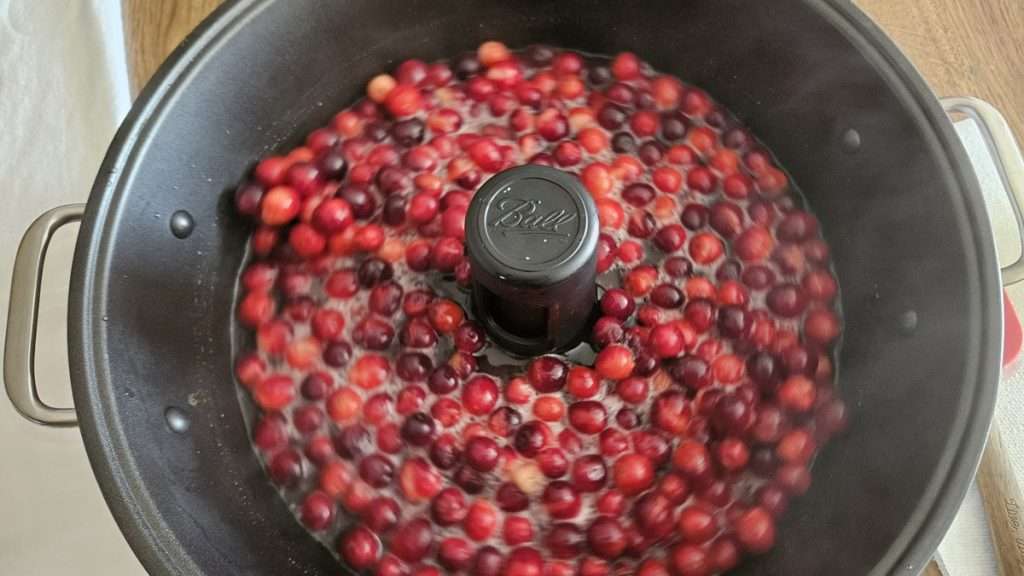
At 10 minutes in, the syrup had started to simmer, and a couple of the cranberries had popped.
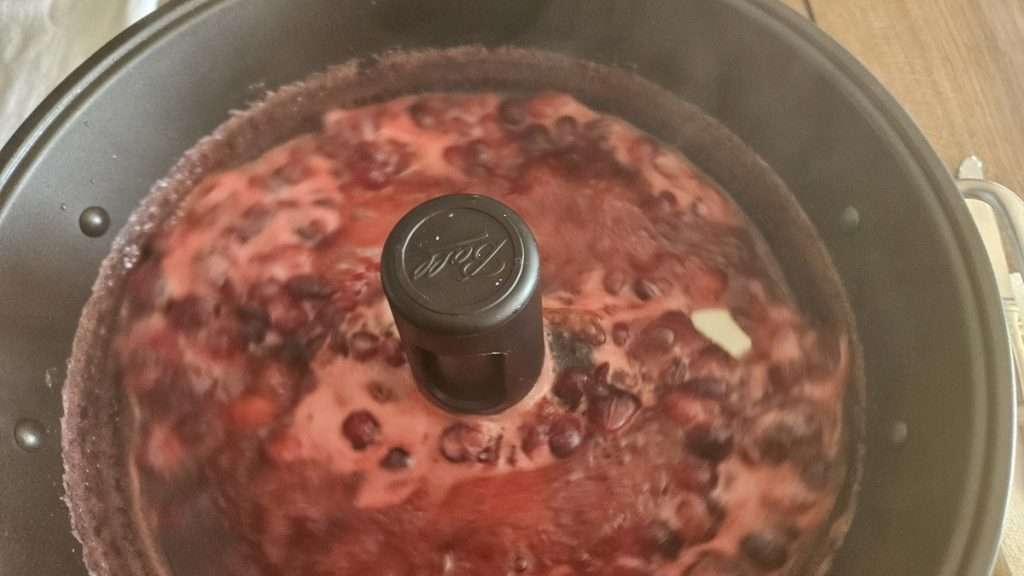
At 15 minutes in, the cranberry sauce was boiling, and many of the cranberries had popped. As you can see in the image above, there was also a lot of foam that has formed. I added a teaspoon of butter to reduce foaming. (You can see that in the upper middle right.) You don’t typically add butter to cranberry sauce, but a tiny bit of butter is used when making jam, to reduce the foaming, so that’s why I added it when I saw the foam.
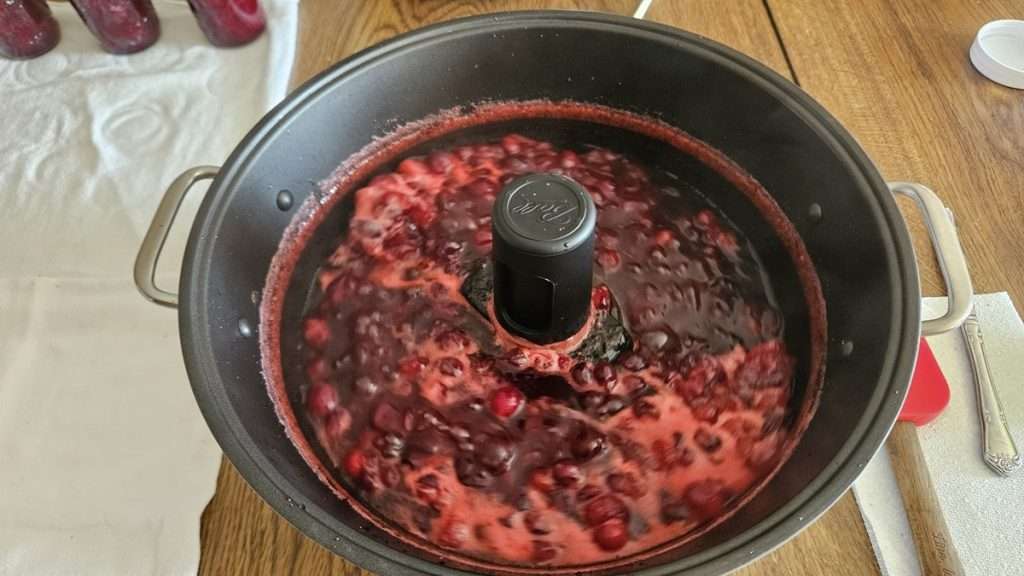
The image above is 20 minutes in, 5 minutes after adding the butter. You can see that there is still some foam, but the foam had reduced.
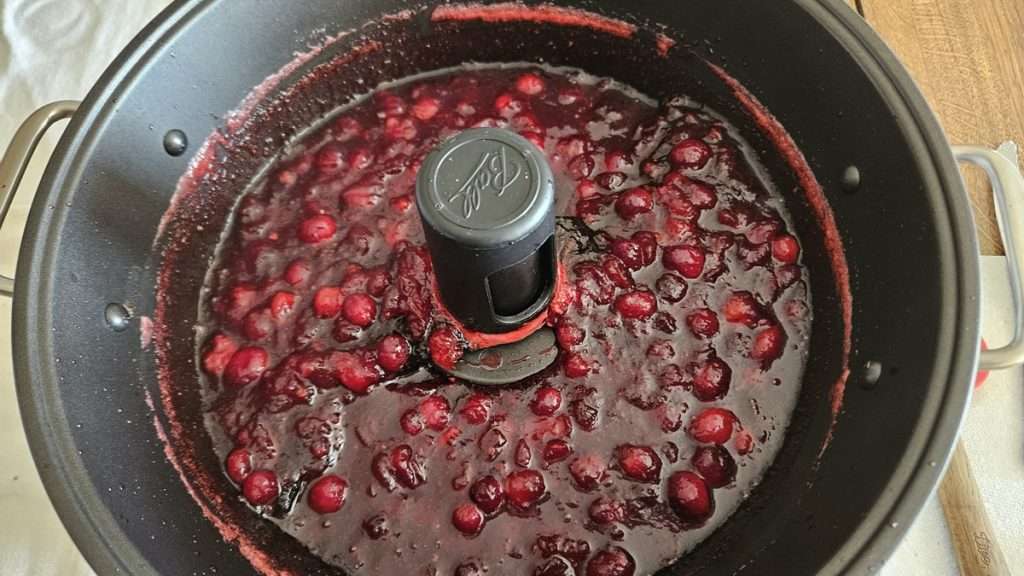
After 25 minutes, all the foam is gone, and we have some delicious cranberry sauce!
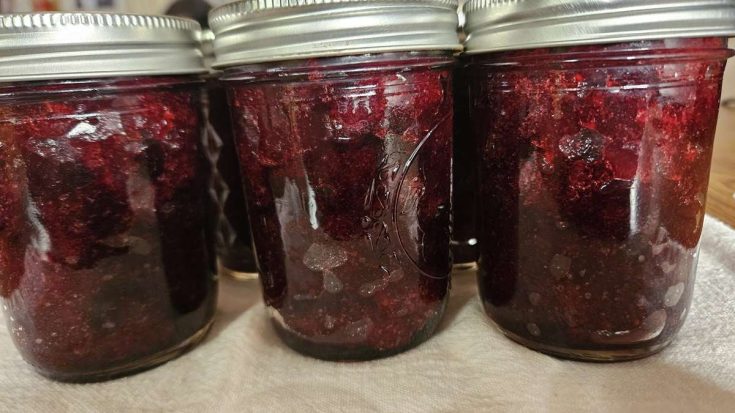
The final result was a perfectly jelled cranberry sauce that filled four half-pint jars, just as the Ball recipe indicated.
Method 2: Stovetop Cranberry Sauce Recipe
For those who don’t have a Ball Jam and Jelly Maker, you can easily make cranberry sauce for canning on the stovetop with the same ingredients and similar steps. However, the order and process is slightly different, as detailed below.
Ingredients
- 2 cups granulated sugar
- 2 cups water
- 4 cups fresh cranberries (about 1 pound)
- Orange zest (optional)
Instructions
1. In a large saucepan, combine the sugar and water. Bring to a boil over high heat, stirring to dissolve the sugar.
2. Boil hard for 5 minutes, then add the cranberries and bring the mixture back to a boil.
3. Reduce the heat and boil gently, stirring occasionally, until all the cranberries have burst and the liquid begins to sheet from a metal spoon, about 15 minutes.
4. Remove from heat when it reaches the desired consistency, and it’s ready for canning.
Your All-in-One Canning Companion

The Home Canning Success System is your all-in-one canning companion. Whether you’re brand new or a seasoned canner, this book helps you plan, organize, and track your projects with confidence. Ditch the guesswork—preserve with purpose!
Canning Homemade Cranberry Sauce
Whether you used the jam maker or stovetop, follow these steps to can your cranberry sauce.
Fill Your Canning Jars with Prepared Cranberry Sauce
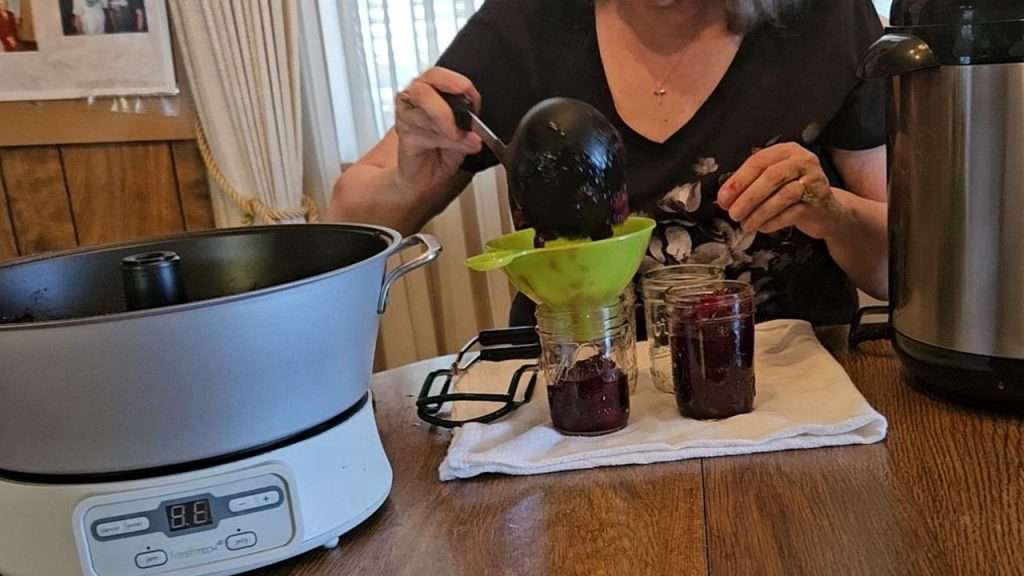
Using a ladle and funnel, transfer the hot cranberry sauce into hot, sterilized half-pint jars. Fill to 1/4″ headspace.
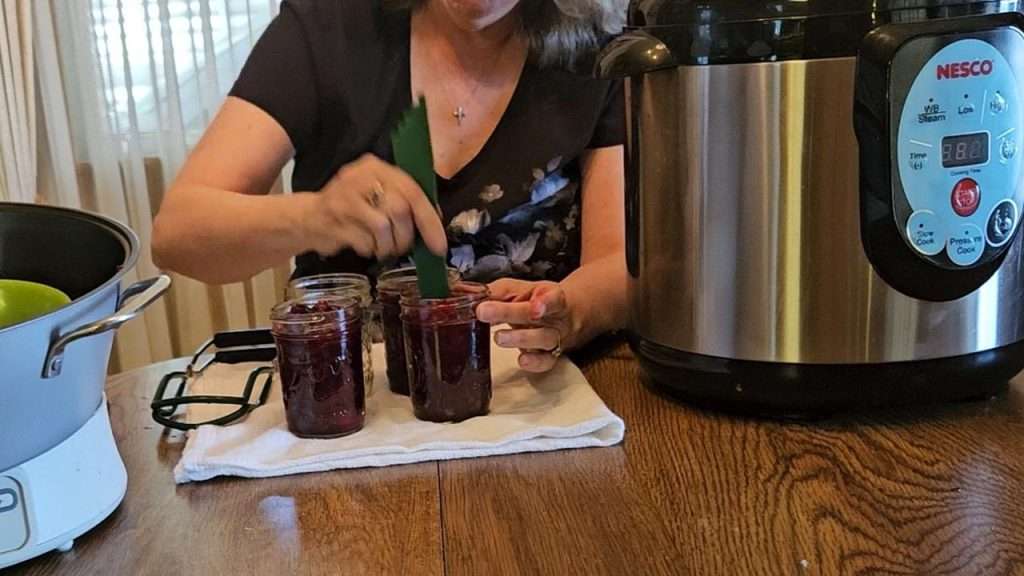
Debubble the Jars
Next, remove air bubbles (debubble). You’ll do this by running a thin plastic implement such as a chopstick, spatula, or knife around the inside edge, and in the middle. I use this simple tool (Amazon) that doubles as a headspace checking tool.
Check the Headspace
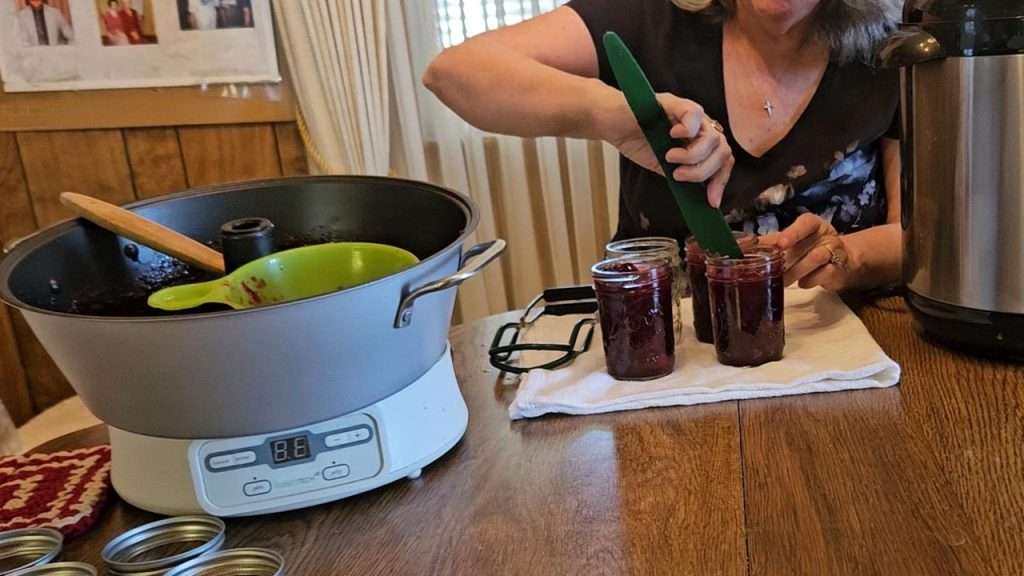
After debubbling, even if you checked the headspace before, double check to make sure you still have 1/4″ headspace. I used to eyeball it, but have found it much more accurate when I use a headspace measuring tool (Amazon).
Wipe the Jar Rims
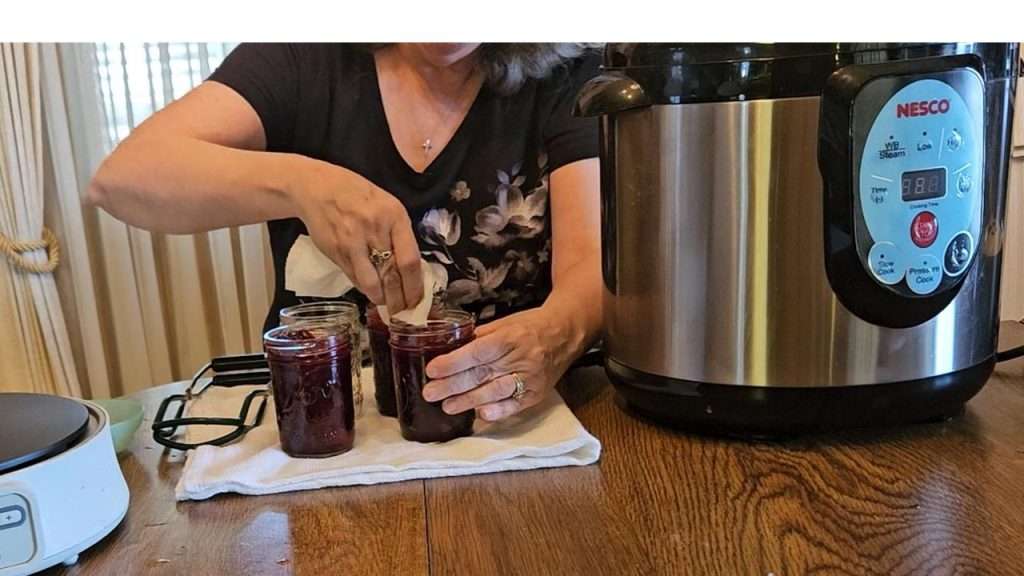
Next, using a paper towel or cloth dipped in vinegar, wipe the rims of the jars. Even if you don’t see anything on the rims, there may be a bit of food, dust, or other item on the rims. Wiping the rims removes that, which helps ensure a better seal.
Put the Lids On
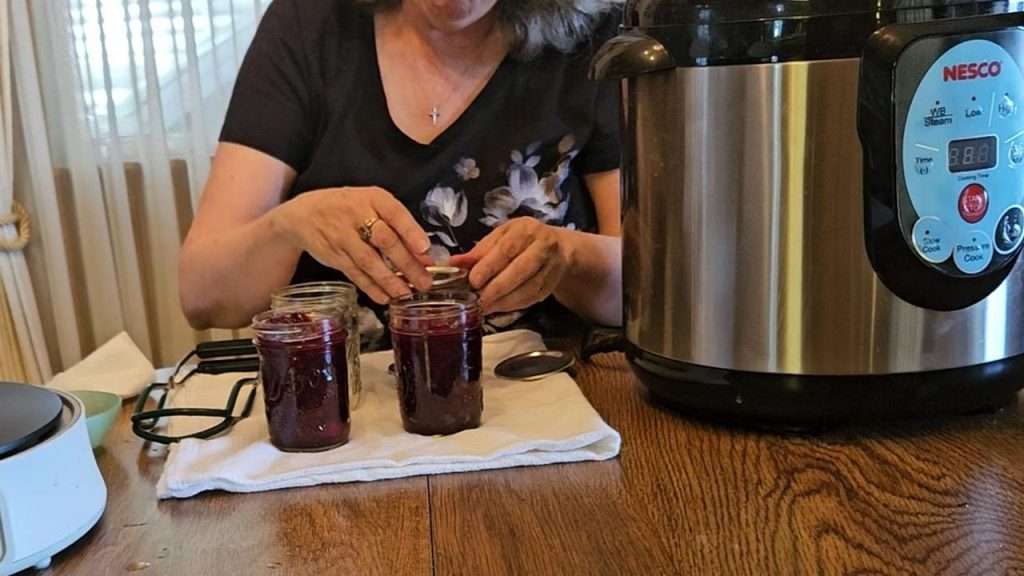
Next, put on the canning lids. Make sure they are centered. then put on the canning rings, fingertip tight.
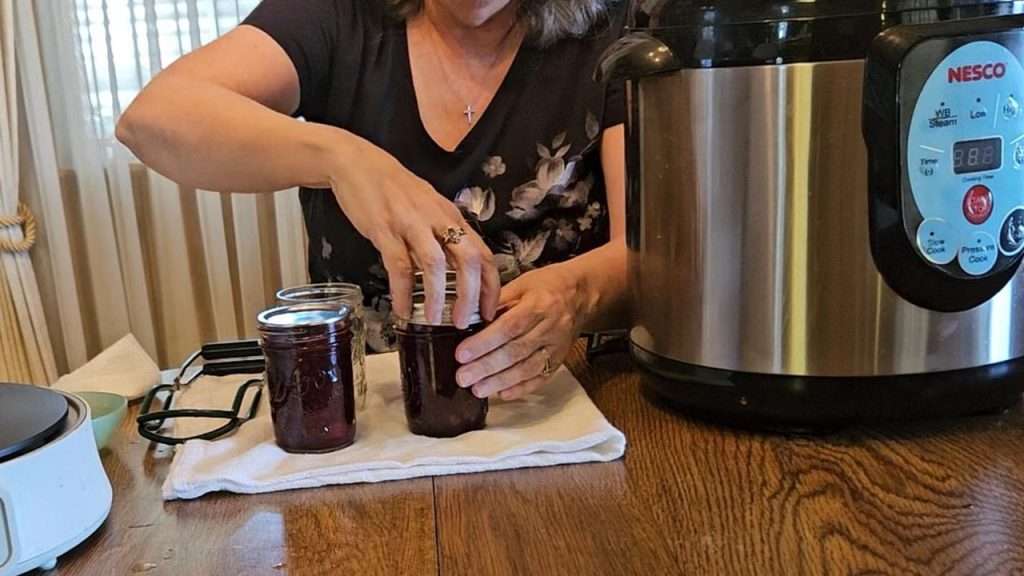
Water Bath or Steam Can Your Cranberry Sauce
Process your delicious, homemade cranberry sauce in a water bath or steam canner for 15 minutes, adjusting for altitude. Since I live at a higher altitude, I added 5 minutes to the process time, for a total of 20 minutes.
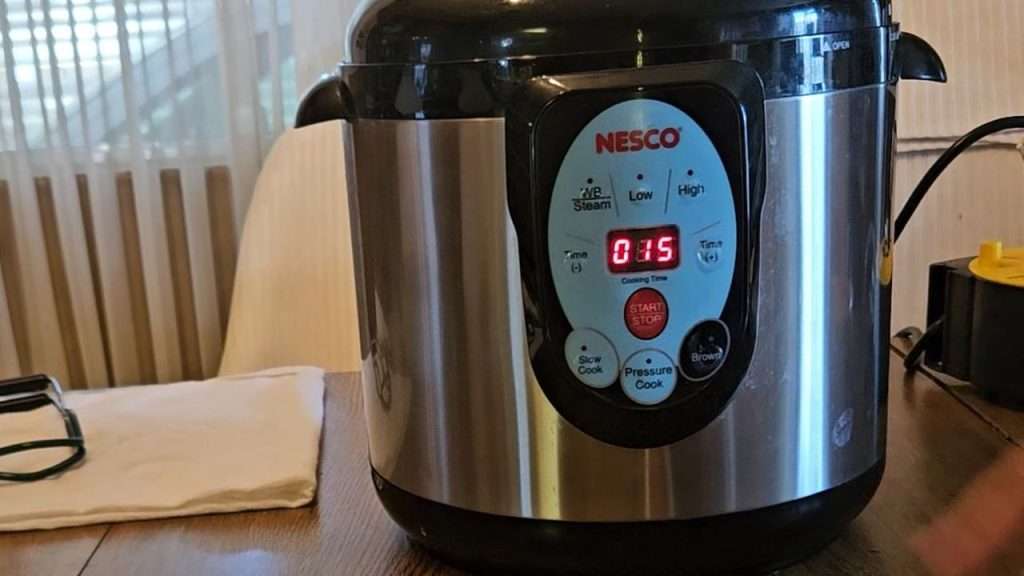
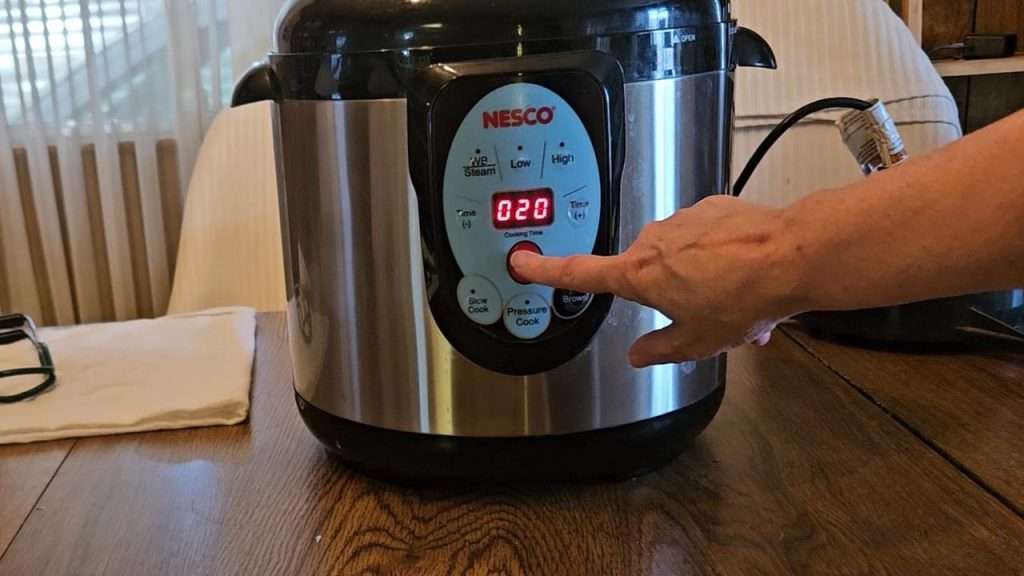
Once processing is complete, turn off the heat and let the jars sit in the canner for 5-10 minutes to gradually cool.
Carefully remove the jars and let them cool undisturbed in a draft-free area for 12-24 hours. Then, check that each lid has sealed by pressing on the center; it should not pop back. I also give a good tug on the lid, to see if it’s on there tight.
If sealed, remove the rings, wash and dry the jars, and label them with the date and contents. If you had any jars that didn’t seal, put them in the fridge and use within the next few days. Alternatively, you can put on new lids and reprocess them.
Conclusion
Making and canning cranberry sauce at home is a great way to preserve the unique, tangy taste of cranberries to enjoy all year. Not only does homemade cranberry sauce taste fresher than store-bought, but it’s also a wonderful addition to your pantry for holiday dinners, weeknight meals, or even a special treat! Canning cranberry sauce is simple, and with these methods, you can make a batch whether or not you have a jam maker on hand.
Pin for Later
If you want to save this cranberry sauce recipe and the instructions for canning it, pin one of the images below.
Print it for Later
How to Can Cranberry Sauce | Easy Cranberry Sauce Recipe
Learn how to make and can your own cranberry sauce with this simple, reliable recipe. Using fresh cranberries, sugar, and water, you can create a delicious cranberry sauce that cans beautifully for long-term shelf storage. This post walks you through both the Jam & Jelly Maker method and a traditional stovetop method, along with clear water-bath canning instructions to ensure safe, consistent results every time.
Ingredients
- 2 cups granulated sugar (4 cups for stovetop)
- 2 cups water (4 cups for stovetop)
- 4 cups fresh cranberries (8 cups for stovetop)
- Orange zest from a medium orange (optional)
- Optional (not in original but the author adds): 1 teaspoon butter — helps reduce foaming if using a jam/jelly maker.
Instructions
- Add sugar, water, and cranberries together directly into the Jam & Jelly Maker.
- Use the “Jelly” setting. The default cook time will be ~ 25 minutes.
- Keep the lid off the jam maker during the entire process.
- Around the 15-minute mark (when many cranberries have popped and plenty of foam has formed), add 1 teaspoon butter to reduce foaming.
- Continue until 25 minutes total — by then the foam should be gone, and the sauce should be a thick, jelled cranberry sauce.
- Ladle hot cranberry sauce into hot, sterilized half-pint (or pint) jars. Leave ~¼" headspace.
- Debubble the jars, wipe the rims, put lids and rings on.
- Water bath or steam can for 15 minutes, adjusting for altitude.
- In a large saucepan, bring the 4 cups water and 4 cups sugar to a boil, stirring to dissolve sugar.
- Boil hard for 5 minutes.
- Add the fresh cranberries, return the mixture to a boil.
- Reduce heat, then gently boil/ simmer — stirring occasionally — until all cranberries have burst and the liquid begins to “sheet” from the back of a metal spoon. This takes about 15 minutes.
- If using orange zest, stir it in during the last few minutes of cooking (if desired).
- Ladle hot cranberry sauce into hot, sterilized half-pint (or pint) jars. Leave ~¼" headspace.
- Debubble the jars, wipe the rims, put lids and rings on.
- Water bath or steam can for 15 minutes, adjusting for altitude.
Method A: Using a Jam & Jelly Maker
Method B: Stovetop (for those without a jam maker)
Notes
The recipe is essentially the same, whether you do this in the Jam and Jelly maker or on the stove top. Because of that, if you are making your cranberry sauce on the stovetop, but prefer a smaller batch, feel free to use the ingredient amount for the Jam maker.
Recommended Products
As an Amazon Associate and member of other affiliate programs, I earn from qualifying purchases.
-
 Jam and Jelly Maker
 -
 Ball Regular Mouth Mason Jars 8 oz. (12 Pack) - Half Pint Size Jars with Airtight Lids and Bands for Canning, Fermenting, Pickling, Meal Prep or DIY Decors
 -
 Debubbler and Headspace Measuring Tool
 -
 Regular Mouth Canning Lids
 -
 Ball Regular Mouth Pint (16 oz.) Mason Jars with Lids and Bands, for Canning or Drinkware, 8 Count
Related Articles
If you enjoyed this article, you’re sure to enjoy these related articles:
💬 I’d love to hear from you!
Have you tried this yourself? Have a question or tip to share? Leave a comment below — your experience or question could help someone else, too!