

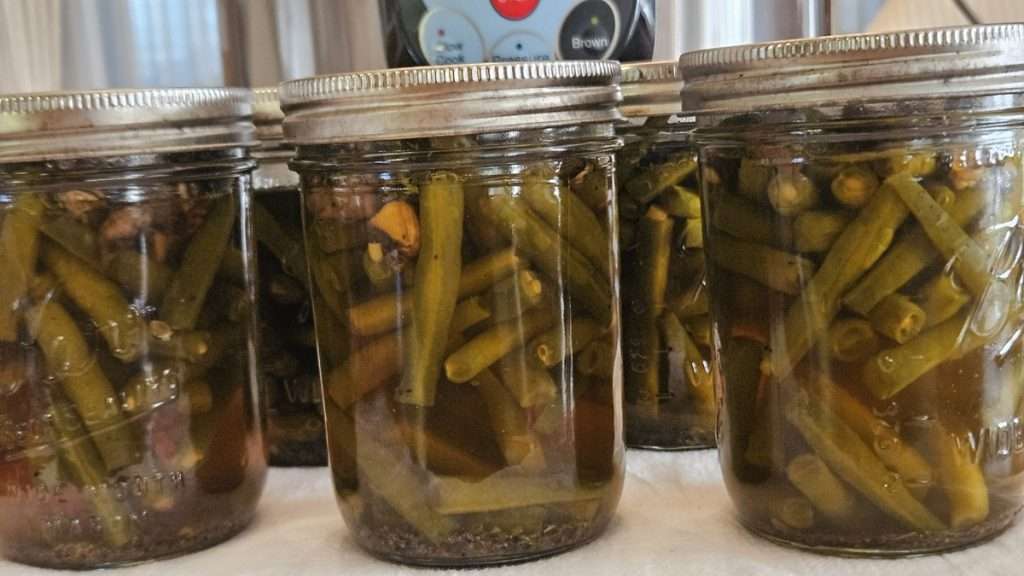
Canning green beans with mushrooms is a simple and delicious way to preserve summer vegetables for long-term storage.
This article includes affiliate links.
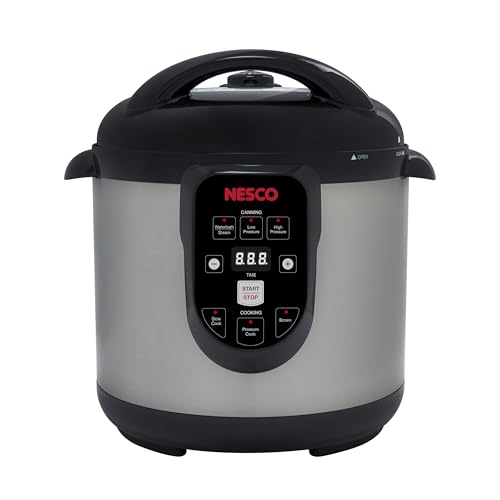
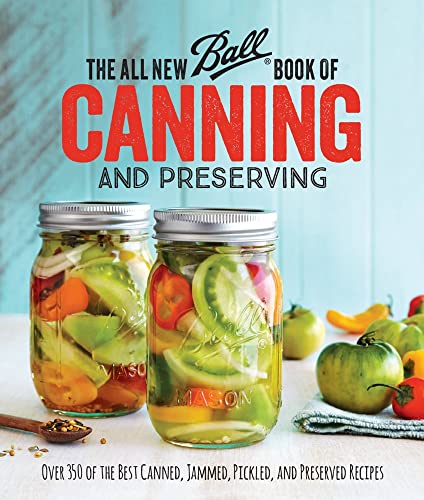
I used a recipe from The All New Ball Book of Canning and Preserving (Amazon) and made a small adaptation to yield five pints instead of four—perfect for my Nesco Smart Canner (Amazon)
In this post, I’ll walk you through the process, including how I prepped the green beans, tips for how to prepare mushrooms for canning, how to safely follow the recipe (especially with mushrooms!), and a few taste notes for future batches.
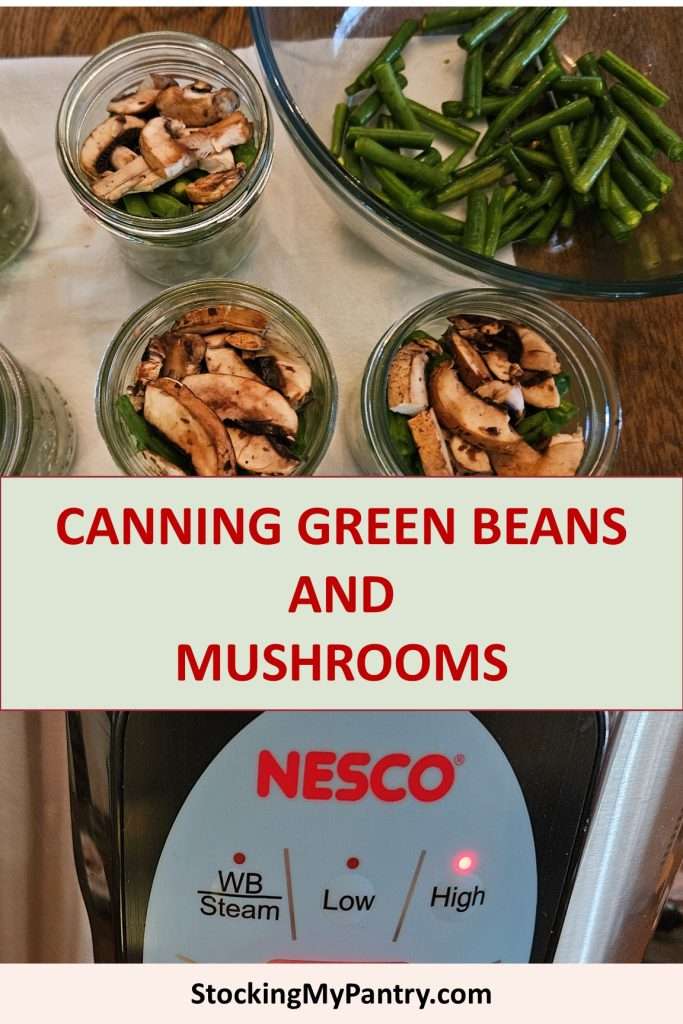
Prepping the Green Beans and Mushrooms for Canning
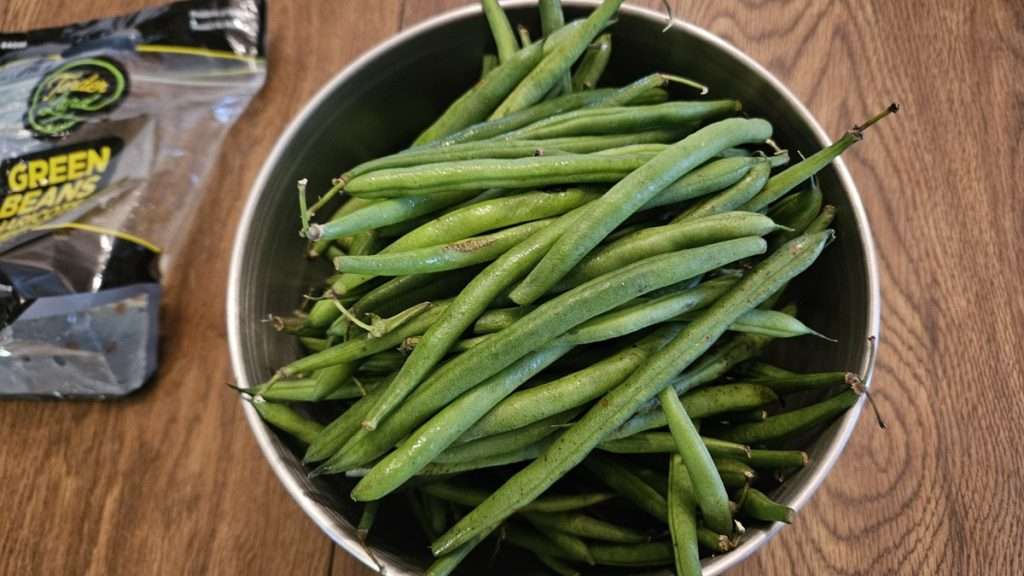
Before canning, I gave my green beans a good wash and trimmed off both ends. I then cut them into pieces somewhere between 1 to 2 inches long.

Green beans vary a lot in size and shape, so don’t stress about making each piece identical. Just aim for bite-sized chunks that will fit nicely into your jars with room to spare for mushrooms and broth.

📝 Note: The green beans I used didn’t need to be “strung,” but if yours do, be sure to remove the strings before cutting. If you’re not sure how, I’ve included a quick video below to show you how it’s done.
In terms of how to prepare the mushroom, you’ll first want to clean them, and trim the steams, and then slice them.
Here’s a video on how to easily clean whole mushrooms.
Now, if like me you started with sliced mushrooms, the best way to clean them is to swish them around in a bowl of water, and rub them a bit to dislodge any dirt. I then dump the water, and do it a second time.
Finally, I put the washed mushrooms into a salad spinner to spin off the excess water. Here is the salad spinner I use, that you can pick up on Amazon.
While I didn’t record a video while doing this, here is a video of someone who handles it in a similar fashion.
Ingredients for Canning Green Beans and Mushrooms
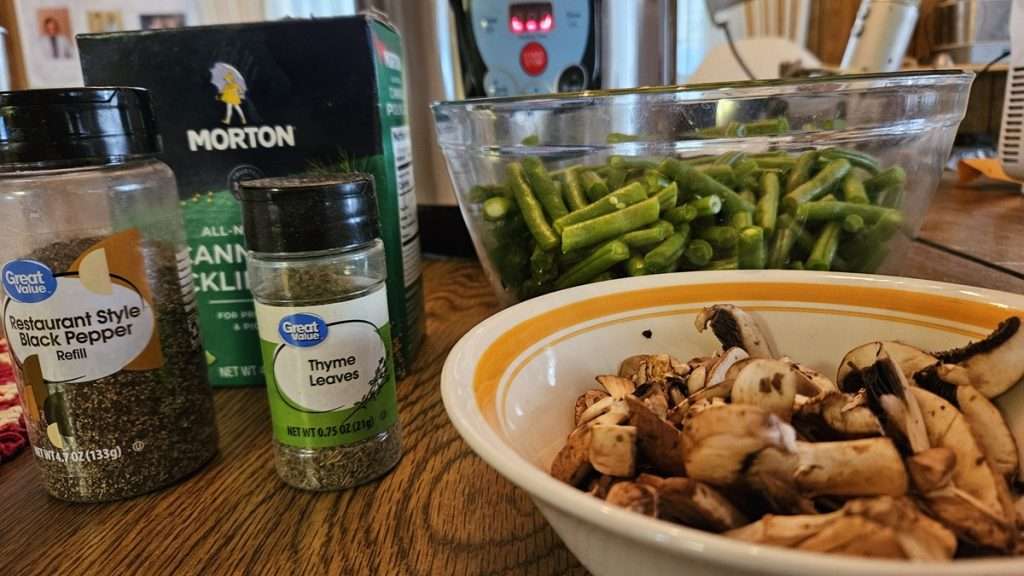
The original tested recipe includes:
- Green beans (snap, green, or wax)
- Fresh mushrooms, sliced
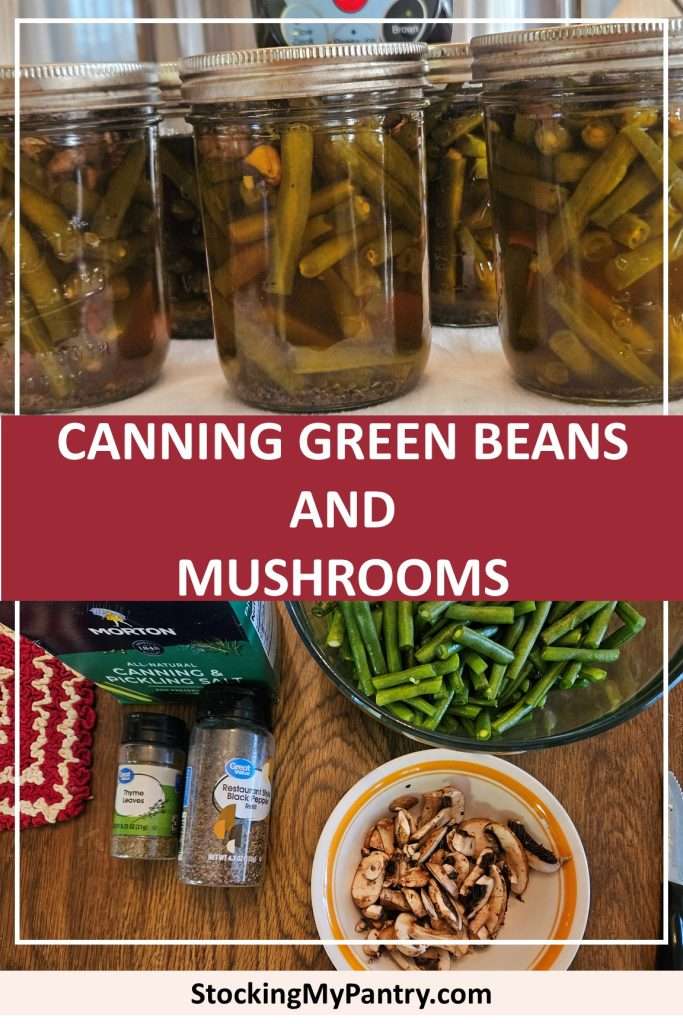
- A combination of salt, black pepper, and dried thyme for flavor
- Hot broth (either chicken or vegetable) as the liquid
Since my canner holds five pints and the original recipe made four pints, I scaled everything slightly—but without increasing any ingredients beyond what’s needed to fill an extra jar. You’ll find the exact amounts I used down in the recipe card.
Filling the Jars with Green Beans, Mushrooms, and Spices
Here’s how I packed each pint jar:
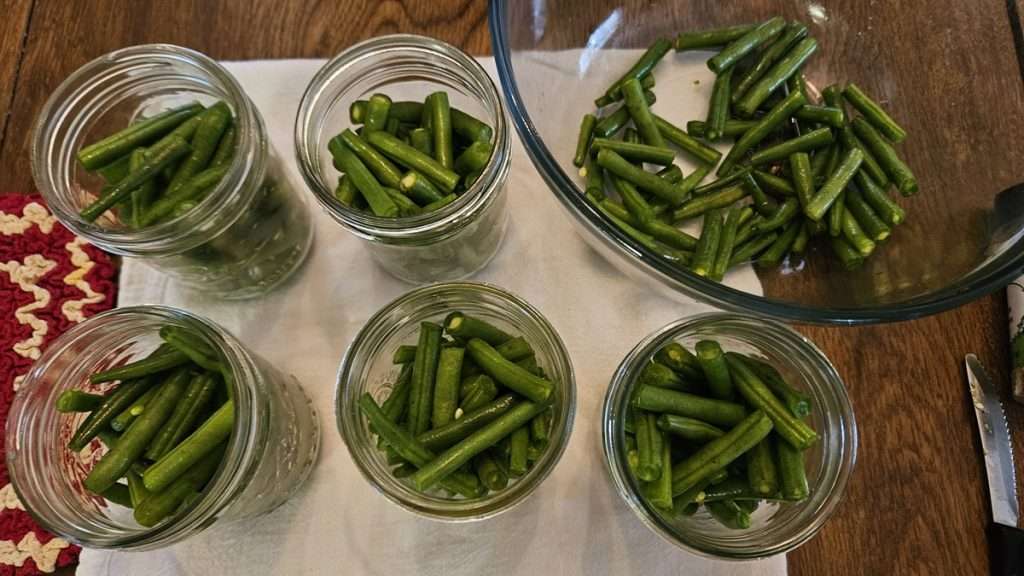
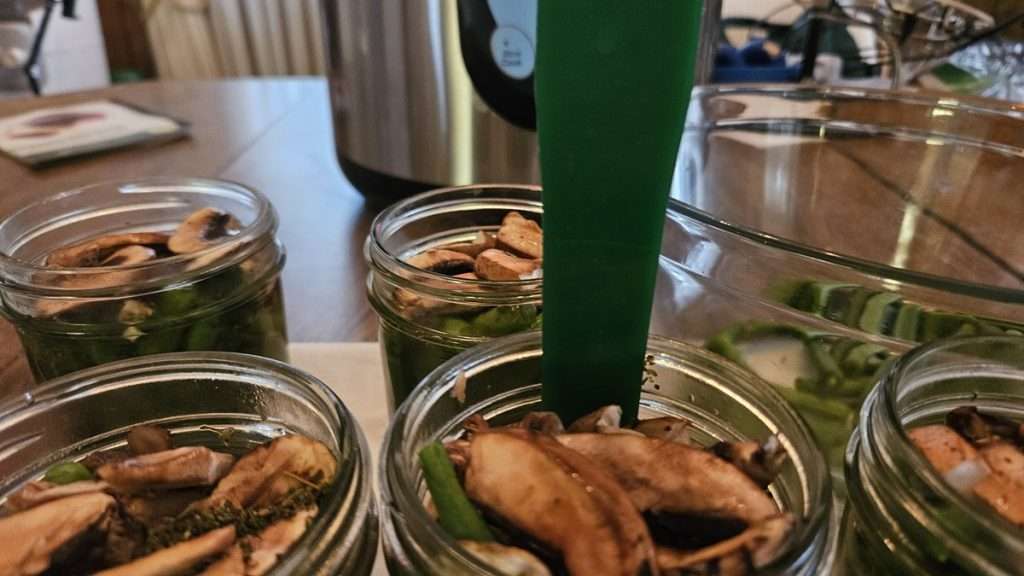
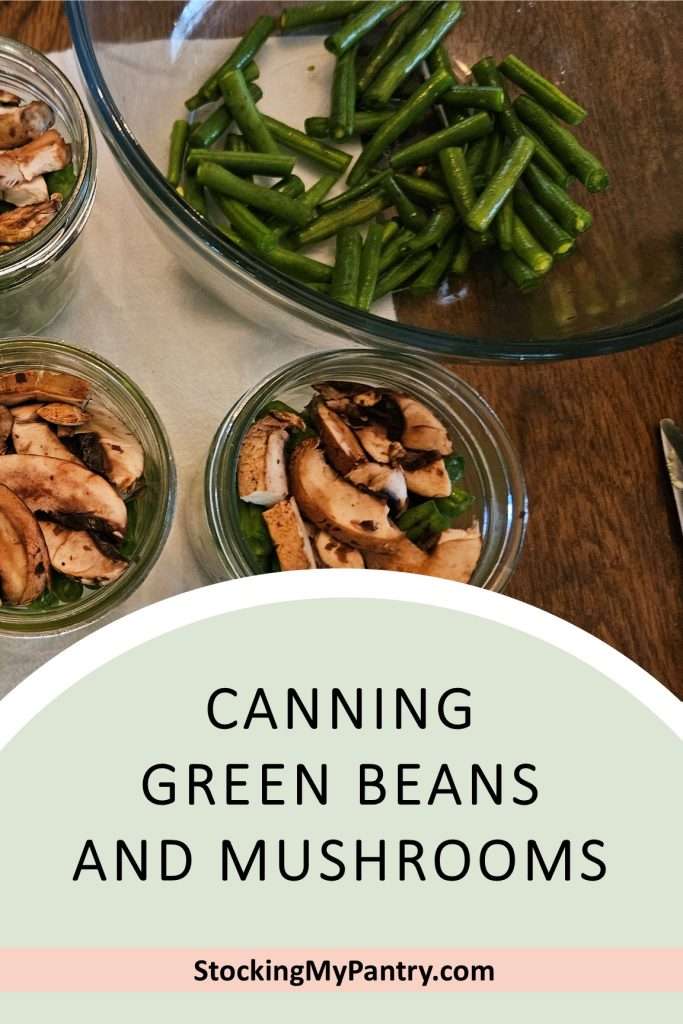
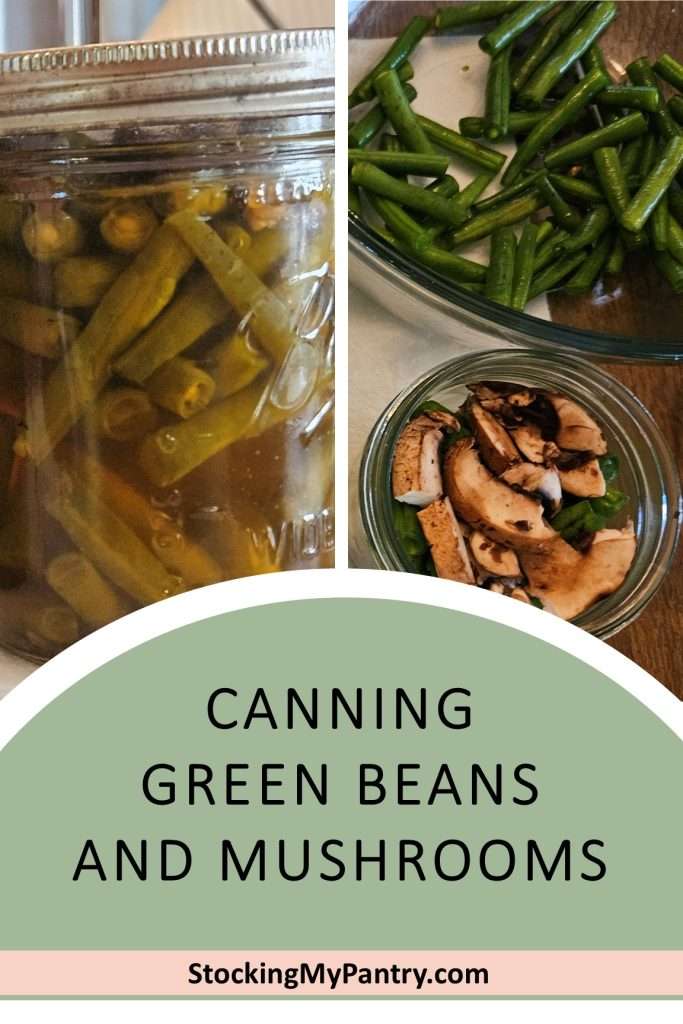
First, I divided the green beans evenly among the jars, pressing them down gently and leaving a little more than 1 inch of headspace.
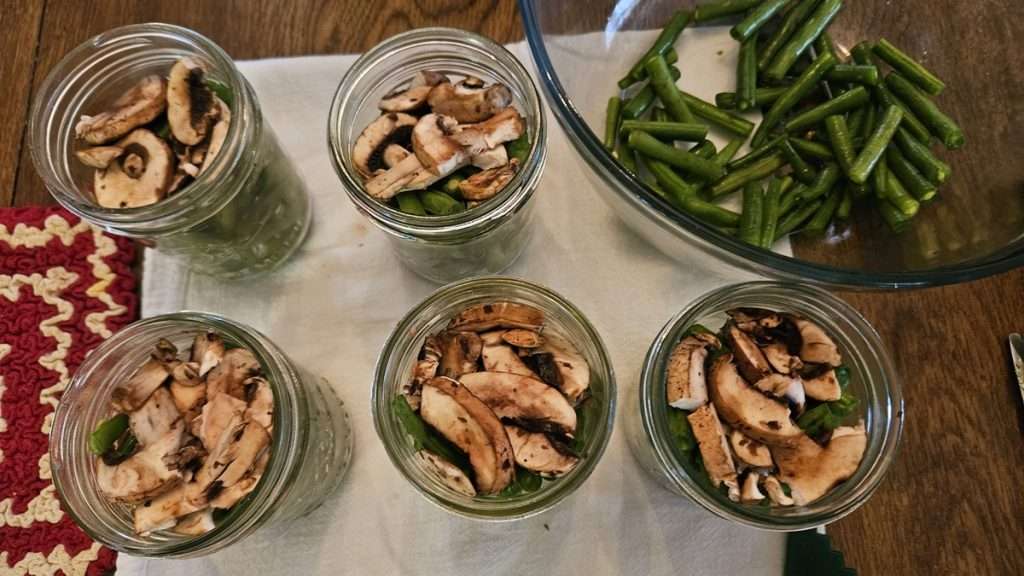
I then added sliced mushrooms to each jar, pushing them to maintain the 1 inch headspace.
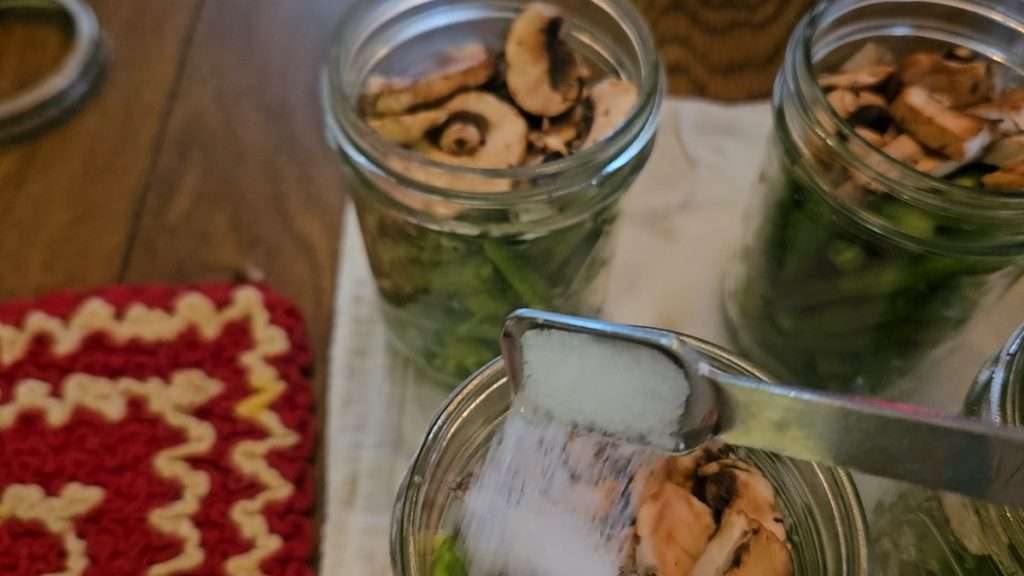
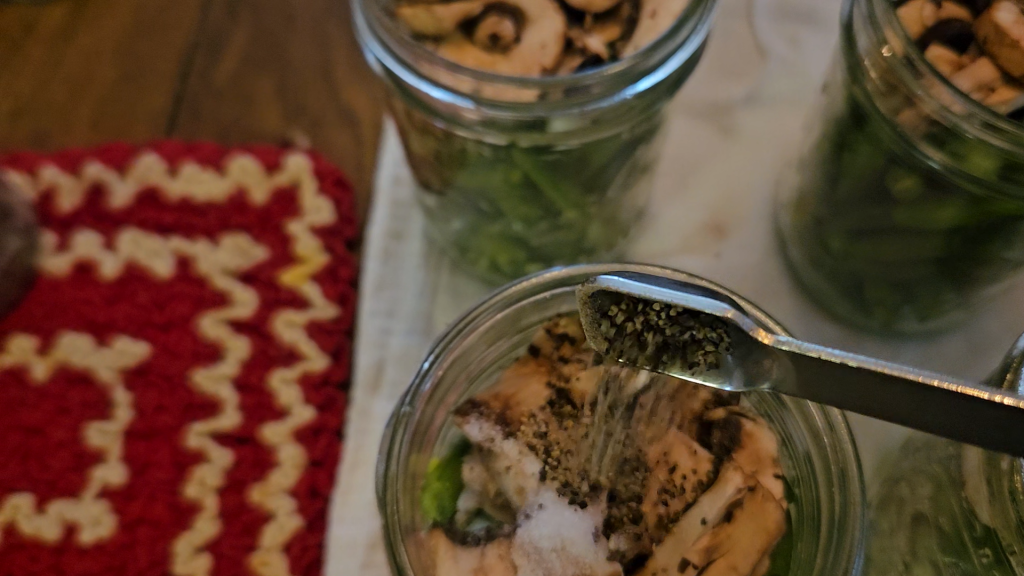
Next, I added salt, black pepper, and thyme to each jar (again, check the recipe card below for amounts).
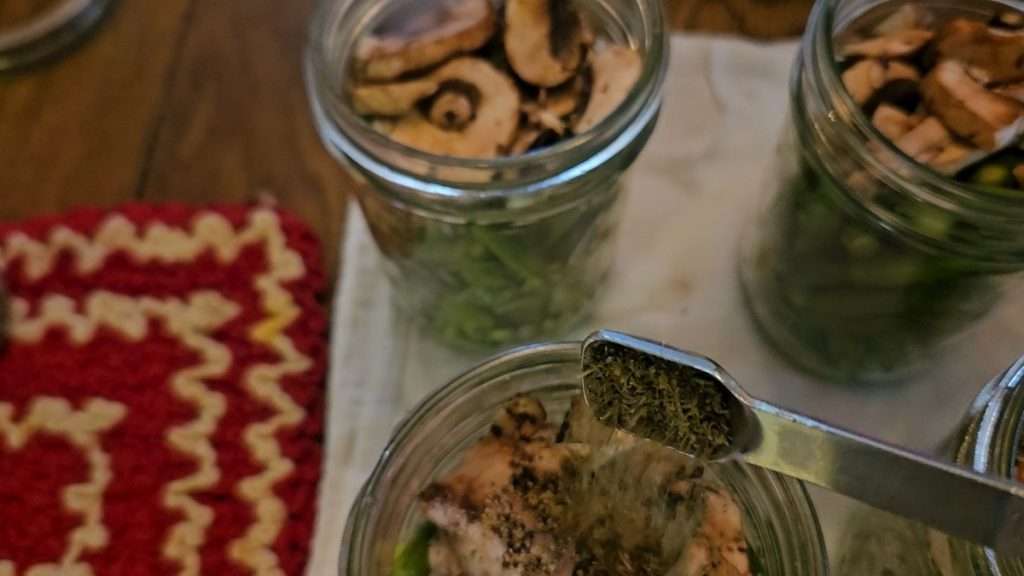
Then I poured in hot chicken broth to fill each jar to the 1” headspace.
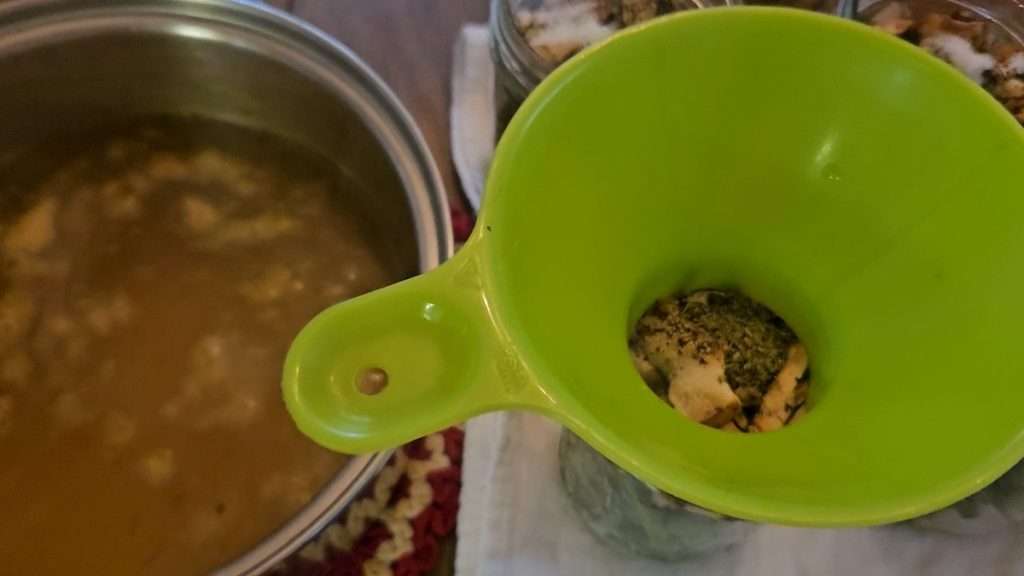
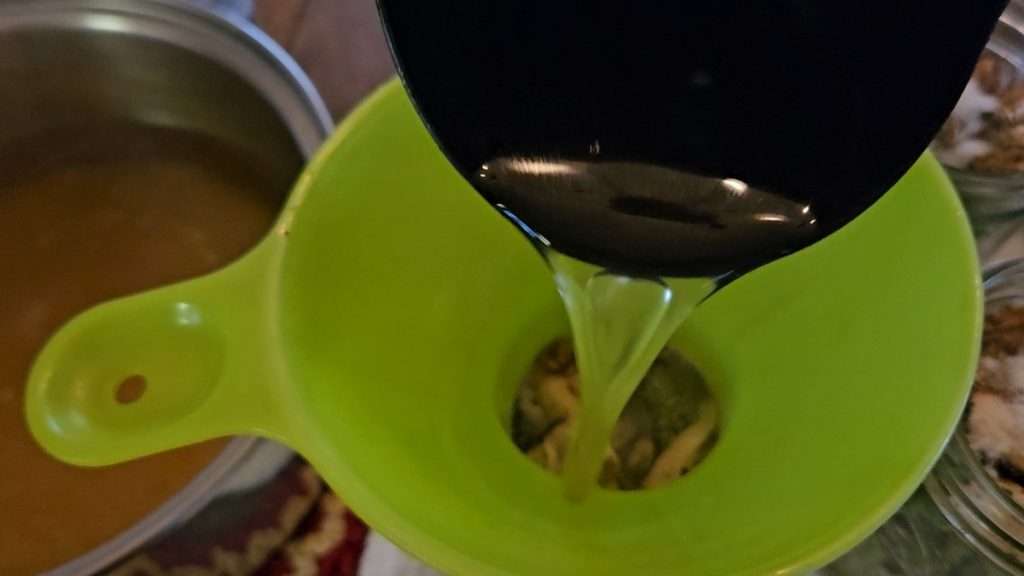
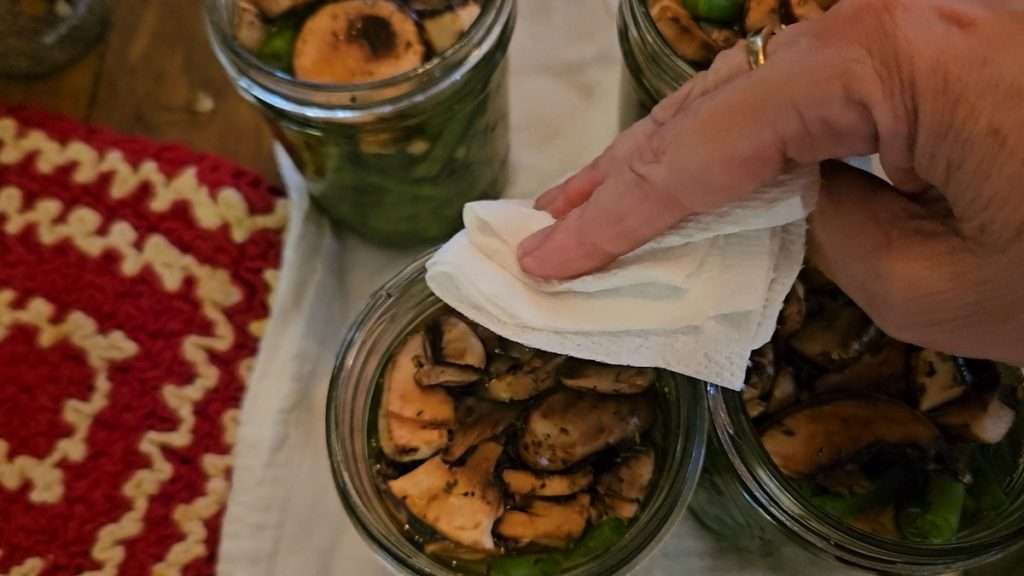
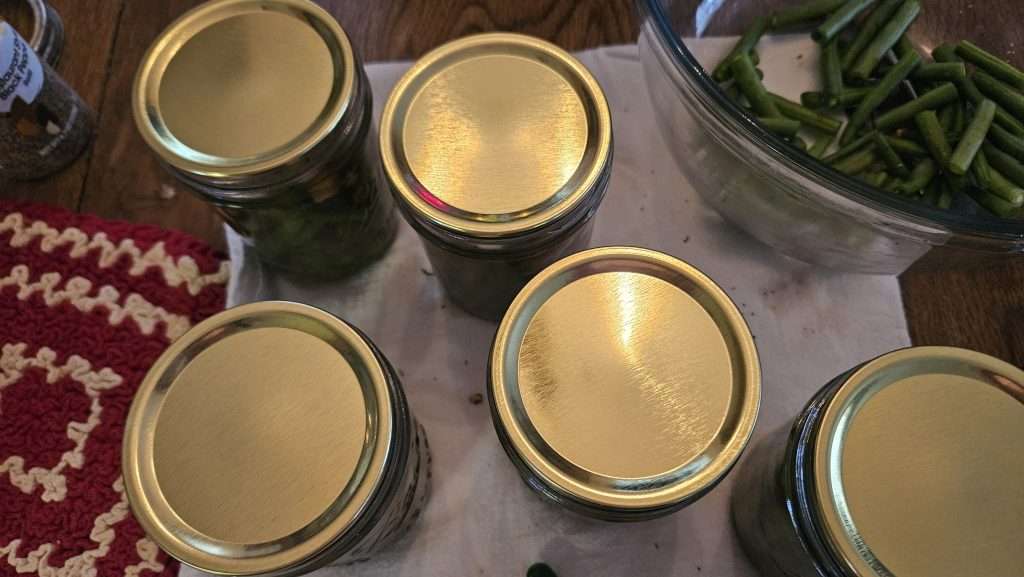
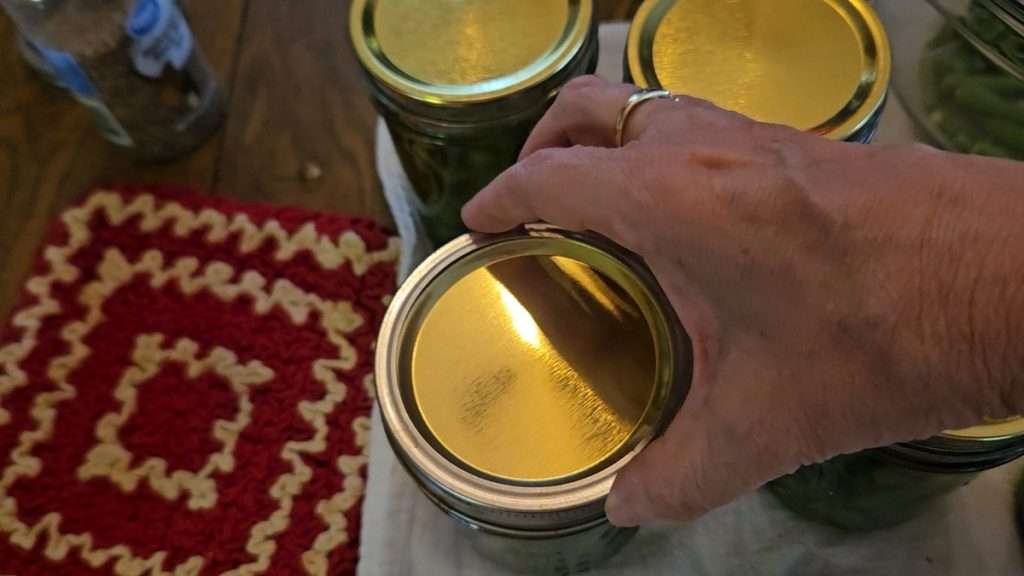
Finally, I debubbled that jars, , adjusted headspace as needed, wiped rims, put on the lids and screwed on the rings finger-tight.
Canning Instructions
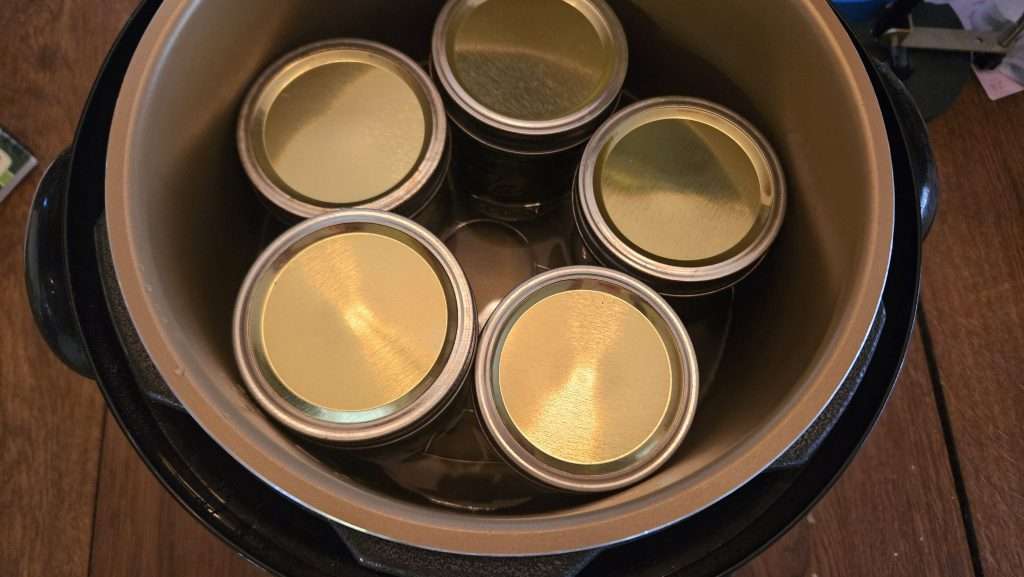
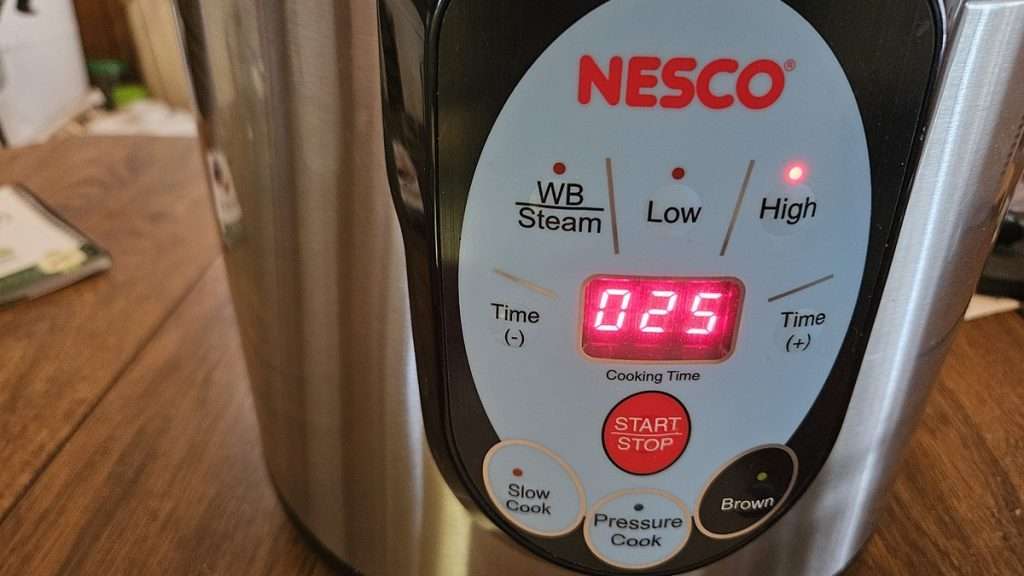
I processed pints of the green beans and mushrooms in my Nesco Smart Canner (Amazon) for 25 minutes. If you’re using quart jars, you’ll want to process for 30 minutes.
Important Safety Note About Canning Mushrooms
As I was preparing this recipe for canning, I noticed that there were hardly any mushrooms compared to the amount of green beans. I considered increasing the mushroom quantity, but there is a reason for following tested recipes, because sometimes the quantity of different ingredients matter. With that in mind, I looked into the guidelines for canning mushrooms on the National Center for Home Food Preservation, and here’s what I found.
- Mushrooms must be pressure canned for 45 minutes, even in pints or half-pints.
- Quarts of mushrooms aren’t recommended at all due to safety concerns.
This likely has to do with how dense mushrooms are and how slowly heat penetrates them. The small amount of mushrooms in this Ball-tested recipe appears to be safe because they are only a small portion of the recipe. This makes it safe to only can them for 25 minutes, as stated in the recipe.
👉 Bottom line: Stick with the tested proportions. Do not increase the mushrooms in this recipe.
How My Home-Canned Green Beans and Mushrooms Turned Out
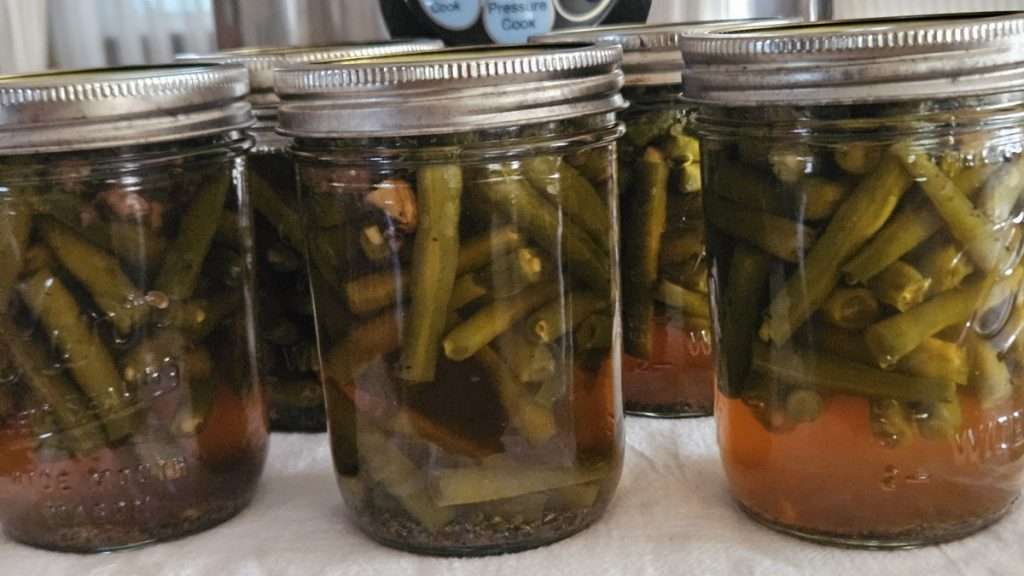
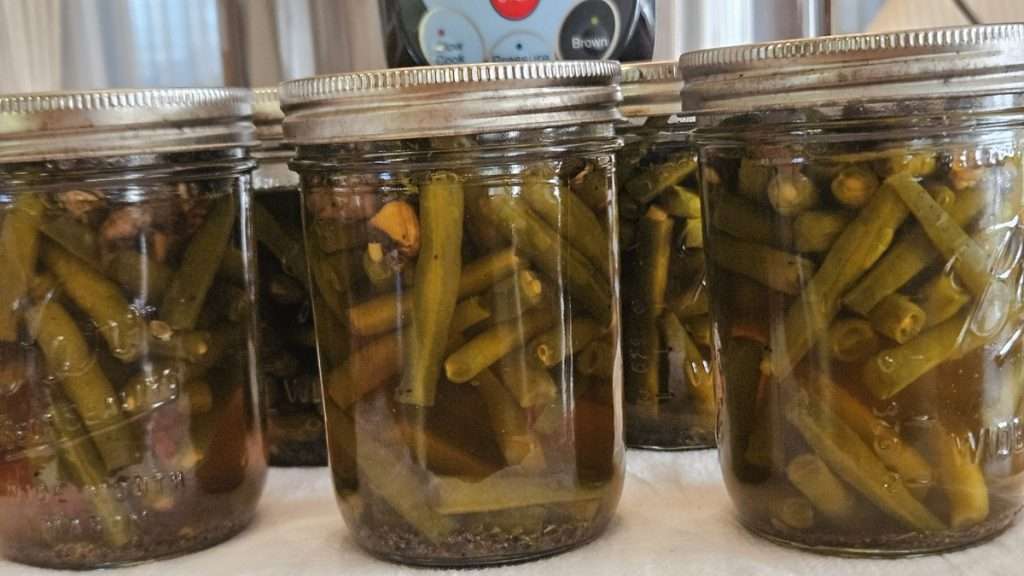
The green beans held up nicely—tender but not mushy—and the mushrooms added great flavor. However, I found the black pepper a little too strong for my personal taste. In the future, I’ll cut the pepper in half, but otherwise follow the recipe exactly.
📝 Note: It’s safe to adjust or omit dried herbs and spices in canning recipes. That means you can tailor the flavor without affecting the safety of your canned goods.
Would I Make It Again?
Absolutely. This is a great way to preserve green beans and mushrooms and have a ready-to-go side dish or ingredient for soups and stews on your shelf. I’ll just tone down the pepper next time!
Pin it for Later
Related Articles
If you enjoyed this article, you’re sure to enjoy these related articles.
- How to Heat Jars in the Nesco Canner
- Canning Lemon Garlic Green Beans
- How to Pressure Can in the Nesco Canner
Final Thoughts
Whether you’re brand-new to pressure canning or just looking to use up an abundance of green beans, canning this green bean and mushroom combo is well worth a try. It’s a flavorful, safe, and pantry-friendly way to enjoy your summer harvest, farmer’s market, or grocery store deals all year long.
How to Can Green Beans and Mushrooms in the Nesco Canner
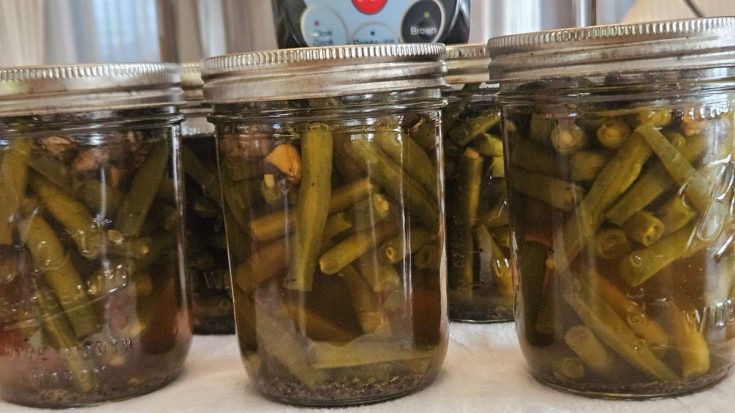
This pressure canning recipe combines green beans and mushrooms in a flavorful broth with savory herbs and spices. Adapted from a trusted Ball canning recipe, this version is scaled to fit five pint jars—perfect for small-batch canning with an electric pressure canner like the Nesco. A delicious way to stock your pantry with shelf-stable vegetables!
Ingredients
- 1.875 lbs green beans, trimmed and cut into 1–2 inch pieces
- 1.25 cups fresh mushrooms, sliced
- 2 ½ teaspoons canning and pickling salt (such as Morton’s)
- 1 ¼ teaspoons ground black pepper (see notes)
- 1 ¼ teaspoons dried thyme
- Hot chicken or vegetable broth (enough to fill jars)
Instructions
- Prep the green beans by washing, trimming off the ends, and cutting into 1–2 inch pieces. Slice mushrooms.
- Heat jars in hot water (you can do this directly in your Nesco Smart Canner). Keep warm until ready to use.
- Divide the green beans evenly between 5 pint jars, pressing down to fit but maintaining 1 inch of headspace.
- Add ¼ cup sliced mushrooms to each jar, pressing them below the 1-inch headspace line.
- To each jar, add:
½ teaspoon salt
¼ teaspoon black pepper
¼ teaspoon dried thyme - Fill jars with hot broth, leaving 1 inch of headspace.
- Debubble jars using a non-metallic utensil. Adjust headspace if needed.
- Wipe rims, apply lids and rings, and tighten fingertip tight.
- Process in a pressure canner at the appropriate pressure for your altitude:
- Allow canner to cool and depressurize fully before removing jars. Let jars rest for 12–24 hours. Check seals, label, and store.
Notes
Recommended Products
As an Amazon Associate and member of other affiliate programs, I earn from qualifying purchases.


💬 I’d love to hear from you!
Have you tried this yourself? Have a question or tip to share? Leave a comment below — your experience or question could help someone else, too!