

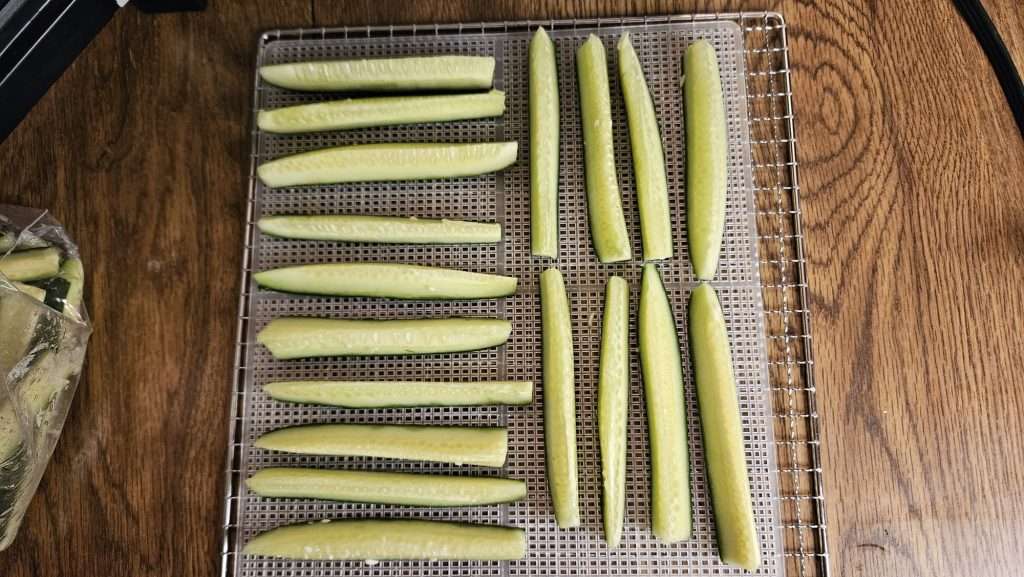
When I saw cucumbers on sale for just $0.99 a pound, I couldn’t pass up the deal. I bought a bunch—definitely more than we could eat fresh before they went bad. I quickly froze some (check out my post on how to freeze cucumbers), but I still had plenty left. I considered making pickles (I’ve got a post on that, too), but my pantry’s still stocked from last year. That’s when I started looking into how to dehydrate cucumbers—and I’m so glad I did.
Why Dehydrate Cucumbers?
This article includes affiliate links.
You may not think of cucumbers as something you’d dehydrate, but there are some big benefits.
🥒 Crispy pickles without canning – According to The Ultimate Dehydrator Cookbook (Amazon – this is my go-to dehydrating resource), you can make refrigerator pickles from dehydrated cucumber spears or slices—and they stay crisp! That alone made it worth trying.
🥒 Perfect for small pantry spaces – Dehydrated food shrinks down significantly, which is great when you’re short on storage space (like me!).
🥒 Flexible snack or prep item – Enjoy them as crispy chips, toss them in soups or smoothies, or use them for pickles later. In other words, once you make and can pickles, there aren’t a whole lot of options for what to do with them. But dehydrating plain cucumbers keeps your options open for future use.
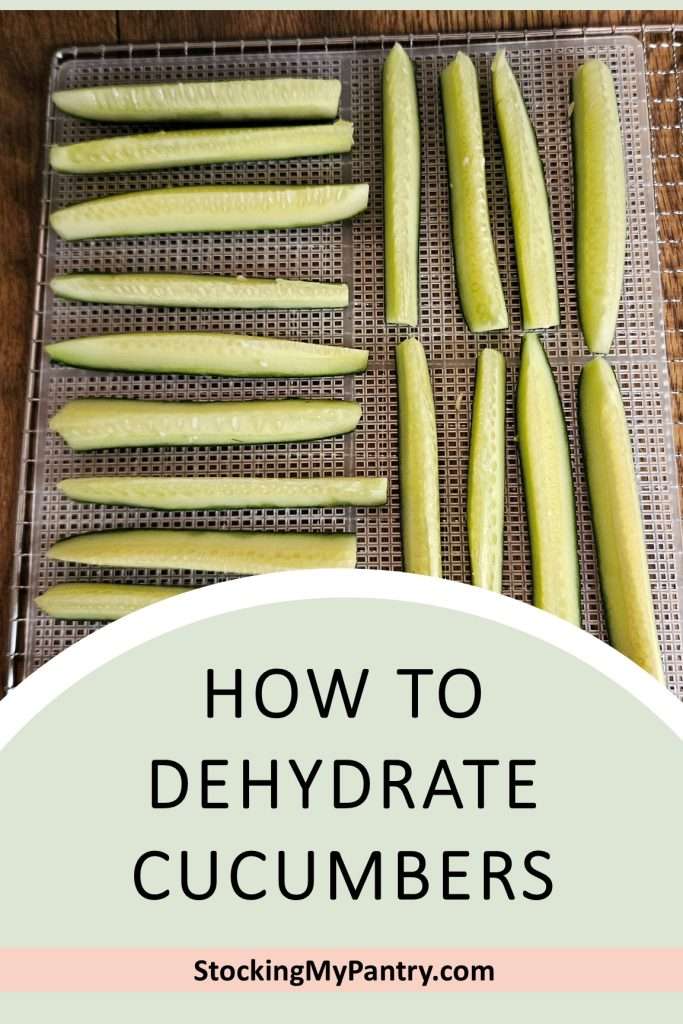
Step 1: Blanch (Only If Keeping the Peel)
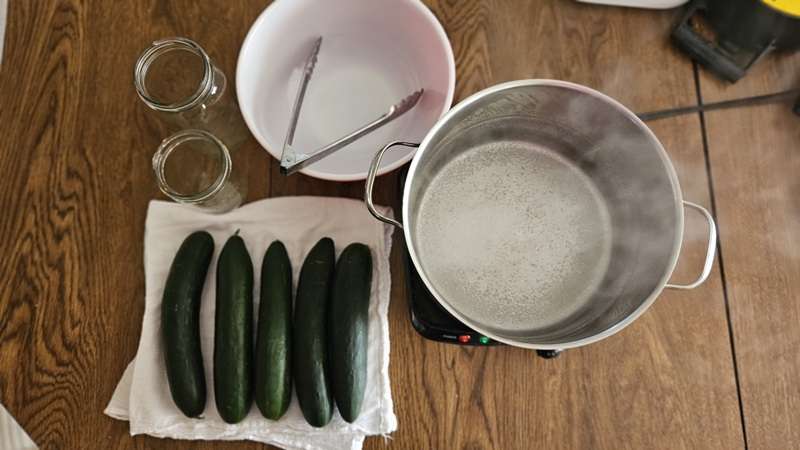
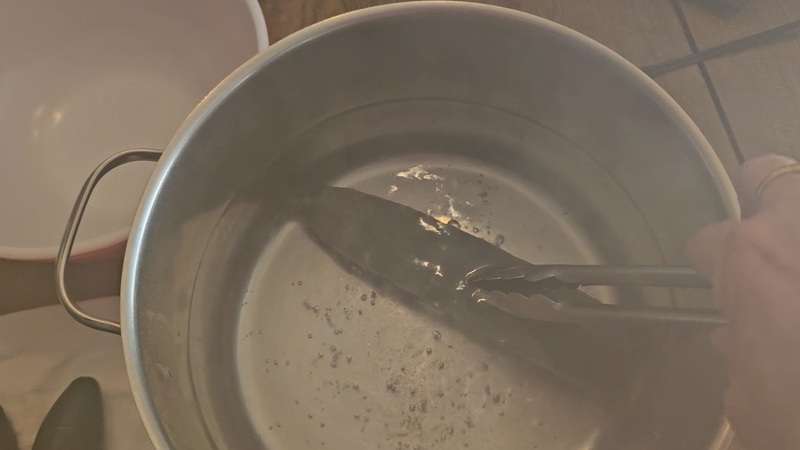
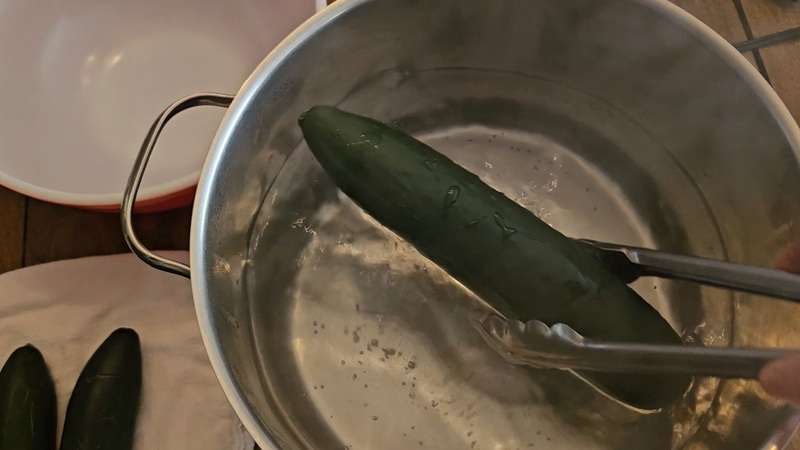
If your cucumbers have the peel on (like mine did), you’ll need to blanch them before slicing. This step removes the waxy coating and softens the skins, helping them dehydrate better.
If you plan to peel the cucumbers, you can skip this step entirely and go straight to slicing.
Here’s what I did:
- Brought a pot of water to a boil.
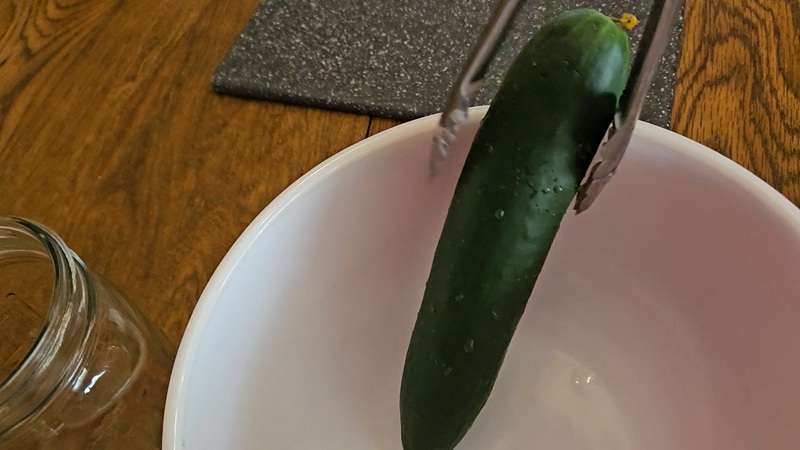
- Blanched whole, unpeeled cucumbers, one at a time, for exactly 30 seconds.
- Immediately put them aside so they could cool.
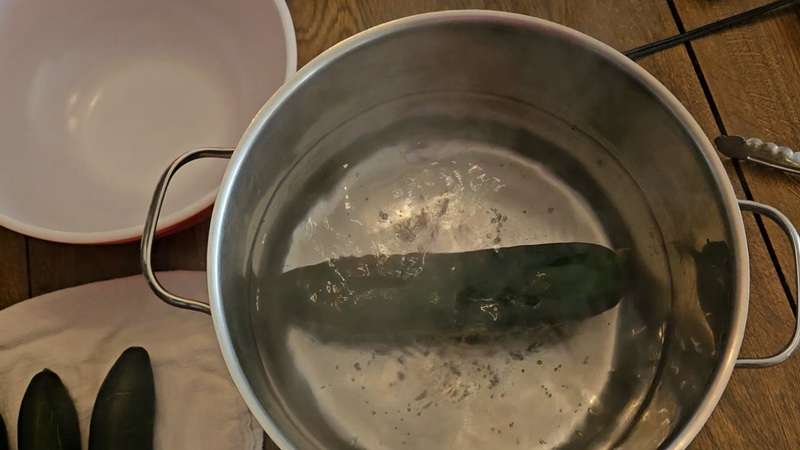
Step 2: Slice or Spear the Cucumbers
Once blanched (or peeled), it’s time to prep the cucumbers.

I started by trimming off both ends.
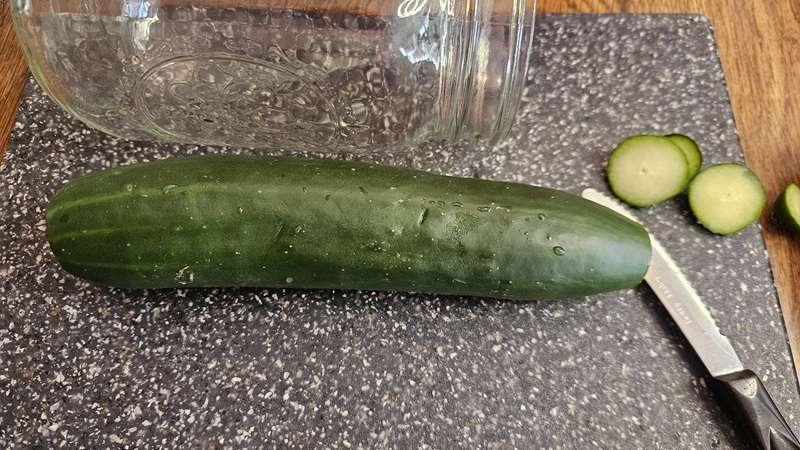
Then, I figured out the ideal length for spears by laying a quart-sized mason jar on its side and holding a cucumber next to it.
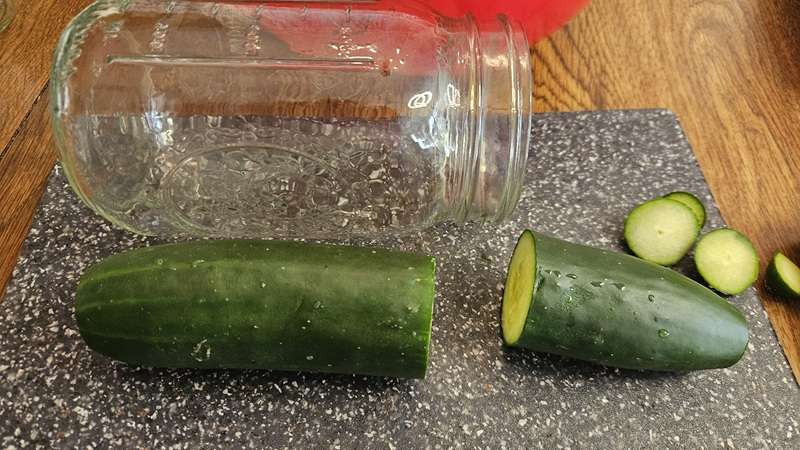
I trimmed the cucumber so it would fit nicely into the jar, then saved the cut-off ends to make cucumber slices.
Here’s how I prepped:
💡 Important Update: After testing both spear-cut and sliced cucumbers in a pickle recipe, I found that slices work much better than spears for making refrigerator pickles from dehydrated cucumbers.
👉 Be sure to read my post on making pickles from dehydrated cucumbers before you dehydrate, especially if you plan to use them for pickling later!

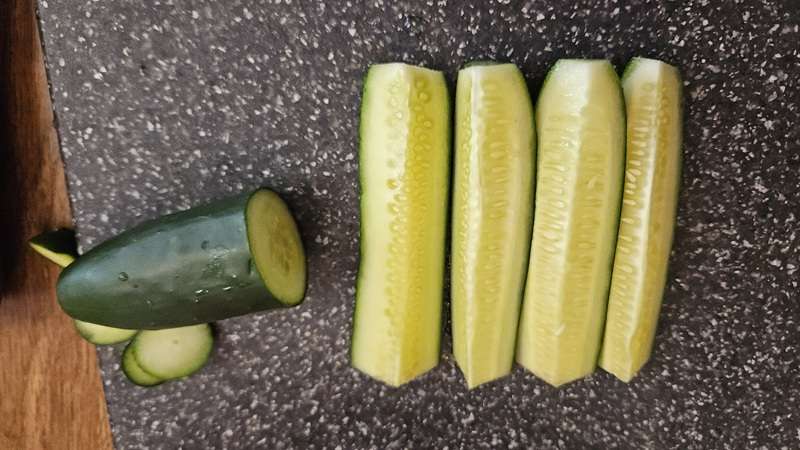
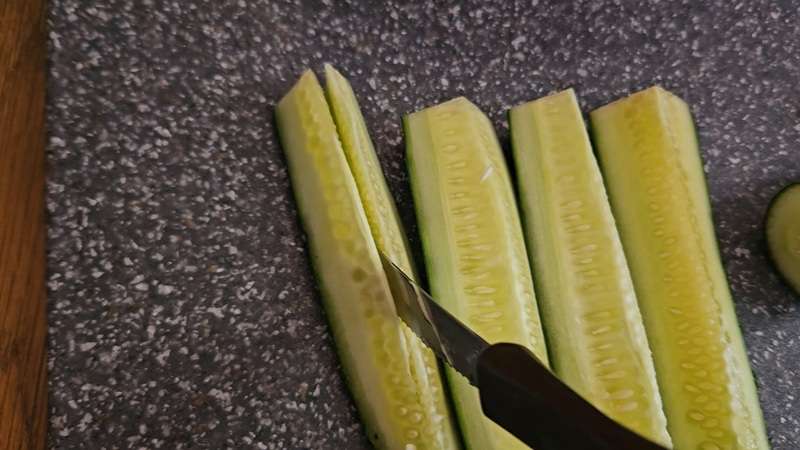
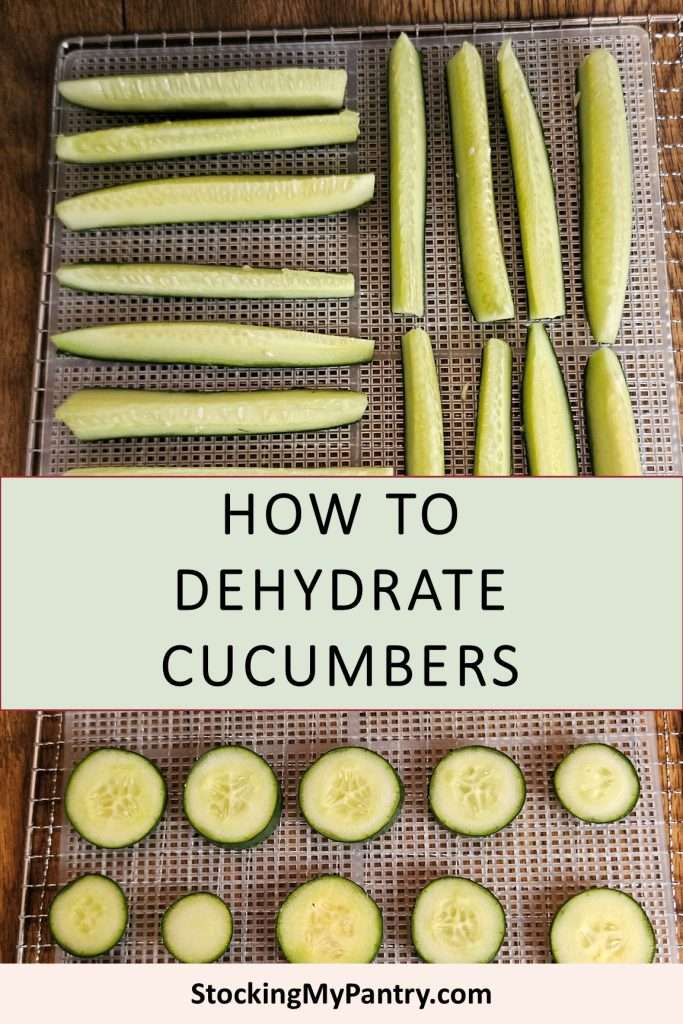
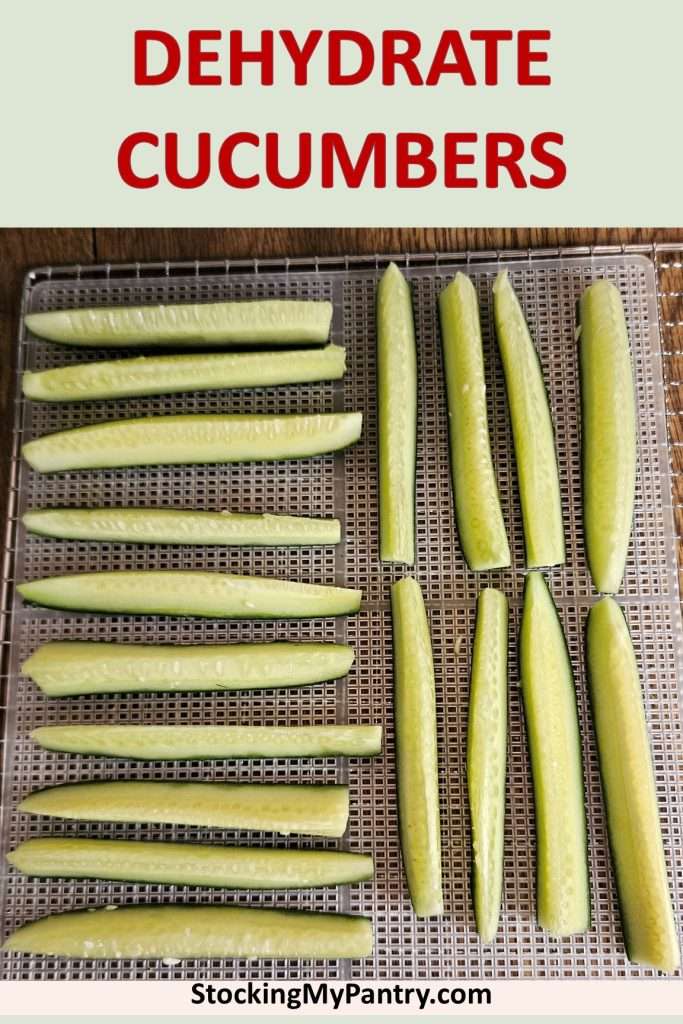
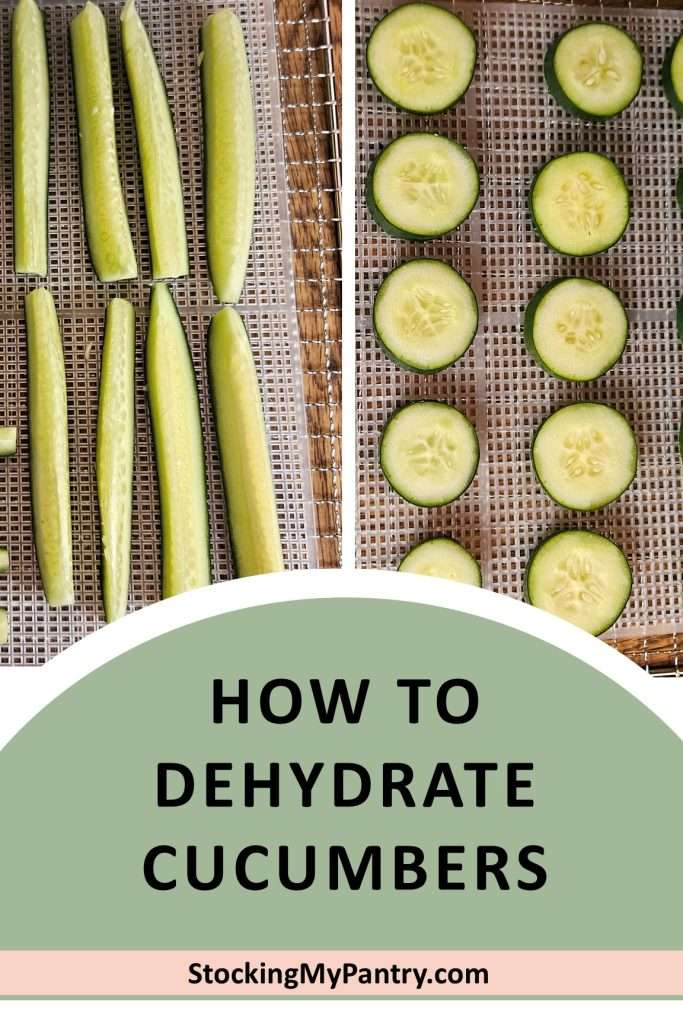
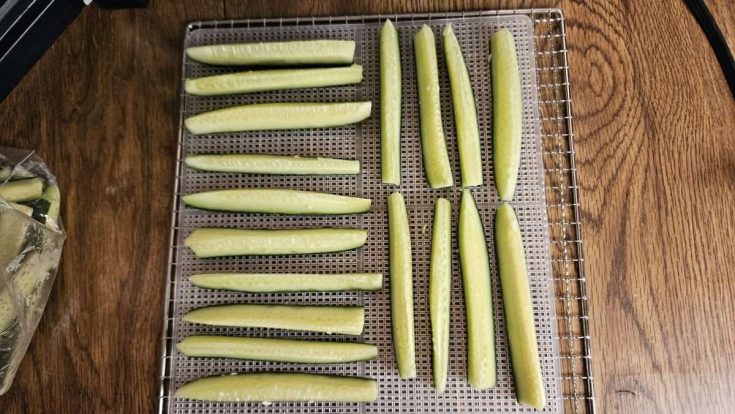
- Cut each cucumber lengthwise in half, then cut each half into 4 spears (for 8 spears total).
- Sliced the leftover ends into round chips.
Step 3: Load the Dehydrator Trays
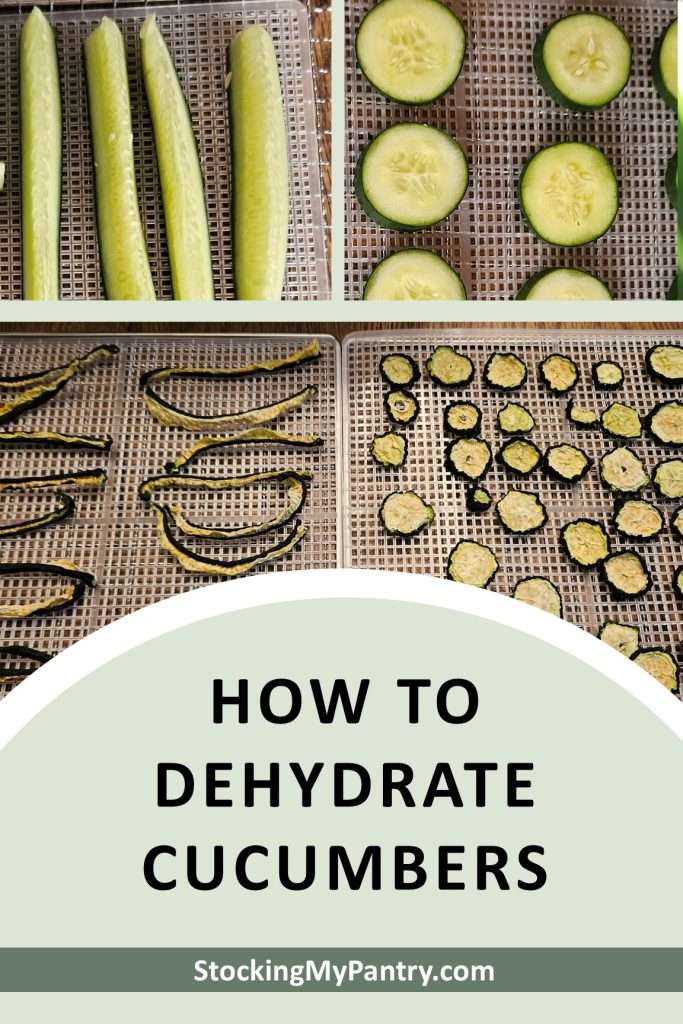
Arrange the cucumber slices and spears in a single layer on your dehydrator trays. Make sure they don’t overlap so air can circulate.
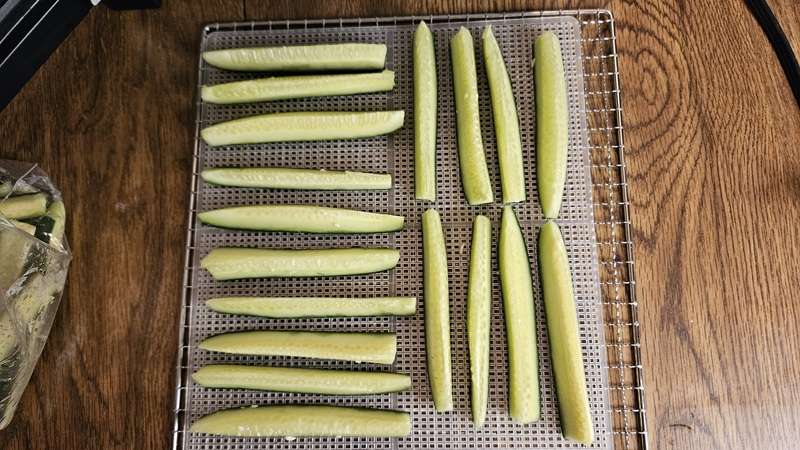
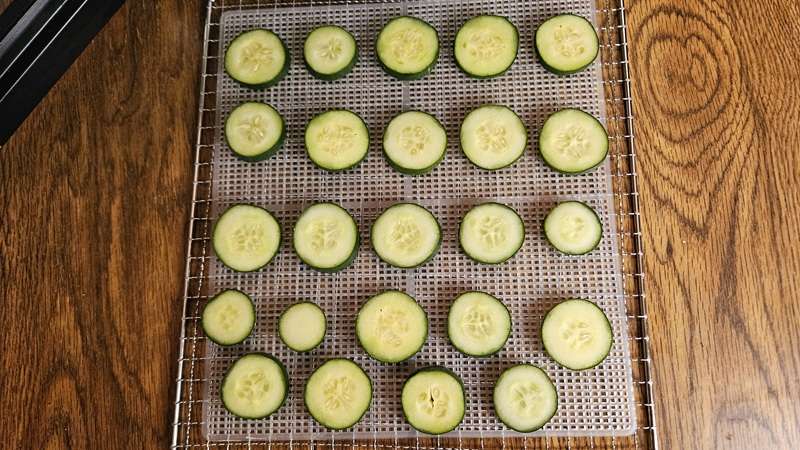
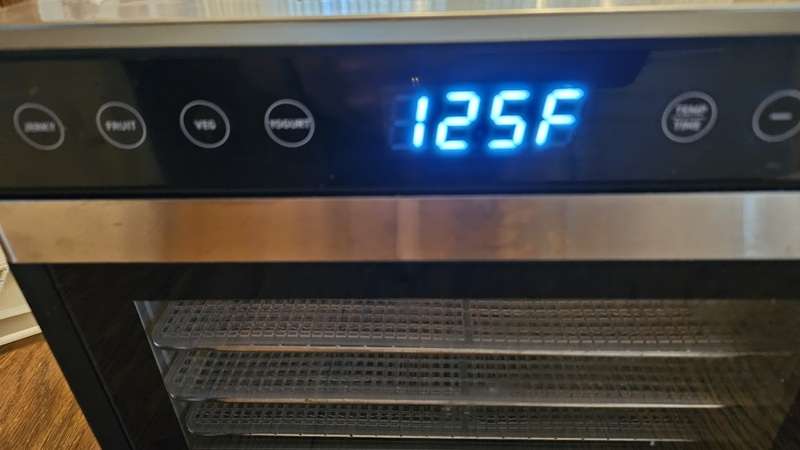
Step 4: Dehydrate the Cucumbers at 125°F for 8–12 Hours
Set your dehydrator to 125°F (52°C). I initially ran mine for 12 hours.
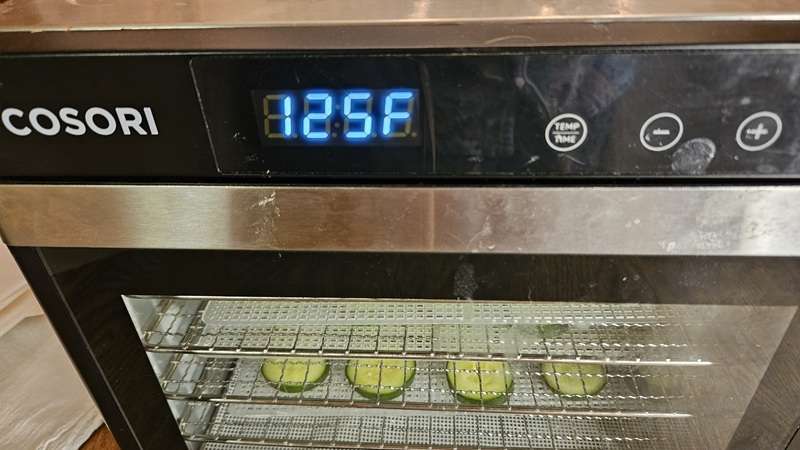
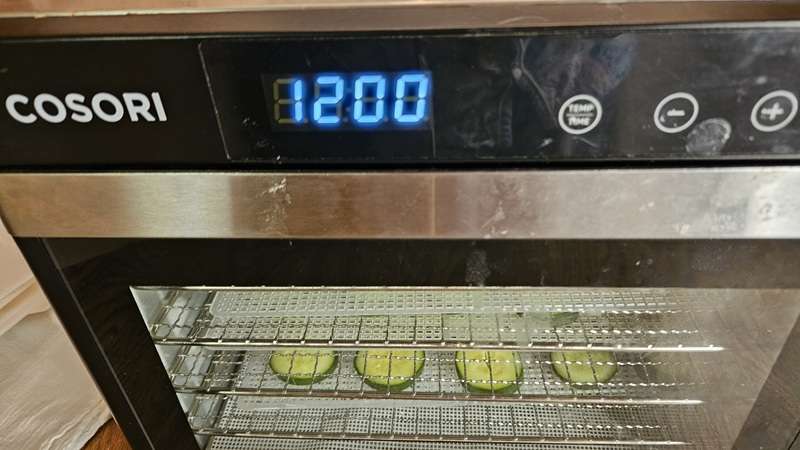
Here’s what happened:
- At 8 hours, everything was still very limp.
- At 12 hours, the thinner pieces were dry, but many spears were still bendy.
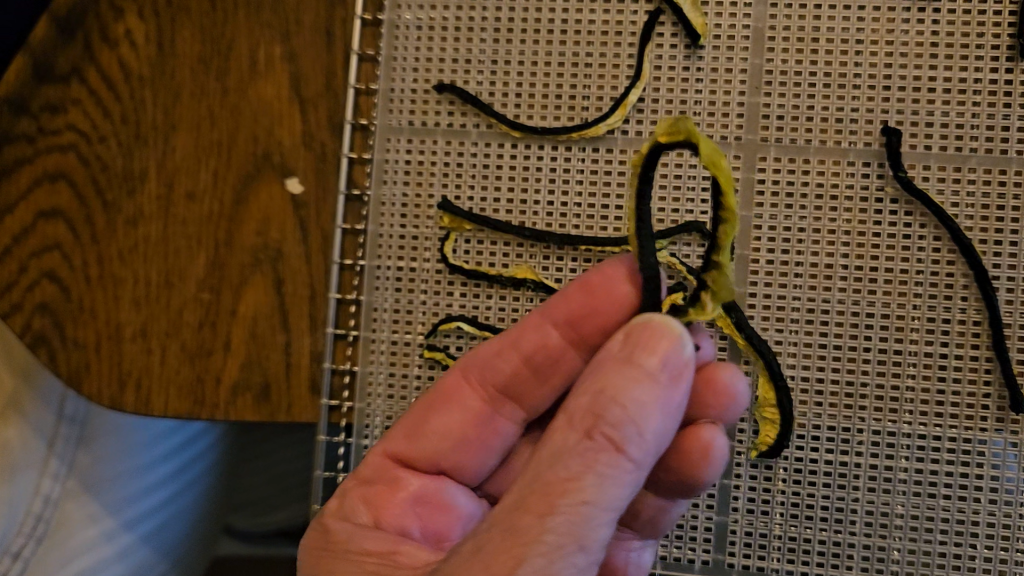
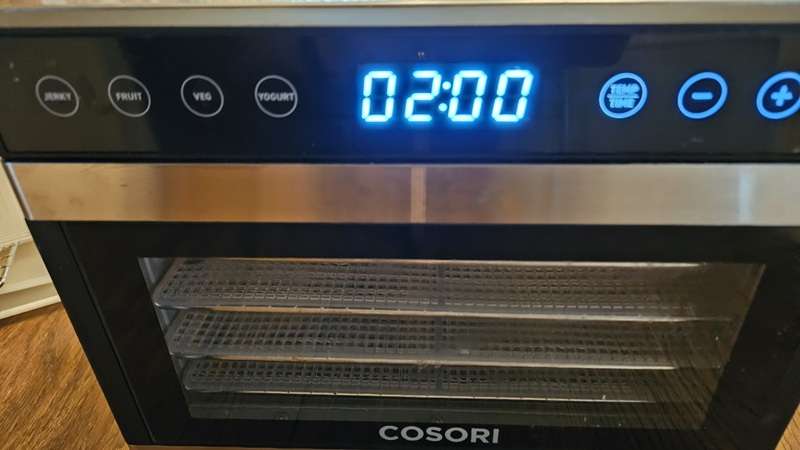
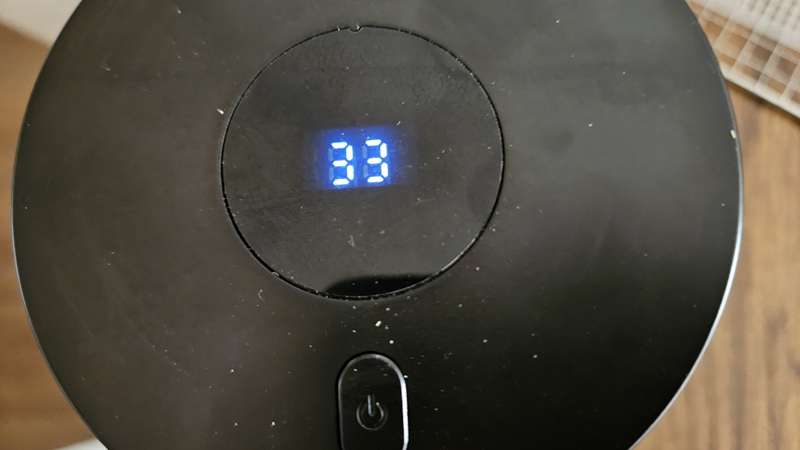
- I transferred everything to my Cosori mini dehydrator (Amazon) to finish drying—since the cucumbers had shrunk and I wanted to save on electricity. Having this smaller dehydrator has been a game changer for me because it does help me use less electricity when dehydrating a smaller batch, or when I have a small amount of food that needs more time in the dehydrator.
Step 5: Test for Dryness
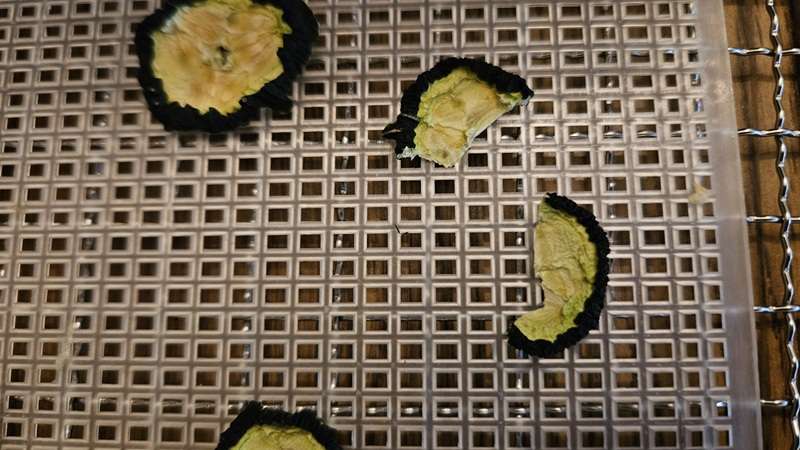
Cucumber slices and spears are done when they feel dry and snap cleanly in half. If they still bend, they need more time.
Step 6: How to Store Dehydrated Cucumbers
Dried cucumbers are fragile and can potentially crumble.
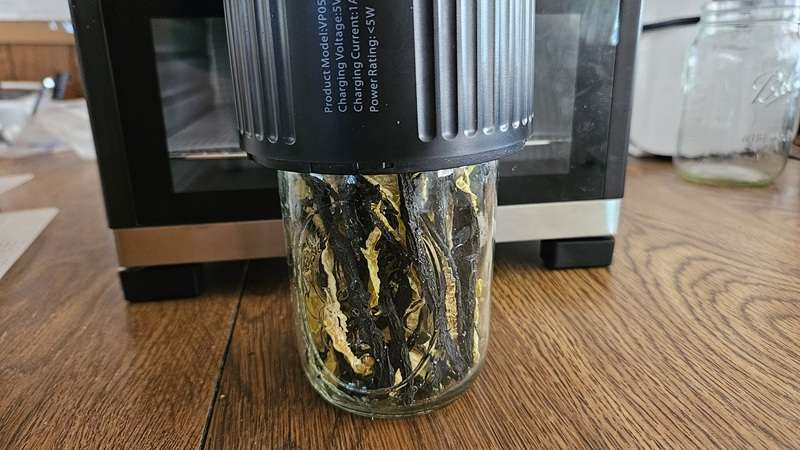
While The Ultimate Dehydrator Cookbook (Amazon) advises not vacuum sealing due to how fragile dehydrated cucumbers can be. I found that vacuum sealing in mason jars (not bags) worked just fine. Since the food isn’t compressed, it stayed intact.
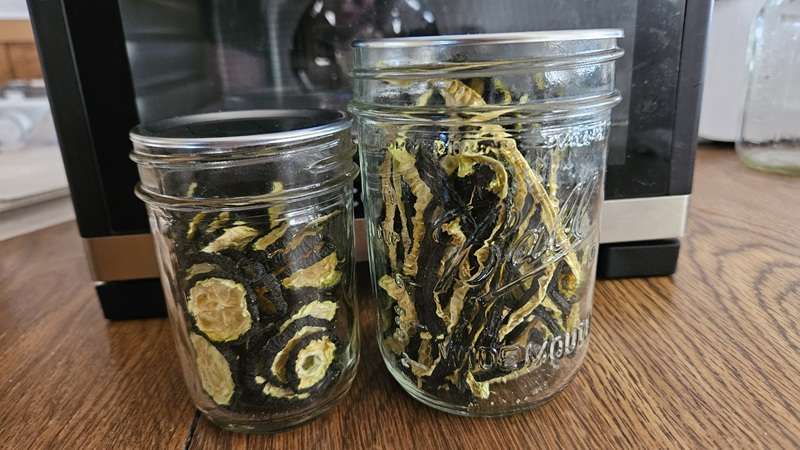
✅ Storage options:
- Mason jars with tight lids (vacuum sealed or not). If you choose to vacuum seal, here is the mason jar vacuum sealer that I used, that I picked up on Amazon.
- Mylar bags with oxygen absorbers
- Ziptop freezer bags inside a rigid container
Store your dehydrated cucumbers in a cool, dark place for maximum shelf life.
Bonus: Planning Ahead for Pickles
I tested how many dehydrated spears would fit in a quart jar—16 spears is the magic number, at least with the cucumbers I used. Your results may vary, but you can test it out before dehydrating the cucumbers.
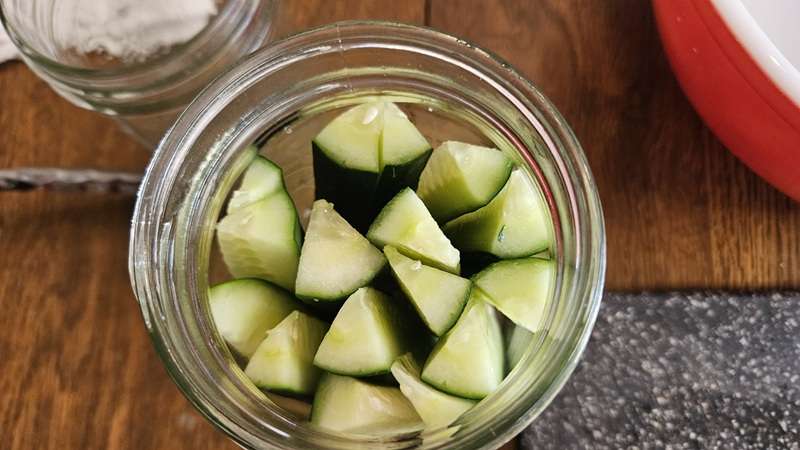
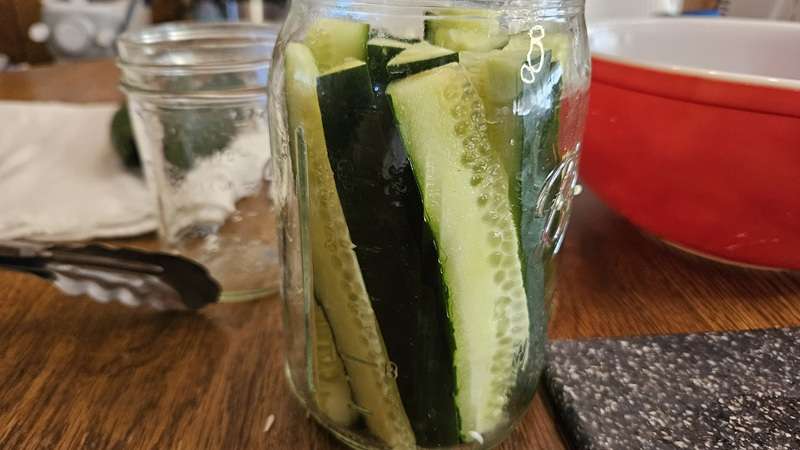
Knowing how many fresh cucumber spears fit into a quart jar will make it easy for me to know how many dehydrated cucumber spears to put into the jar when I decide to make pickles. This will make it easy to rehydrate and make refrigerator pickles later on.
Stay tuned—I’ll be sharing my dehydrated cucumber pickle recipe in an upcoming post!
FAQs About Dehydrating Cucumbers
Final Thoughts
Learning how to dehydrate cucumbers was a game-changer—especially since I already had frozen cucumbers and a pantry full of canned pickles. Now I have both cucumber chips and pickle-ready spears stashed away, and they take up almost no space.
Whether you’re prepping for winter, avoiding waste, or just looking to preserve a great sale, dehydrated cucumbers are a smart, space-saving addition to your pantry.
Pin it for Later
Related Articles
If you enjoyed this article, I’m sure you’ll enjoy these related articles.
How to Dehydrate Cucumbers
Learn how to dehydrate cucumbers step-by-step for long-term storage. This method preserves them as chips or spears—perfect for snacking, soups, or future pickle-making.
Materials
- Fresh cucumbers (peeled or unpeeled)
- Pot of boiling water (for blanching, if not peeling)
- Large bowl (for cooling cucumbers)
- Knife and cutting board
- Tongs
Tools
- Dehydrator (I used a Cosori)
- Mason Jars or mylar bags
- Mason jar vacuum sealer (optional)
Instructions
Step 1: Blanch (Only if Keeping the Peel)
If you're leaving the peel on, blanch whole cucumbers in boiling water for exactly 30 seconds to remove wax and soften the skin. Cool them in a bowl immediately after. Skip this step if peeling cucumbers.
Step 2: Slice or Spear the Cucumbers
Trim off the ends. For spears, cut the cucumber in half lengthwise, then each half into four spears (8 total). Slice leftover ends into rounds for chips.
Step 3: Load the Dehydrator Trays
Arrange spears and slices in a single layer on dehydrator trays. Leave space between pieces for airflow and avoid overlapping.
Step 4: Dehydrate at 125°F for 8–12 Hours
Set your dehydrator to 125°F. Dehydrate for 8–12 hours, checking occasionally. Spears may take longer than slices. Transfer to a smaller dehydrator if needed to save energy.
Step 5: Test for Dryness
Dehydrated cucumbers should feel dry, brittle, and snap in half. If they bend, they need more time in the dehydrator.
Step 6: Store Properly
Store in mason jars, Mylar bags, or zip-top bags inside rigid containers. If using a vacuum sealer, only vacuum seal in jars—cucumbers are too fragile for bags.
Notes
🥒 Blanching Note:
If you're leaving the peel on your cucumbers, be sure to blanch them whole in boiling water for exactly 30 seconds to remove wax and soften the skins. If you plan to peel the cucumbers, you can skip the blanching step.
🔪 Cutting Tip:
To make sure cucumber spears will fit in a quart jar for future pickling, lay a jar on its side and use it as a cutting guide before trimming your cucumbers.
⚡ Energy-Saving Tip:
Once your cucumbers shrink down, consider moving them to a smaller dehydrator to finish drying. This helps conserve electricity when you're only drying a small batch.
🥶 Storage Tip:
Dehydrated cucumbers are very fragile. If vacuum sealing, use mason jars instead of vacuum-seal bags to avoid crushing the dried pieces.
🧂 Rehydrating for Pickles:
Test how many fresh cucumber spears fit in your jars before dehydrating. That way, you'll know how many dried spears to rehydrate when you're ready to make pickles.
🕒 Drying Time Reminder:
Cucumber slices will dry faster than spears. Fully dehydrated cucumbers should feel dry and snap cleanly in half. If they bend, they’re not ready.
🧺 Pantry Storage:
Store dehydrated cucumbers in a cool, dark place using vacuum sealed mason jars.
Recommended Products
As an Amazon Associate and member of other affiliate programs, I earn from qualifying purchases.


💬 I’d love to hear from you!
Have you tried this yourself? Have a question or tip to share? Leave a comment below — your experience or question could help someone else, too!