

Curious about how to dehydrate grapes and make your own raisins at home? It’s easier than you might think!
In this article, I’ll walk you through the step-by-step process, from preparing the grapes to achieving that perfect chewy texture of homemade raisins.
Whether you’re looking for a healthy snack, a new way to preserve your harvest, or if you got an amazing deal on grapes at the grocery store, dehydrating grapes is a delicious and rewarding option. Let’s dive in!

Why Dehydrate Grapes?
This article includes affiliate links.
There are multiple ways to preserve grapes, including canning, freezing, dehydrating, and even making grape fruit leather! I’ve done all of those, and in fact share links to those tutorials at the end of this article. With all of those options, why bother with dehydrating grapes?
The reason, at least for me, is that there are pros and cons to each of the food preservation methods. Freezing grapes was by far the easiest, and yet it obviously relies on a freezer – which of course requires electricity. Canning grapes was quick and easy, and my mom especially loves them. So if these two methods worked well, why bother dehdyrating them?
I have a couple of reasons for dehydrating grapes. But the main reason is space. Dehydrating food is a great way to pack more food into your pantry in a small space.

Dehydrated Grapes Take up Very Little Storage Space
As an urban prepper, without a lot of storage space, I depend on dehydrating as a way to have a pantry that feeds my family for a longer period of time.
In addition to that, dehydrated grapes are so sweet and delicious. While technically raisins, as is often the case with dehydrated fruit, the taste is far superior to store-bought raisins. They make a great candy substitute. You can eat them straight from the jar, and they are also great for baking. And obviously, with the homemade version, you control the ingredients and avoid nasty preservatives.
Now that you know the why, let’s get into the step-by-step process of dehydrating grapes!
Preparing Grapes for Dehydrating
Grapes are one of those foods that has an outer skin that needs to split before dehydrating. If you don’t break the skin of grapes before dehydrating, the grapes will dry and harden on the outside, before the inside dehydrates.
This is known as case hardening, and no matter how long you dehydrate the grapes, the inside will never dry. The end result is grapes that go bad in storage. Regardless of how tempted you are to just dump grapes into the dehydrator, don’t do it!
3 Ways to Break the Skin of Grapes Before Dehydrating
The good news is, there is more than one way to break the skin of grapes before dehydrating.
Boil the Grapes
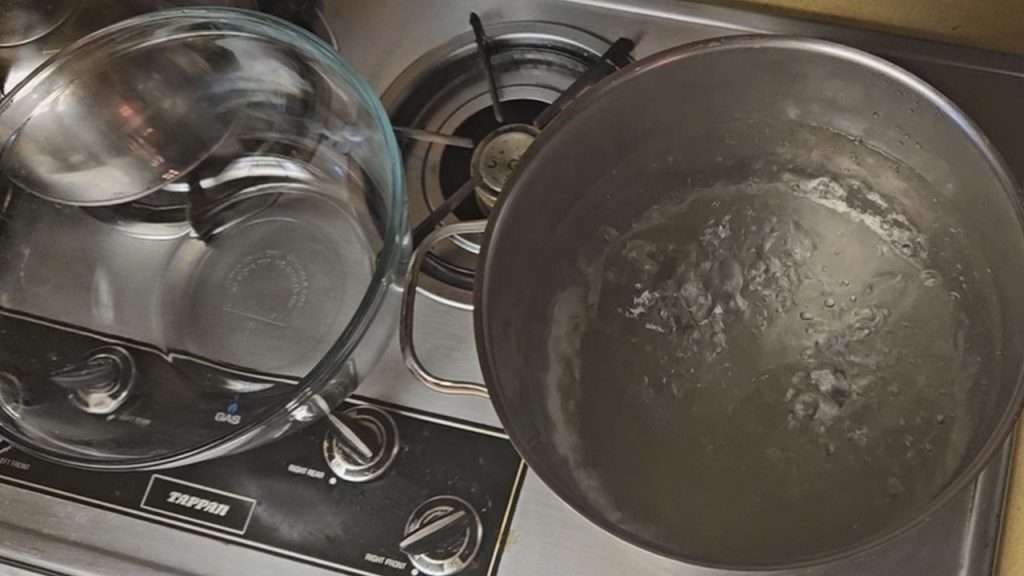
The first option is to boil the grapes. In her book, The Ultimate Food Dehydrator Cookbook (Amazon), Tammy Gangloff recommends blanching grapes in a large pot of boiling water for a little less than a minute.
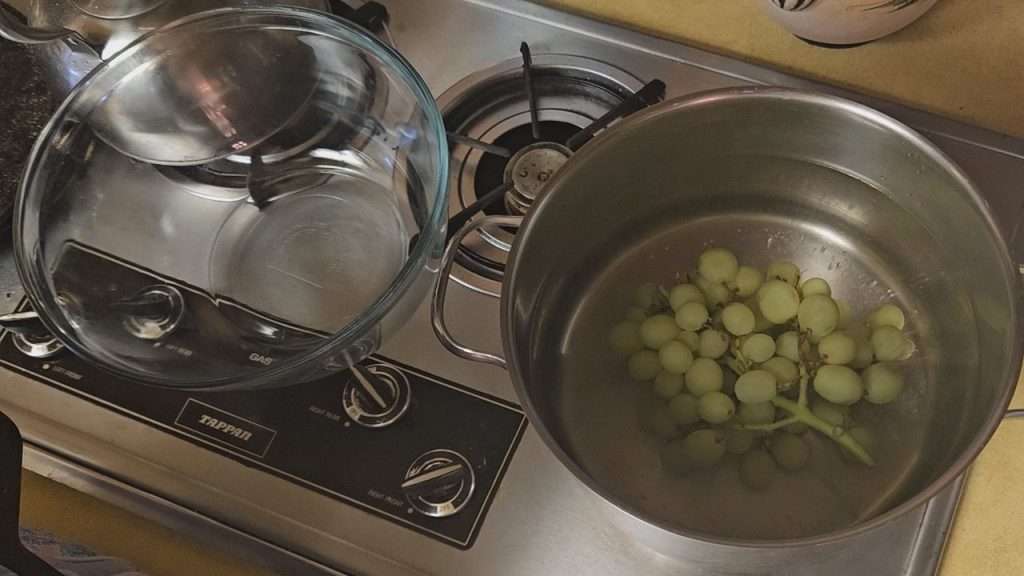
One important tip she provides is to leave grapes attached to the stems so that juice doesn’t escape from the grapes when blanching.
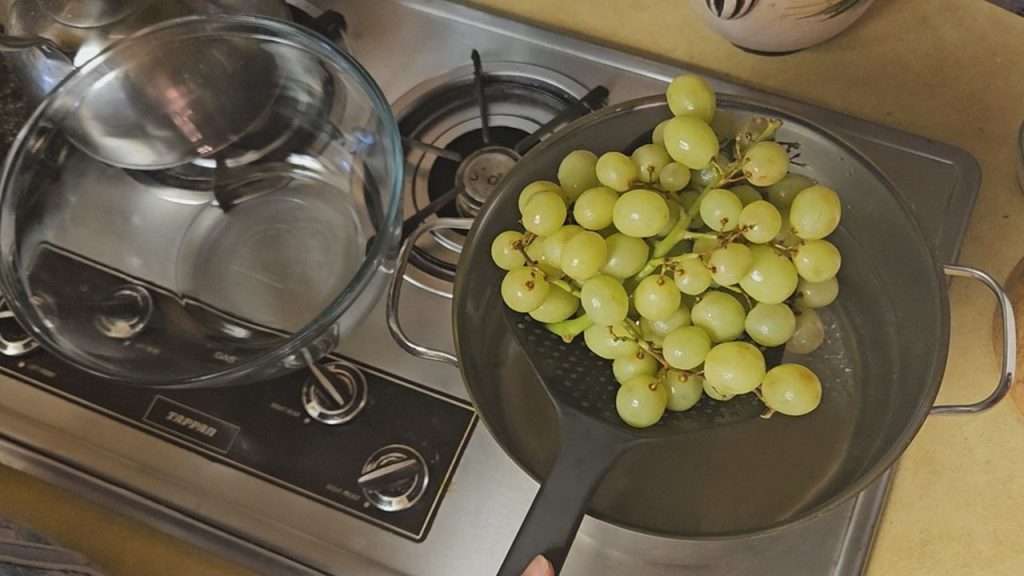
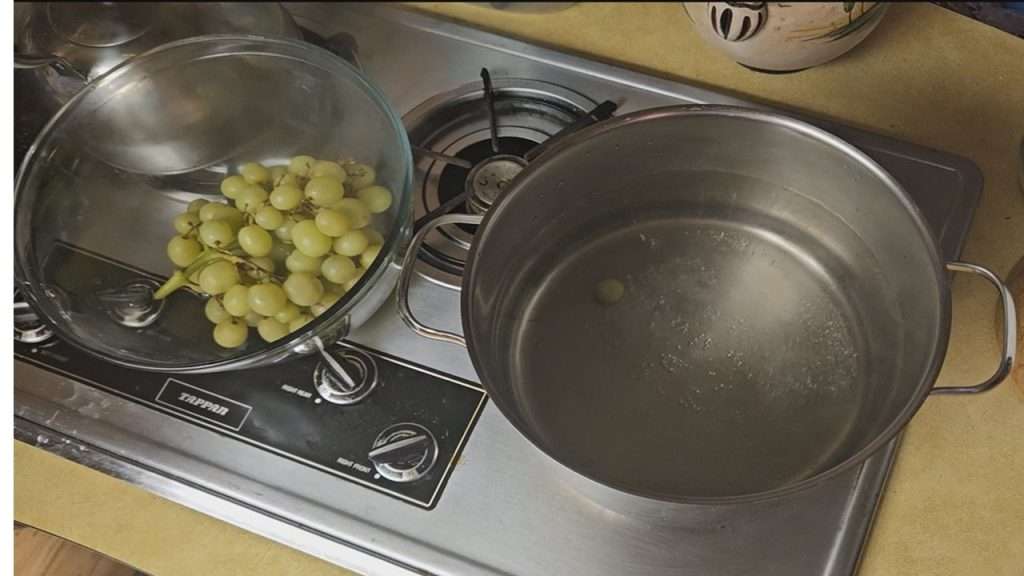
Once the grapes have cooled enough to handle, remove the grapes from the stems and put on dehydrator trays.
Cut the Grapes
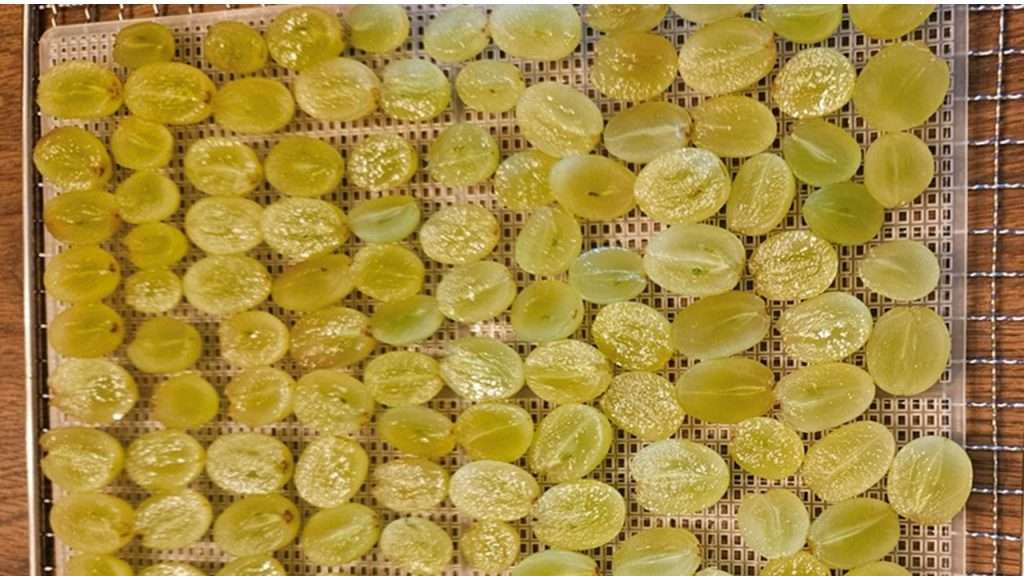
Another way to break the skins of the grapes is to cut them.
While you can slice them, I think a better method is to cut them in half.
Like all fruit, grapes shrink down considerably when dehydrated. This is even more true for grapes since they have such a high water content. So slicing grapes prior to dehydrating would likely result in small pieces that are very hard.
Poke Holes in the Grapes
Another way to break the skin of grapes is to poke some holes in each grape. I honestly chose not to try this method, because it would just be too time consuming.
Dehydrating Grapes
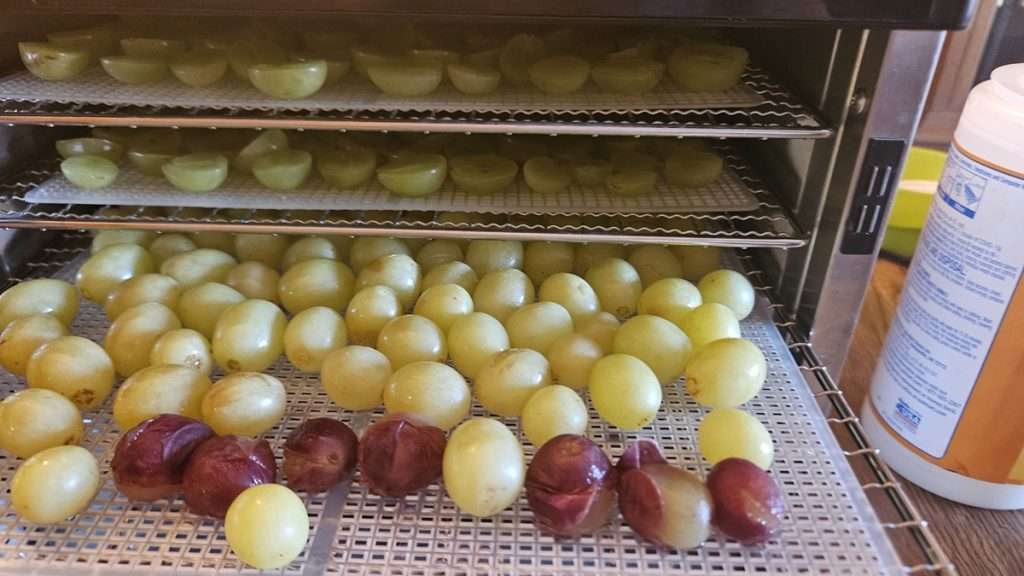
Now let’s get into the nitty gritty of how to dehydrate grapes.
When dehydrating grapes you’ve cut in half, place the grape halves on dehydrator trays with the skin side down. While it’s okay to put them close together, be sure not to overlap them.
Obviously, with whole grapes, there is no concern about putting them skin side down. However, be sure not to overcrowd the grapes.
Temperature for Dehydrating Grapes
In her book (Amazon), Tammy Gangloff recommends dehydrating grapes at a temperature of 125 degrees Fahrenheit.
In terms of the amount of time you can expect to the dehydration process to take, she estimates a total of 24 hours. However, as you’ll see from my experience, it took longer than 24 hours for the whole grapes to completely dehydrate and turn into raisins.
This small, easy-to-store vacuum sealer is made for mason jars. It’s cordless, simple to use, and a great tool for long-term food storage.
👉 Check it out here.
The Actual Process (and Results) of Dehydrating Grapes
Now let’s take a look at how the grapes looked at different stages. I’ll show you what both the whole and half grapes looked like. I’ll also get into how to test to make sure the grapes are completely dehydrated.
Pro Tip: If you use a cabinet style dehydrator like my Cosori (Amazon), you don’t need to rotate the trays. If, however, you use a stackable dehydrator like my Nesco (Amazon), plan to rotate the trays every few hours. Since I used my Cosori cabinet style dehydrator for this project, I didn’t rotate the trays.
After 3 Hours in the Dehydrator
After three hours in the dehydrator, the grapes were just barely beginning to dry.
Grapes Cut in Half
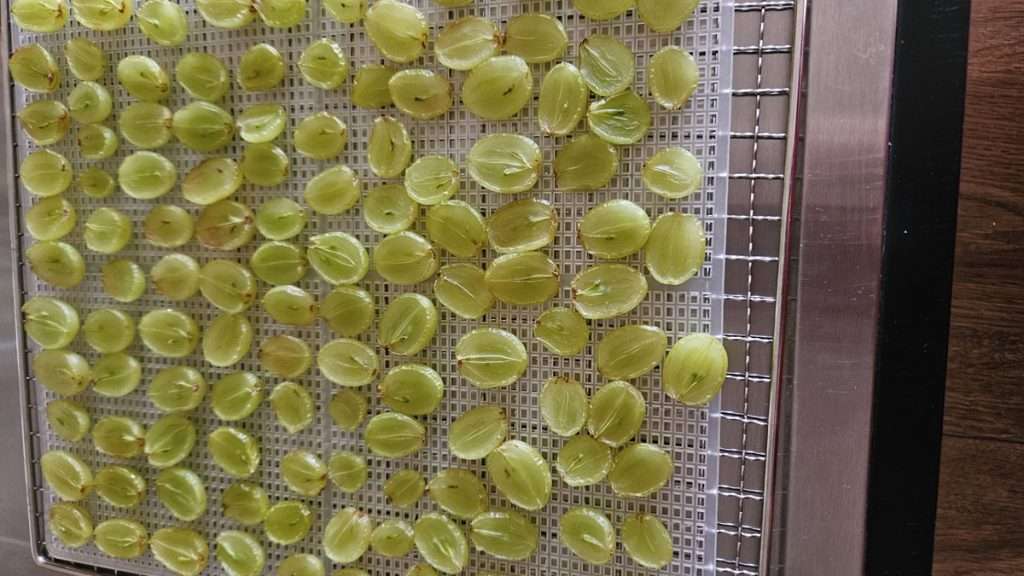
First, let’s take a look at the grapes that had been cut in half. After three hours in the dehdyrator, the edges of the grapes were starting to shrivel up a bit, and the middle part had a thin dry layer on top. Needless to say, they weren’t anywhere close to being dehydrated.
Whole Grapes
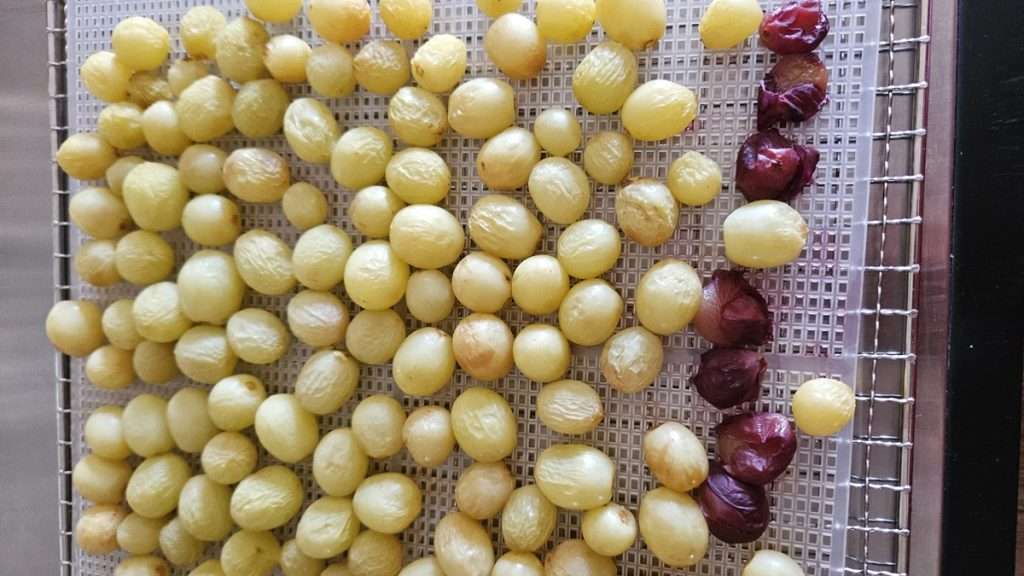
As you can see in the image above, after three hours in the dehydrator, the whole grapes are beginning to wrinkle, but that is the only sign of dryness.
You can see that on the bottom there are some red grapes that are squished. I blanced those longer than the green grapes (about 2 minutes). So they were more “mushed” and shriveled up looking.
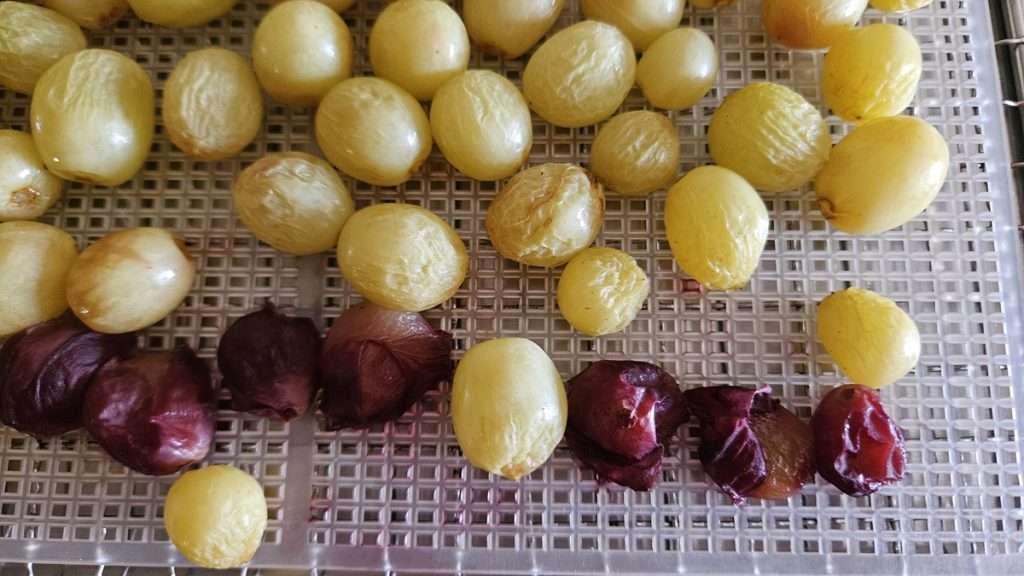
Since the grapes were clearly a long way from being dry, I didn’t press on them or touch them in any way, but they are obviously just beginning to show signs of dryness.
After 6 Hours in the Dehydrator
After six hours in the dehydrator, the grapes were still very, very moist and a long, long way from being ready, but I do see some progress.
Grapes cut in half
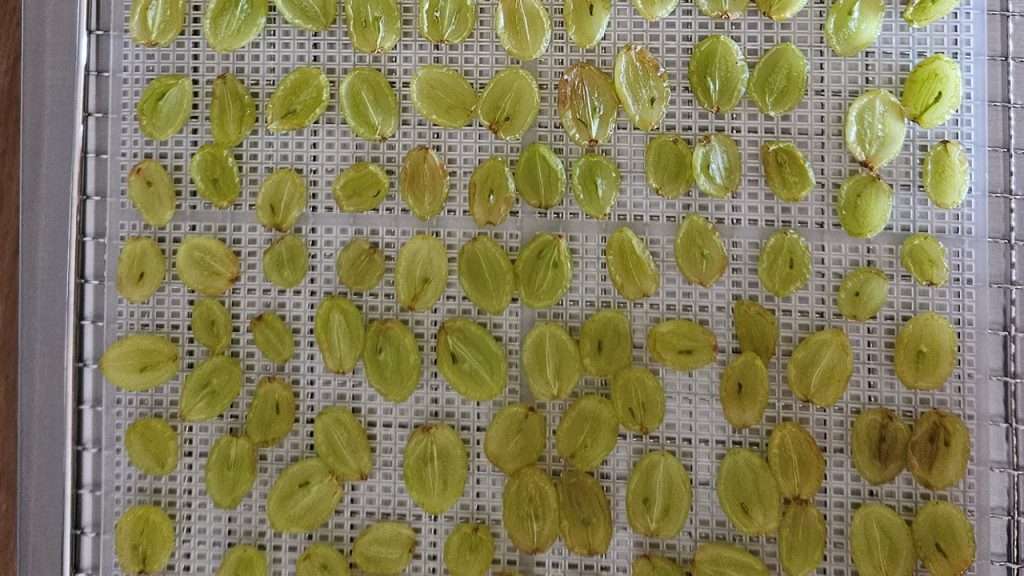
Let’s start by looking at the grapes that are cut in half. While at first glance it may not seem like there is much change after three additional hours, there truly is a difference. To help you better see the difference, let’s take a look at the close ups side by side.
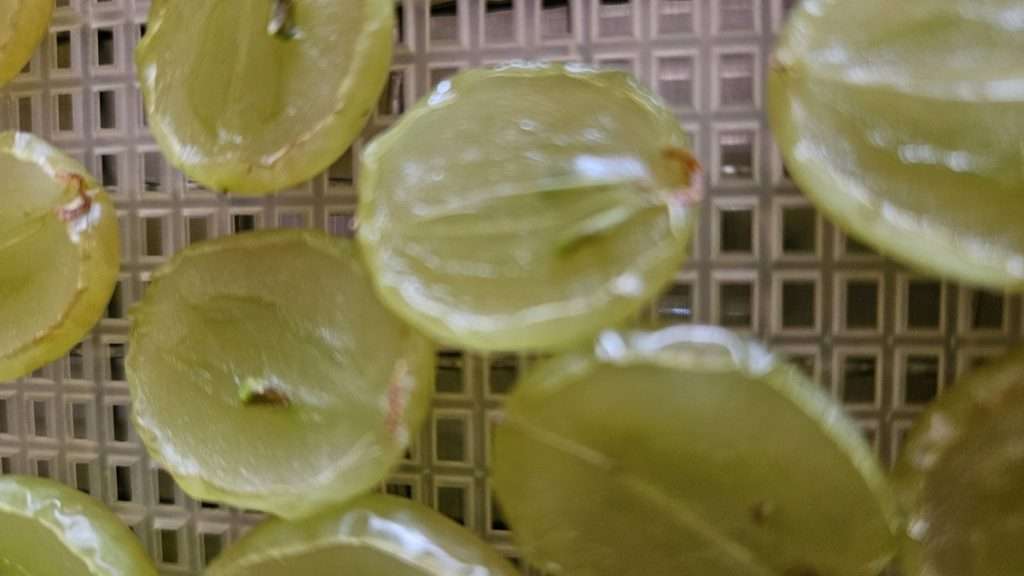
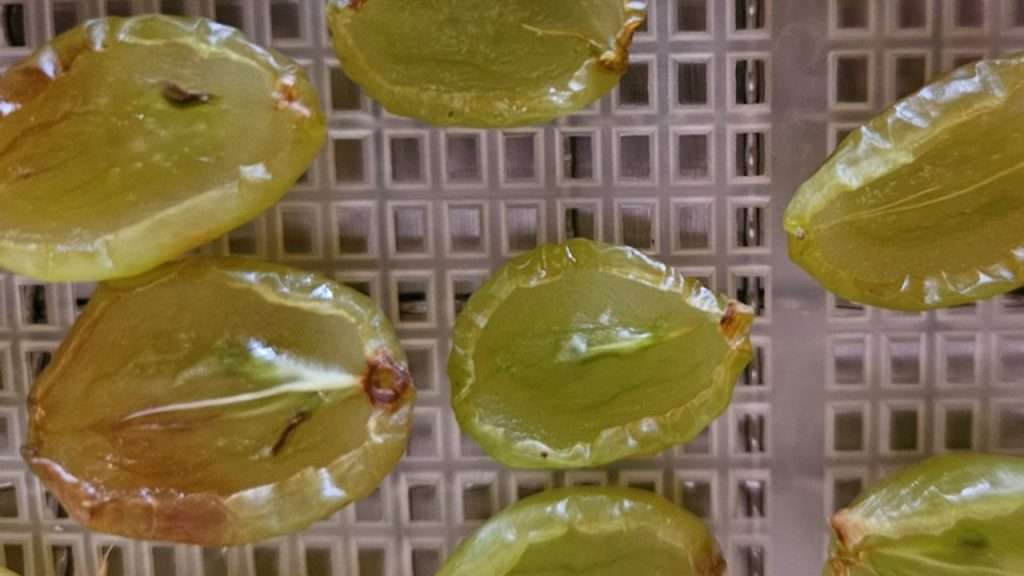
As you can see in the images above, the grape halves that have been in the dehydrator for six hours, have shrunk up more compared to the ones that were in the dehydrator for three hours. The middle of the grapes are more sunk in and drier around the edges than they were after three hours.
Whole Grapes
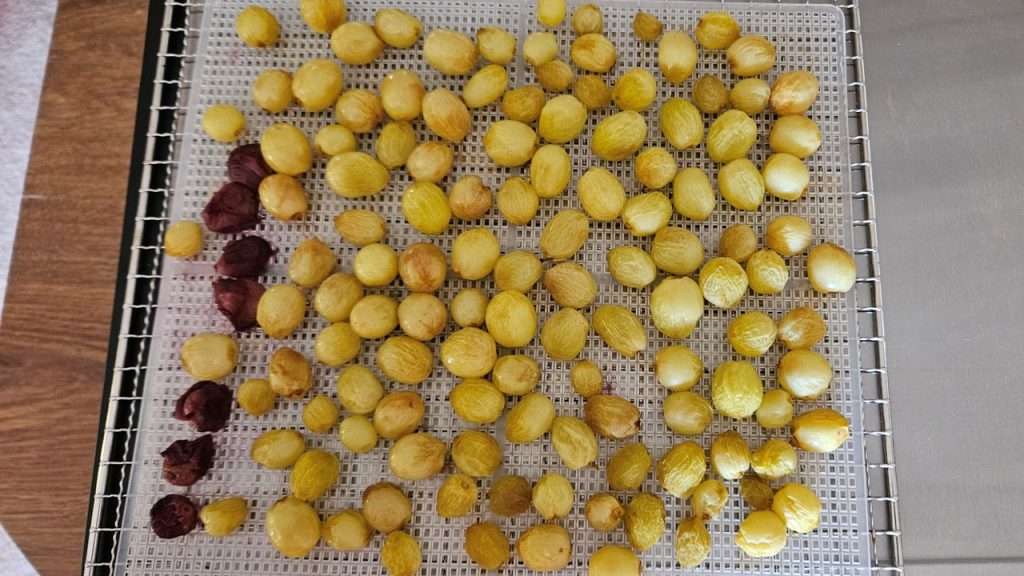
Now let’s take a look at the whole grapes. The biggest change that I see with the whole grapes after three additional hours is that they are starting to brown more, and of course are starting to wrinkle up more.
Let’s compare them side by side with the whole grapes after three hours.
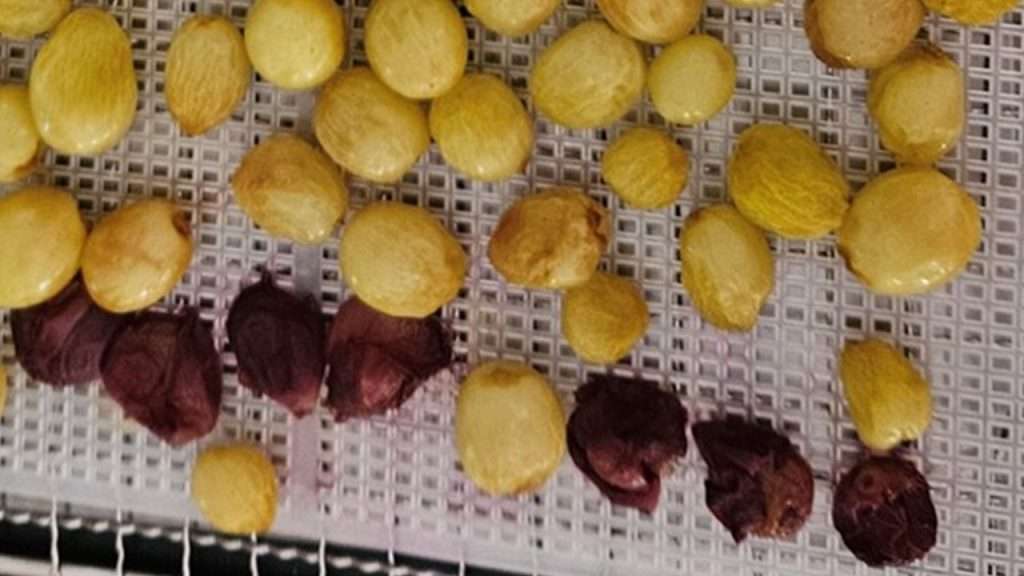
At this point, I’m kind of wishing I had boiled all of the grapes (not just the red ones) longer than a minute or so.
I was half tempted to use the back of a fork to smash the grapes down do they will dehydrate better, but I decided that patience and seeing the process through was a better course of action.
After 10 Hours in the Dehydrator
Now let’s take a look at how the grapes are coming along after 10 hours in the dehydrator.
Grapes Cut in Half
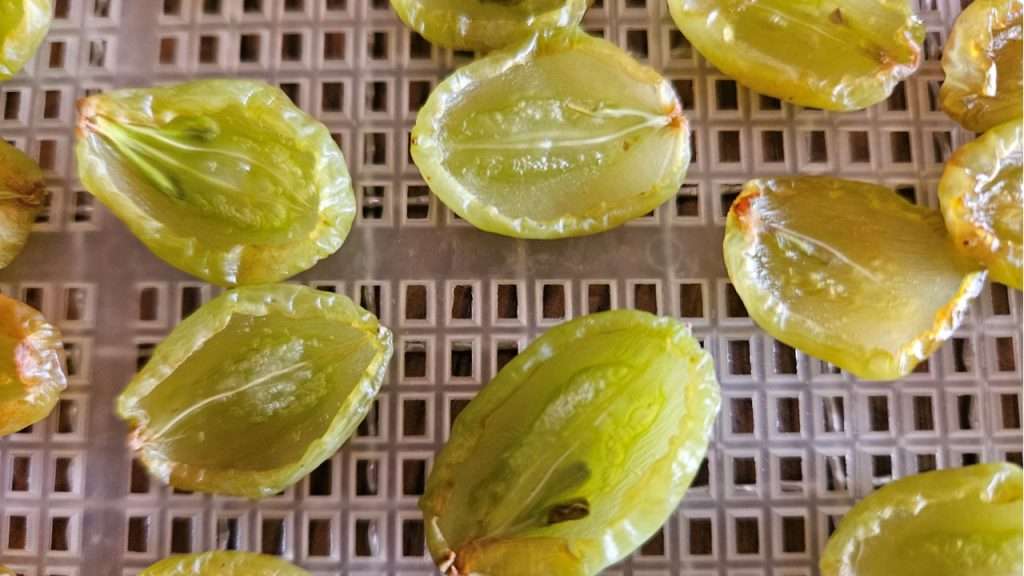
You can see how sunken in the middle of the grape halves are after being in the dehydrator for 10 hours. The edges are dry and curling inward, but overall the grapes are still very moist.
Whole Grapes
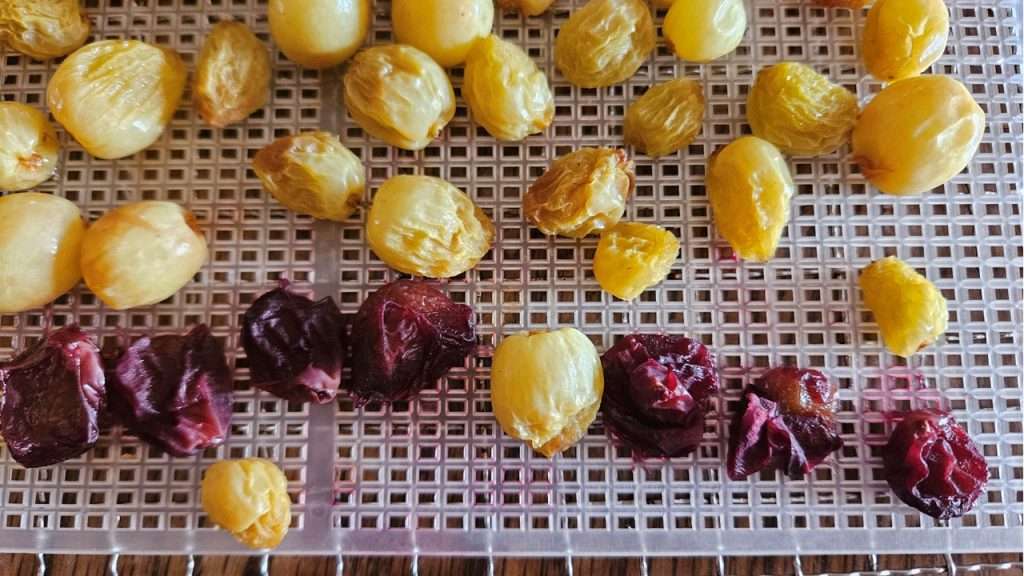
You can see how plump the whole grapes are after 10 hours in the dehydrator. The smaller ones are of course drying faster than the larger ones.
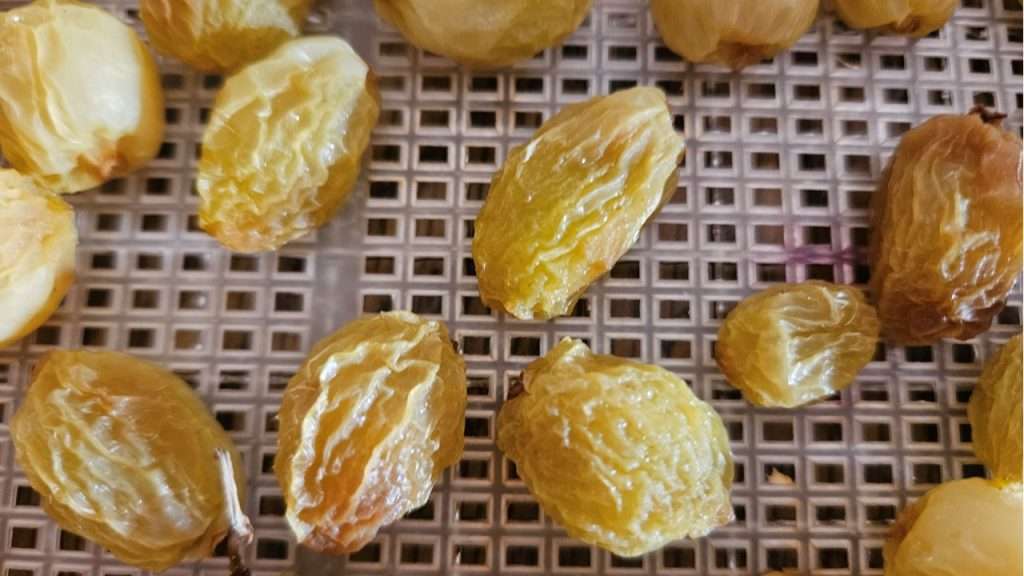
When I pulled the whole grapes out of the dehydrator at the 10-hour mark, I finally felt a bit of hope. Yes, they are still super plump and soft, but they are finally wrinkling up and starting to look like raisins!
After 20 Hours in the Dehydrator
Obviously, there’s a big gap between 10 and 20 hours, but by the time the grapes had been in the dehydrator for 10 hours, it was time for me to hit the sack.
Here’s what the grapes looked like when I got up in the morning, 20 hours in.
Grape Halves
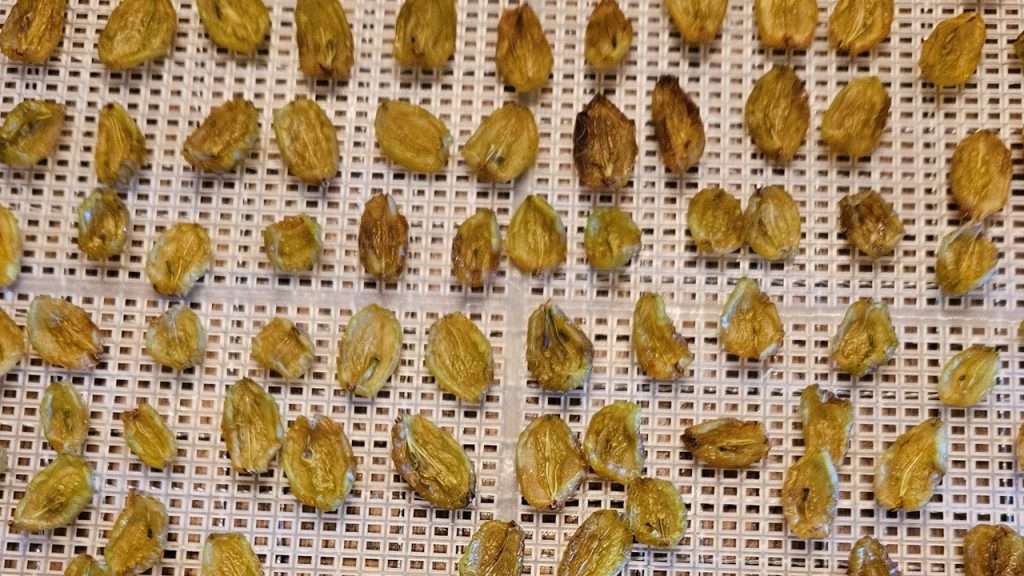
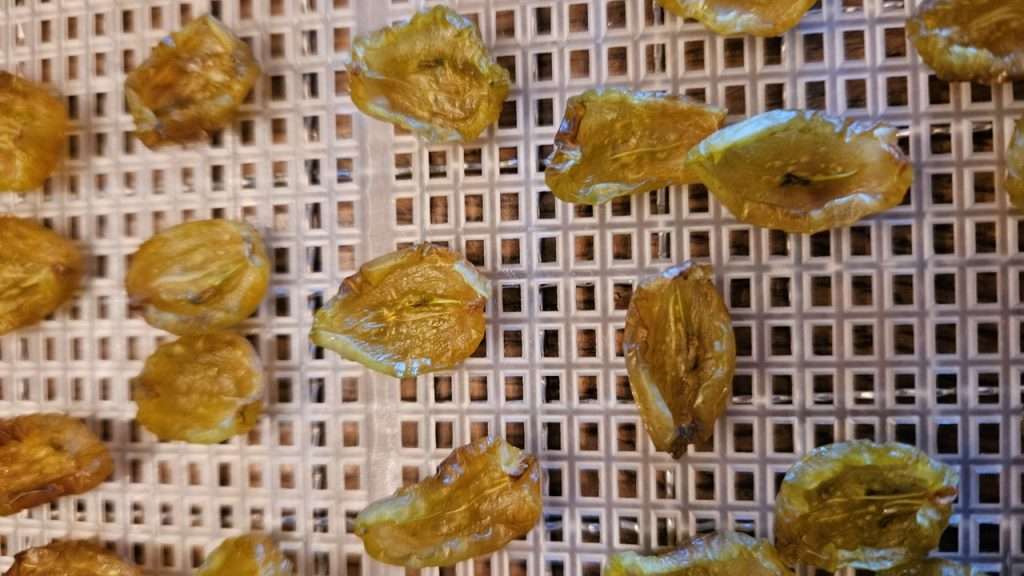
By this point, most of the grapes I had cut in half were very close to being completely dehydrated. They were still a bit sticky, so I didn’t have confidence they were dehydrated well enough to put into storage.
Whole Grapes
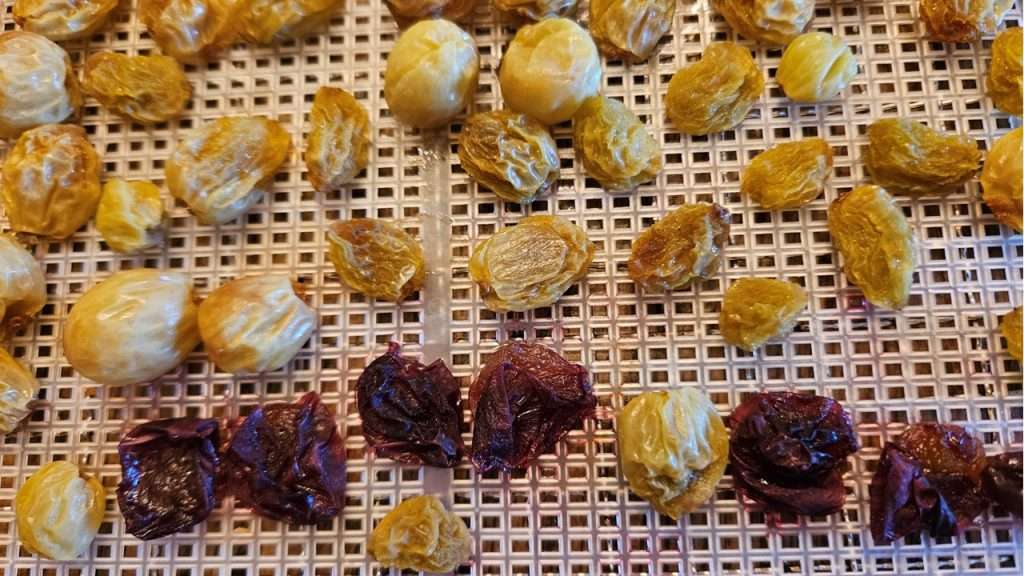
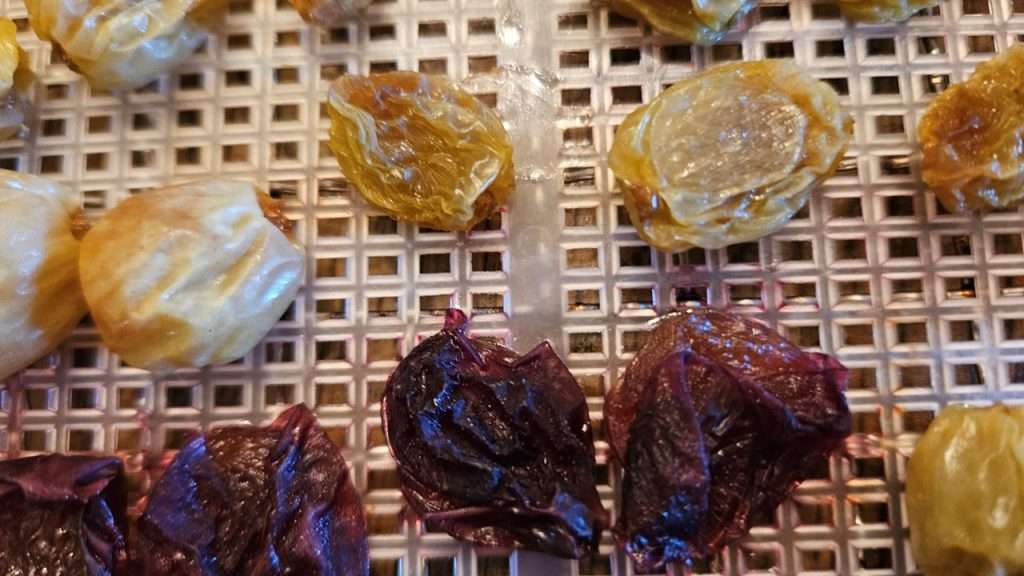
The whole grapes are definitely looking more like raisins, but are still very soft and squisky and feel sticky. Some of the larger grapes are less wrinkled up, and it’s possible they may just need to be eaten, if they take way longer to dry than the rest of the grapes.
I am encouraged, though, that the whole grapes are dehydrating just fine. They’re just taking awhile.
Moving Grapes to Clean Dehydrator Sheets
According to the instructions in the book, The Ultimate Dehydrator Cookbook (Amazon), author Tammy Gangloff writes:
Dehydrate for 18 hours and then transfer the partially dehydrated grapes to clean, dry, dehydrator trays. Dehydrate for another 6 hours.
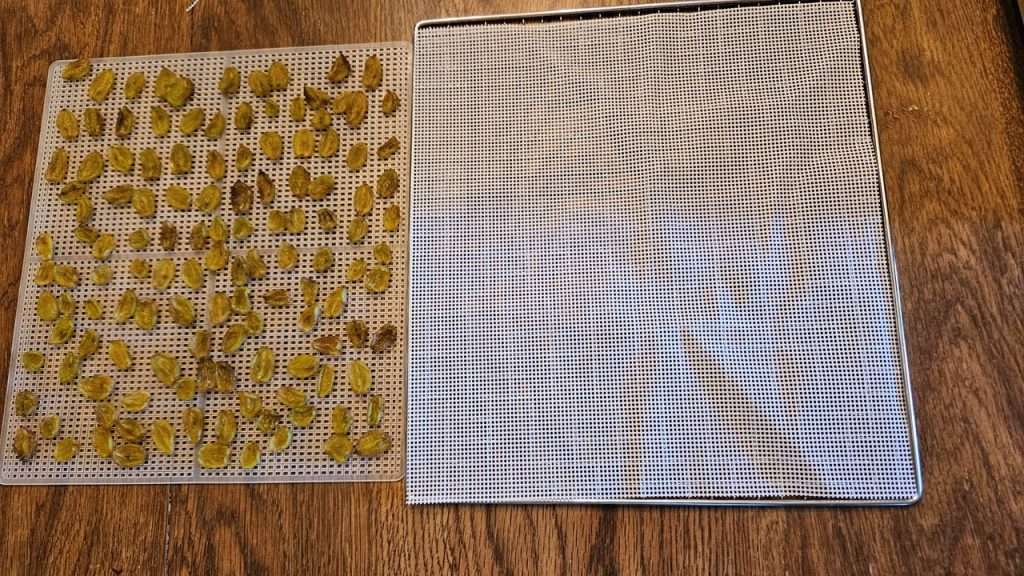
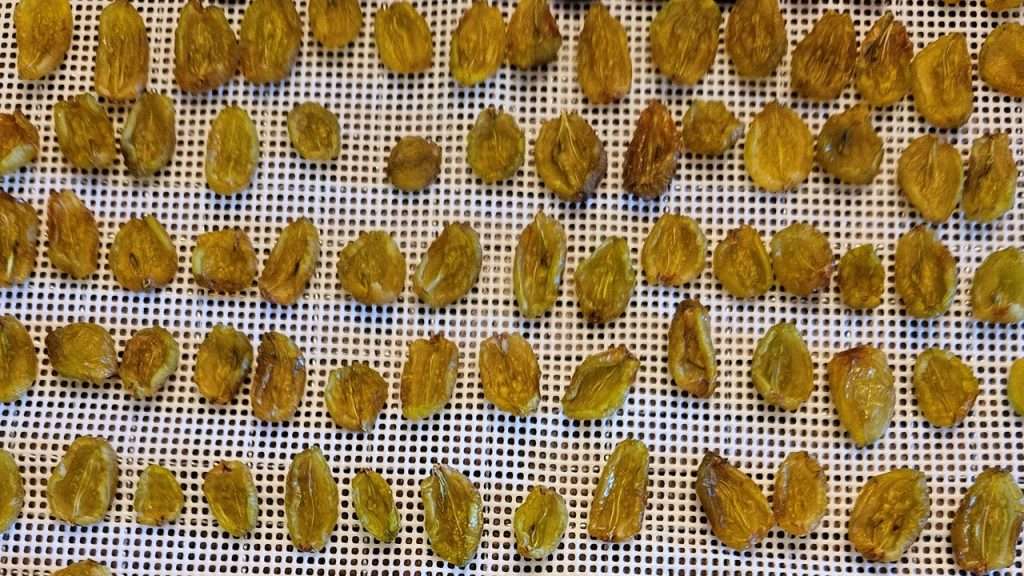
While it’s on my list to buy more of the official Cosori mesh dehydrator sheets, I haven’t yet done it, so didn’t have any extra. Thankfully, I remembered that I had bought some silicone dehydrator sheets (Amazon) for another project. I cut them to size, and transferred the grapes.
According to the information in The Ultimate Dehydrator Cookbook (Amazon), “Transferring the grapes to a clean tray three quarters of the way through dehydrating them keeps them from sticking and speeds up the process.”
I’m all for speeding up the process, so I recommend doing this!
Grapes After 24 Hours in the Dehydrator
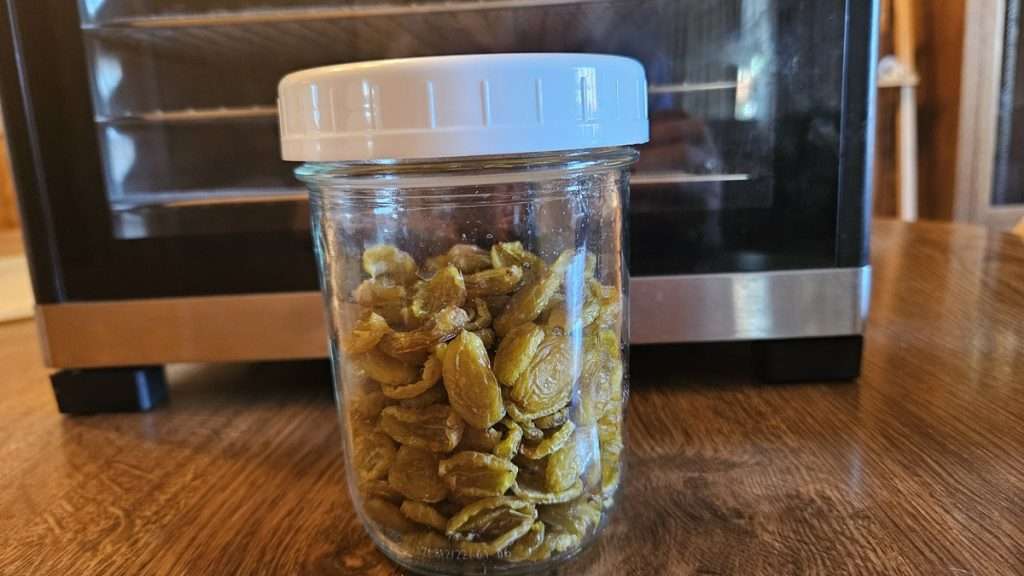
When I checked the grapes 24 hours in, the half grapes were completely dehydrated.
I put them into a jar to condition them. I’ll shake them every day for a few days to make sure they don’t stick together. If they stick together, or if I observe any moisture in the jar, I’ll put them back into the dehydrator.
After a week, I’ll vaccum seal them (Amazon) and put them into my pantry.
The full grapes were still a bit sticky, so I stuck them back into the dehydrator for a few more hours.
Grapes After 28 Hours in the Dehydrator
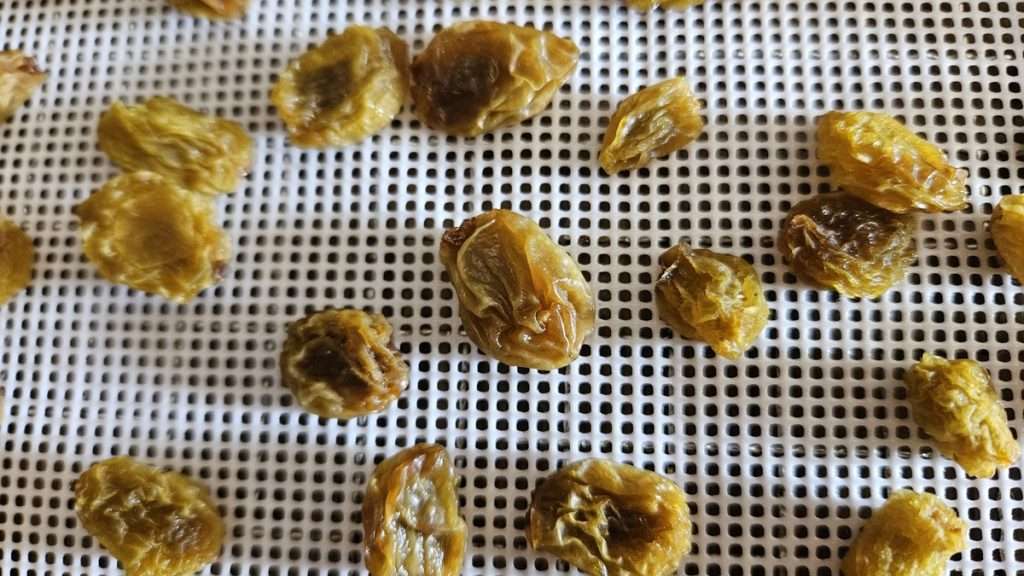
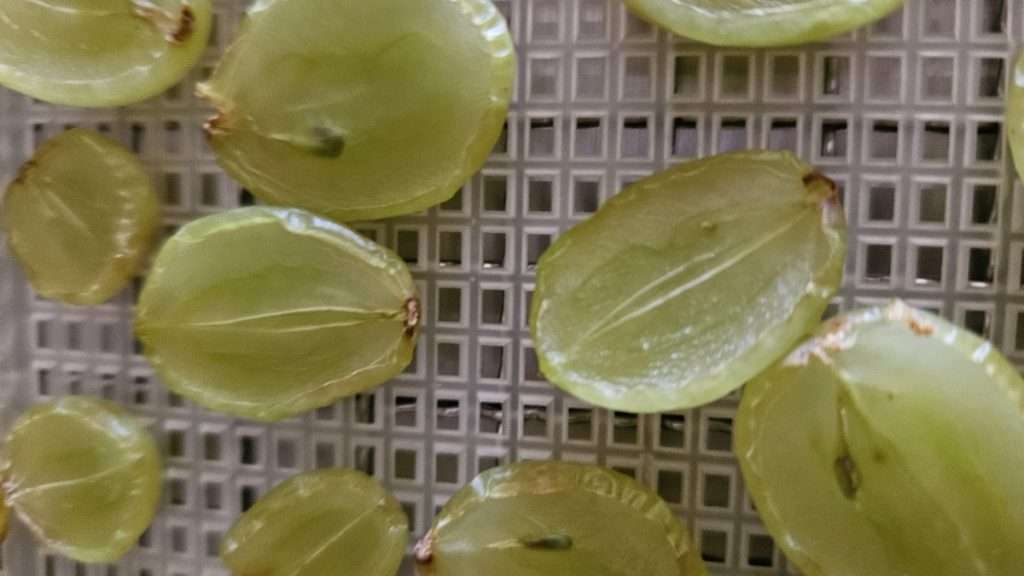
After 28 hours in the dehydrator, almost all of the whole grapes were dehydrated. I took the close up photo above so you can see a grape in the middle that was more plump than the others.
I had a few like that, that were still not quite done, and rather than dehydrate just a few grapes for a few more hours, I just ate them. 🙂Delicious!
How to Tell When Dehydrated Grapes are Done
So, the big question when dehydrating is, “How can I tell when the dehydrated grapes are done?”
The good news is, there are some easy ways to tell. When you dehydrate grapes, you can tell they are done when they no longer feel sticky to the touch. Also, if you squeeze them together in your hand, they shouldn’t stick together.
Also, as I mentioned above, before you put the dehydrated grapes into storage, put them in a jar with a lid. Shake them every day. Watch for signs of moisture. If you notice any moisture, put them back into the dehydrator for a couple of hours. If you don’t notice any moisture after a few days, you can vacuum seal them (Amazon), and safely store them away in your pantry.
Other Ways to Preserve Grapes
If you enjoyed this article, be sure to check out my other articles on how to preserve grapes.
💬 I’d love to hear from you!
Have you tried this yourself? Have a question or tip to share? Leave a comment below — your experience or question could help someone else, too!