

For a long time, I chose not to dehydrate mashed potatoes. Up until recently, most sources insisted dehydrating mashed potatoes just doesn’t work. The common reasoning was that home-dehydrated mashed potatoes don’t turn out like the instant potato flakes you buy at the store.
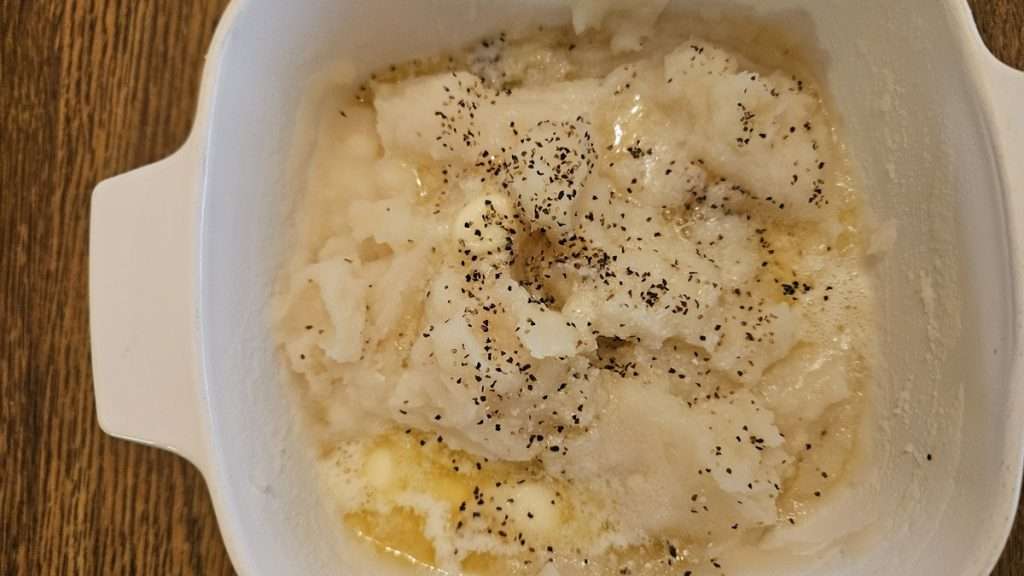
But over the past year, I started seeing more and more videos of people successfully dehydrating mashed potatoes—and getting great results. That gave me the push to try it myself. And you know what? I’ve been very pleased!
My motivation comes from wanting to get away from ultra-processed foods. Store-bought instant mashed potatoes nearly always contain additives. But when you dehydrate your own mashed potatoes, your jar contains just one thing: potatoes.
In this post, I’ll share the process I’ve tested, tips that make it easier, what equipment I used, and how to rehydrate the potatoes for delicious, homemade mashed potatoes anytime.
Why People Said Dehydrating Mashed Potatoes Doesn’t Work
The main reason people discouraged dehydrating mashed potatoes is because they don’t turn out like commercial instant flakes. If you try to grind them into flakes, they don’t rehydrate well.
The trick is to grind them into a very fine powder instead. When you do, the results are excellent.
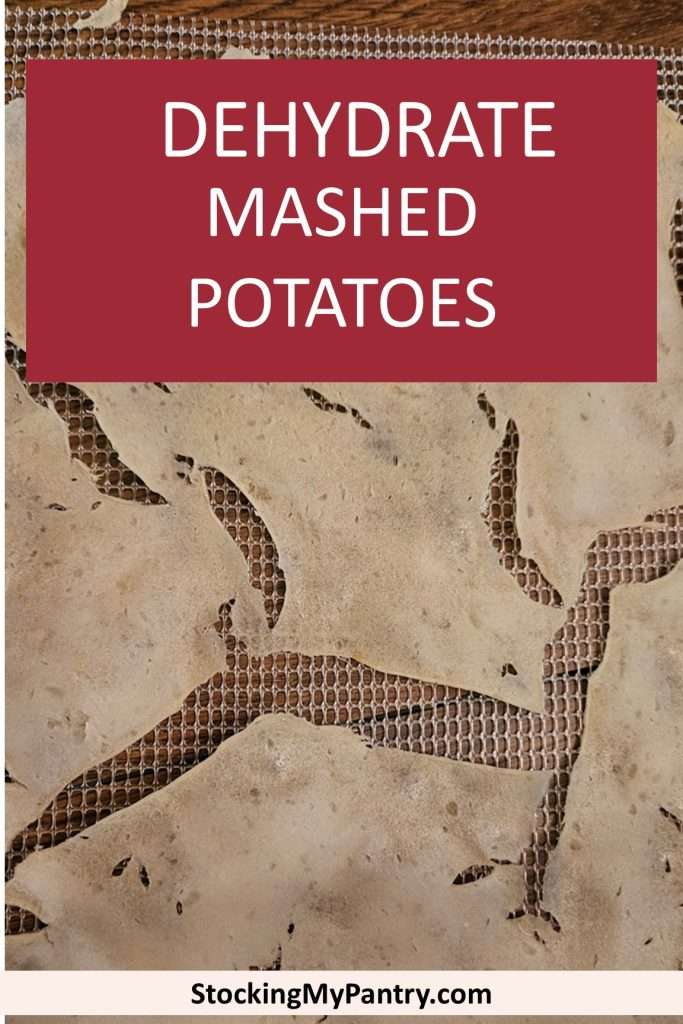
How to Dehydrate Mashed Potatoes Step-By-Step
Now let’s get into how to dehydrate mashed potatoes step-by-step. The good news is that while it takes time (like most dehydrating projects!), it’s not hard, and the results are well worth it!
And by the way, be sure to read through to the end because at the end I’ll also show you how to rehydrate your homemade dehydrated mashed potatoes.
This article includes affiliate links.
Determine the Amount of Potatoes to Prepare for Dehydrating
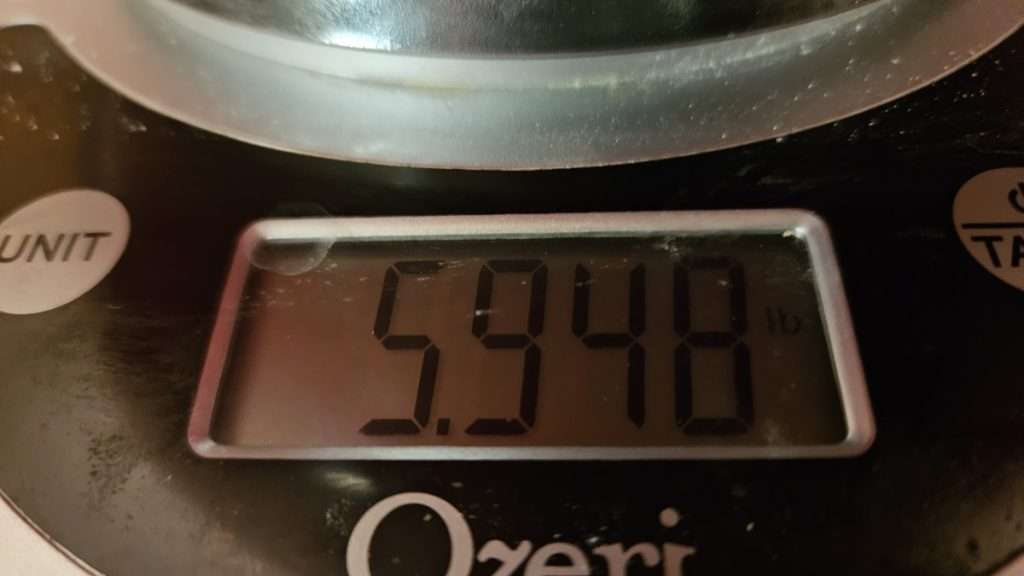
First I want to mention that as you can see in the first images below, I started off with around six pounds of mashed potatoes. I’m not saying that this is how many you need to do! I’m just making note of the amount to give you an idea of how many pounds of mashed potatoes can fit into a dehydrator.
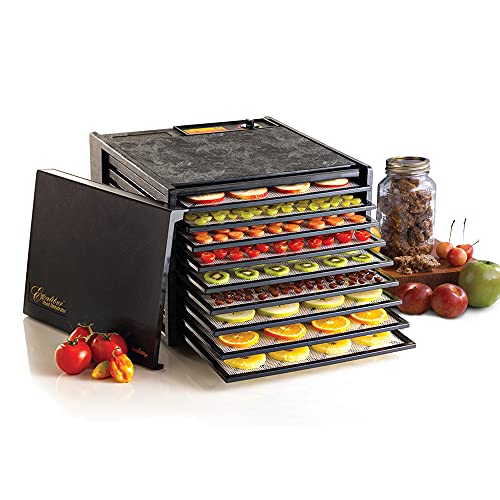
In my case, I used two dehydrators. I used my Cosori 6-tray dehydrator (Amazon) and my Excalibur 9-tray dehydrator (Amazon). Note that over time I’ve experimented more, and found that I can fit about 3 1/2 pounds of mashed potatoes into the Cosori and about 4 pounds into the Excalibur. So now that I have a bit more experience with it, if I’m planning to use both dehydrators, I start with a bit more than 7 pounds of potatoes.

Step 1: Prepare and Cook the Potatoes
Of course, the first step in dehydrating mashed potatoes is to first of all cook the potatoes. The good thing is that if you’ve ever made mashed potatoes from scratch, your initial steps will be exactly the same.
Peel and cube your potatoes into roughly 1-inch chunks. The size doesn’t need to be perfect, but uniform chunks cook more evenly.
By the way, peeling the potatoes is optional. However, since you’ll be grinding the dehydrated mashed potatoes into a powder, the peels will make the end result brown, which wouldn’t be as appetizing. So that is why I chose to peel them.
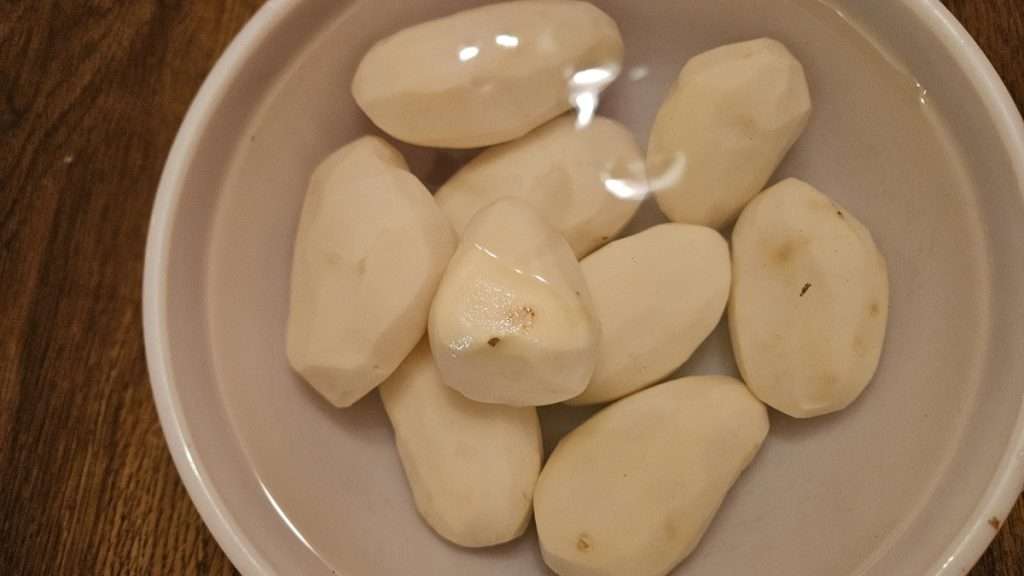
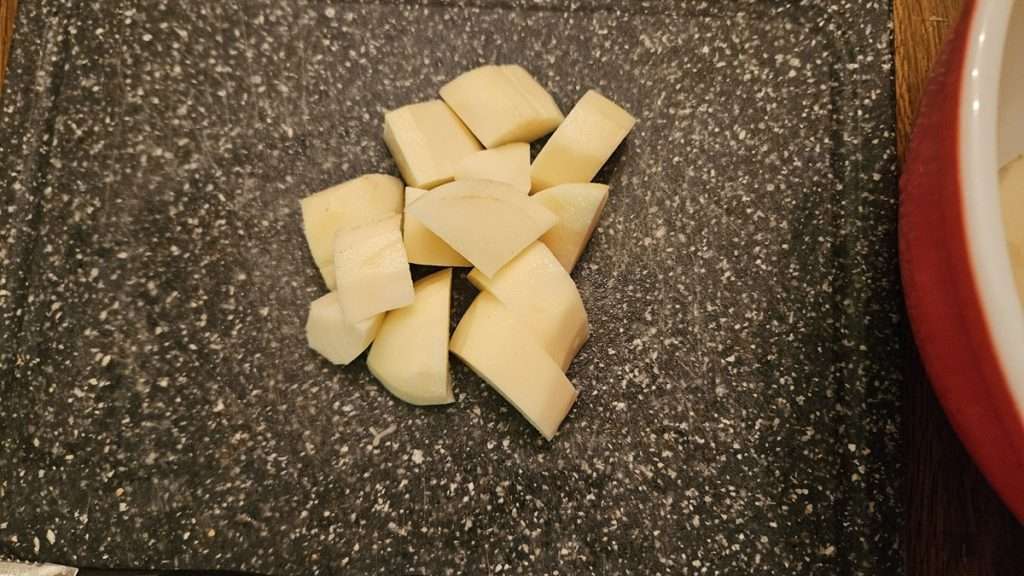
Cover the potatoes with water (about an inch over the top). Bring to a boil and cook until very soft, 25–30 minutes.
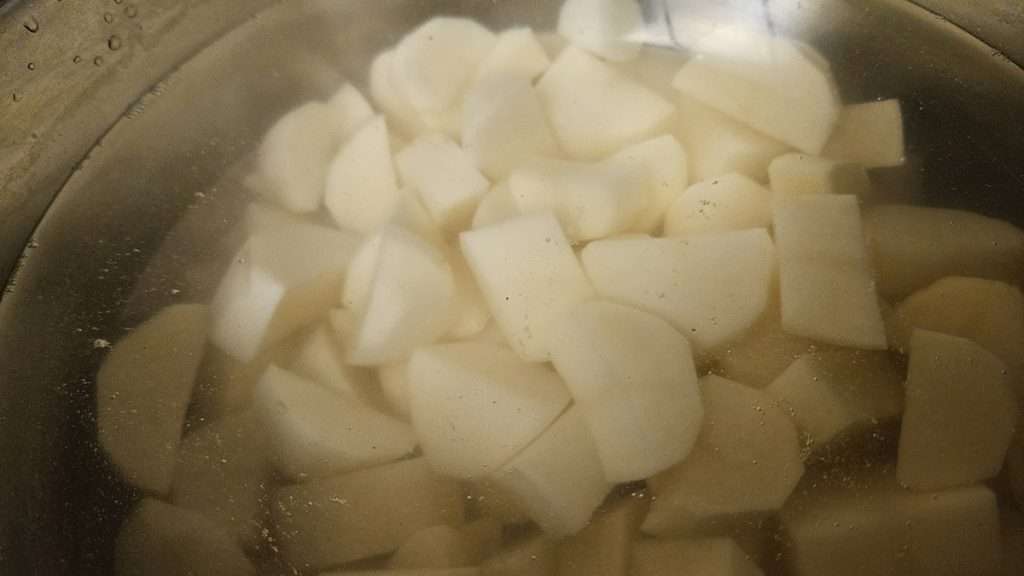
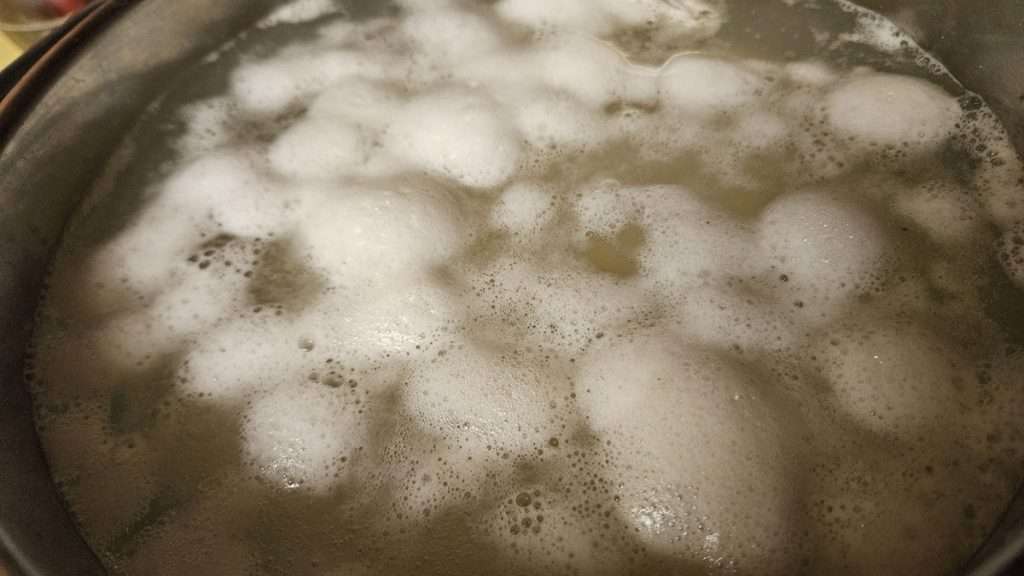
You’ll want to cook the potatoes until they are very soft, because you want them to mash up really well.
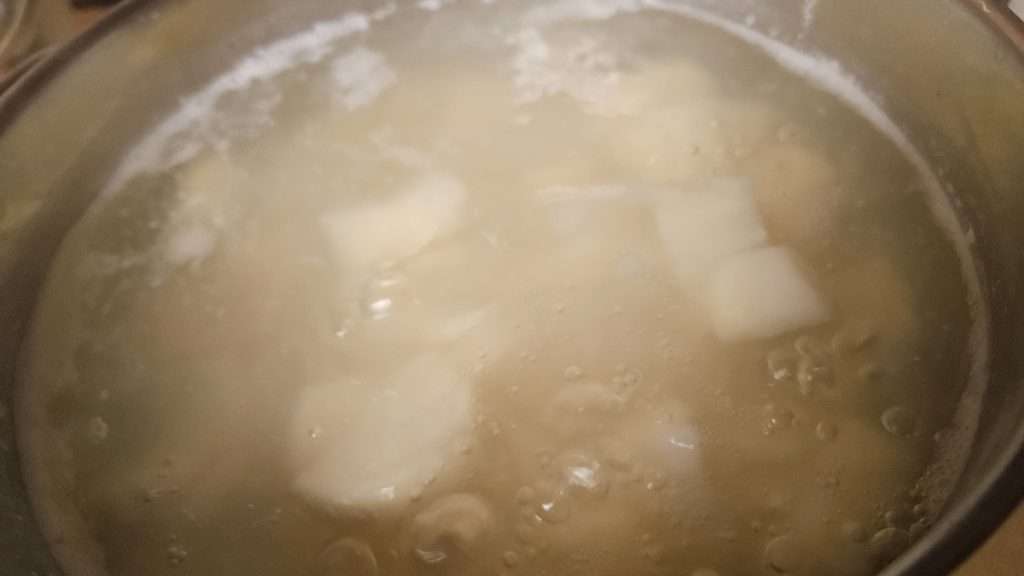
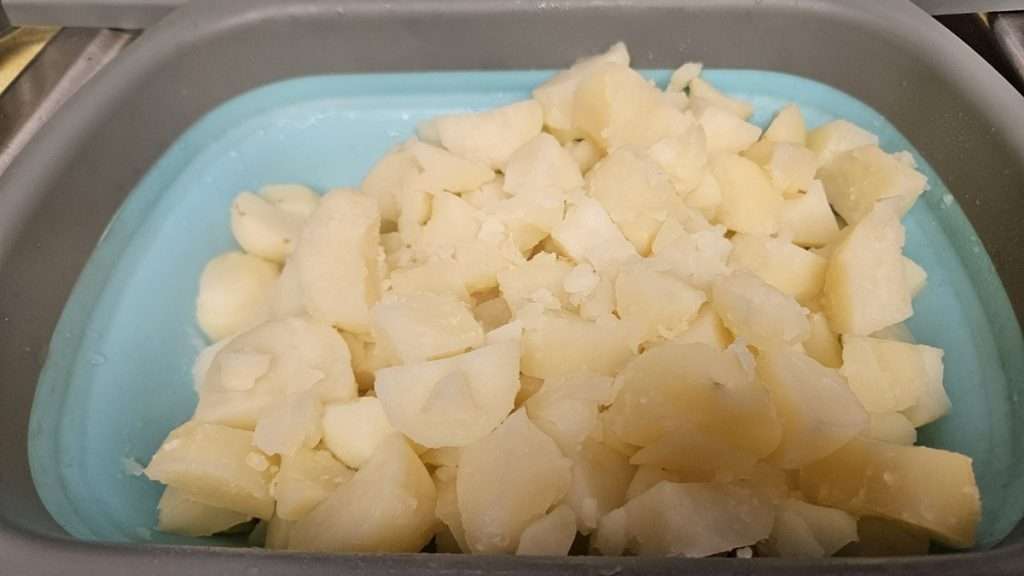
Once the potatoes are fully cooked, drain them. In the image below you can see that the potatoes are cooked enough that some are falling apart.
Step 2: Mash the Potatoes Until Smooth
Drain the potatoes and return them to the pot. Mash them thoroughly—smooth mashed potatoes dehydrate more evenly. I used an electric hand mixer. At first, before turning on the mixer, I used the beaters to mash down the potatoes some. The reason for this is that my pot was so full of potatoes, the beaters didn’t reach all the way to the bottom. Mashing them down a bit made it easier on me once I turned on the mixer.
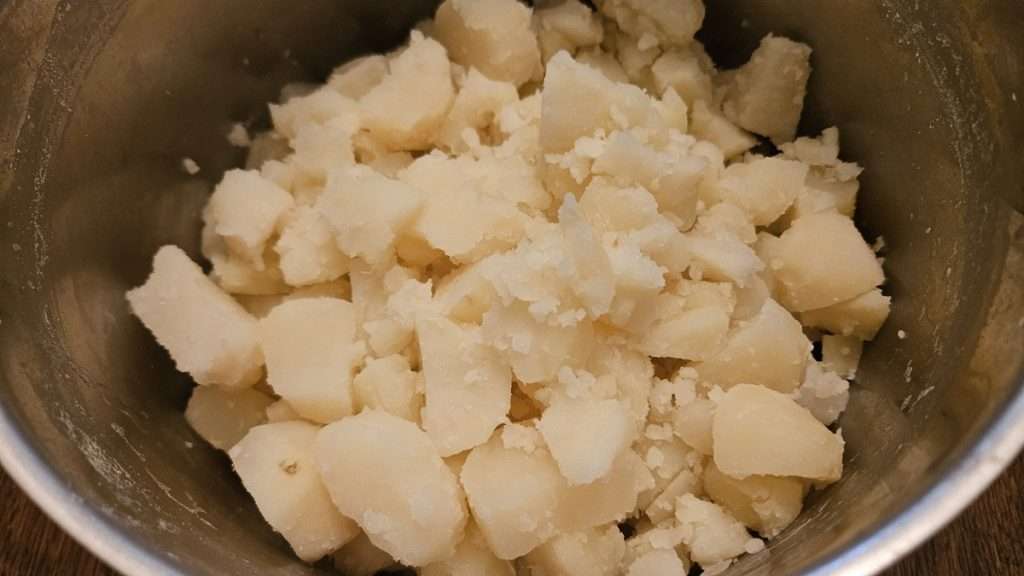
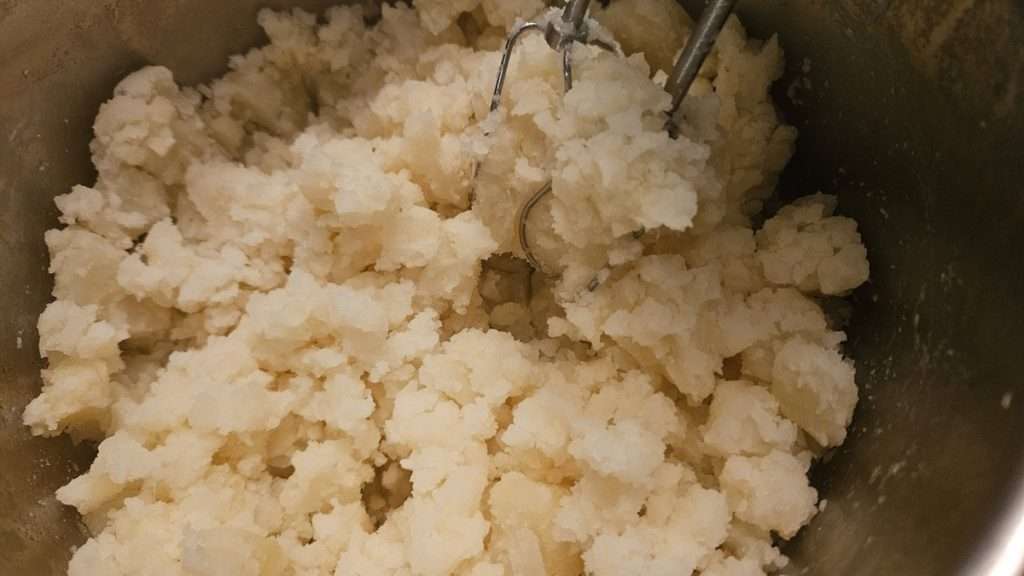
As you can see in the image above, the potatoes are completely dry. I then added 1 cup of water to the potatoes. Note that I’m using water, instead of milk, as the dehydrated mashed potatoes will be shelf stable much longer if they don’t contain milk.
By the way, you’ll need to experiment a bit with the amount of water to add. It’s best to start off with less and add more, if you find the potatoes are too thick. You’ll see that’s exactly what I did.
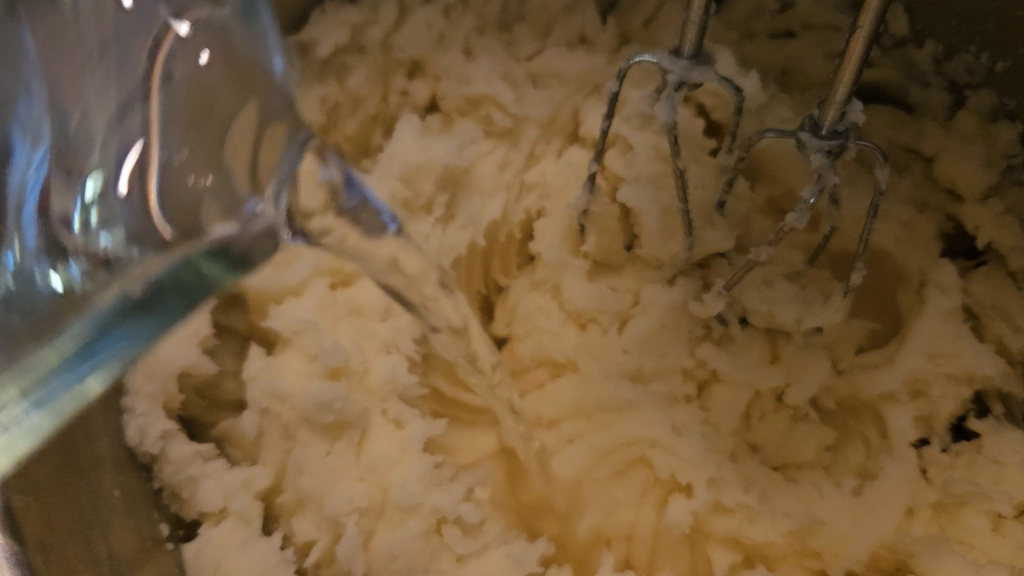
You can see in the image above that the potatoes were reasonably smooth, but they were still a bit too thick for spreading, so I added about an additional half cup water.
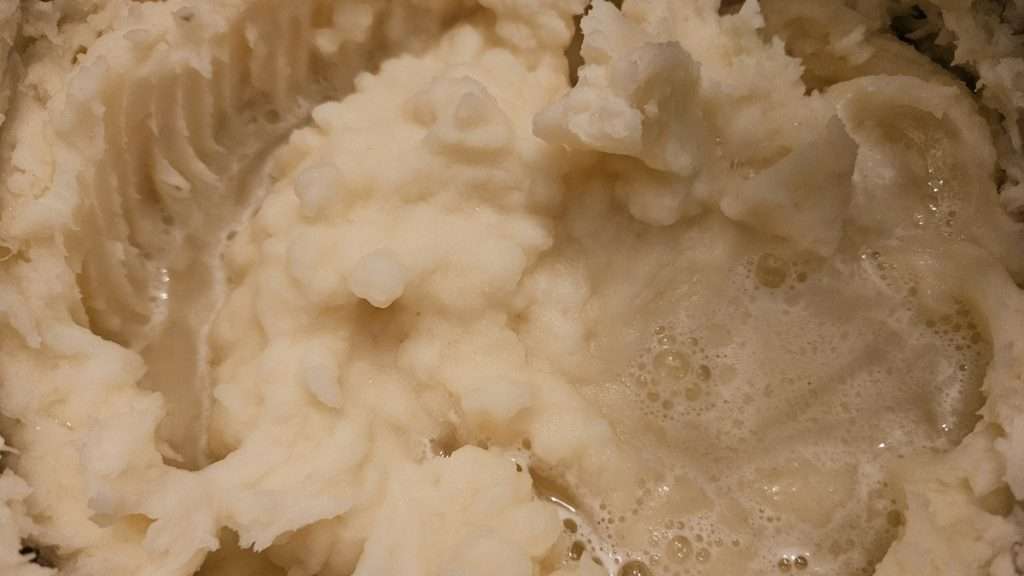
After adding more water, I ran the mixer again until the potatoes were nice and smooth.
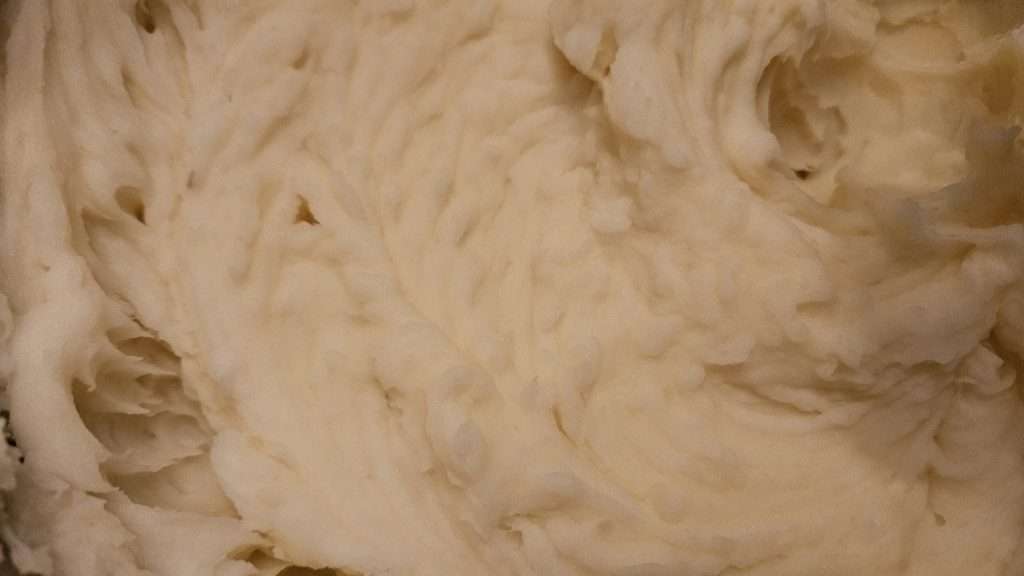
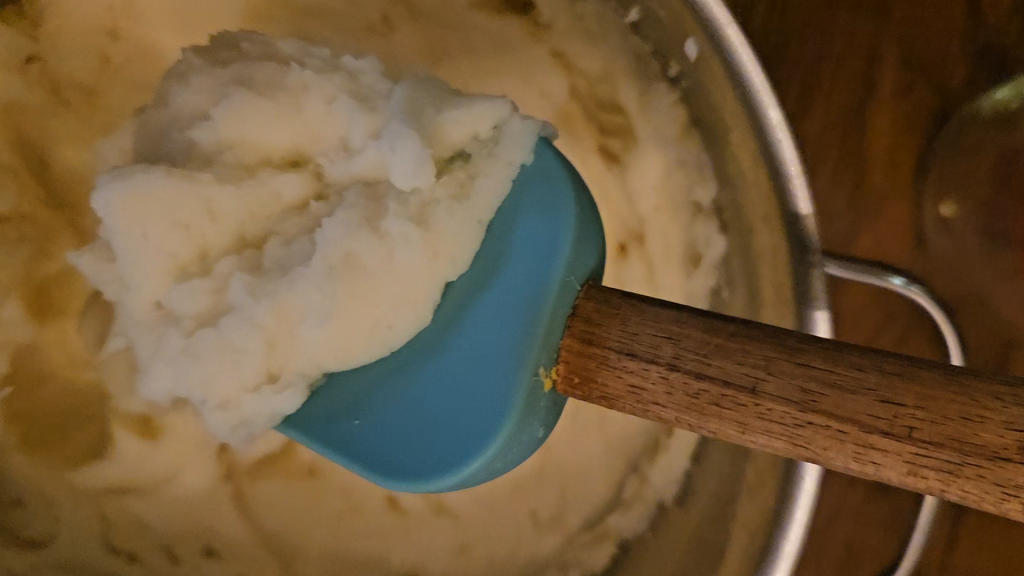
Tip: You want the mashed potatoes thin enough to spread easily, but not watery. However, don’t worry if you put in too much water. Watery mashed potatoes simply take longer to dehydrate. Having said that, it’s best to add water a little at a time to avoid adding too much water.
Step 3: Spread on Dehydrator Trays
The amount of potatoes you’ll want to put on each tray depends on how large your dehydrator trays are. Initially I started off with 1 cup of mashed potatoes on my Cosori trays, and 1 1/2 cups on my Exacalibur trays, since they are larger. Over time I’ve learned that I can do up to but no more than 1 1/2 cups of mashed potatoes on each Cosori tray and 2 cups on my Excalibur trays.
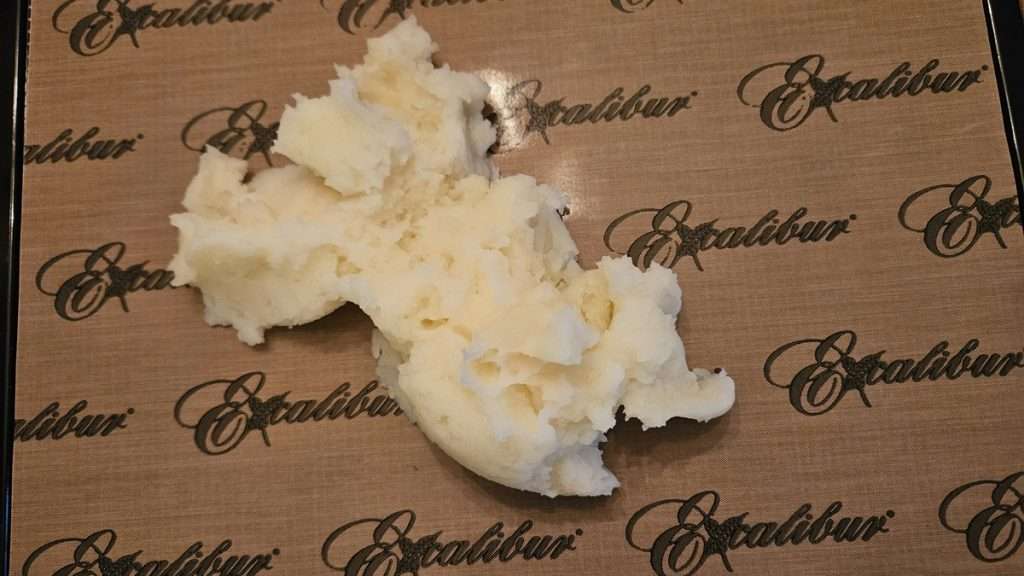
The bottom line is to spread 1–2 cups of mashed potatoes per tray, keeping the layer no thicker than 1/8″. Smooth them as evenly as possible.
How to Spread the Mashed Potatoes on the Dehydrator Trays
I experimented with different spreading methods:
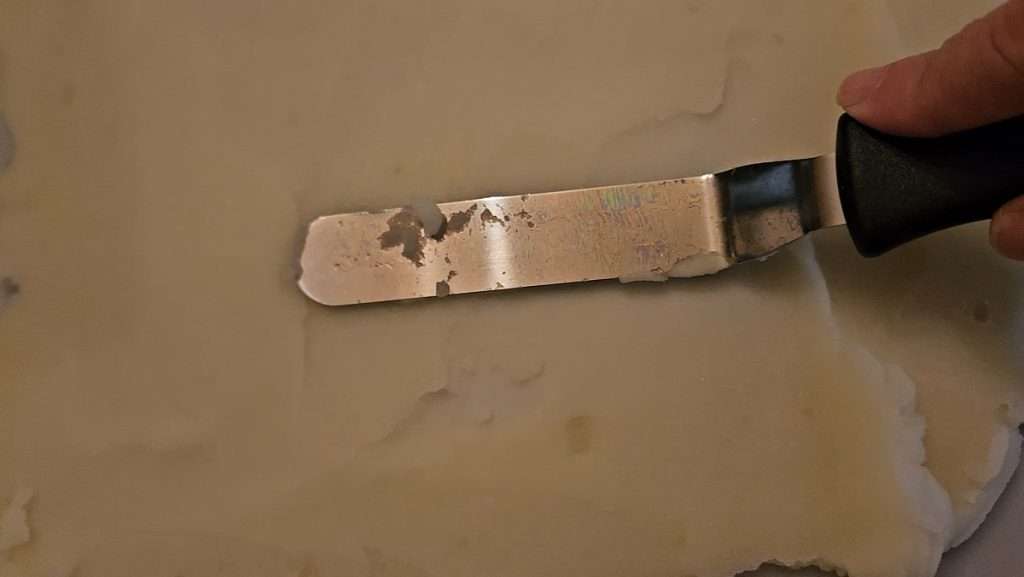
I started off by using the rubber spatula. This worked reasonably well, but I found it difficult to get the potatoes spread smoothly.
The next method that I used was wet hands. I was able to smooth the potatoes in a mostly smooth layer using wet hands. The reason for wetting my hands is because when my hands were dry, the potatoes stuck to them. I was able to smooth the potatoes onto the tray without them sticking to my hands when they were wet. A benefit of using my hands was that I was able to feel lumps that hadn’t been mashed completely, and used my fingers to mash them a bit.

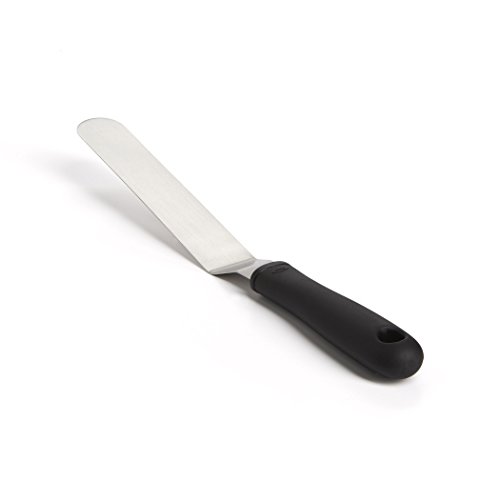
The best method that I found was to use an offset spatula, like this one, that you can pick up on Amazon. I was able to get the smoothest layer using the offset spatula.

Step 4: Dehydrate and Flip
Dehydrate at 125°F for 8–10 hours. After about 5 hours, flip the sheets of potatoes onto mesh trays so the bottoms can dry. Note that this isn’t absolutely essential, so, if like me, you often dehydrate food overnight and because of that can’t flip them, don’t worry about it. But if you are around, removing the potatoes from the dehydrator sheets, and flipping them over so the bottom side is up, will help them dry faster.
Note that when you flip them, since they are more solid at this point, there is no need to keep them on the fruit leather trays or sheets. Instead, put them onto mesh trays, since they have better airflow than the solid trays.
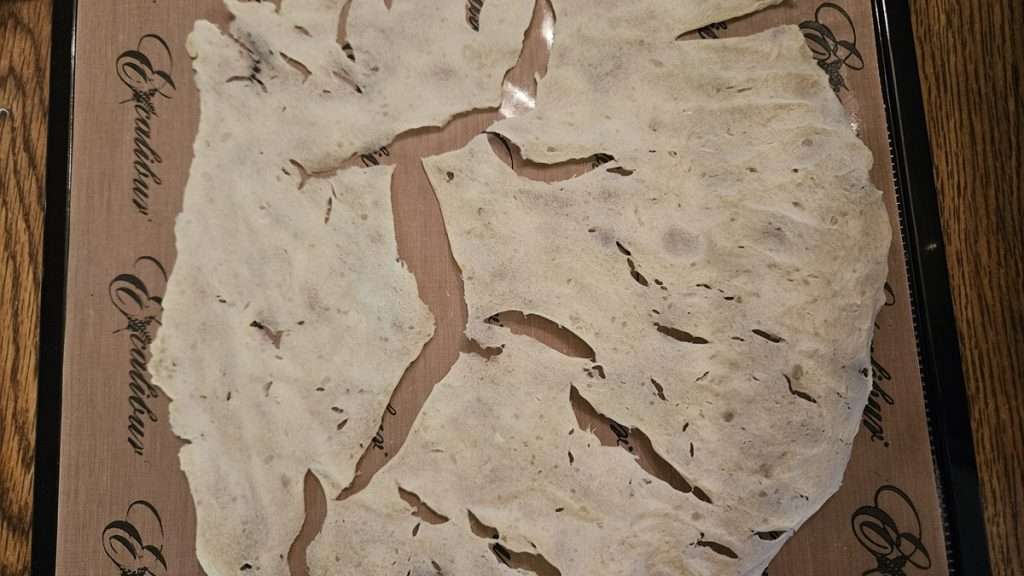
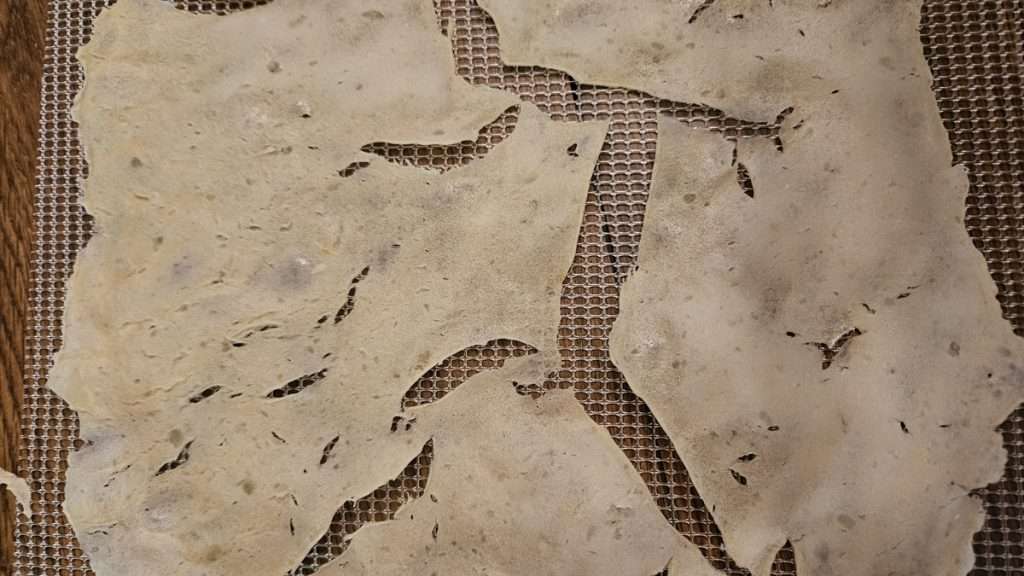
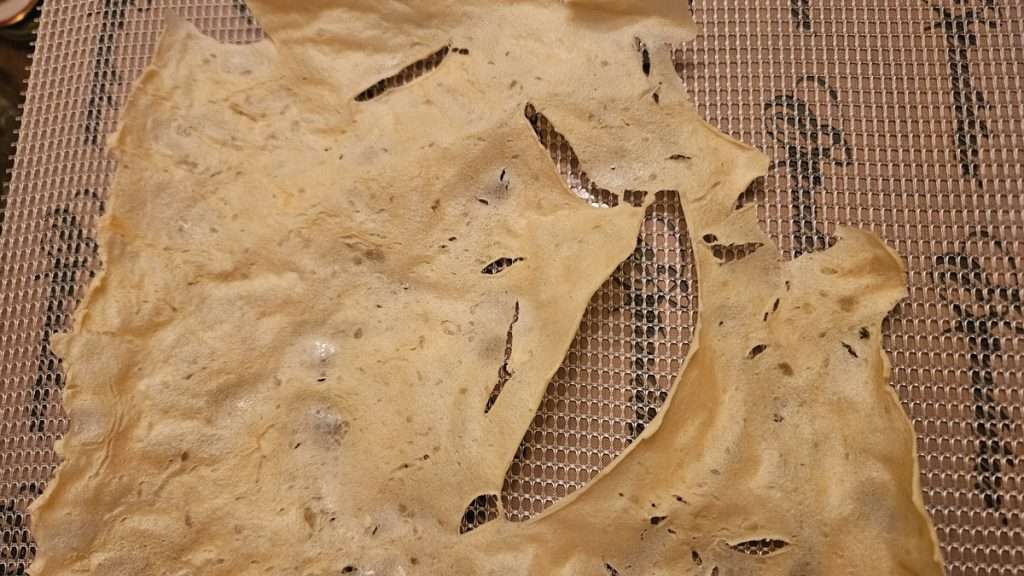
Tip: In the Excalibur dehydrator (Amazon), I found the trays too close together when the potatoes curled. This made it difficult to pull out the trays. Because of that, after the first time I dehydrated mashed potatoes in the Excalibur, I decided to use only 4 trays instead of 9, so I could put some space between the trays. Naturally, this meant I couldn’t dry as much mashed potatoes at a time, but it worked a lot better. The interesting thing about this is that I can use all 6 trays in the Cosori (Amazon), and can therefore dehydrate almost as many mashed potatoes at a time in the Cosori.
Step 5: Break and Grind into Powder
Once fully dry, break the potatoes into chunks and grind them in a high powered blender. A Vitamix with a dry grains container (Amazon) works beautifully, but any strong blender will do.
Grind as finely as possible—don’t stop at coarse flakes. A fine powder rehydrates much better.
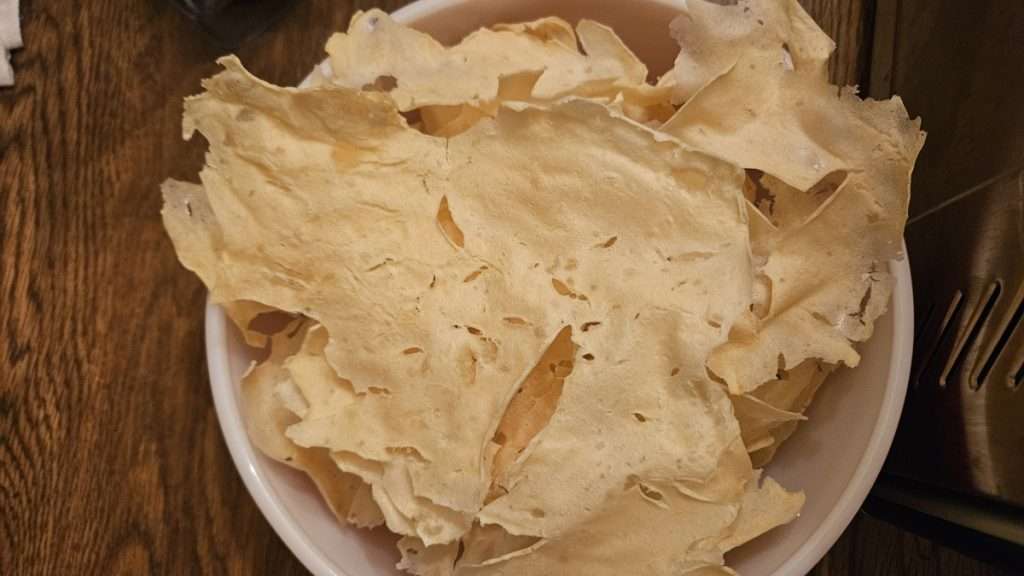
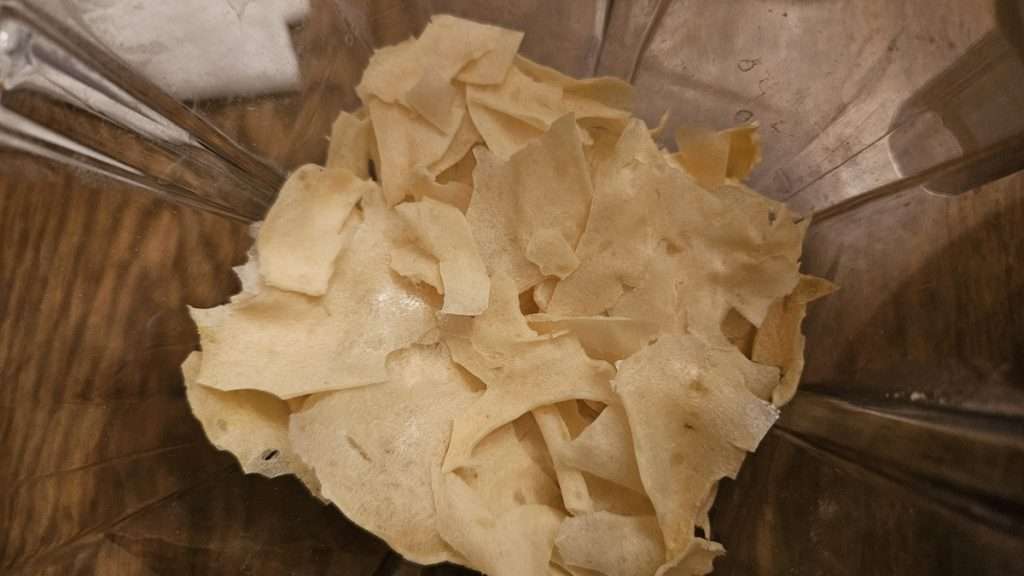
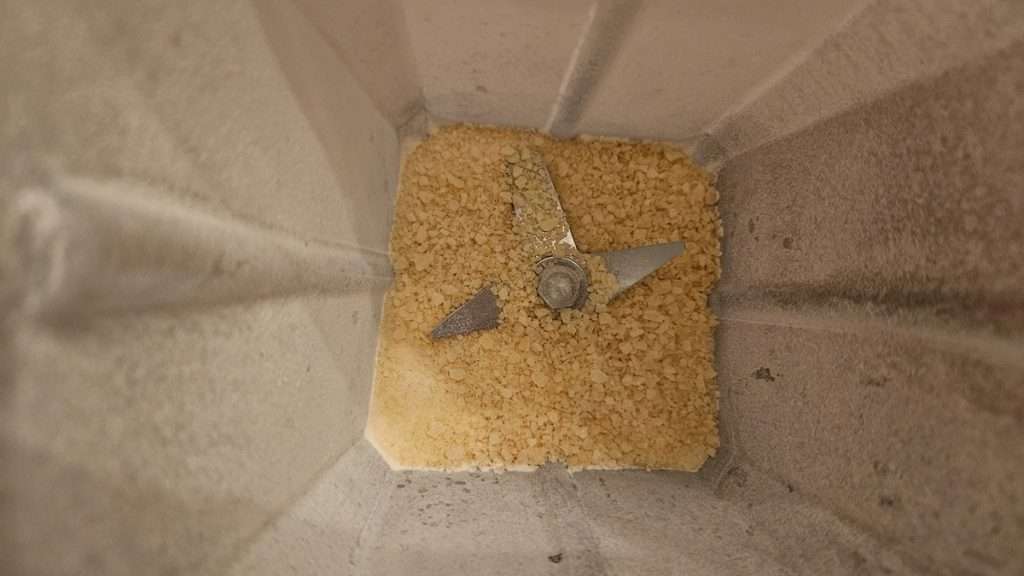
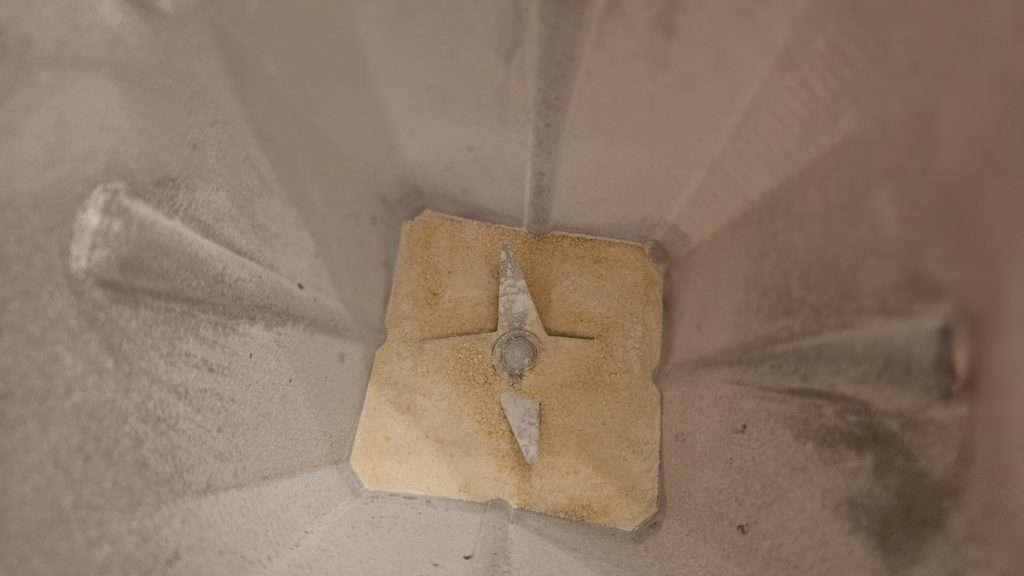
Pro tip: You can see how the potatoes are more finely ground in the image above, compared to the one before it. However, if you look closely, there are still some larger bits. What I found works best is to get the potatoes “almost into a powder” and then pour them into a mason jar. I like to let both the powder and the blender cool down completely before pouring about a pint’s worth of powder back into the blender and running it again to powder it to the point that it’s the consistency of flour.
Step 6: Store
Store the potato powder in airtight jars. I let the powder cool before sealing the jars to avoid condensation. I like to use a mason jar vacuum sealer, like these found on Amazon.
Note that when vacuum sealing powder, I like to put a coffee filter on the top of the powder (below the lid) to keep the powder from being sucked up onto the rim of the jar. This helps maintain a good seal.
This small, easy-to-store vacuum sealer is made for mason jars. It’s cordless, simple to use, and a great tool for long-term food storage.
👉 Check it out here.
Step 7: Rehydrate into Mashed Potatoes
Rehydrating mashed potatoes that you’ve dehydrated yourself is similar to, but a bit different than working with instant mashed potatoes. Now if you’ve powdered them well, they will indeed rehydrate quite quickly, without trouble. But they may need to sit a bit longer than instant mashed potatoes you get from the grocery store.
Here’s what I’ve found that works well.
Ratio of Water to Dehydrated Mashed Potatoes
To rehydrate, use a 1:4 ratio — one part potato powder to four parts liquid (water, milk, or a mix).
For example:
- ½ cup potato powder
- 2 cups heated water or milk
The Basic Process
Here’s the basic process of preparing your home dehydrated mashed potatoes. I’ll give you the short version, and then show you with step by step photos.
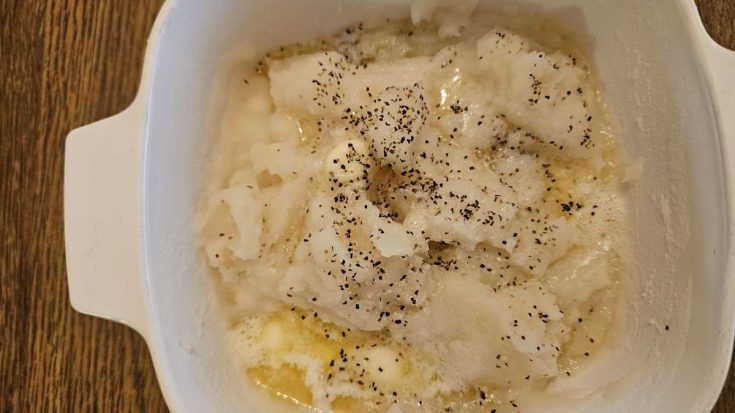
First, using the above potato to water ratio, whisk the water into the potato powder. It will look watery at first, but as you let it sit for 5–10 minutes, it will start to thicken up. Note that it’s a good idea to stir it a few times especially at the beginning to make sure you get all of the potato powder mixed in.
Top with pats of butter and salt and pepper to taste. Then microwave it for 2 minutes to heat the potatoes through, and melt the butter. Stir it one final time to mix in the melted butter and salt and pepper.
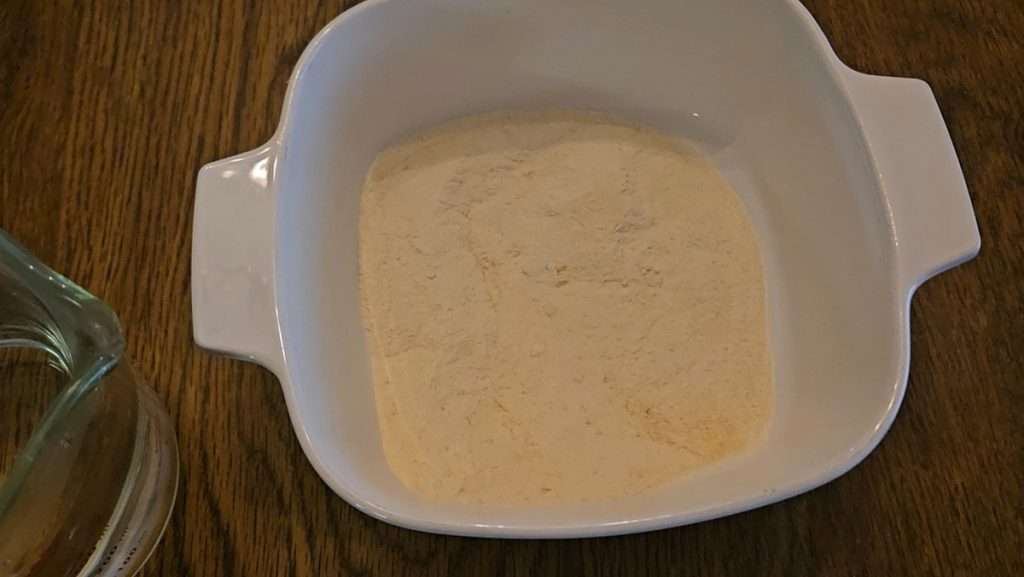
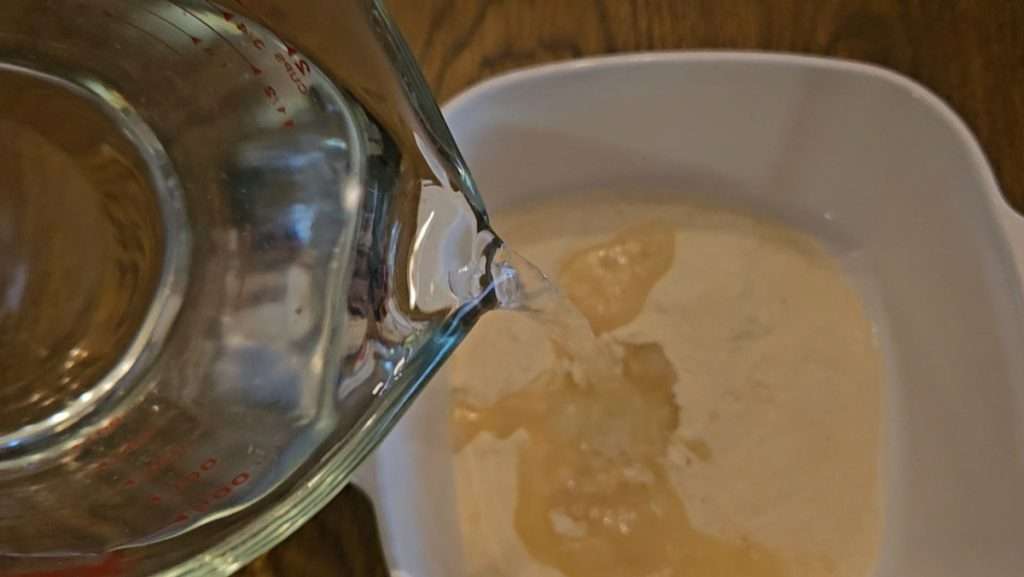
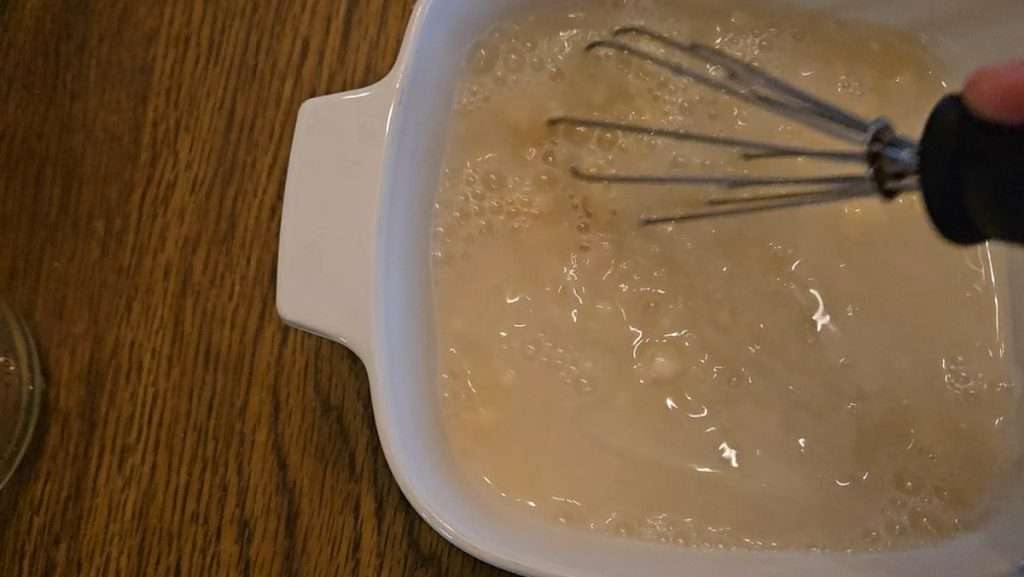
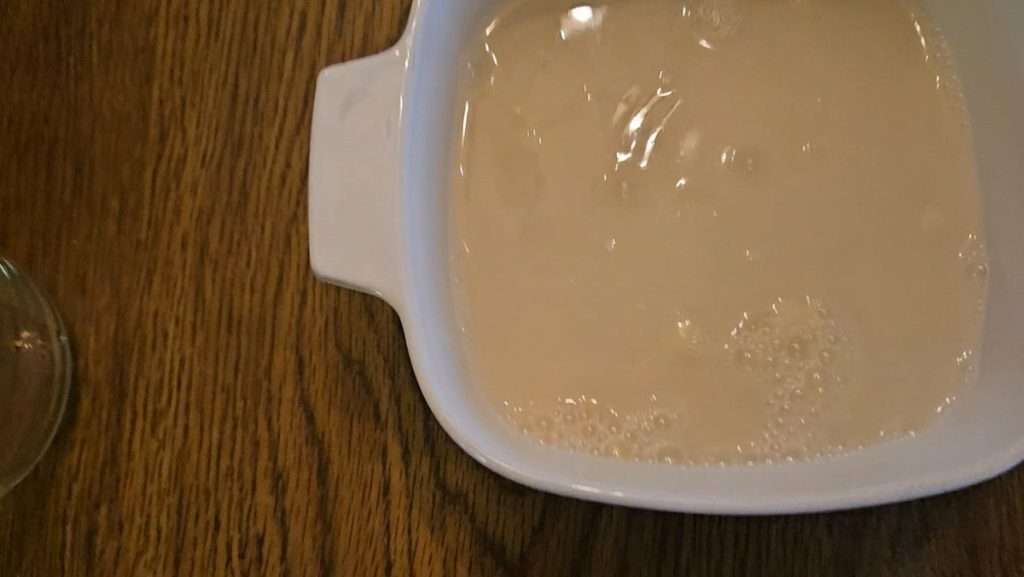
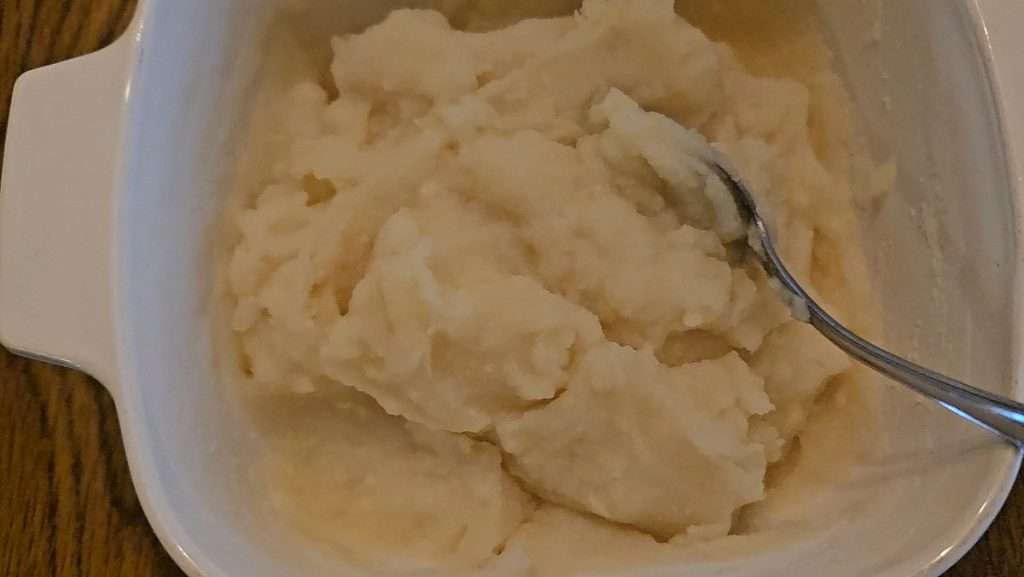
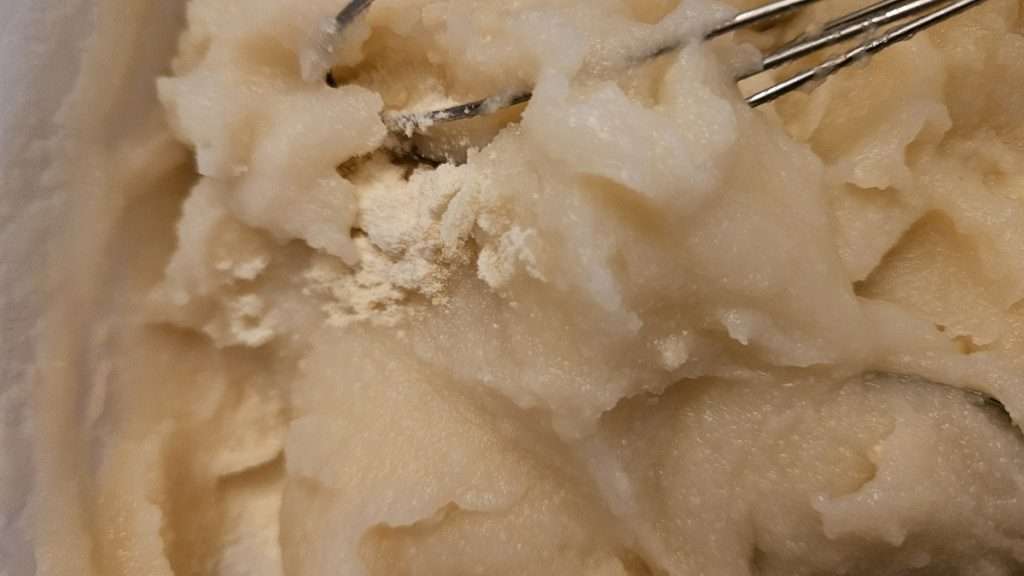
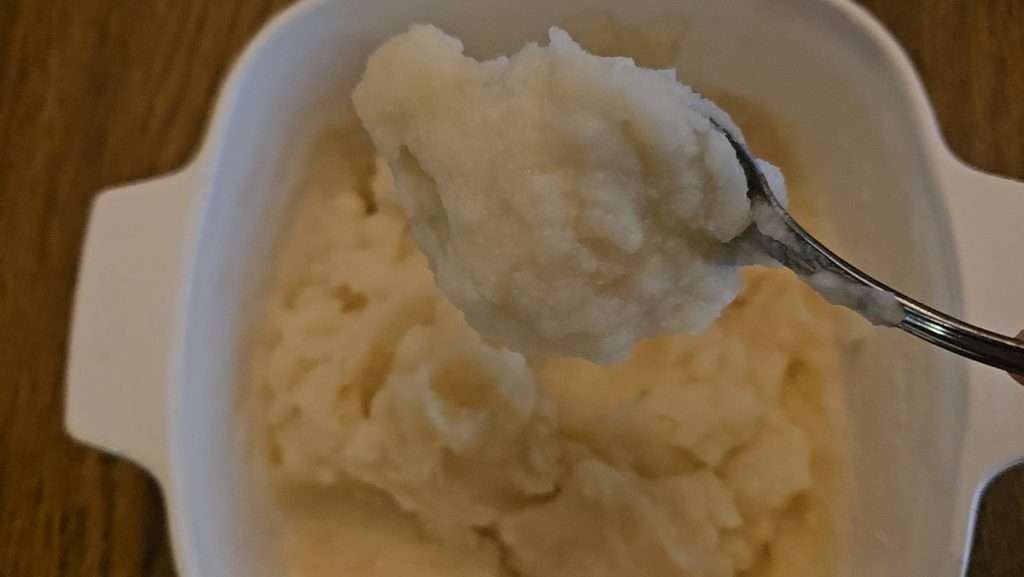
Tip: Start with less liquid and add more if needed. It’s harder to fix runny potatoes than thick ones.
Videos on Dehydrating Mashed Potatoes
When I was exploring the possibility of dehydrating mashed potatoes, I found these videos very helpful. If you’re more of a visual learner, you may enjoy seeing the process in action:
The video above is the one that got me started on dehydrating mashed potatoes. She does use a process that I think it’s a bit more complex than mine, but I still think you’ll find it helpful. Again, it was the jumping off point for me for knowing how to dehydrate mashed potatoes.
What I like about the video above is that not only is the process of dehydrating mashed potatoes shown, at the end, are recipes for making flavored mashed potatoes mixes similar to the packages of instant mashed potatoes you buy from the grocery store.
Final Thoughts
Dehydrating mashed potatoes isn’t difficult, and the results are both satisfying and practical. They don’t turn into instant flakes like the store-bought version, but when ground to a fine powder, they rehydrate beautifully.
This has been a game-changer for me in stocking my pantry with clean, additive-free foods. If you’ve hesitated to try dehydrating mashed potatoes, I encourage you to give it a go!
Related Blog Posts
If you enjoyed this blog post, you’re sure to also enjoy these related blog posts.
- Easy Scalloped Potatoes with Dehydrated Potatoes
- Canning Russet Potatoes | How to Can Starchy Potatoes
- How to Dehydrate Cabbage
Pin it for Later
Print it for Later
How to Dehydrate Mashed Potatoes
Learn how to dehydrate mashed potatoes step-by-step for clean, shelf-stable storage. This simple method makes it easy to rehydrate creamy, homemade mashed potatoes anytime—without additives or preservatives.
Materials
- Potatoes - I used russet potatoes
Tools
- Large pot
- Colander
- Hand mixer or potato masher
- Dehydrator (Cosori or Excalibur recommended)
- Dehydrator fruit leather or mesh trays
- Blender or Vitamix (for grinding)
- Mason jars or other airtight containers
- Mason jar vacuum sealer (optional)
Instructions
1. Prepare the potatoes. Peel (optional) and cube the potatoes into roughly 1-inch chunks. Boil until very soft, about 25–30 minutes.
2. Mash until smooth. Drain the potatoes, return them to the pot, and mash well. Add water—not milk or butter—until smooth and spreadable.
3. Spread on dehydrator trays. Spread 1–2 cups of mashed potatoes per tray in a thin, even layer (no thicker than ⅛ inch). An offset spatula works best for spreading.
4. Dehydrate. Dry at 125°F for 8–10 hours, flipping after about 5 hours if possible. Potatoes should be completely dry and crisp when done.
5. Break and grind. Break the dried potatoes into chunks and grind them into a fine powder using a blender or grain mill. A fine grind ensures easy rehydration.
6. Store. Let the powder cool completely, then store in airtight jars. For long-term storage, vacuum-seal the jars.
7. Rehydrate when ready. Use a 1:4 ratio of potato powder to liquid (water, milk, or a mix). Whisk together, let sit 5–10 minutes, then adjust liquid as needed for your preferred texture. Add butter, salt, and pepper to taste.
8. Microwave for 2 minutes to heat the potatoes and melt the butter. Stir the melted butter and salt and pepper into the potatoes.
Notes
Recommended Products
As an Amazon Associate and member of other affiliate programs, I earn from qualifying purchases.
-
 COSORI Food Dehydrator
 -
 COSORI Food Dehydrator Accessories, Fruit Leather Roll Sheets for 6 Trays CP267-FD and Other Models, BPA-Free, C267-2FR, 2 Pack
 -
 Excalibur Electric Food Dehydrator Machine 9-Tray
 -
 Excalibur ParaFlexx Reusable Non-Stick Drying Sheets for Food Dehydrators, Set of 4, Brown
 -
 Vitamix 48-ounce Dry Grains Container (only if you have a compatible Vitamix)
 -
 KitchenAid 9-Speed Hand Mixer - KHM926
 -
 OXO Good Grips Bent Icing Spatula
 -
 Over the Sink Collapsible Colander
 -
 Ball Wide Mouth Clear Glass Canning Quart 32 Oz Mason Jars with Lids, 12 Pack
 -
 LOVE MOMENT Electric Mason Jar Vacuum Sealer Kit for Wide Mouth and Regular Mouth Mason Jars
💬 I’d love to hear from you!
Have you tried this yourself? Have a question or tip to share? Leave a comment below — your experience or question could help someone else, too!