

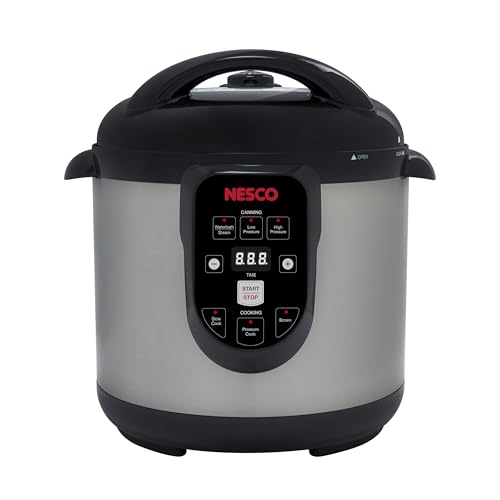
I’ve been using my Nesco Smart Canner and Cooker primarily for canning, but recently I started experimenting with the cooking features. One of the first things I tried was steaming vegetables—and I was pleasantly surprised at how simple and effective it was. Today I’ll show you step by step how to steam vegetables in the Nesco, with cabbage as an example, but this same process works for other vegetables as well.
Why Use the Nesco for Steaming?
Most people buy the Nesco for water bath or pressure canning, but it also has built-in cooking functions. Using it for steaming means:
- No extra pots cluttering your stove.
- Precise digital control.
- Large capacity (perfect when prepping for dehydrating or freezing or cooking for a large family).
When I needed to blanch cabbage for dehydrating, I decided to try steaming it in my Nesco instead of blanching it on the stove. It worked beautifully—and saved me time.
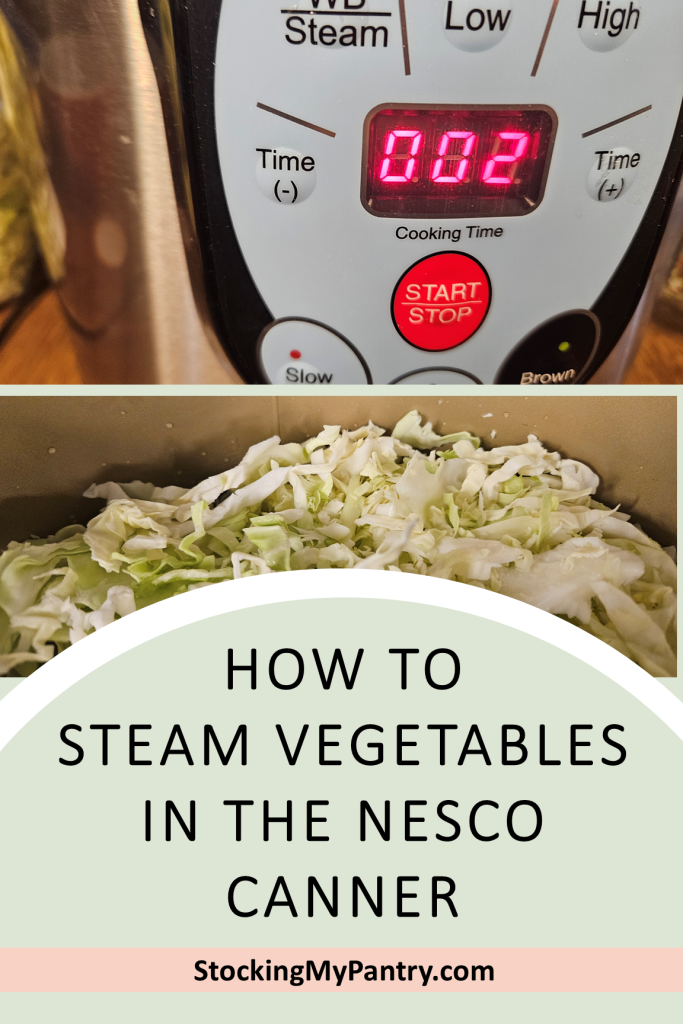
Step-by-Step: Steaming Vegetables in the Nesco
1. Prepare the Nesco
- Place the canning rack in the bottom of the pot.
- Pour in 4 cups of hot water (water should sit just below the rack).

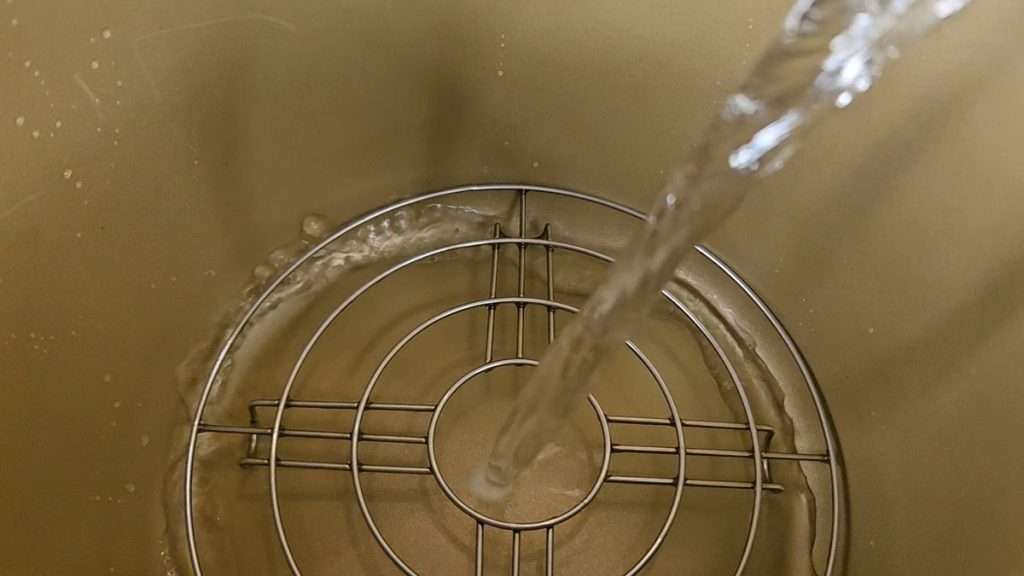
Note that when you add 4 cups of water the the Nesco, the water level will come right below the canning rack.
2. Add the Steam Rack
- Place the steam rack on top of the canning rack.
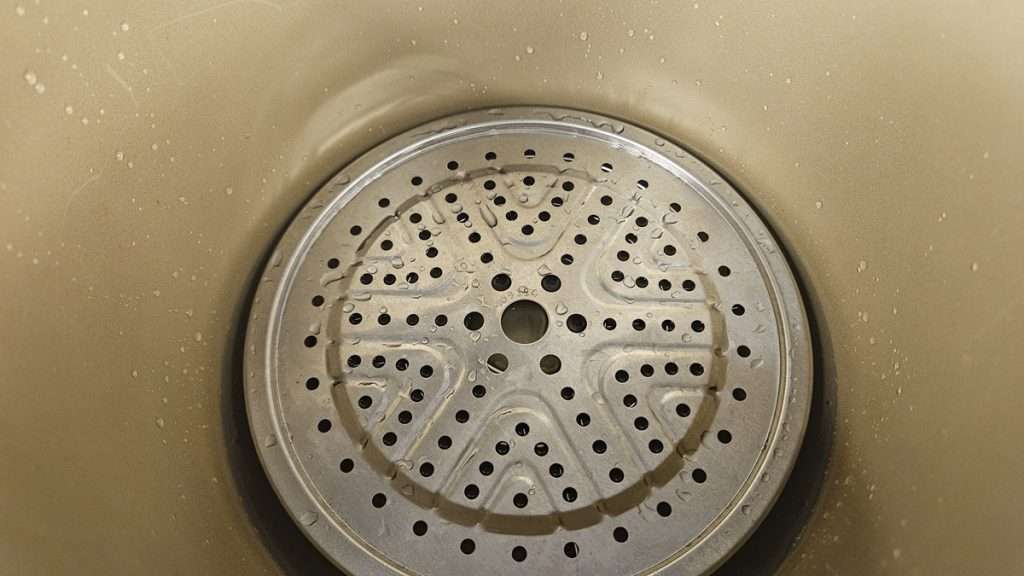
3. Add Vegetables
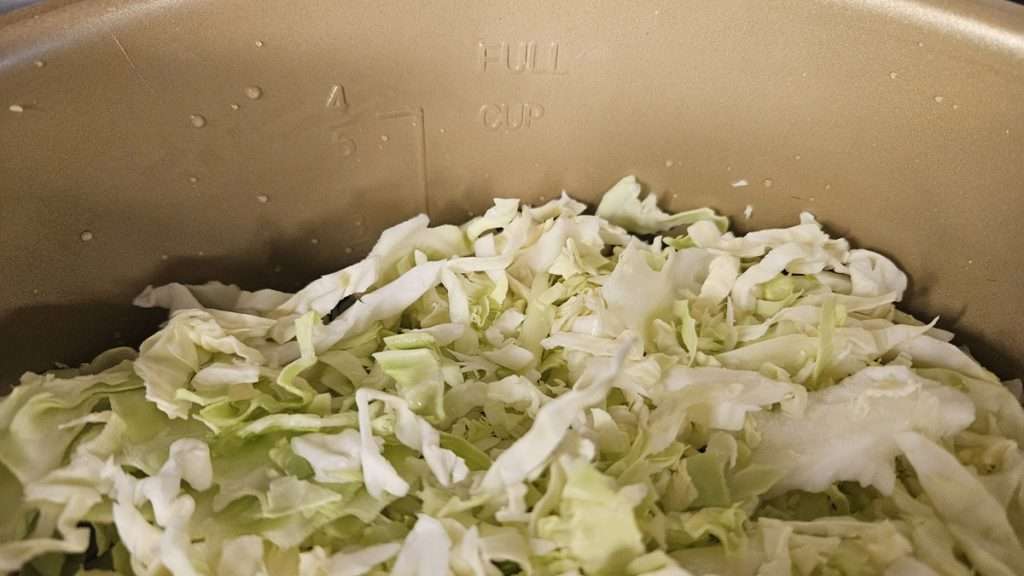
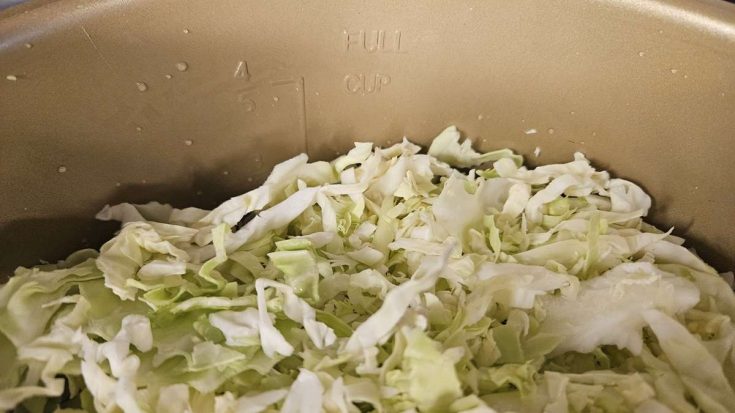
Add your vegetables, keeping them below the fill line. Note that the “rule” is to fill the inner pot no more than 4/5 of the way full. While it may be a bit hard to see in the image below, to the left and below the FULL marking, is a marking that shows 4/5. Do not fill above that line.
4. Set the Steam Function
- Press STEAM on the control panel.
- Close the lid, turning it counterclockwise 1/8 turn.
- Turn the valve to exhaust position.
- Set the timer (for cabbage, I used 2 minutes).
- Press START.
- Once steam begins escaping, press START again and the timer will begin counting down.
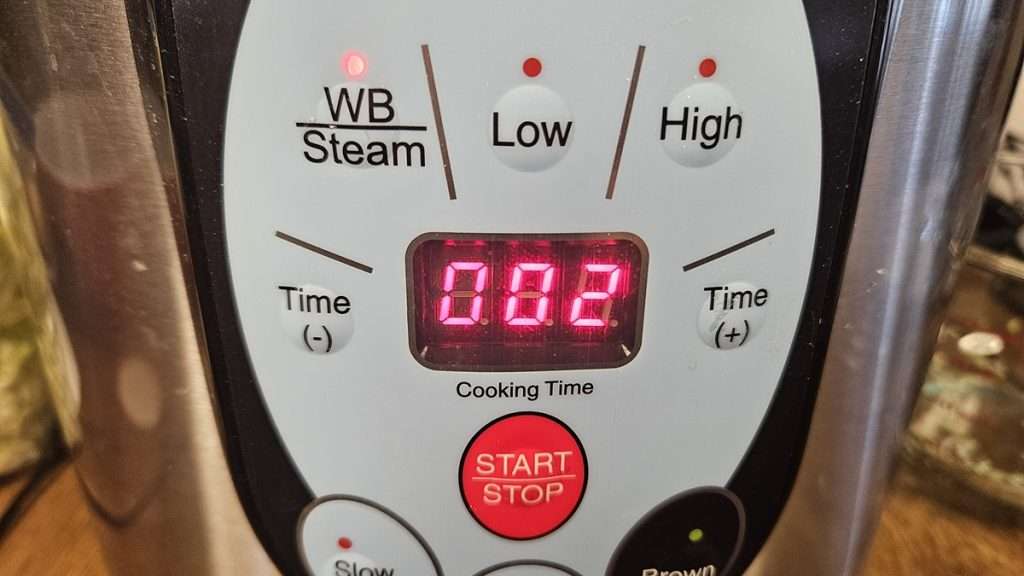
5. Finish Steaming
When the timer finishes, the Nesco will show OFF on the screen. Carefully open the lid, and your vegetables will be perfectly steamed.

Once the steaming time is complete, the display on the Nesco will show “OFF”.

It may take a minute for any pressure to drop, but once it does, move the lid to the open position.
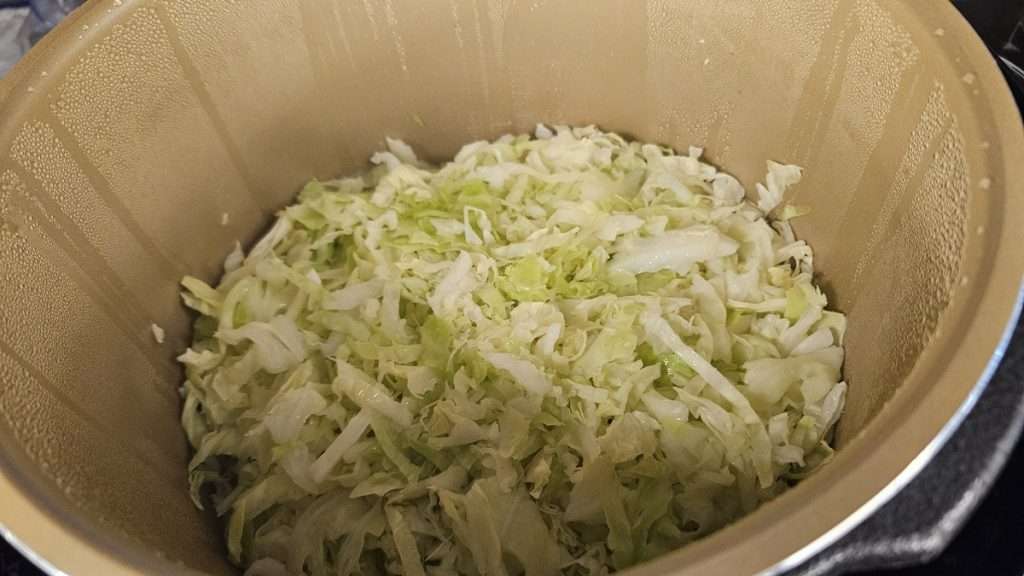
As you can see in the image above, the cabbage was “mostly cooked” but not completely. This was intentional as I was steaming the cabbage to dehydrate, and didn’t want it fully cooked.
Approximate Steaming Times for Vegetables (Nesco Electric Canner & Cooker)
When I first started experimenting with the steam function on my Nesco Electric Canner and Cooker, I dug out the instruction manual that came with my Nesco. Interestingly, my older manual included a really handy chart with approximate steaming times for different vegetables. From what I can tell, the most recent version of the Nesco manual doesn’t include this chart, so I thought it would be helpful to share a reworded version here.
| Vegetable | Prep Method | Steaming Time | Flavor Ideas / Seasonings |
|---|---|---|---|
| Artichokes | Whole, trimmed | 35–40 min | Olive oil + lemon zest |
| Asparagus | Whole spears, thicker ends trimmed | 8–15 min | Olive oil + lemon or sesame seeds |
| Green beans | Whole | 6–8 min | Garlic |
| Beets (small/med) | Whole, scrubbed (peel after cooking) | 35–55 min | Fresh thyme |
| Broccoli | Florets or halved stems | 5–7 min | Olive oil, citrus juice, or balsamic vinegar |
| Brussels sprouts | Whole, trimmed | 8–15 min | Fresh thyme |
| Cabbage | Cut in wedges | 6–10 min | Lemon or lime juice |
| Carrots (sliced) | ¼-inch slices | 7–10 min | Honey + cinnamon or ginger |
| Carrots (baby) | Whole | 10–12 min | Honey + cinnamon or ginger |
| Cauliflower | Florets | 5–10 min | Lemon or lime juice |
| Corn on cob | Husk removed | 7–10 min | Steam in broth for flavor |
| Okra | Whole, trimmed | 6–8 min | Lemon juice + parsley |
| Pearl onions | Whole, peeled | 8–12 min | None listed |
| Green peas | Fresh, shelled | 2–4 min | Fresh herbs or lemon juice |
| Potatoes (sliced) | ½-inch slices | 8–12 min | Fresh parsley, rosemary, dill |
| Potatoes (new) | Whole, scrubbed | 15–20 min | Fresh herbs, red onion |
| Scallions | ½-inch slices | 3–5 min | None listed |
| Spinach | Whole leaves, washed | 3–5 min | Olive oil + garlic |
| Butternut squash | 1-inch cubes | 7–10 min | Honey, lemon, rosemary |
| Turnips | ½-inch cubes | 8–12 min | Olive oil + herbs |
| Turnip greens | Coarsely chopped | 4–6 min | Olive oil + garlic |
| Sweet potatoes | Large chunks | 8–12 min | Honey + lemon juice |
| Zucchini | 1-inch slices | 5–8 min | Olive oil + herbs (thyme, rosemary) |
Use this as a general guide if you want to steam vegetables in your Nesco —actual times can vary a bit depending on the size of your vegetable pieces and how full your pot is. I personally think it’s good to reduce the time just a bit, especially if you want to avoid vegetables that are overcooked.
Tips for Steaming Vegetables in the Nesco
- Batch size matters: Don’t overfill the pot—steam works best when food has space.
- Cooling quickly: For cabbage (or any vegetable you plan to dehydrate), drain and rinse with cold water or plunge into ice water immediately after steaming. Obviously,, you can skip this step if you are steaming vegetables in the Nesco to serve instead of to dehydrate.
- Shorter steaming = brighter veggies: My cabbage looked greener when I only steamed it for 1 minute instead of 2. As I mentioned above, it can take a minute before you’re able to open the lid, and during that time, the veggies continue to steam. Because of that, it’s best to shorten the time just a bit. If the vegetables aren’t quite done enough, go ahead and close the lid and allow them to sit in the pot for a bit longer, and they will continue cooking that way.
Final Thoughts on Steaming Vegetables in the Nesco Canner and Cooker
If you’ve only used your Nesco for canning, give the cooking functions a try. Steaming vegetables in the Nesco is quick, efficient, and keeps the kitchen cooler than using the stovetop. Plus, it’s a great prep step for dehydrating, freezing, or serving fresh.
Nesco Canner & Cooker Resource Hub
Looking for more guides on using the Nesco Canner & Cooker? Visit my Nesco resource hub for safety information, canning methods, and step-by-step tutorials.
Related Articles
If you enjoyed this article you are likely to enjoy these related articles.
Pin it for Later

Print it for Later
How to Steam Vegetables in the Nesco Electric Canner and Cooker
Step-by-step instructions for how to steam vegetables in the Nesco canner and cooker. Use this method for cabbage, broccoli, carrots, and more.
Materials
- Vegetables
- 4 cups of hot water.
Tools
- Nesco Electric Canner and Cooker
- Canning rack (comes with unit)
- Steam rack (comes with unit)
- Measuring cup for water
- Bowl of ice water (for cooling if steaming vegetables to dehydrate or freeze)
Instructions
- Add water and racks – Place the canning rack in the bottom of the Nesco. Pour in 4 cups of hot water so it sits just below the rack. Place the steam rack on top.
- Add vegetables – Put your vegetables on the steam rack, keeping the food below the 4/5 line.
- Set to steam – Close the lid, turn it counterclockwise 1/8 turn, and set the valve to “Exhaust.” Press the Steam button, set the time (check chart for guidelines), and press Start.
- Wait for steam – When steam starts escaping, press Start again. The timer will begin counting down.
- If steaming vegetables for dehydrating or freezing, cool quickly – When the timer finishes and the display reads OFF, carefully open the lid. Immediately transfer vegetables to a colander and rinse with cold water or plunge into an ice bath to stop the
Notes
Recommended Products
As an Amazon Associate and member of other affiliate programs, I earn from qualifying purchases.
💬 I’d love to hear from you!
Have you tried this yourself? Have a question or tip to share? Leave a comment below — your experience or question could help someone else, too!