

This article includes affiliate links.
In this article I’ll share my experience canning dill pickles using my Nesco canner (Amazon). Note that even though I’m using my Nesco canner, you can use any water bath or steam canner.
This journey began with an unexpected twist, as I originally intended to make dill pickle relish but had to pivot to dill pickles instead.
Join me as I walk you through the process, from ingredient selection to the final product.
Canning Dill Pickles in the Nesco Canner (Video)
A Change of Plans: From Relish to Pickles
My initial plan was to make and can dill pickle relish. However, after receiving a delivery of mini cucumbers from the grocery store, I realized I was missing a key ingredient for the dill relish: turmeric. This is a good reminder to always check the recipe before buying groceries!
Since I prefer to can my produce as soon as possible to maintain its freshness, I didn’t want to delay by waiting until I had time to run to the store.
Instead, I turned to my collection of canning books to see what else I could do with the ingredients I had on hand. That’s when I stumbled upon a recipe for quick dill pickles in the book, DIY Pickling (Amazon).
Note that even though the recipe says, “Quick Dill Pickles” they aren’t quick in the sense that they aren’t refrigerator pickles. However, this recipe for canning dill pickles is quick and easy to make. The recipe sounded perfect, especially since it didn’t require any brining and could be ready in no time.
Ingredients and Adjustments
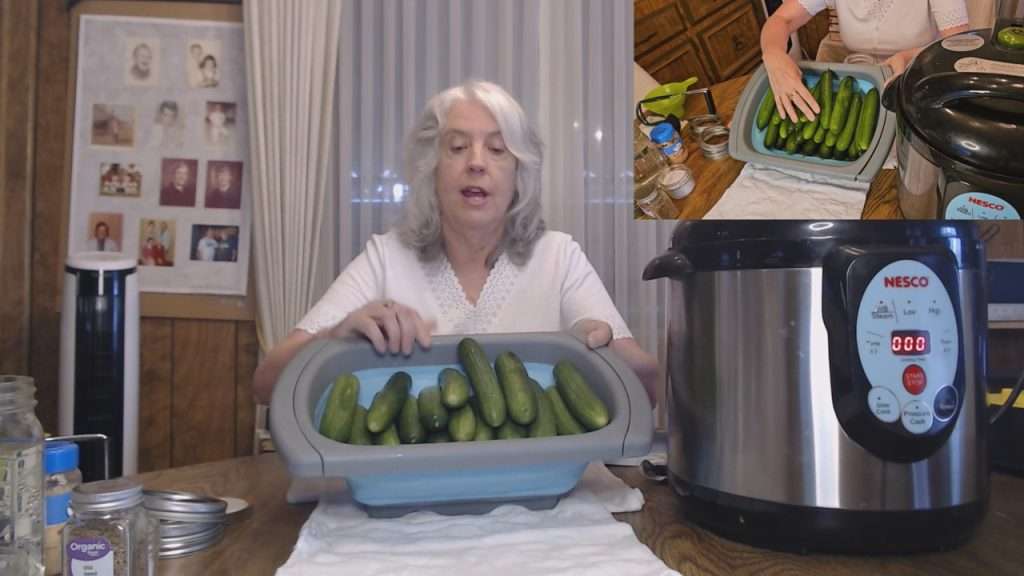
Here are the ingredients, as written in the book. Note that I needed to adjust the recipe somewhat, because it calls for 5 1/4 pounds of pickling cucumbers, and I only had 4 pounds.
- 5 1/4 pounds pickling cucumbers
- 1 tablespoon black peppercorns
- 8 dill heads
- 1/4 cup minced garlic cloves
- 5 tablespoons plus 1 teaspoon pickling salt
- 3 3/4 cups white or apple cider vinegar
- 4 cups water
Additional ingredient: The recipe doesn’t call for Pickle Crisp (Amazon), but I recommend using it. Use 1/8 of a rounded teaspoon per pint.
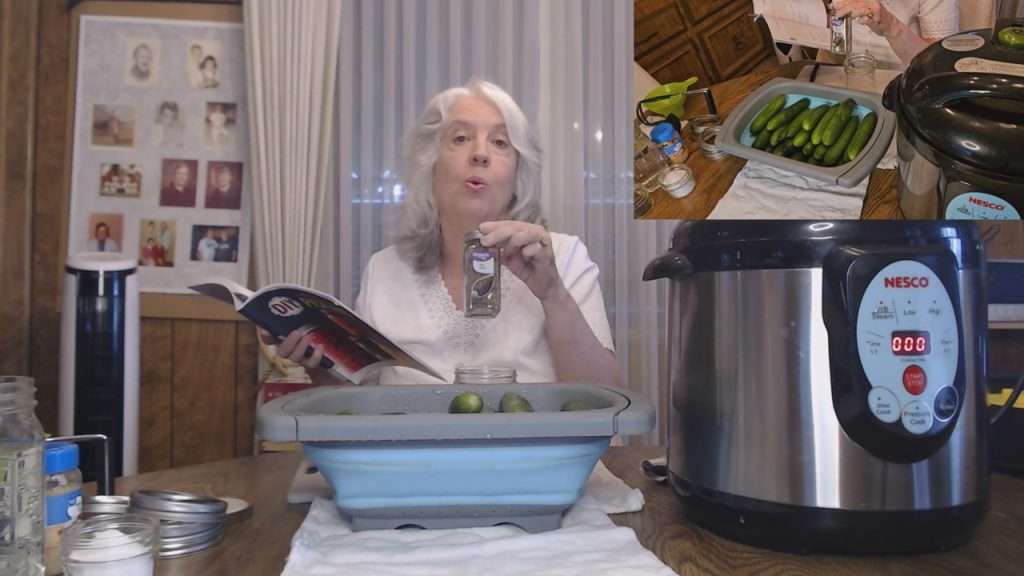
Substitution: If you don’t have fresh dill weed, you can use dill seed (Amazon). Use anywhere between 1/2 tablespoon and a tablespoon per pint.
Ready to can with confidence this year? Grab the Home Canning Success System—your step-by-step guide to organized, stress-free home canning!
👉 Check it out on AmazonHow I Adapted the Recipe for Canning Dill Pickles
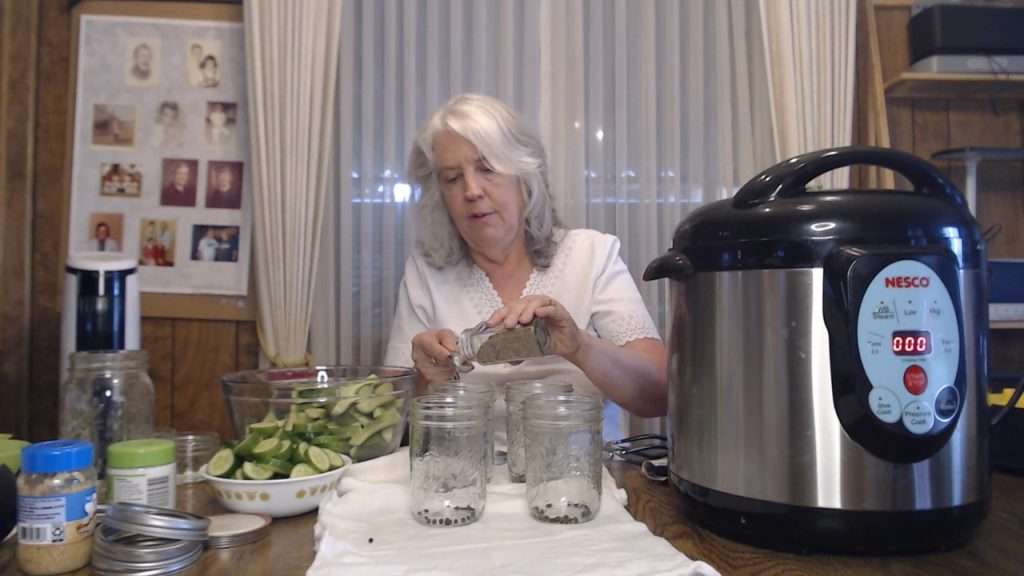
Since I didn’t have dill heads, I substituted dill seed, which is a perfectly acceptable alternative in pickling recipes. I also decided to use jarred minced garlic for convenience.
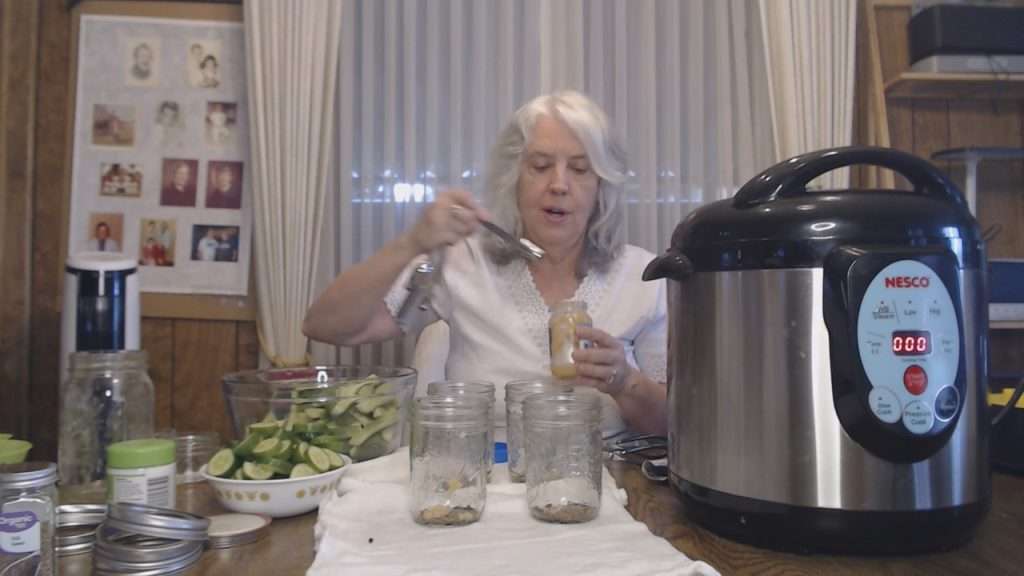
The recipe allows for either white or apple cider vinegar, and I opted for white vinegar since apple cider vinegar can discolor the pickles a bit. Additionally, I decided to use pickle crisp, an optional ingredient that helps maintain the crispness of the pickles. (Read more about Pickle Crisp.) For pints, I used a rounded eighth of a teaspoon per jar.
Preparing the Cucumbers
The first step in the process was to wash the cucumbers and remove the blossom ends. Removing the blossom ends helps keep the cucumbers crisp. I opted to cut off both ends.
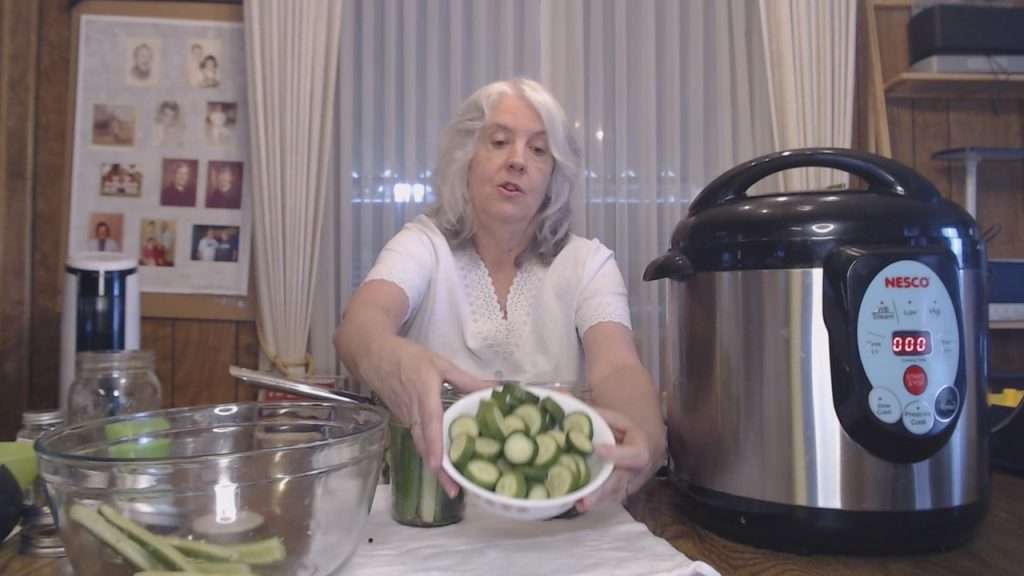
My original plan was to cut all of the cucumbers into spears. And for the most part, that’s what I did. However, even though overall I was very pleased with the quality of the cucumbers, some of the cucumbers had a smallish soft spot somewhere in the middle.
In that case, I was unable to cut the cucumbers into spears, so I sliced those cucumbers. Because of that, I ended up with a mix of dill pickle spears and slices.
Using Canning Jars to Cut the Cucumbers to the Right Size
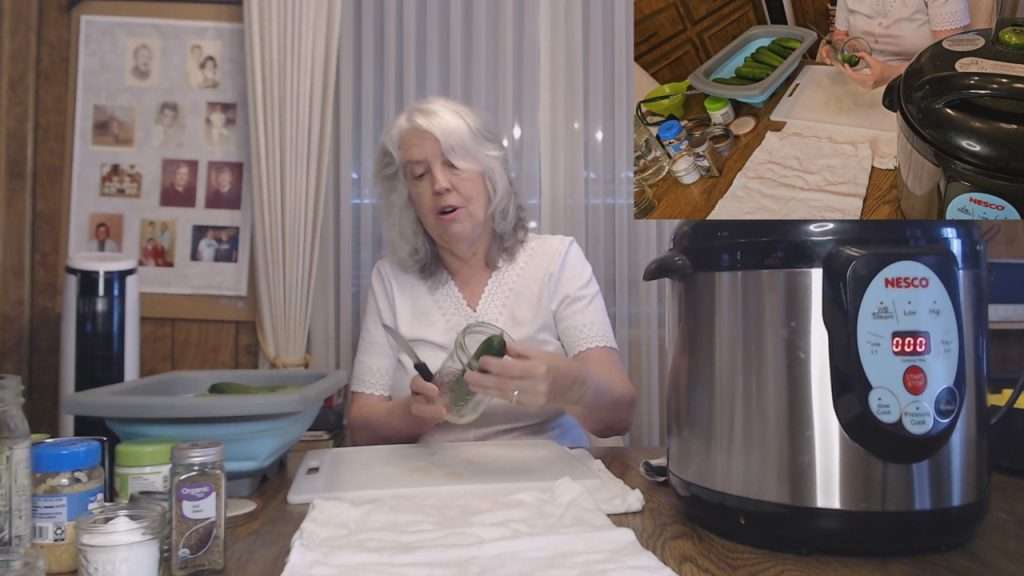
When cutting the cucumbers into spears, I used the height of my jars as a guide.
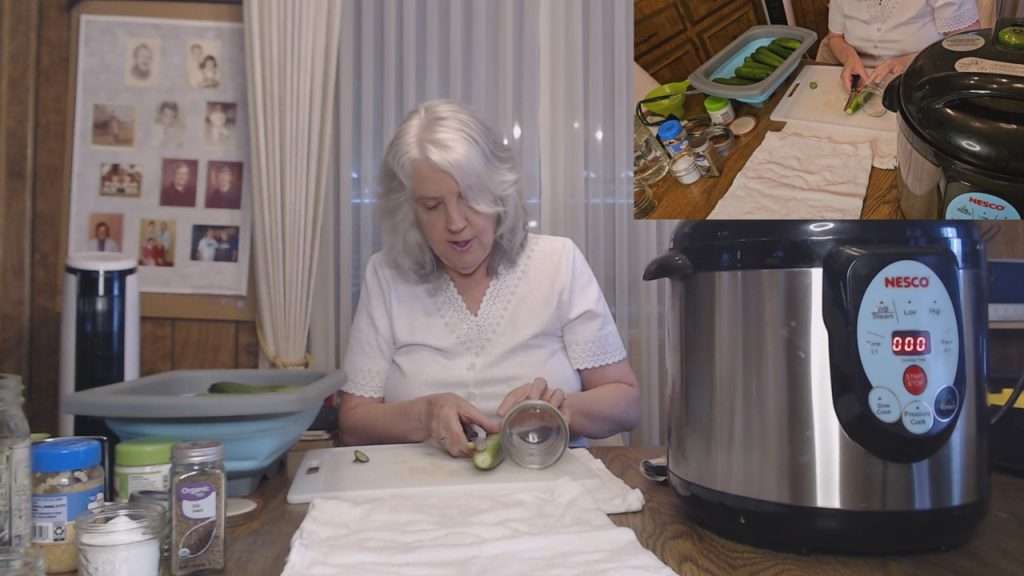
This step is crucial because the cucumbers need to fit snugly into the jars without exceeding the half-inch headspace required for canning.
Heating the Water and Jars
Even though this is a cold pack recipe, it’s still important to use hot brine and hot jars. Because of that, I heated my jars and water in the Nesco canner to to approximately 140 degrees Fahrenheit.
The nice thing about heating jars in the Nesco canner is that once the water and jars are hot, you can turn off the canner until you’re ready to process the pickles. Just keep the lid on, and everything will stay hot.
If you are using a different type of canner, such as a stovetop water bath canner, you can still heat the water and jars ahead of time, though you may need to keep the heat on low to maintain the temperature while you prepare the pickles.
Making the Brine
Next, I prepared the brine by combining 4 cups of water, 3 3/4 cups of white vinegar, and 5 tablespoons plus one teaspoon of pickling salt. I brought the mixture to a simmer on the stove, just long enough to dissolve the salt and heat the brine. Keeping the brine hot is essential to ensure that the pickles are properly preserved.
Note that even though I only had 4 pounds of cucumbers instead of the 5 pounds the recipe called for, I made the whole brine recipe. I’ve found that brine recipes often don’t make enough brine, and since brine is inexpensive to make, I tend to make a bit extra, just in case. I find this preferable to running out of brine in the middle of the process and having to make more.
Filling the Jars
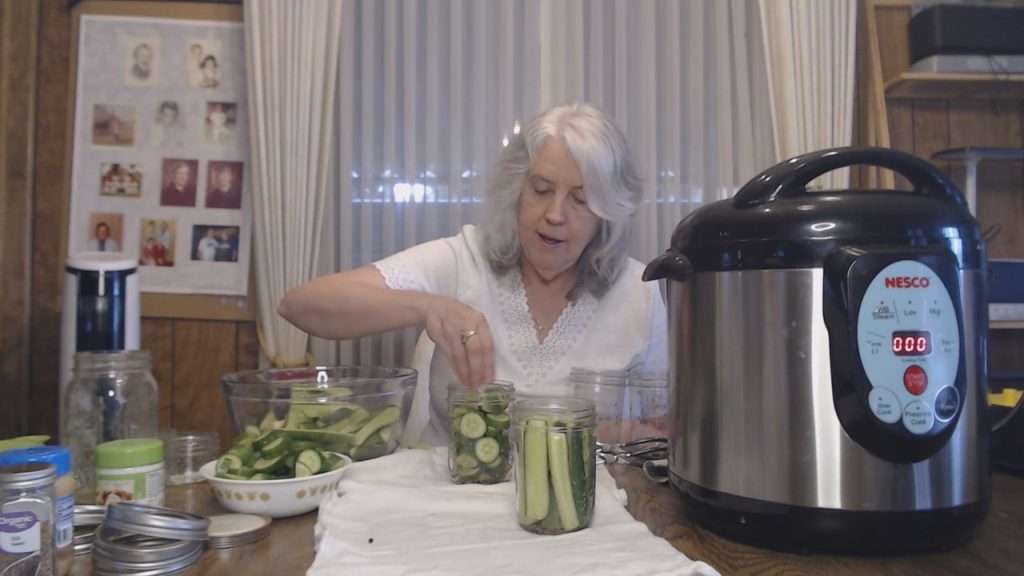
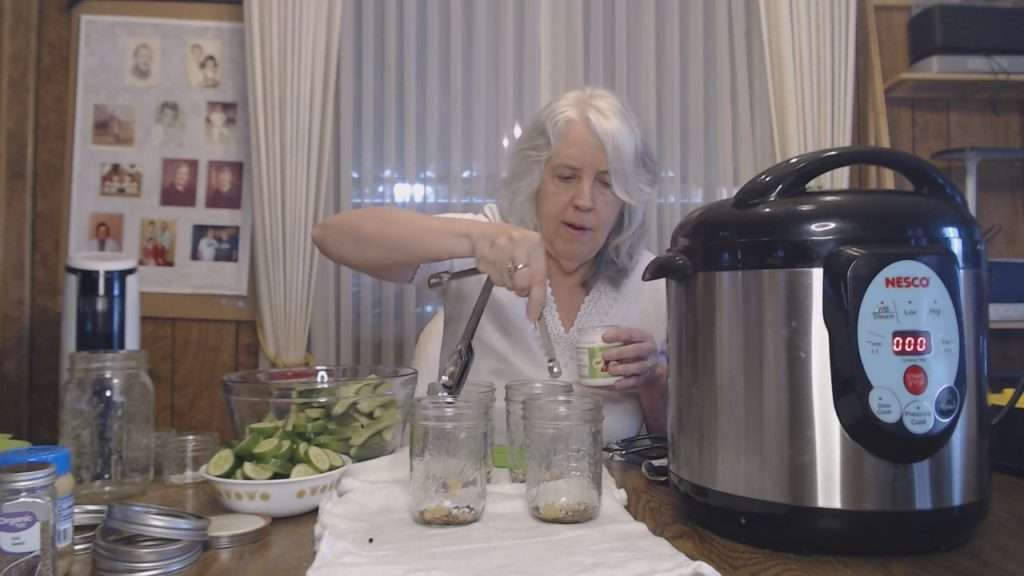
With the brine ready, it was time to fill the jars. I started by adding the spices.
To each pint jar I added:
- A sprinkle of black peppercorns
- Around 3/4 tablespoon dill seed
- 3/4 teaspoon minced garlic.
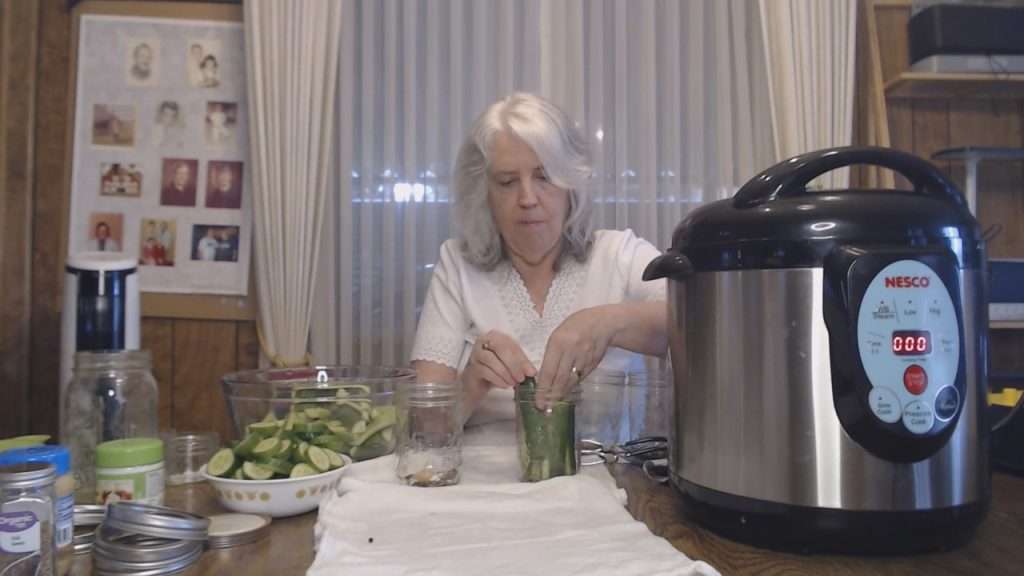
Then, I packed the cucumber spears tightly into the jars. I put all of the sliced cucumbers into separate jars.
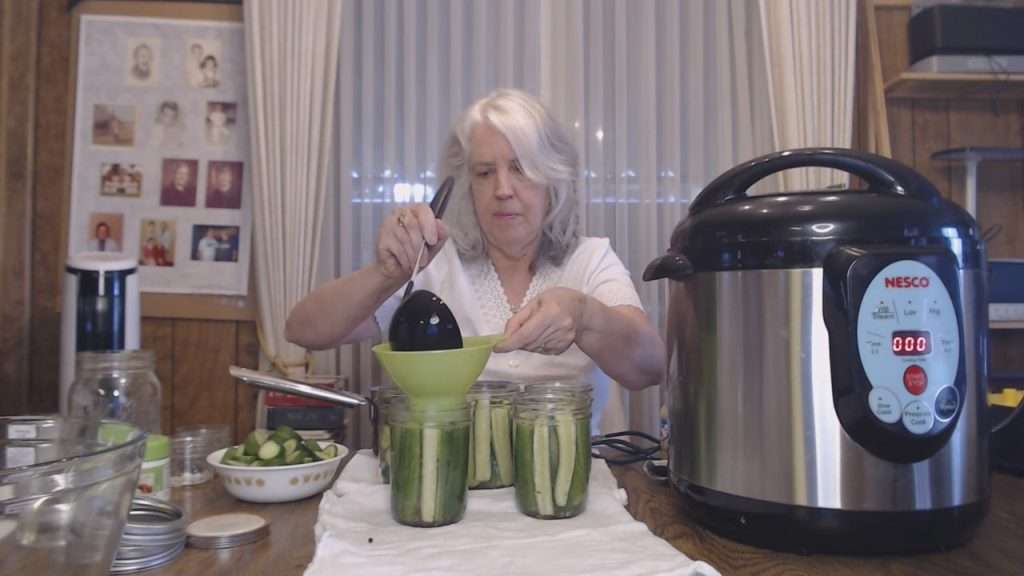
After packing the cucumbers, I poured the hot brine into the jars, aiming for a half-inch headspace.
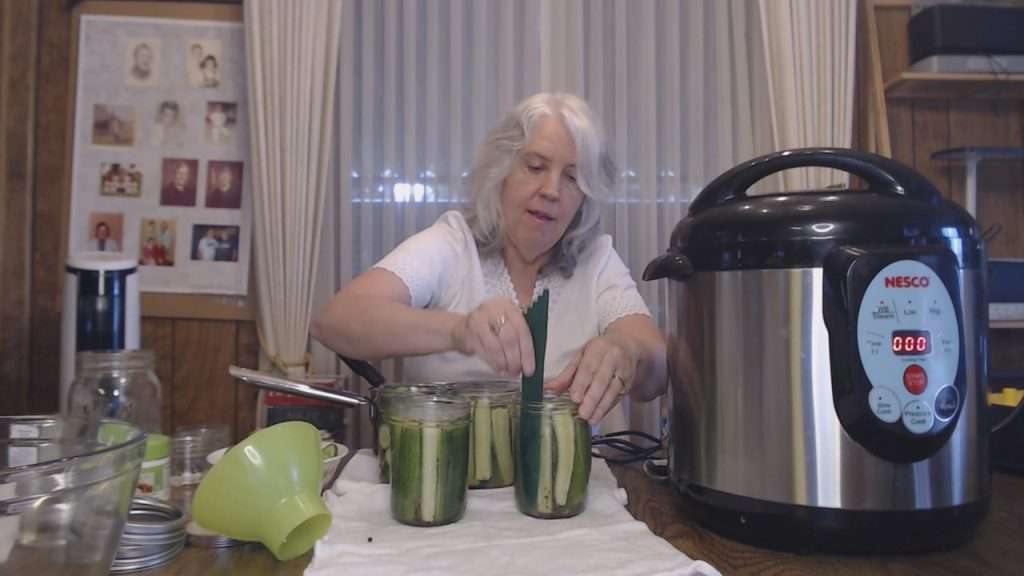
I then debubbled the jars to release any trapped air, checked the headspace again, and added more brine as needed.
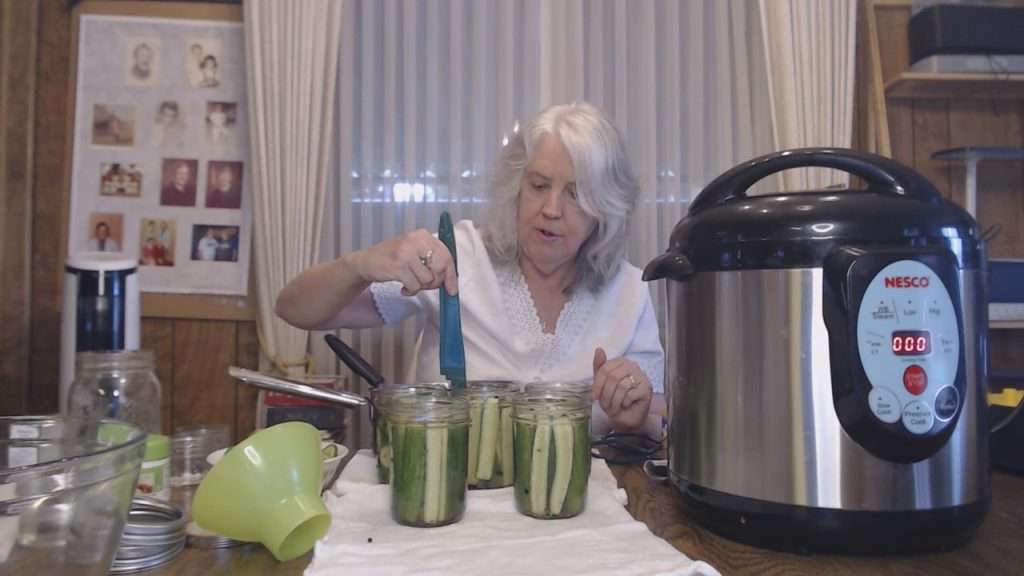
Wiping the Rims and Putting the Lids On
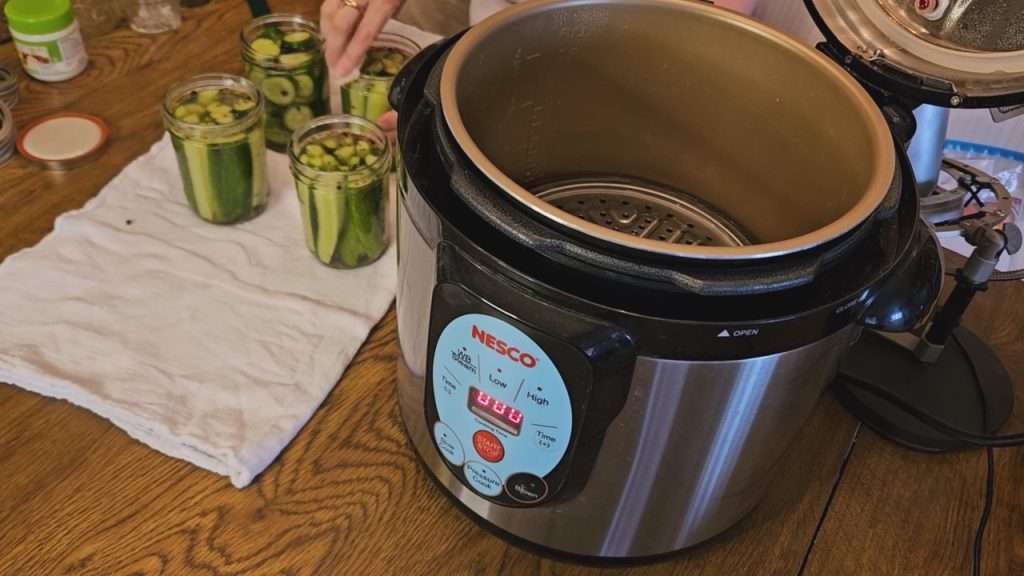
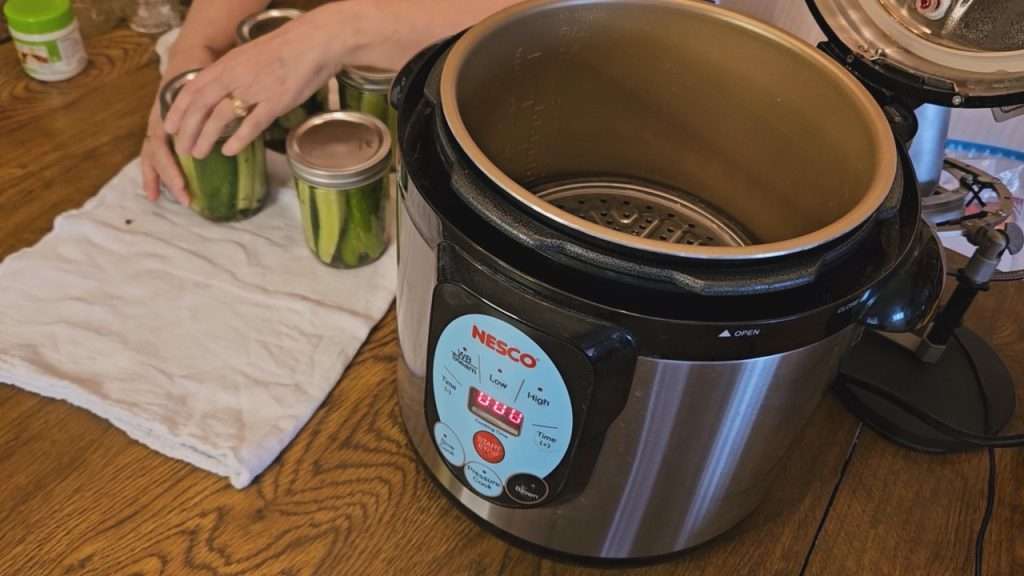
The final step was to wipe the jar rims, place the lids on the jars, and place them into the canner.
Wish your canning was more organized? This practical guide + printable toolkit will transform the way you stock your pantry.
👉 See the book on AmazonWater Bath Canning Dill Pickles
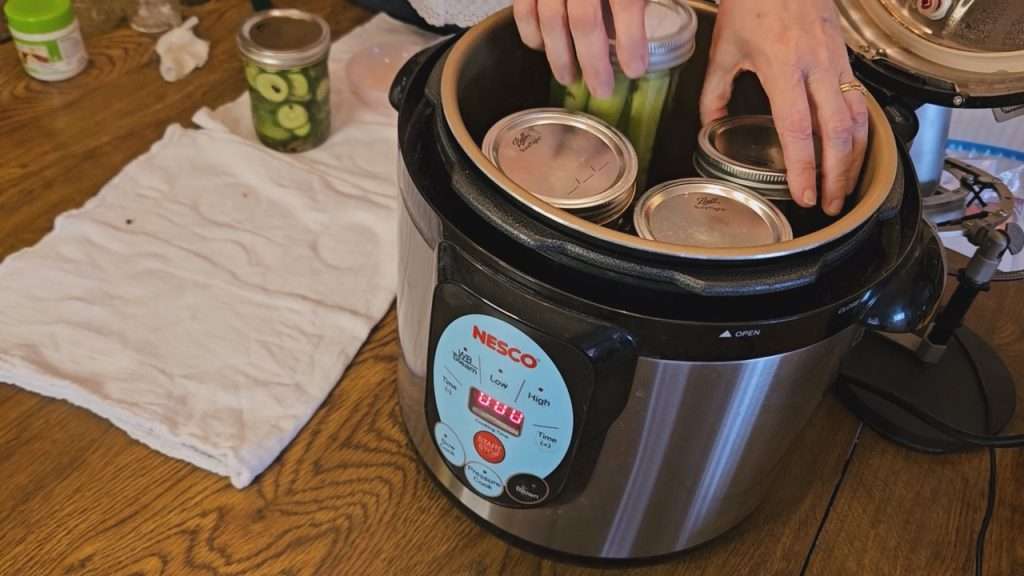
When water bath or steam canning dill pickles, process 10 minutes for pints or 15 minutes for quarts, adjusting for altitude.
Due to my altitude, I process my pint jars for 15 minutes.
The Finished Product
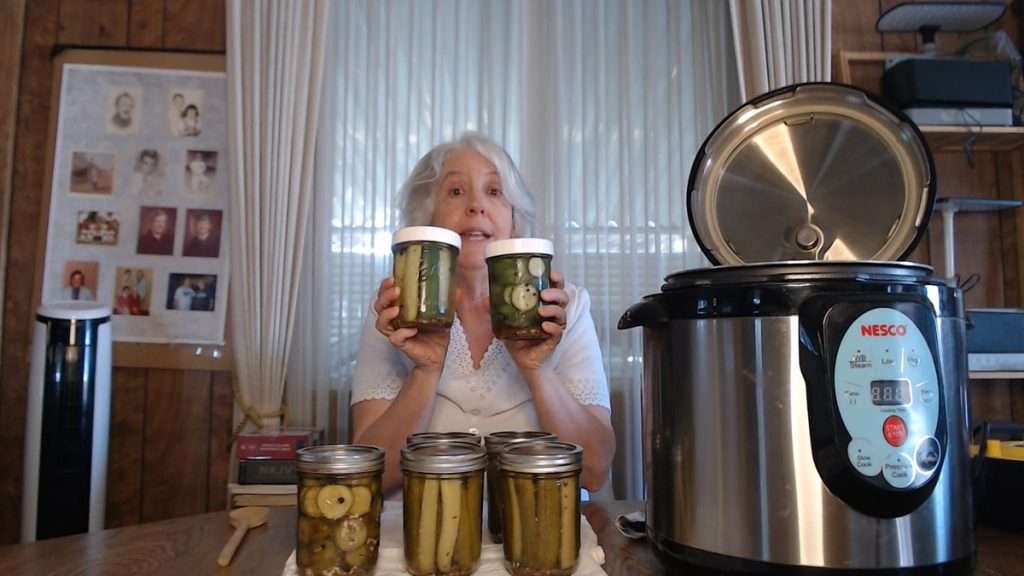
I’m thrilled with how these dill pickles turned out! I ended up with three jars of spears and three jars of slices, and they all look fantastic. I plan to let them sit for about a month to allow the flavors to meld before opening a jar. I’m so excited to try them, and I hope this guide has been helpful for you as well.
Related Articles
If you enjoyed this video, you’re sure to enjoy these related videos:
- Pickled Hot Cherry Peppers
- How to Water Bath Can in the Nesco or Carey Canner
- Water Bath Canning Pickled Onions in the Nesco Canner
Your All-in-One Canning Companion

The Home Canning Success System is your all-in-one canning companion. Whether you’re brand new or a seasoned canner, this book helps you plan, organize, and track your projects with confidence. Ditch the guesswork—preserve with purpose!
💬 I’d love to hear from you!
Have you tried this yourself? Have a question or tip to share? Leave a comment below — your experience or question could help someone else, too!