


When I saw grapes on sale, I couldn’t resist grabbing a bunch. I ended up with about 25 pounds of grapes! But with more grapes than I could eat fresh, I needed multiple ways to preserve them. That’s when I decided to make grape fruit leather, in addition to freezing grapes, canning grapes and dehydrating grapes. (There are links to all of those blog posts at the bottom of this article!)
In this post, I’ll show you exactly how to make grape fruit leather. I’ll walk you through every step of the process—from washing the grapes to pureeing, simmering, and dehydrating them.
I’ll also show you how to wrap your finished fruit leather in wax paper for easy storage and snacking. Let’s dive in and turn those extra grapes into grape fruit leather!
Is Making Grape Fruit Leather a Good Idea?
This article includes affiliate links.
Out of the 25 pounds of grapes that I purchased, I decided to use just slightly over two pounds of grapes for fruit leather.
I got my basic instructions for making fruit leather in the book, The Ultimate Dehydrator Cookbook (Amazon) by Tammy Gangloff.
I was a little concerned, because while she gave general instructions for making fruit leather, and had recipes for several different types of fruit leather, grapes wasn’t one of them. Hmmm. . .

Since I was a little concerned about how grape fruit leather would turn out, I didn’t want to use a ton of grapes. On top of that, I only have three fruit leather trays for my Cosori dehydrator (Amazon). With those things combined, I decided to make a small amount of grape fruit leather at the same time I was dehydrating grapes.
How to Make Grape Fruit Leather
Now that I’ve admitted my basic concerns related to making grape fruit leather, let’s get into the actual process.
Stem and Wash the Grapes

The first step in making grape fruit leather is to stem and wash the grapes. This is, of course an easy and basic step. We all know how to stem grapes and wash them!
I found the easiest way to wash the grapes in short order was to use this over-the-sink colander (Amazon). I like using this particular colander because it holds the grapes above the sink, so the grapes drain better.
Puree the Grapes
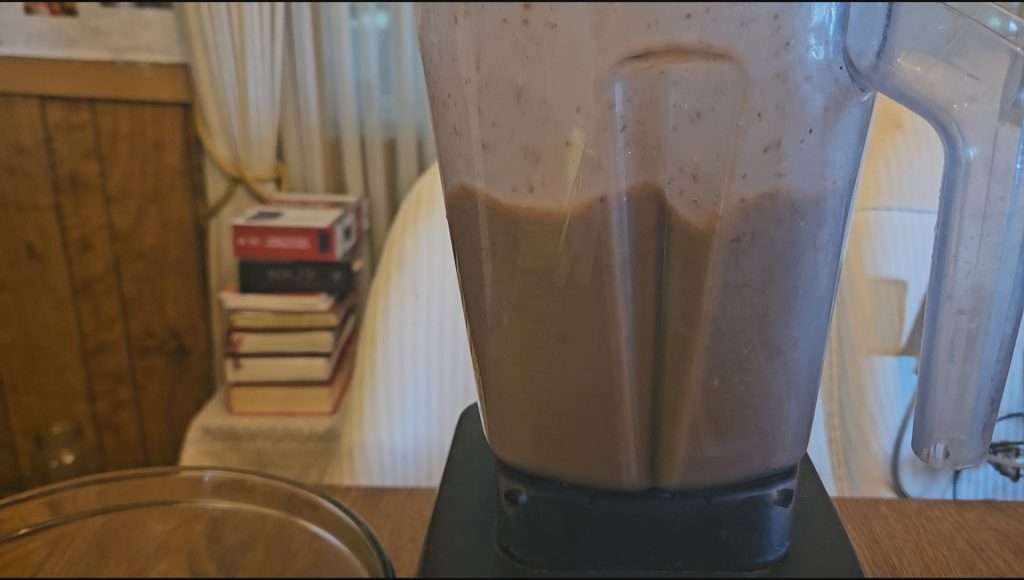
Once I washed the grapes, I put all of them into the blender and pureed them.
Note that according to the instructions in the book, The Ultimate Dehydrator Cookbook (Amazon), I should have put cornstarch, lemon juice, and corn syrup into the blender with the grapes and blended them at the same time.
However, the instructions in the book are based on four cups of fruit puree, and since I didn’t know how much puree I’d end up with, I wasn’t sure how much cornstarch, lemon juice, and corn syrup I should use.
Because of that, I decided to puree the grapes, measure them, and then put them back into the blender to add the cornstarch, lemon juice, and corn syrup.
Pro tip: Many fruit leather recipes do not call for corn starch, lemon juice, and corn syrup. However, there are benefits to each of these ingredients. The lemon juice adds vitamin c, and also helps maintain the color and quality of the fruit leather. The corn starch prevents the fruit leather from cracking when rolling it up. And the corn syrup makes the fruit leather more flexible. So even though they may seem unnecessary, when you can just puree the fruit, it’s worth adding those ingredients.
Making Grape Fruit Leather
My slightly more than two pounds of grapes yielded just under five cups of grape puree.
I poured the grape puree back into the blender, and added two tablespoons corn syrup, one tablespoon lemon juice, and one heaping teaspoon of corn starch. I blended just long enough to combine those ingredients.
Simmer the Grape Puree
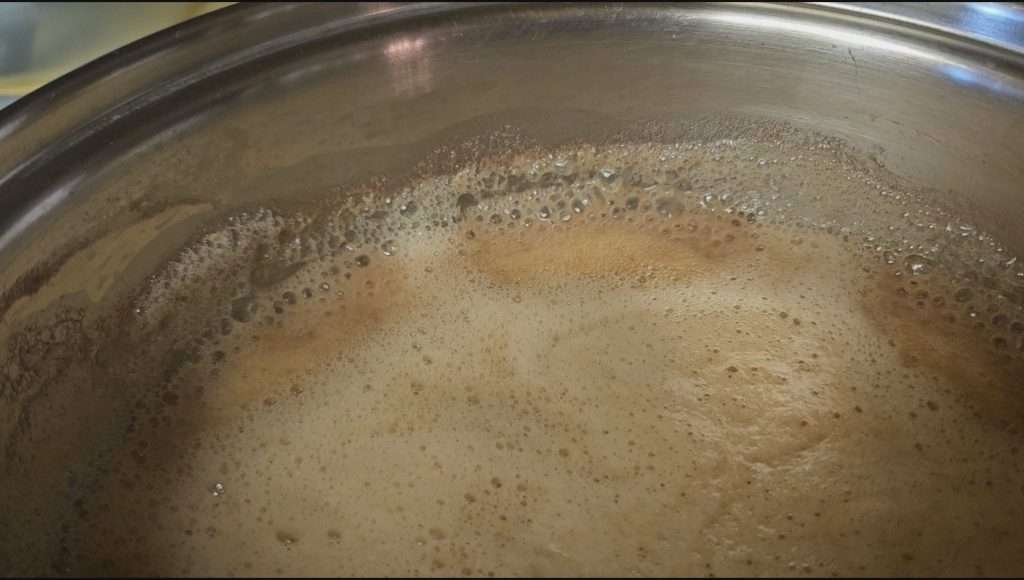
After blending the grape puree, the lemon juice, the cornstarch, and the corn syrup, I poured the grape mixture into a saucepan.
I brought the grape mixture to a boil, stirring frequently. I then reduced the heat and simmered it for two minutes.
Skimming the Foam Off
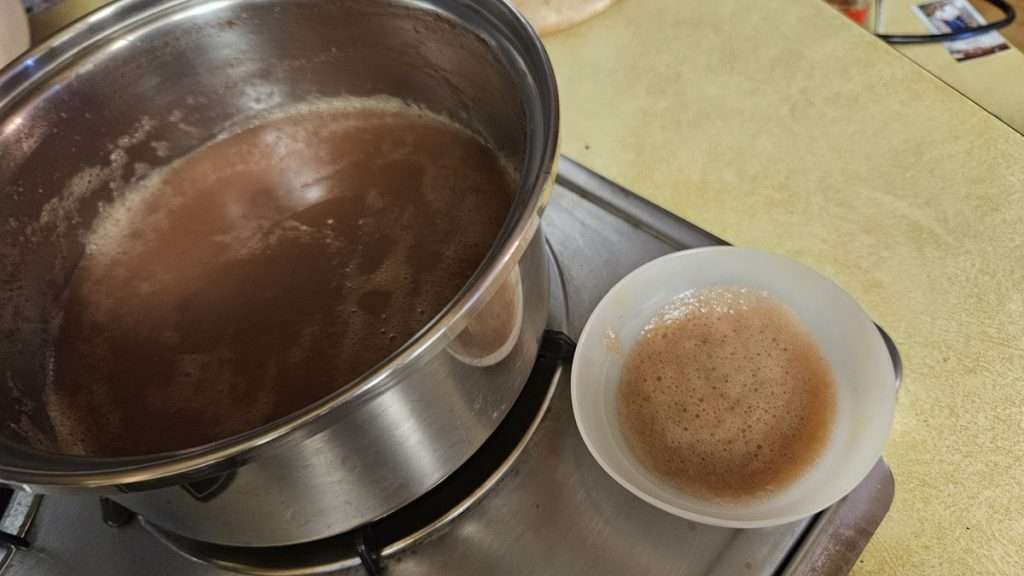
Quite a bit of foam formed on the top of the grape puree as I simmered it. While the instructions didn’t state anything about skimming the foam off, I figured it wouldn’t hurt to do so.
Dehydrating Grape Fruit Leather
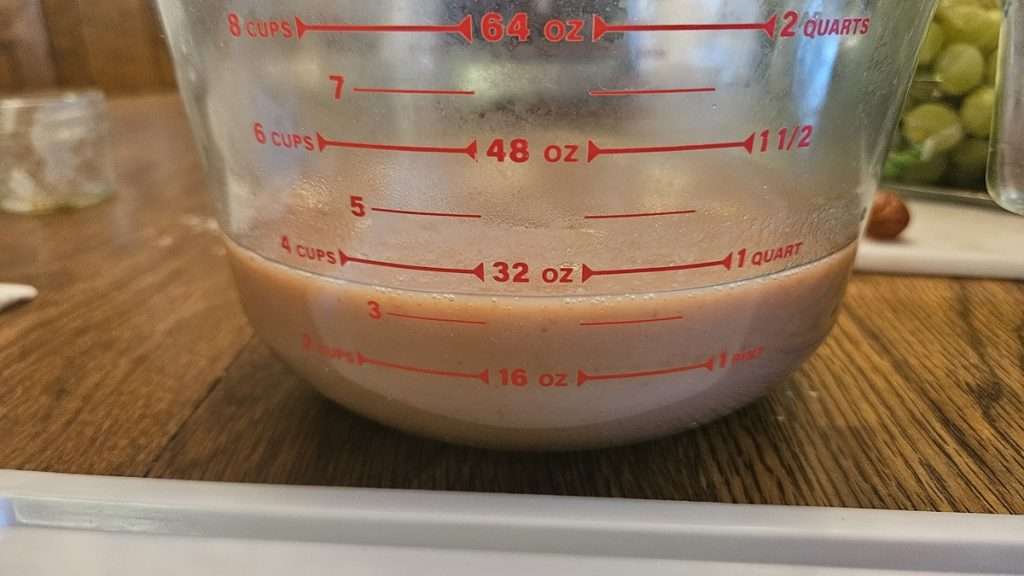
After allowing the grape puree mixture to cool a bit, I divided it between my three fruit leather trays. During the simmering process, it had reduced down to a little less than 4 cups of grape puree, which works out to about 1 1/3 cups of puree per fruit leather tray.

One thing to keep in mind is that generally speaking, fruit puree should be able the consistency of applesauce. And mine wasn’t. It was very thin and watery. I started to think that perhaps this is why grape fruit leather wasn’t one of the options listed in Tammy Gangloff’s book.
Nevertheless, I was too far into the process to give up, so I continued on.
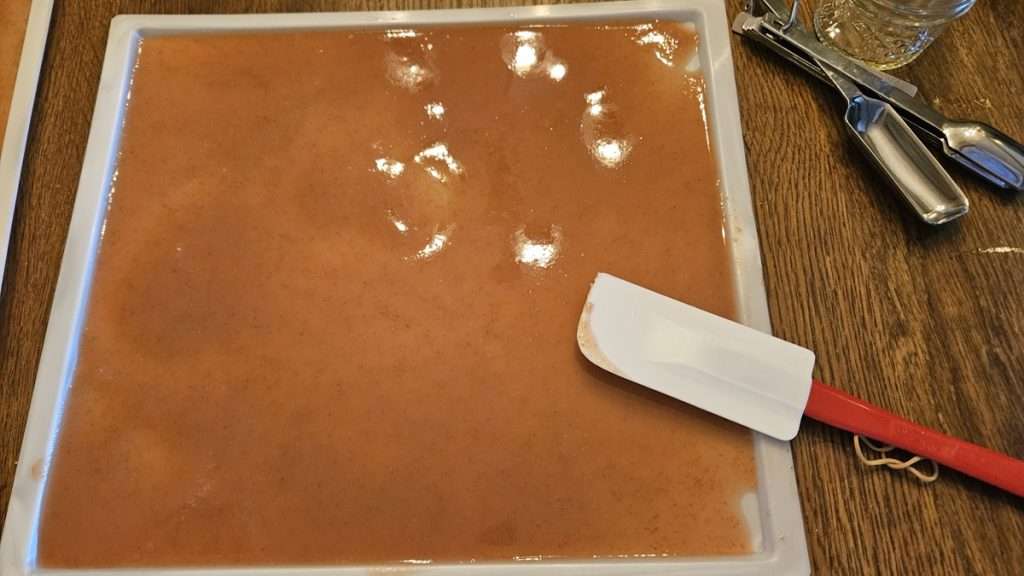
The good news is, that since it was so thin, it was easy to distribute it on the tray. I did my best to smooth it out using a spatula.
The grape puree was still hot, so I let it cool a bit before putting it into the dehydrator.
I set the temperature on the dehydrator to 125 degrees Fahrenheit.
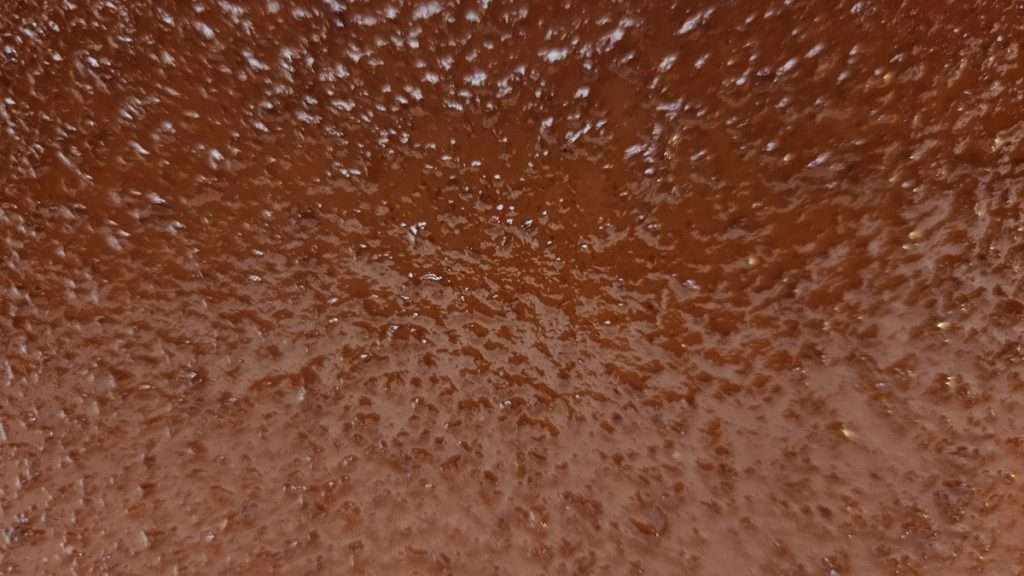
Grape Fruit Leather after 3 Hours in the Dehydrator
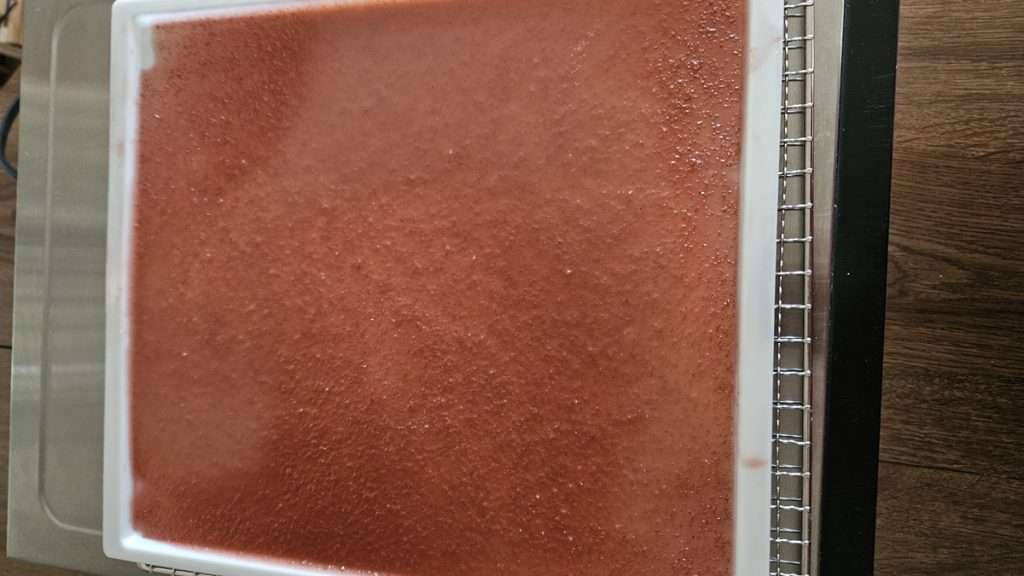
At the three hour mark, the fruit leather was beginning to dry, but was still very shiny. By shiny, I meant it still looked pretty wet. I didn’t touch it, because I didn’t want to get my finger prints into it, but I’m assuming it was very tacky to the touch and nowhere near dry.
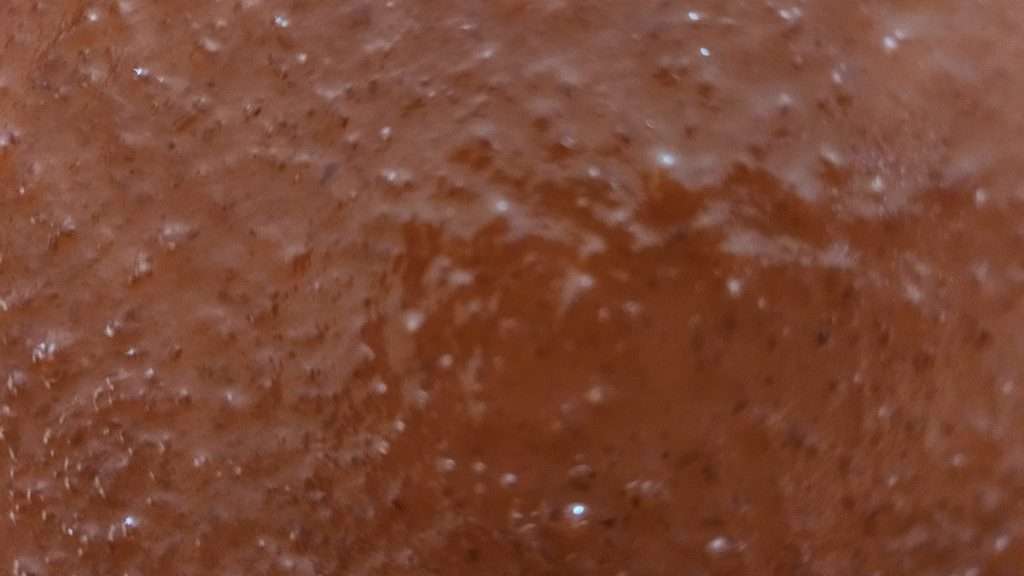
Above is a close up of what the grape fruit leather looked like after three hours in the dehydrator.
Grape Leather after 6 Hours in the Dehydrator
From a purely visual perspective, I see very little difference between the fruit leather after an additional three hours.
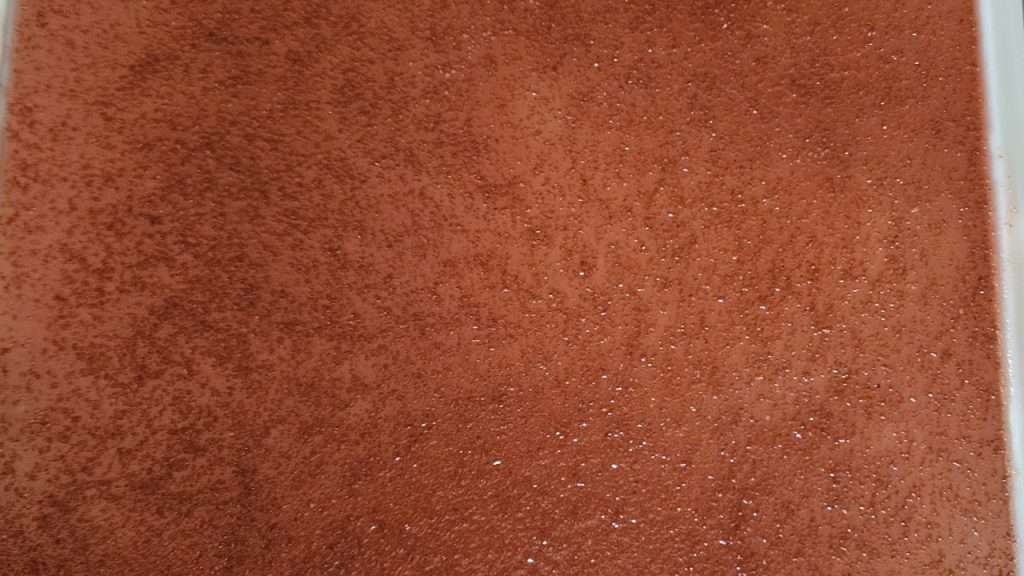
However, in spite of how similar it is, there is less sheen after six hours. While it was obvious the grape fruit leather wasn’t dry, it had made enough progress for me to feel comfortable touching the fruit leather. It was very tacky, but touching them didn’t leave any impression.
Grape Leather after 10 hours in the Dehydrator
I decided not to upload a photo to show the progress, because it looks pretty much the same as it did after six hours. However, I can tell the difference in terms of how dry it is getting.
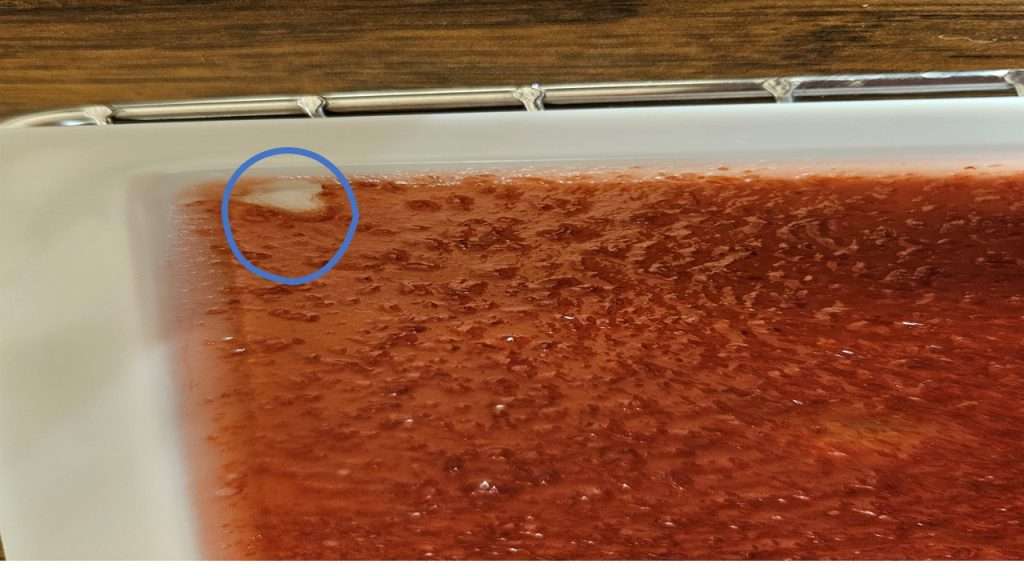
Having said that, according to the book, The Dehydrator Cookbook by Tammy Gangloff (Amazon), between 10 and 12 hours in, if the fruit leather is dry enough that you can peel it off, you should peel it off and put it on a mesh screen.
The fruit leather was still too soft and sticky to peel. I tried at the very corner, and here is a photo of what happened.
At this point it was time for me to go to bed, so I set the timer on the dehydrator for another 10 hours. Theoretically, the it should have been ready to peel off the fruit leather trays before then, but since I needed to sleep, I didn’t worry about it. :)
This small, easy-to-store vacuum sealer is made for mason jars. It’s cordless, simple to use, and a great tool for long-term food storage.
👉 Check it out here.
After 20 Hours in the Dehydrator
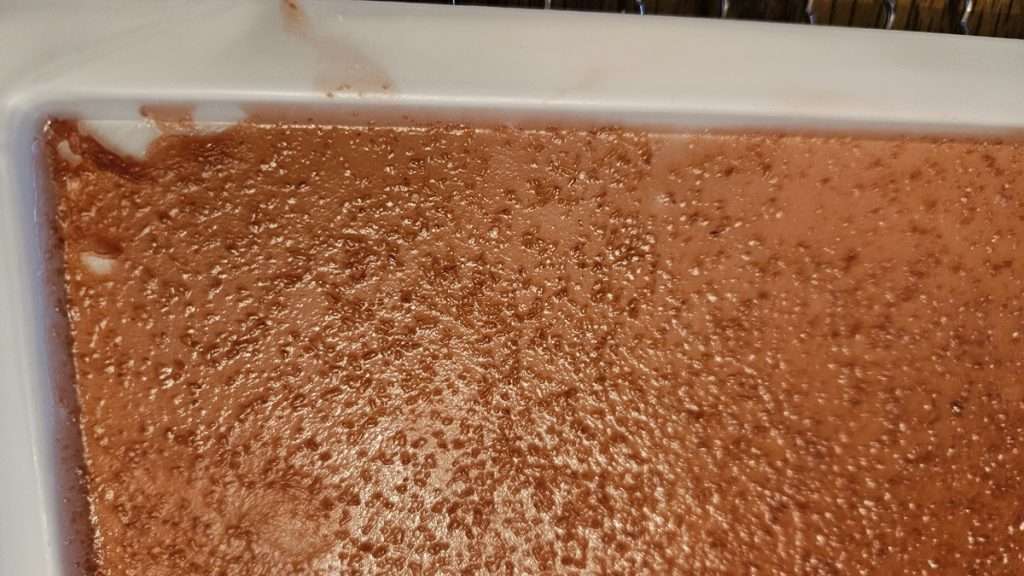
Much to my surprise, when I got up the next morning, the grape fruit leather was still not completely dry! In the image above, you can see how to tried to peel some off, and it was gummy.
I definitely did not expect it to take this long, but as I’ve pondered it, I do have to admit that the pureed grapes were very thin and watery. In most cases, when you puree fruit for fruit leather, you generally want it to be the consistency of applesauce, which the grapes definitely were not.
There are a couple of ways around this. First, you can add more cornstarch to the mixture. Second, you can simmer it longer so that it starts to thicken before dehydrating it. In the future, that is what I would do, so that it doesn’t take so long to dehydrate.
Grape Fruit Leather after 22 Hours in the Dehydrator
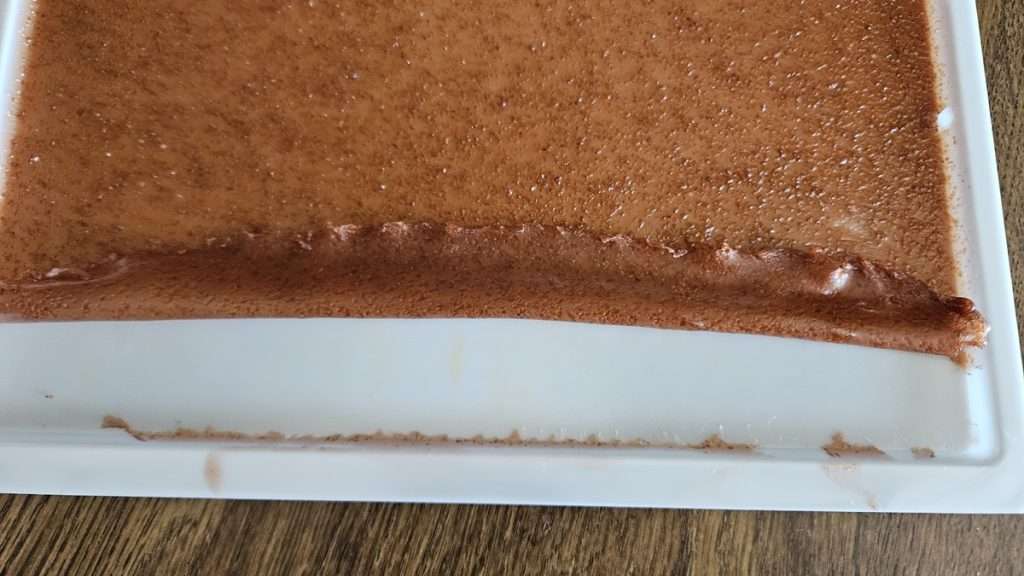
Finally, after 22 hours in the dehydrator, the grape fruit leather was dehydrated enough for me to peel it off of the tray.
if found it easiest to peel up just a tiny bit all along the edge before pulling it up and off the tray.

Once I peeled the grape fruit leather off the tray, I placed it on a mesh sheet and put it back into the dehydrator another hour to finish the drying process.
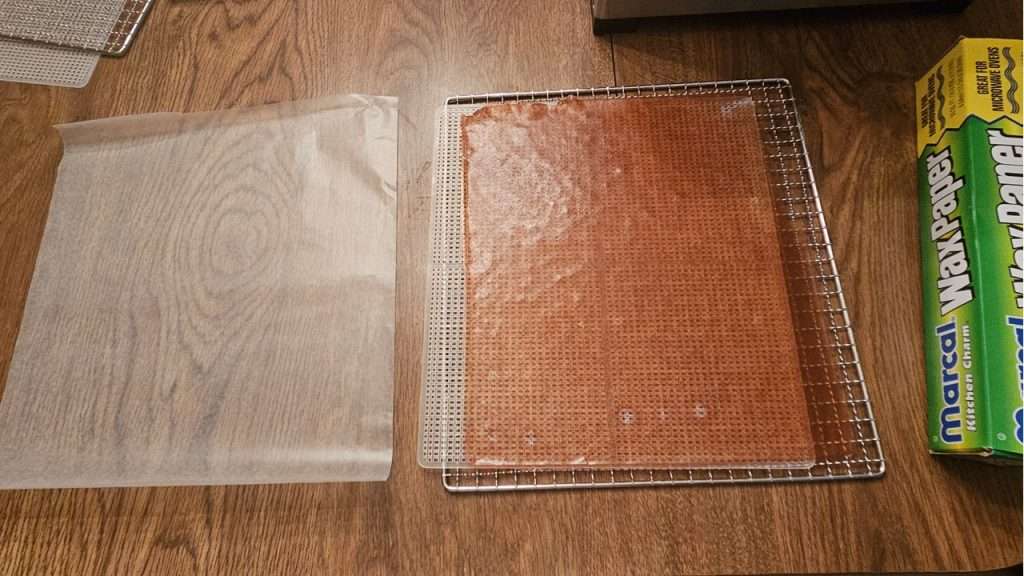
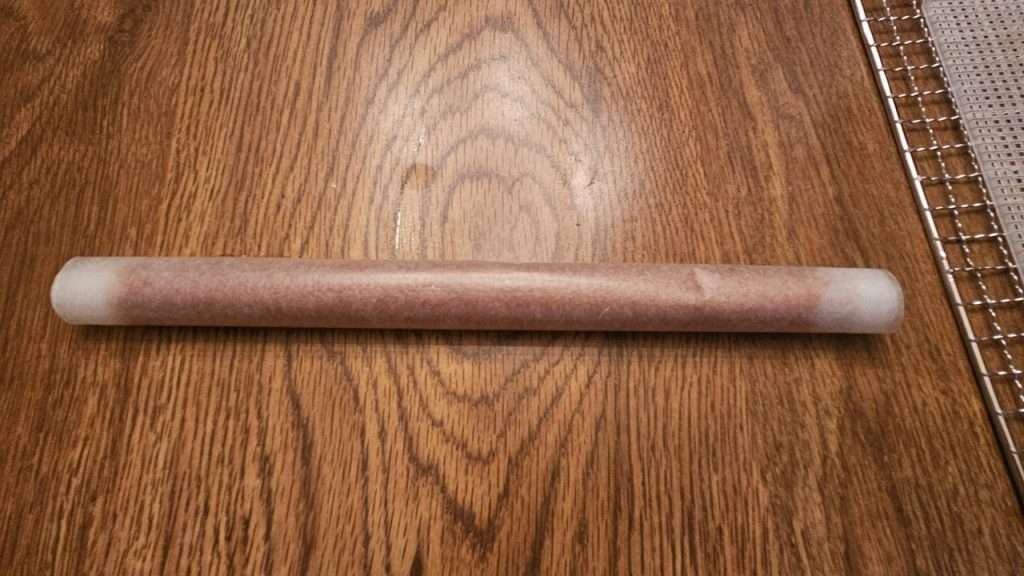
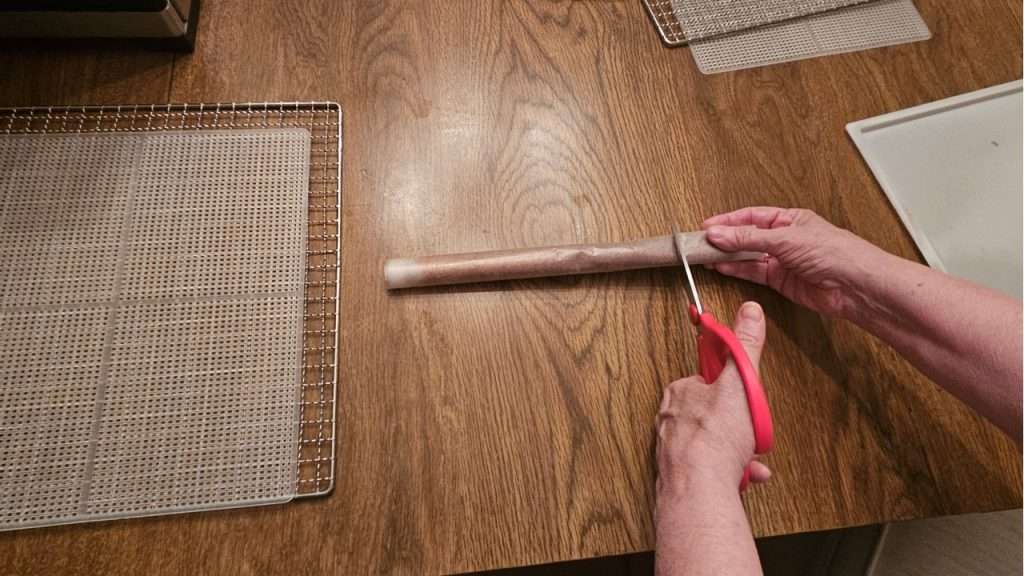
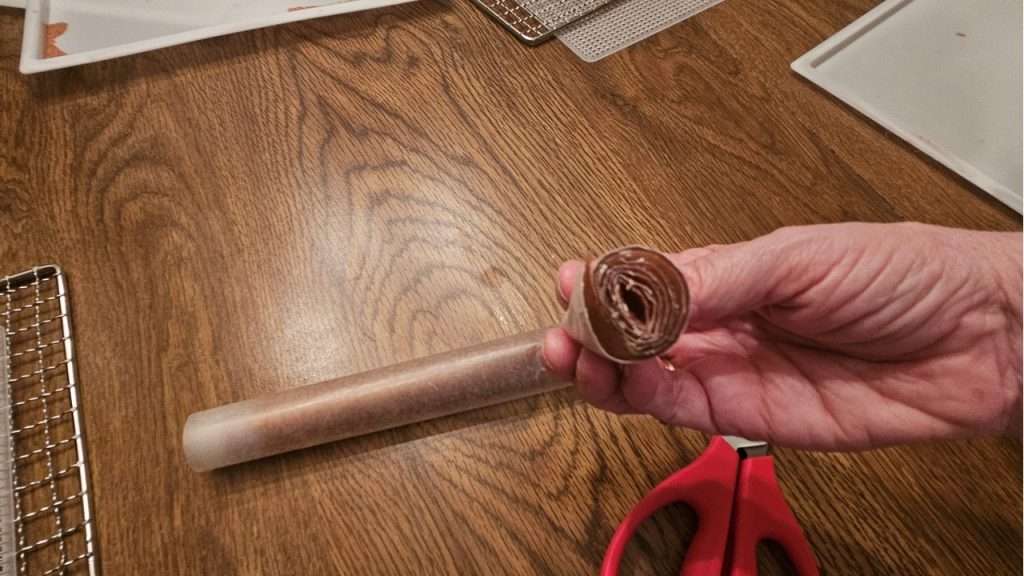
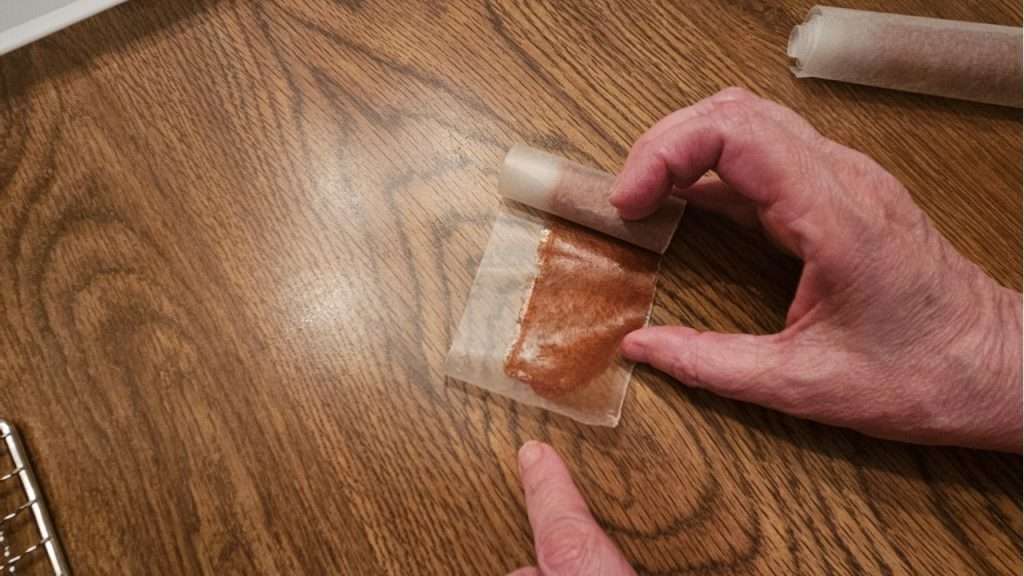
I then let the fruit leather cool for a few minutes before placing it on wax paper, rolling it up, and cutting it.

Lessons Learned in Making Grape Fruit Leather
Since it took so long to dehydrate this particular fruit leather than I anticipated, there are a few things I would do differently.
The biggest issue was that the grape puree was super thin and watery. Typically, fruit puree should be about the consistency of applesauce before putting it into to the dehydrator. Mine definitely wasn’t, and no doubt that added to the amount of time it took to dehydrate.
To fix the problem, what I would do in the future is use two teaspoons of cornstarch, and simmer the puree until it was thicker.
Additionally, while the book, The Ulitmate Dehydrator Cookbook (Amazon) recommends setting the temperature on the dehydrator at 125 degrees Fahrenheit, I’ve seen many fruit leather recipes that recommend dehydrating fruit leather at 135 degrees Fahrenheit. That extra 10 degrees would make the process faster.
My Final Thoughts on Making Grape Fruit Leather
As I was going through the process of making the grape fruit leather, since it took so long, I had my doubts as to whether or not it was worth it. However, the fruit leather itself was absolutely delicious. So, the bottom line is that I will definitely make the fruit leather again, but make the adjustments I mentioned above.
Related Articles
If you enjoyed this article, be sure to check out these related articles:
💬 I’d love to hear from you!
Have you tried this yourself? Have a question or tip to share? Leave a comment below — your experience or question could help someone else, too!