

In this article I dive into the process for making and canning blueberry jam, using my Ball Jam and Jelly maker, and Nesco canner.
This article includes affiliate links.
Of course, you can use any water bath or steam canner if you don’t have a Nesco or Carey canner (both linked to on Amazon).
For that matter, if you want to skip canning altogether, you can refrigerate or freeze the jam. More on that later in this article.
Whether you’re a seasoned canner or a beginner, this guide will walk you through each step, ensuring a tasty result every time.
Canning Blueberry Jam | Ball Jam and Jelly Maker Recipe (Video)
If you prefer to watch me actually make the jam, be sure to check out my video.
Making Blueberry Jam Using the Ball Jam and Jelly Maker
I used the berry jam recipe from the booklet that came with my Ball Jam and Jelly Maker. Note that the recipe book doesn’t list blueberries as one of the berry options, but I learned from others who use the jam and jelly maker that blueberries work just fine in this recipe.
As a side note let me say that unfortunately, Ball no longer makes the jam and jelly maker. You may be able to pick up one used. If not, Roots and Harvest now makes a machine that is nearly identical and works the same way.
Pro tip: If you want some general information on the Ball Jam and Jelly maker to help you decide if you want to pick up one for yourself, be sure to check out my article, Ball Jam and Jelly Maker Review.
Blueberry Jam Ingredients
Thankfully, the ingredient list for blueberry jam is super simple! Here’s what you’ll need:
- 1 1/3 lbs of crushed berries (around 24 oz of blueberries)
- 3 tablespoons of powdered pectin
- 1/2 teaspoon of butter or margarine
- Granulated sugar (3 1/3 cups for traditional or 2 cups for reduced sugar)
I always opt for the reduced sugar version, which is still plenty sweet. Note that if you want to reduce the sugar, you need to make sure you have 3 1/4 cups of blueberries after crushing. This is slightly more than the 2 2/3 cups of blueberries you need if you’re using the full sugar recipe.
How to Make Blueberry Jam
Begin by cleaning the blueberries. I find it easiest to do this by rinsing the blueberries in a colander. As I rinse them, I look for any steams and remove them.
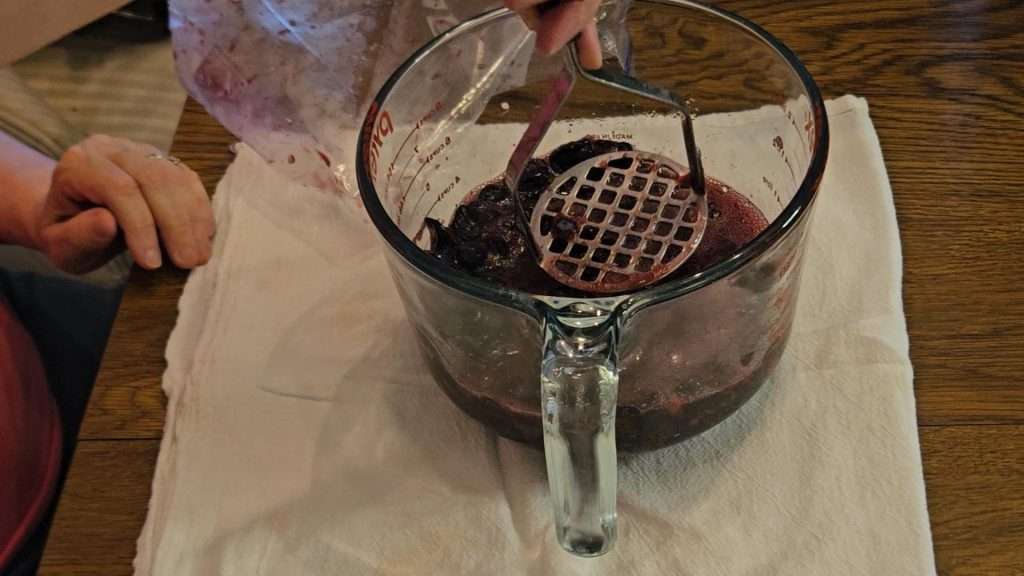
After cleaning the blueberries, crush them using a potato masher. You need to crush them one layer at a time. The easiest way to do that is to put them into a large flat pan, such as a 9″ x 13″ pan.
However, since I wanted to make the reduced sugar recipe, I wanted to make sure that I had enough blueberries. The easiest way for me to make sure was to crush them in a large 8-cup measuring cup (Amazon), one layer at a time.
Ready to can with confidence this year? Grab the Home Canning Success System—your step-by-step guide to organized, stress-free home canning!
👉 Check it out on AmazonMaking Blueberry Jam in the Ball Jam and Jelly Maker
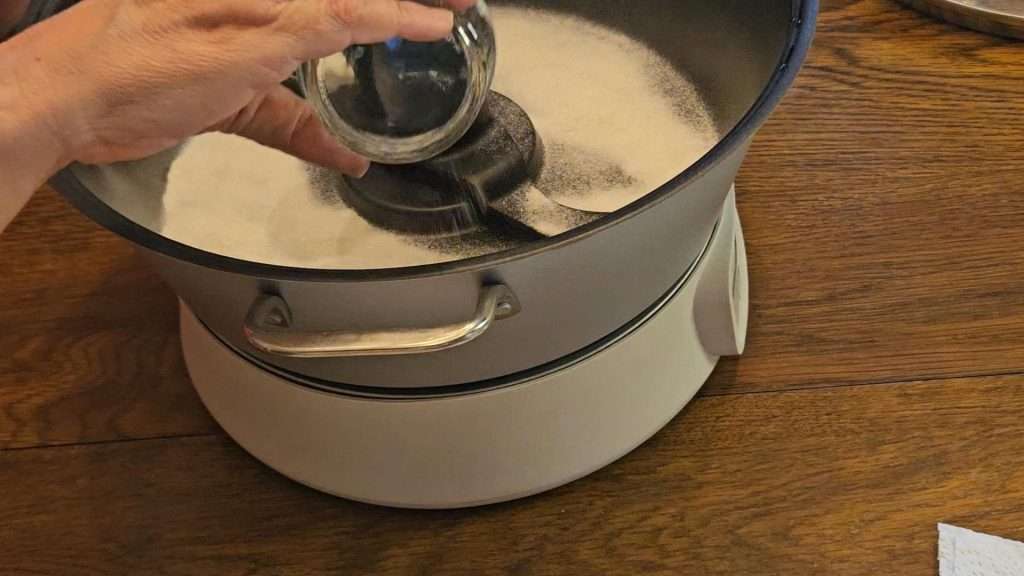
Once the berries are ready, plug in your Jam and Jelly Maker. Sprinkle the pectin evenly over the bottom of the pot, then add the crushed berries, and butter.
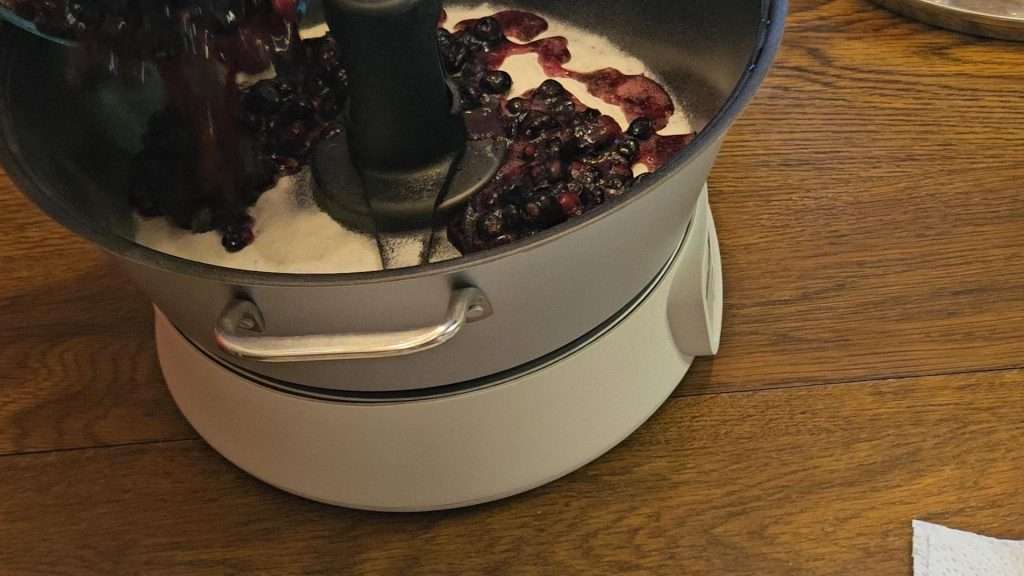
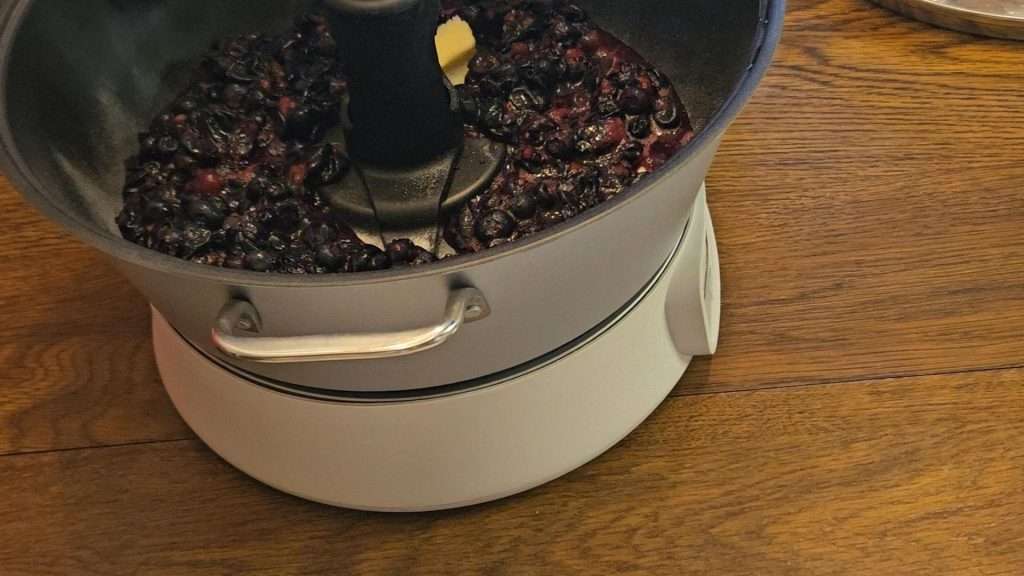
Select the Jam Button
Next, select the jam button and press enter. By default, the display will show 21 minutes, and the machine will start stirring the blueberries into the pectin.
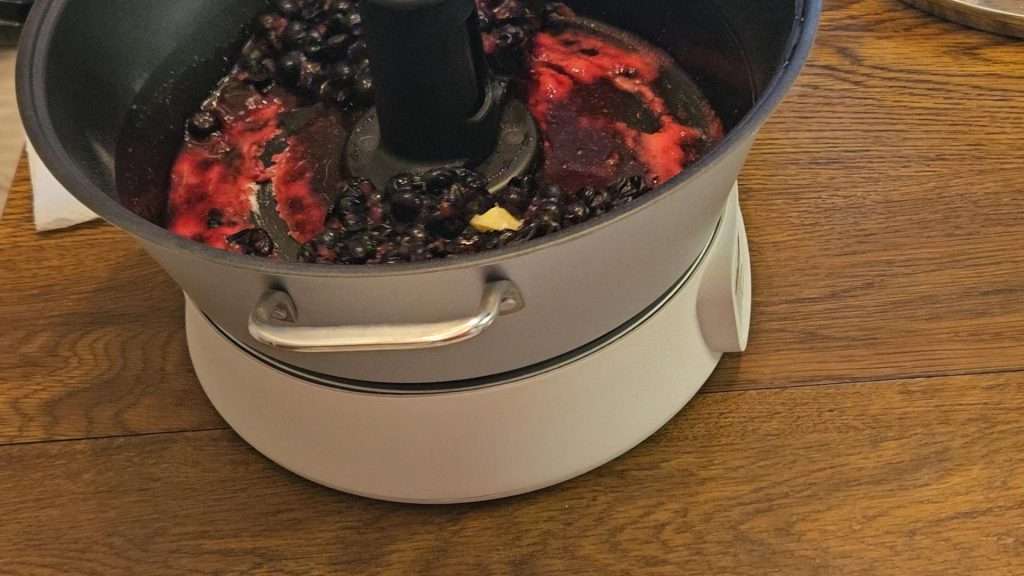
Set the machine to the jam setting and add a couple of extra minutes if your berries were frozen and still cold.
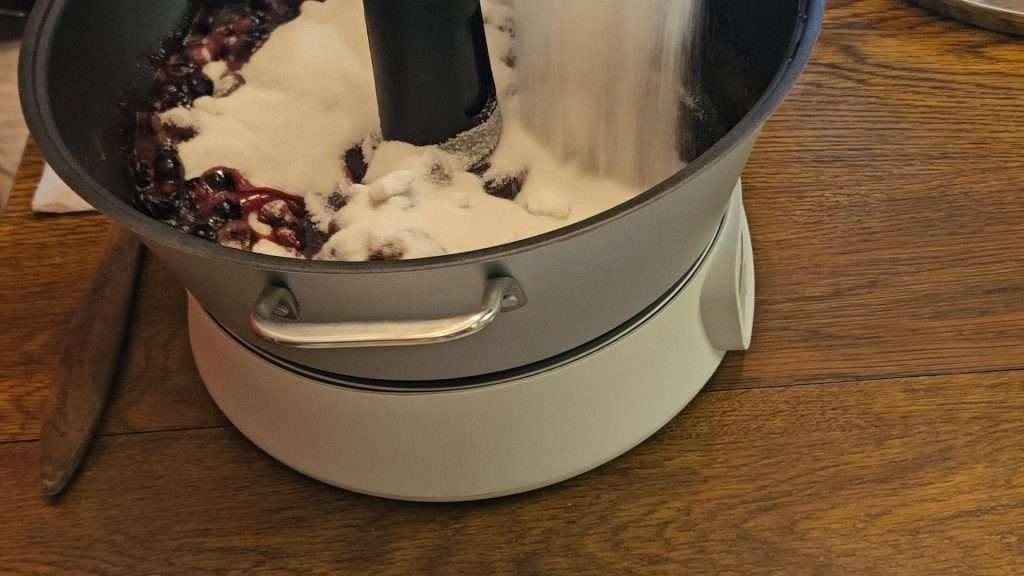
After 4 minutes, the jam maker will beep. This is your cue to add in the sugar.
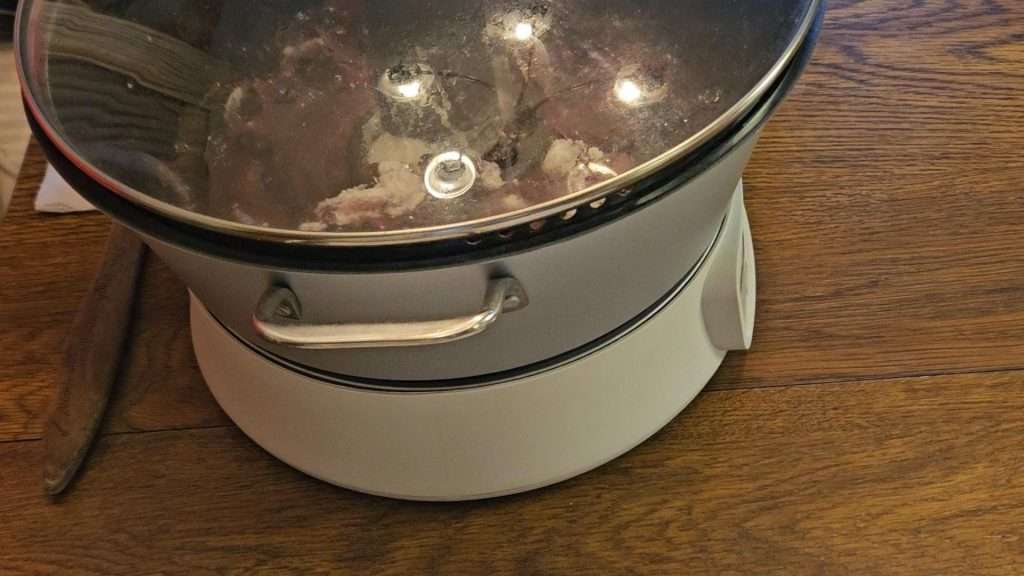
After adding in the sugar, place the lid on the jam maker for the rest of the process.
Remove the Lid and Stirrer
The jam and jelly maker will beep when the time is up. At this point, press cancel, and unplug the jam maker.
Carefully remove the lid, holding it away from you so you aren’t hit with a bunch of steam.
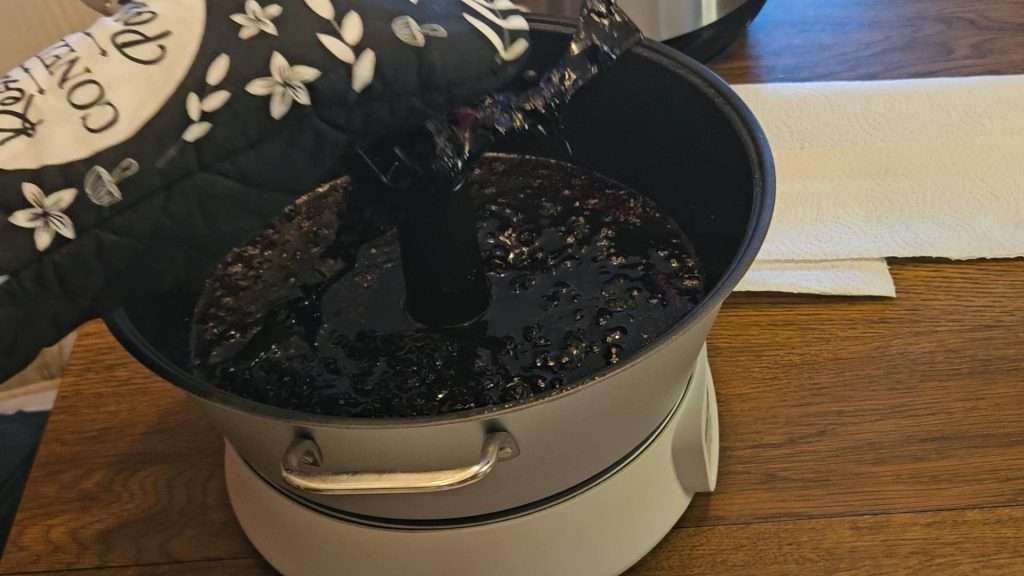
You’ll want to use a pot holder to remove the stirrer. Trust me, the freshly made jam is piping hot, and the stirrer and jam maker is as well, so handle with care.
Canning Blueberry Jam
While the jam is cooking, heat your canning jars and water. I use my Nesco canner (Amazon) for this process.
Pro tip: If you have a Nesco or Carey canner, check out my article, How to Heat Jars in the Nesco Canner for a step-by-step guide.
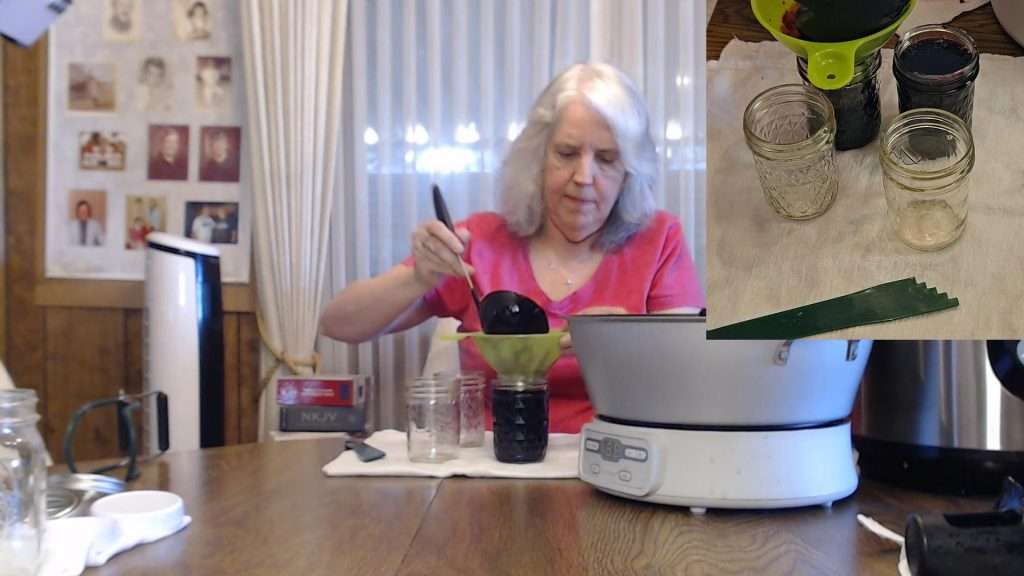
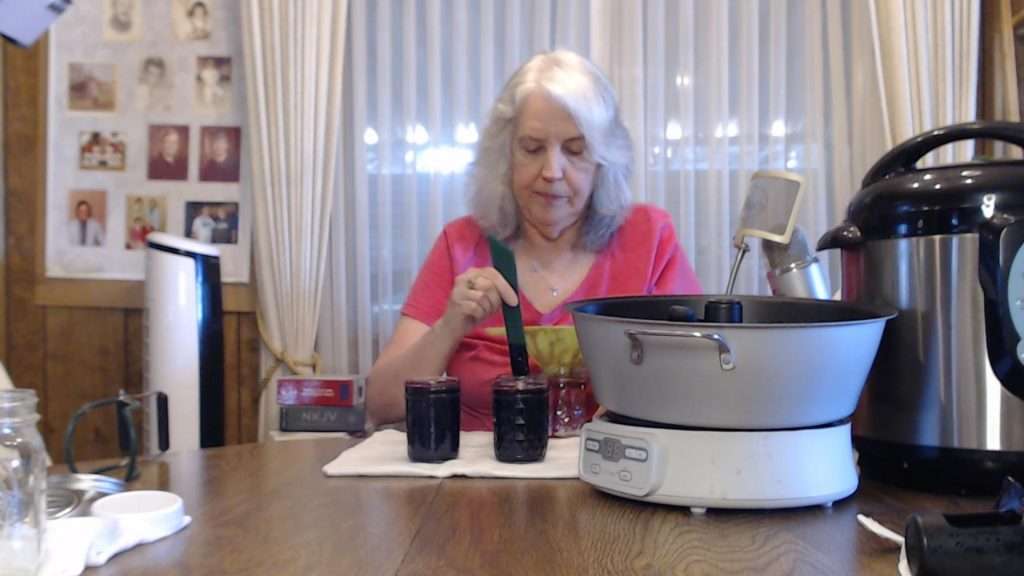
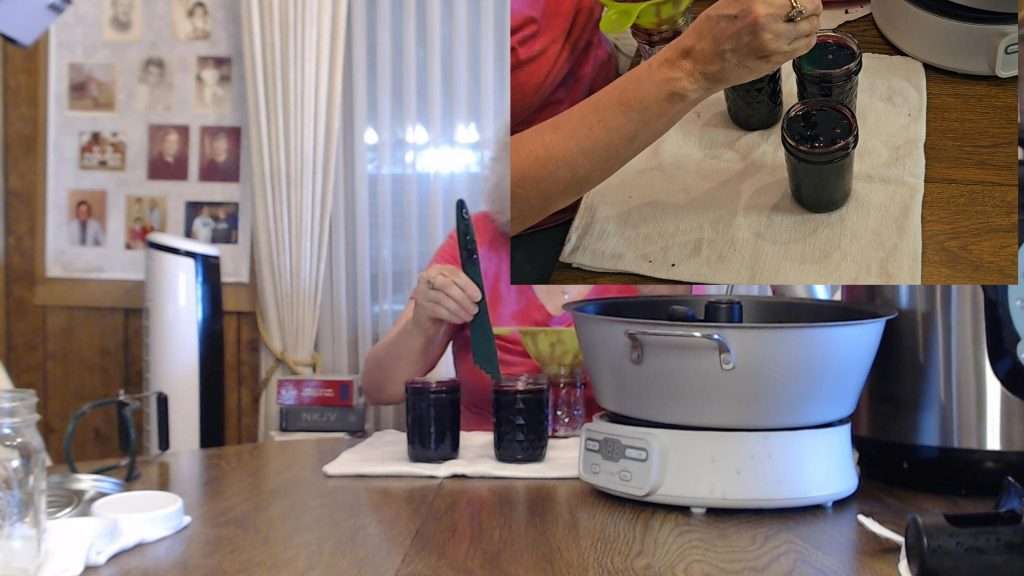
Once the jam is ready, carefully ladle it into the hot jars, leaving a 1/4 inch headspace.
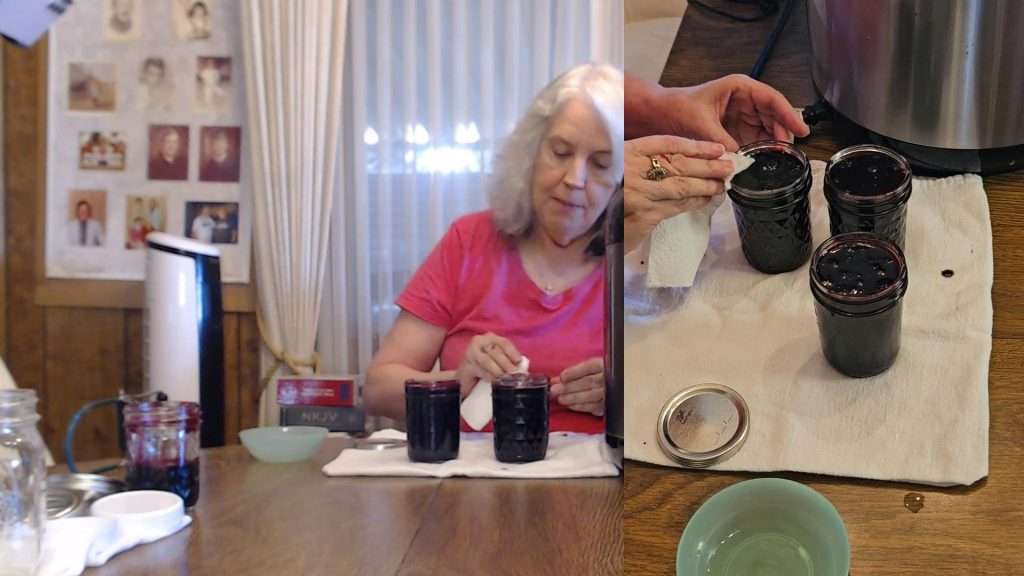
Wipe the rims clean with vinegar, place the lids and rings on, fingertip tight.
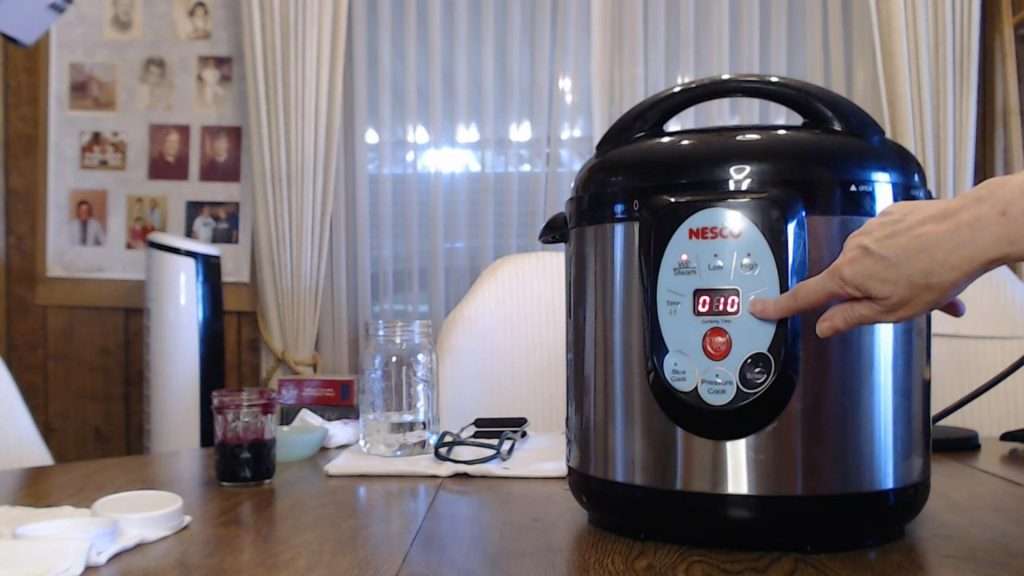
Next, process the jars in a water bath or steam canner for 10 minutes (adjusting for altitude; I add 5 minutes for my altitude).
After processing, let the jars cool. You should hear the satisfying “ping” of the lids sealing. After 12-24 hours, test the seals by pressing down in the center of each lid. If the lid “gives” when pressing down, that means it didn’t seal. I also recommend lifting up the jar by the lid to make sure the lids have sealed. If any didn’t seal, you can either process them again or preserve them one of the ways listed below.
Wish your canning was more organized? This practical guide + printable toolkit will transform the way you stock your pantry.
👉 See the book on AmazonOther Ways to Preserve Homemade Blueberry Jam
If you’re not into canning, or if you simply don’t have time to can your blueberry jam, you can refrigerate or freeze the jam. Here’s how.
Regardless of if you’re going to refrigerate or freeze the jam, since you’ll be putting hot jam into the jars, it’s important to heat the jars before filling them with jam. There are a couple of ways to do this. One easy way is to fill the jars with water and pop them into the microwave until the water in each jar is hot.
An even easier way is to fill your sink with hot tap water. Make sure it is as hot as you can get it. My tap water gets hot enough, I can’t really put my hands into it, at least not for long. That’s perfect! Put your jars into the hot water and let them sit for a few minutes to heat up.
It’s a good idea to heat the jars about 5 minutes before the jam finishes processing.
Before filling your jars with jam, dump out the hot water.
Refrigerating Jam
If you want to refrigerate the jam, pour the finished jam into hot jars. Allow the jam to cool to room temperature, which takes around 30 minutes. Add lids to the jam, and place in the fridge.
The only downside to refrigerating homemade jam is that it only lasts in the fridge for about 3 weeks. If you can’t eat all of the jam within 3 weeks, it’s better to freeze it.
Freezing Jam
The process for freezing jam is similar to the process for refrigerating jam, except for one important factor – headspace. Since jam expands as it freezes, be sure to leave about a half of an inch of headspace when filling your hots jars with the hot jam.
Once the jam has reached room temperature, put the lids on and place the jam in the freezer. Jam will keep in the freezer for up to a year.
Pro tip: Since jam expands as it freezes, it’s best to use glass jars with straight sides, such as quilted jelly jars such as these on Amazon.
Conclusion
Making and canning blueberry jam at home is a rewarding experience, providing you with delicious, homemade preserves to enjoy and share. This jam is sweet but not overly so, making it perfect for spreading on toast, adding to desserts, or gifting to friends and family.
This blueberry jam is so delicious, my mom wanted me to make an extra batch so I could send some to my brother who lives out of state. :)
If you enjoyed this guide, please like the post and subscribe to my blog for more canning recipes and tips. Happy canning!
Your All-in-One Canning Companion

The Home Canning Success System is your all-in-one canning companion. Whether you’re brand new or a seasoned canner, this book helps you plan, organize, and track your projects with confidence. Ditch the guesswork—preserve with purpose!
Related Articles
If you enjoyed this article, you are likely to enjoy these related articles:
💬 I’d love to hear from you!
Have you tried this yourself? Have a question or tip to share? Leave a comment below — your experience or question could help someone else, too!