

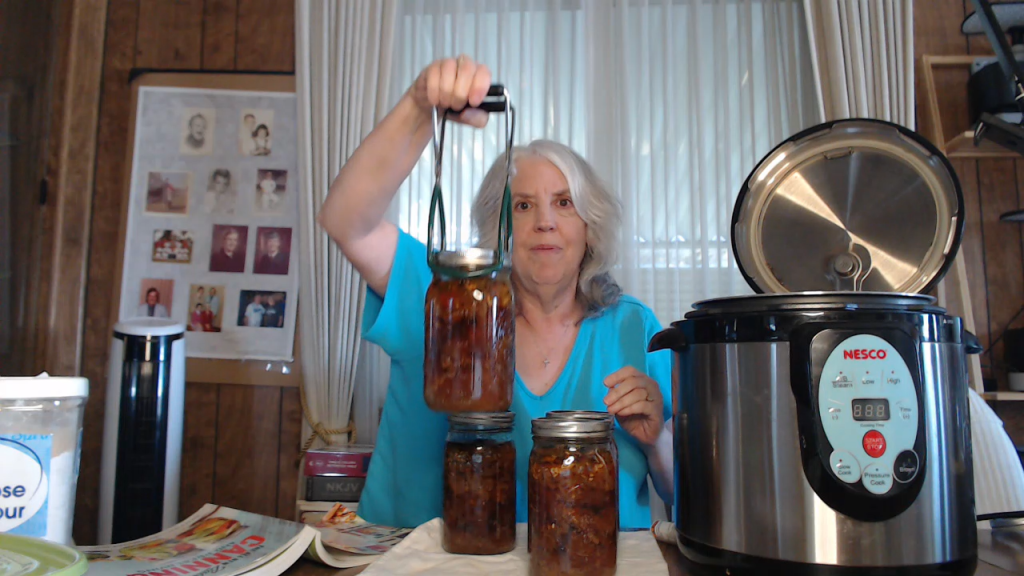
Canning beef stroganoff is a great way to preserve a comforting and hearty meal that’s ready whenever you need it.
This article includes affiliate links.
In today’s blog post, I’ll walk you through how I use my trusty Nesco canner (Amazon) and a recipe from the All New Ball Book of Canning and Preserving (Amazon). Whether you’re new to canning or looking for a new recipe, this guide will take you step by step through the process. Let’s dive in!
Canning Beef Stroganoff (Video)
If you prefer to watch a video of me canning beef stroganoff, check out the video below.
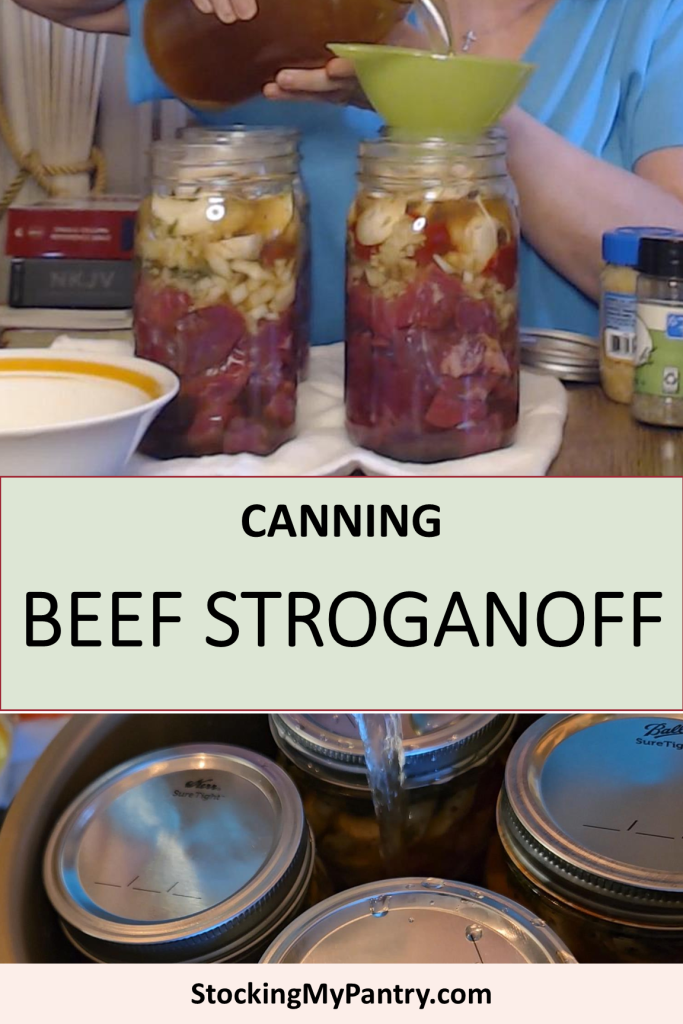
Ingredients You’ll Need
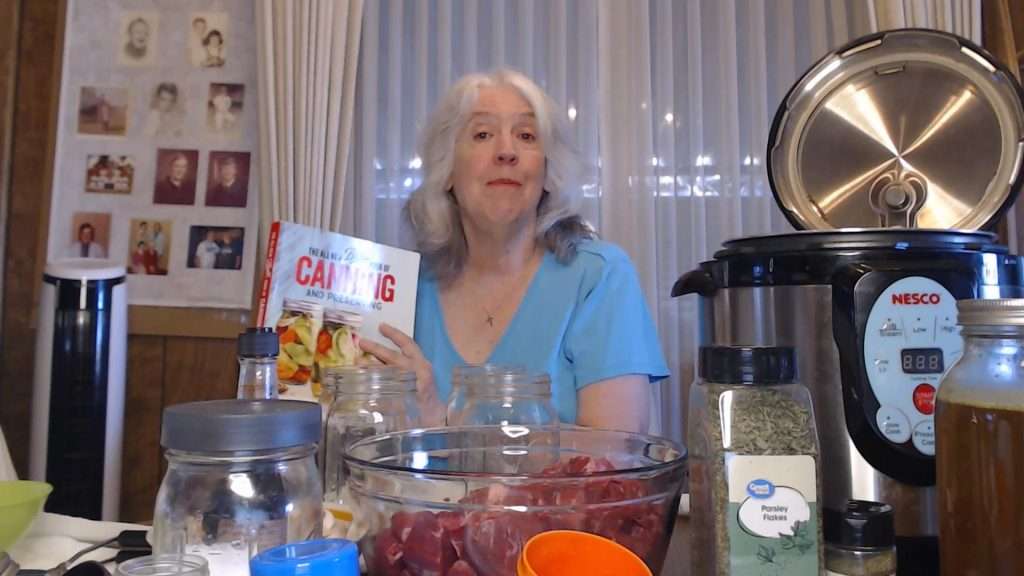
For this recipe, I decided to double the ingredients so I could can four quarts instead of two, but I’ll provide the original quantities below. Here’s what you’ll need:
- 2 lbs of boneless beef chuck, trimmed and cut into 2-inch pieces
- 1 cup sliced mushrooms
- 1 cup chopped onion
- 4 tablespoons tomato paste
- 2 teaspoons salt (non-iodized)
- 1 teaspoon ground black pepper
- 4 tablespoons Worcestershire sauce
- 2 teaspoons dried thyme
- 2 teaspoons dried parsley
- 2 garlic cloves, sliced (or substitute with minced garlic)
- Beef broth (for filling jars)
Doubling the Recipe
Since I doubled the recipe to make four quarts, I used 4 lbs of beef, double the vegetables, and double the seasonings. Feel free to adjust based on your needs!
Here’s what you’ll need for each quart:
- 1 pound of boneless beef chuck, cut into 2″ pieces
- 1/2 cup of sliced mushrooms
- 1/2 cup chopped onion
- 2 tablespoons tomato paste
- 1 teaspoons salt (non-iodized – I used Canning and Pickling Salt – Amazon)
- 1/2 teaspoon ground black pepper
- 2 tablespoons Worcestershire sauce
- 1 teaspoon dried thyme
- 1 teaspoon dried parsley
- 1 garlic cloves, sliced (or substitute with minced garlic)
The Canning Process
Now let’s get into the process of both filling the jars of tasty beef stroganoff, and the actual canning process.
1. Packing the Jars
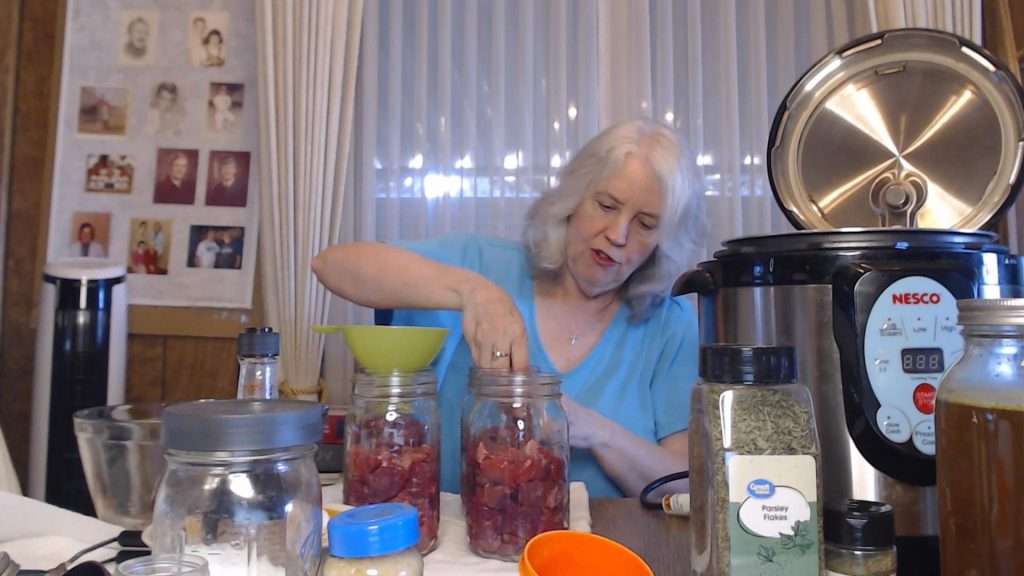
First, we’ll start off with packing the jars with beef and onions.
Rather than mixing everything together in a bowl, I like to pack the ingredients directly into the jars. I find it simpler and less messy. Start by evenly distributing the beef between your jars. Next, evenly distribute the onions.
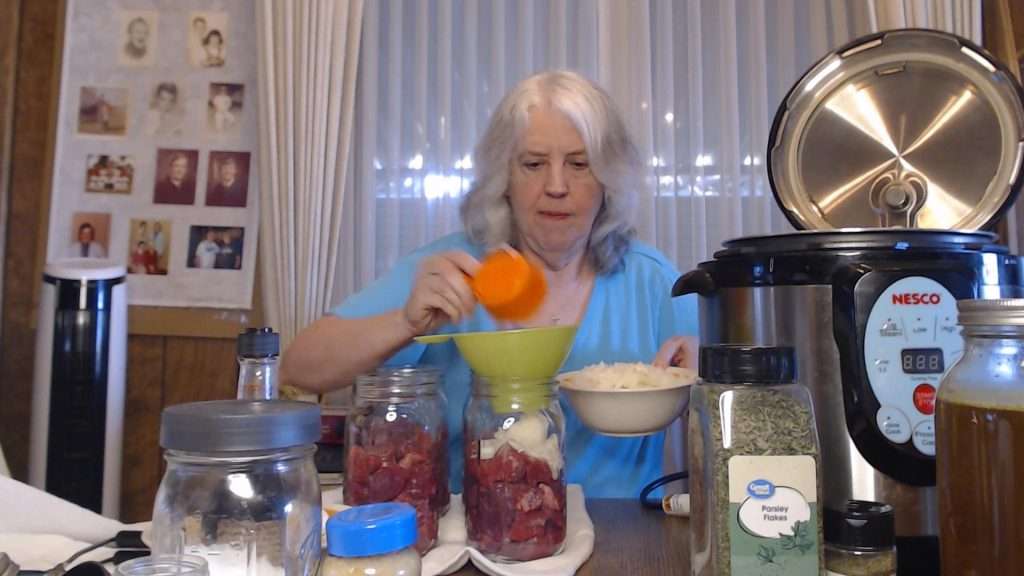
I originally planned to put the mushrooms in at this point as well. However, since the “seasonings” include tomato paste, I wanted something dry on top, so I could more easily pack down the ingredients without getting my hands messy.
2. Adding the Seasonings
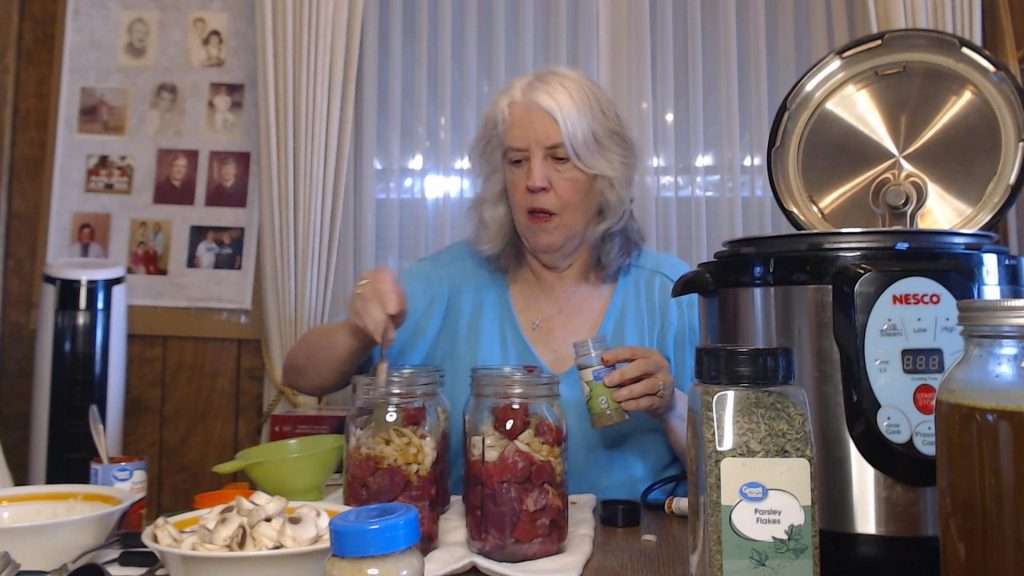
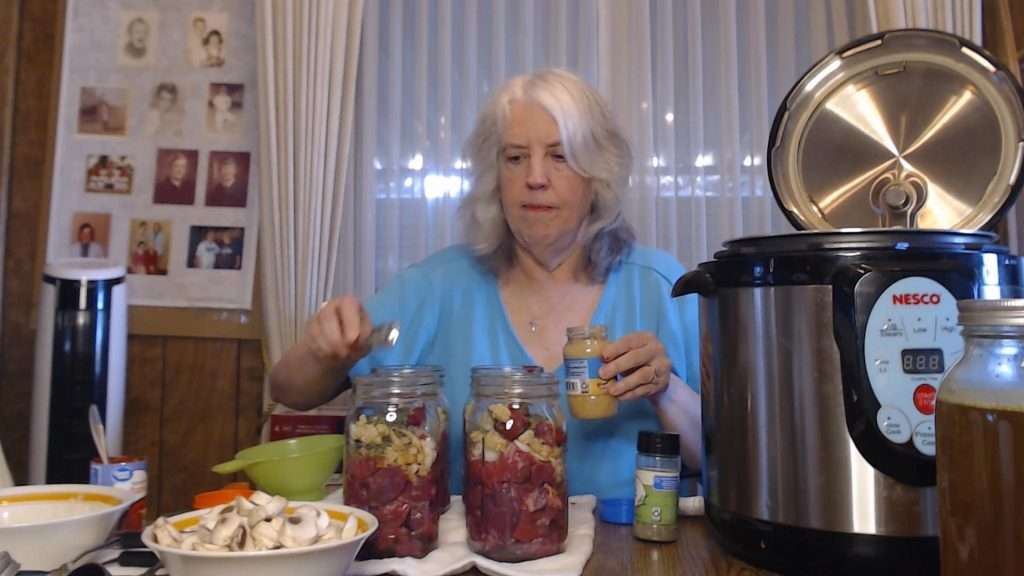
Once the beef and onions are packed into the jars, to each quart jar add:
- 2 tablespoons of tomato paste
- 1 teaspoon of salt
- ½ teaspoon of ground black pepper
- 2 tablespoons of Worcestershire sauce
- 1 teaspoon of dried thyme
- 1 teaspoon of dried parsley
- 1 clove of garlic (or a teaspoon of minced garlic)
Wish your canning was more organized? This practical guide + printable toolkit will transform the way you stock your pantry.
👉 See the book on Amazon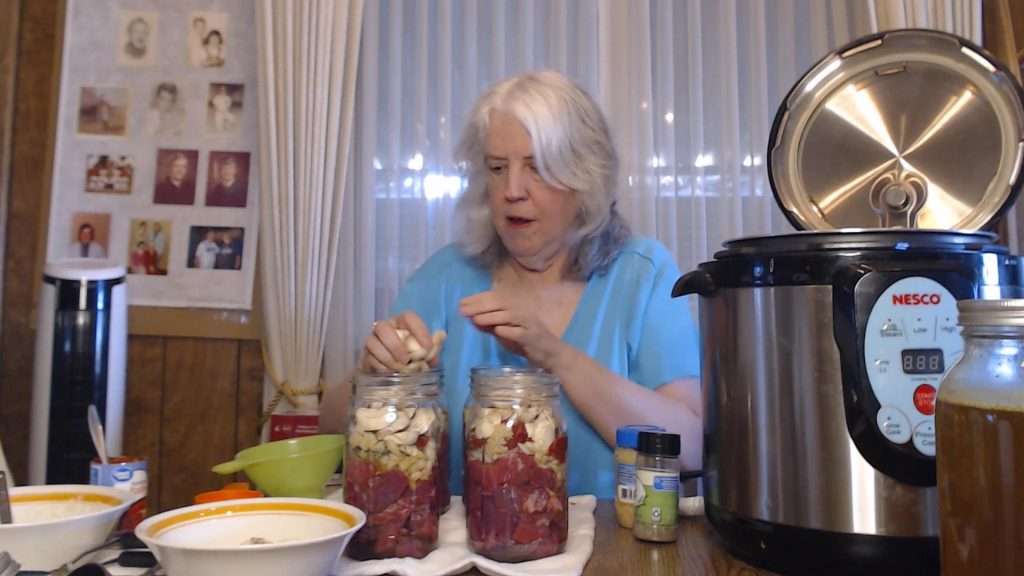
Top off the jars by adding in the mushrooms. Chances are, your jars will be filled to more than 1″ headspace. The good news is, you can push down the ingredients to pack them in more tightly, before moving on to the next step.
3. Filling the Jars with Broth
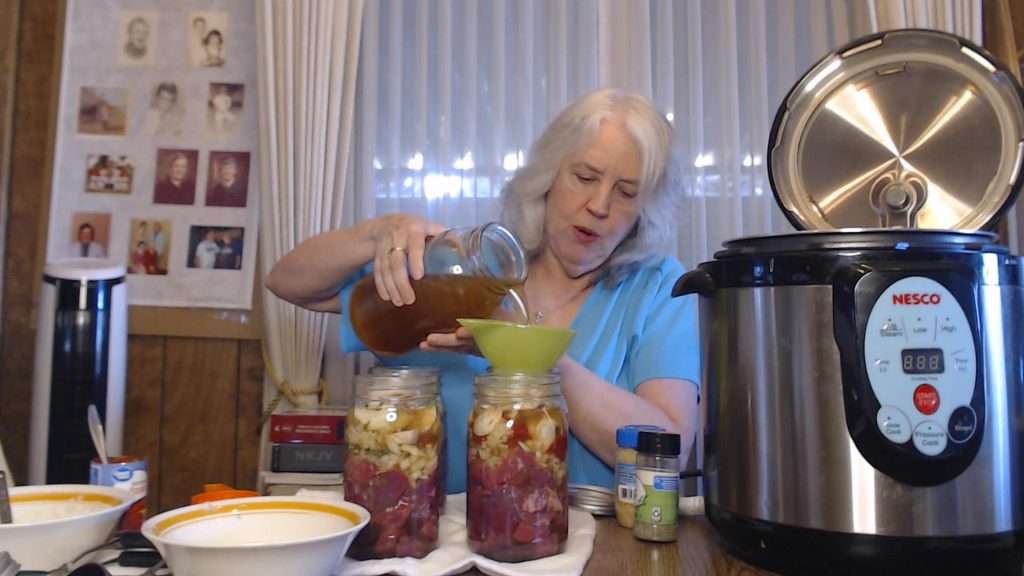
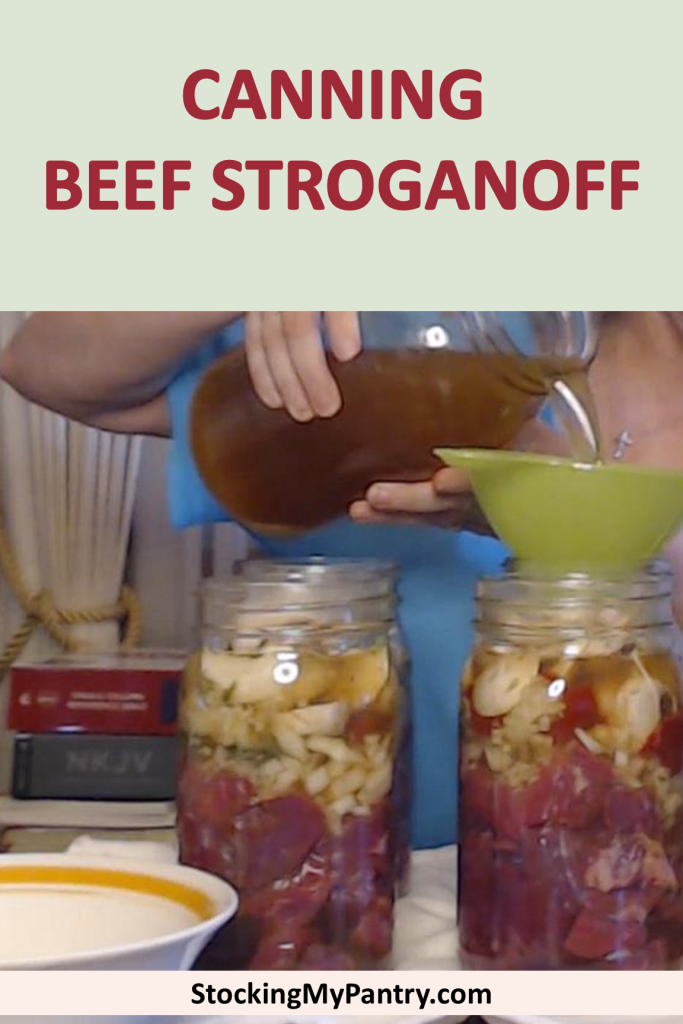
After all your ingredients are packed into the jars, fill them with hot beef broth. Be sure to leave a 1-inch headspace at the top of each jar. This step is important to ensure the canning process goes smoothly.
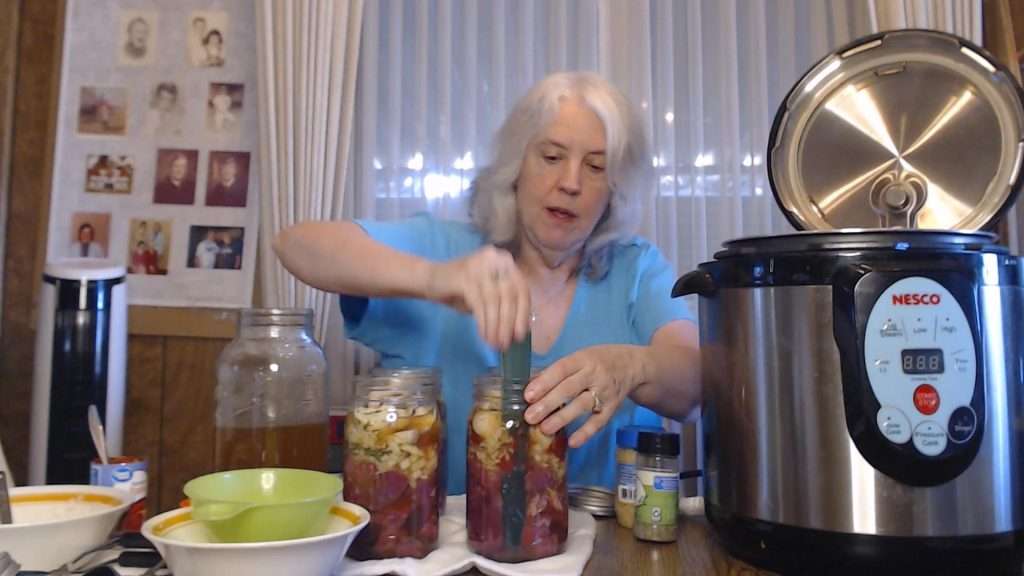
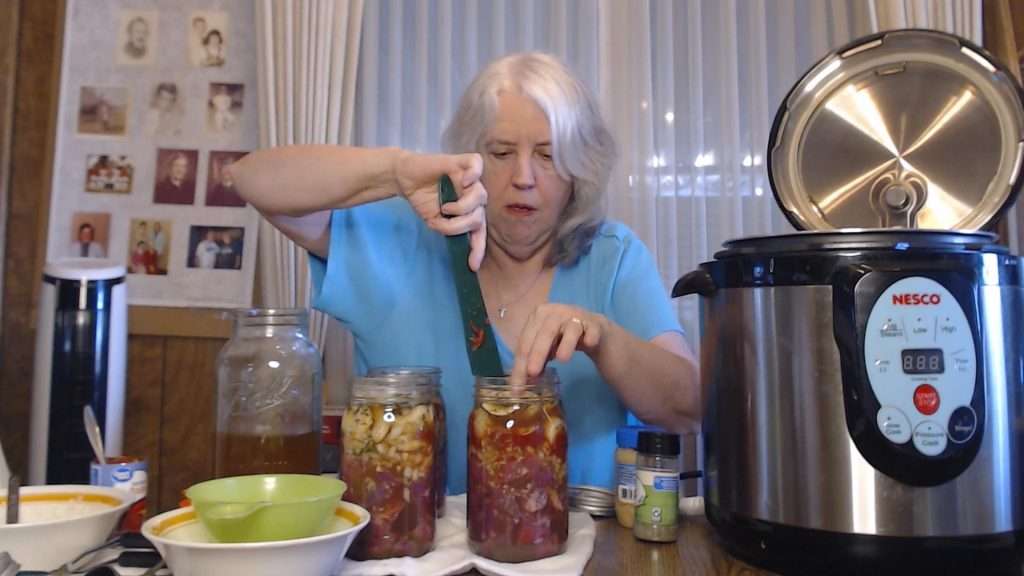
4. Debubble and Check Headspace
Now it’s time to debubble your jars and check the headspace.
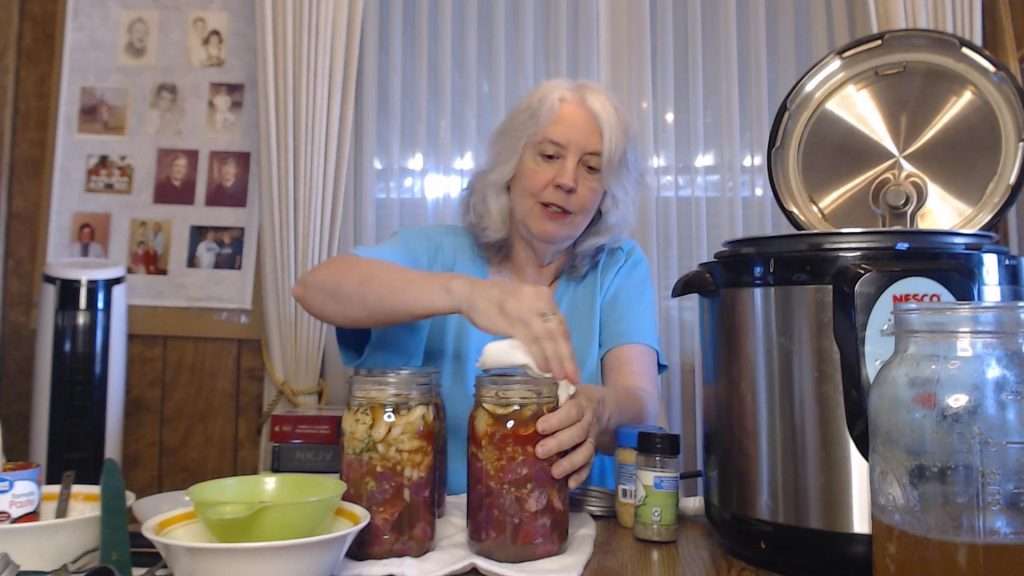
5. Wipe the Rims and Put on the Lids
Once the jars are filled, wipe the rims to remove any residue, place the lids on, and tighten the rings fingertip-tight.
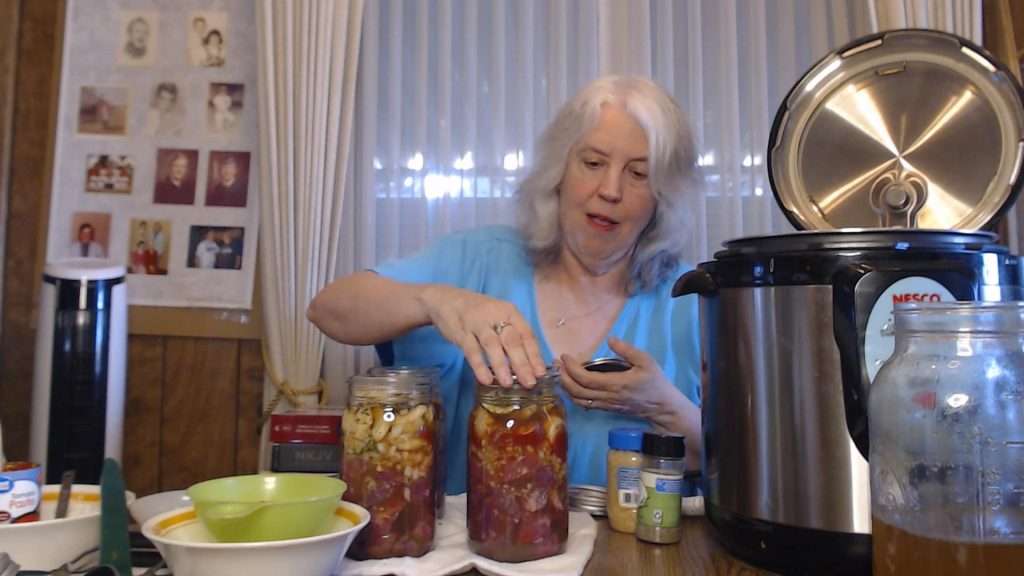
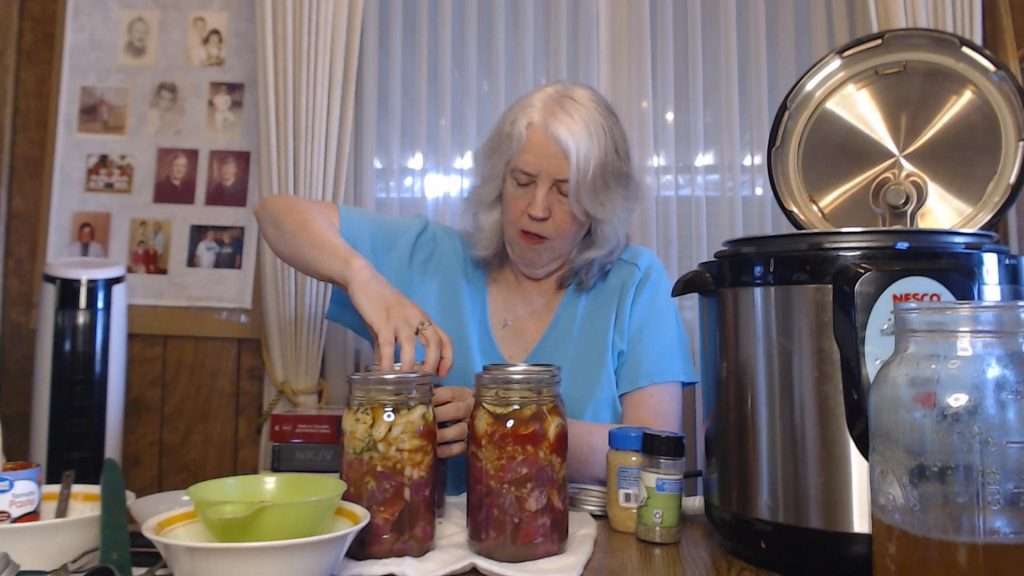
Canning Beef Stroganoff
Now it’s time to can your beef stroganoff.
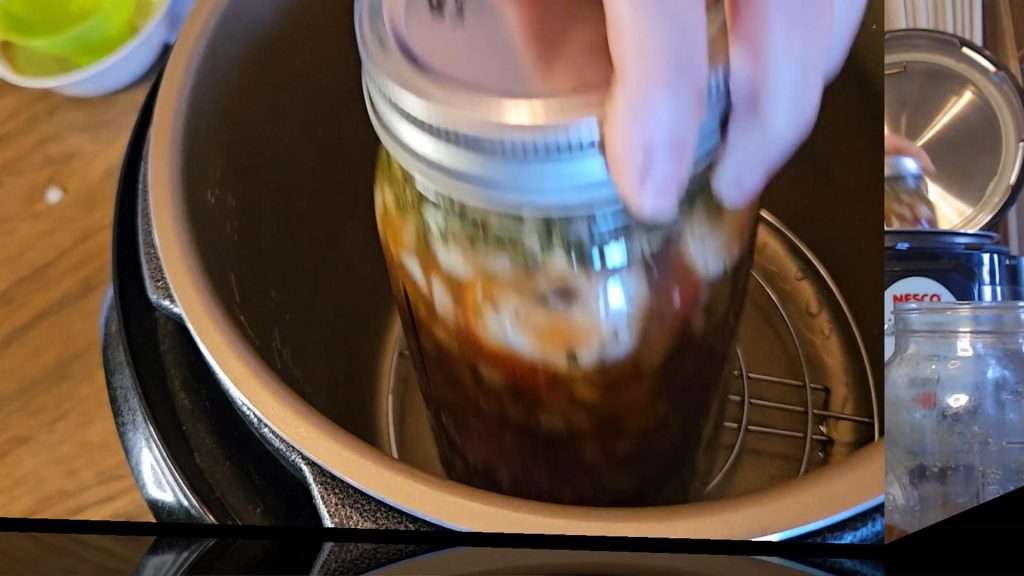
Start off by putting your jars into your canner. If you’re using the Nesco canner (Amazon), like I am, you can fit 4 quart sized jars.
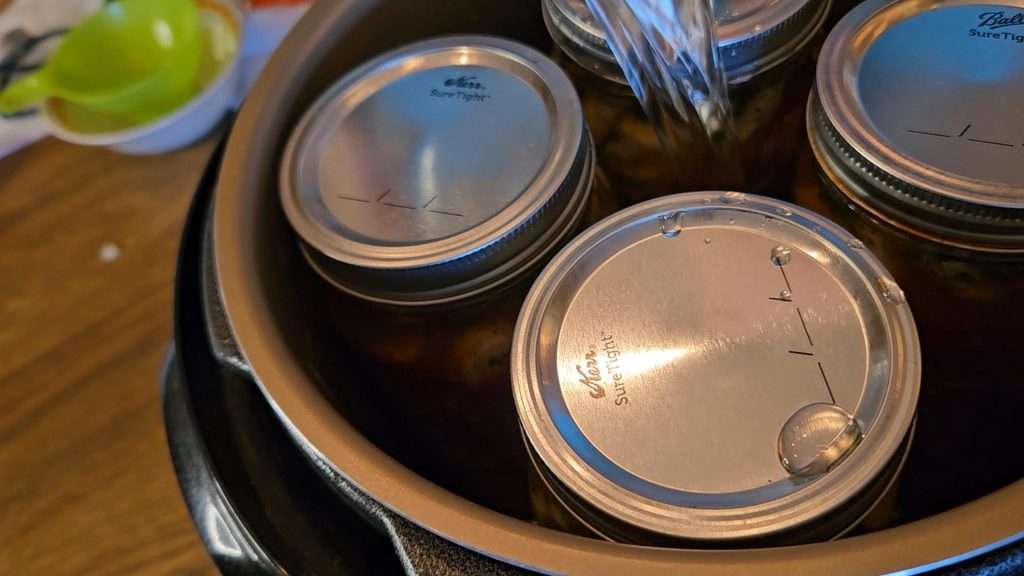
Next, if you haven’t already done so, add 8 cups of hot water to your Nesco canner. If you’re using a different type of pressure canner, check the manual to see how much water to use.
Close the lid, and set it to the exhaust position.

Step 1: Press “High” on the Nesco canner Step 2: Put in 90 minutes for quarts. If using pints, put in 75 minutes. Step 3: Press start.


For quarts, the processing time is 90 minutes. If you’re canning pints, the processing time is 75 minutes. Set the Nesco to “high” and input the time for your batch.
If you need more information on how to pressure can in the Nesco, be sure to check out this blog post.
Finishing Up
When the canning process is complete, carefully remove the jars and let them cool. Wait 12-24 hours before checking the lids to make sure they sealed. If they didn’t seal, you can process them again. You can also refrigerate and serve the beef stroganoff within a few days.
If everything sealed, wash the jars. I also like to mark the lids with what’s in the jar and the date before putting the jars into my pantry.
Serving Home-Canned Beef Stroganoff
When you’re ready to serve your beef stroganoff, simply transfer the contents of a quart jar to a saucepan. Whisk in 2 tablespoons of flour (or 1 tablespoon for a pint jar) and simmer over medium heat for about 10 minutes, stirring frequently. To finish, stir in a large spoonful of sour cream and serve over mashed potatoes, noodles, or rice—whichever you prefer!
Tomorrow, I plan to serve this meal over mashed potatoes with a side of my home-canned lemon garlic green beans and home-canned nectarines for dessert. I can’t wait!
Pin it For Later
Conclusion
Canning beef stroganoff is a wonderful way to preserve a full meal that’s ready to go whenever you are. The process is straightforward and well worth the effort. Whether you’re preparing for an emergency, stocking up your pantry, or just love the convenience of ready-made meals, this recipe is a must-try! I hope you find this guide helpful, and if you did, be sure to like this post and subscribe for more canning tips and recipes.
Happy canning!
Your All-in-One Canning Companion

The Home Canning Success System is your all-in-one canning companion. Whether you’re brand new or a seasoned canner, this book helps you plan, organize, and track your projects with confidence. Ditch the guesswork—preserve with purpose!
Related Articles
If you enjoyed this article, you’re sure to enjoy these related “meals in a jar” articles and videos:
💬 I’d love to hear from you!
Have you tried this yourself? Have a question or tip to share? Leave a comment below — your experience or question could help someone else, too!