

What’s Inside: In this article, you’ll learn all about canning cherries the easy way, a time-saving method that skips the need to pit your cherries. Whether you’re using a water bath canner or a pressure canner, this guide walks you through the entire process—complete with photos, step-by-step instructions so you can successfully can cherries.
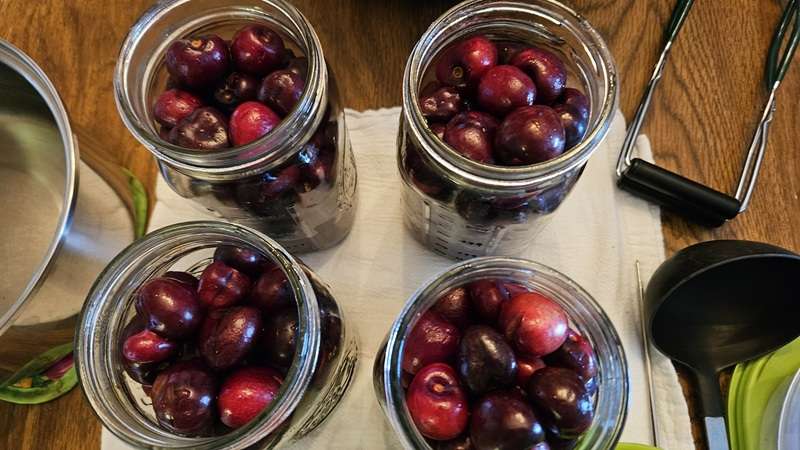
When I spotted cherries for just $1.99 per pound, I couldn’t resist grabbing about 6 pounds. But as much as I love cherries, there was no way I could eat that many before they started to go bad—so I decided to can them.
The Problem: No Cherry Pitter!
I thought I had a cherry pitter tucked away somewhere, but turns out I only had an apple corer and a pineapple slicer. Even if I had found the cherry pitter, the idea of pitting 6 pounds of cherries felt a bit daunting.
That’s when I remembered a video by RoseRed Homestead, showing how to can cherries without pitting them. Perfect!
Sure, it’s nice to have pit-free cherries you can just snack on. But let’s be honest—we all know how to roll a cherry around in our mouth, eat around the pit, and spit it out like pros. It’s practically a summertime rite of passage.
So, I decided to follow RoseRed’s easy method. Here’s exactly how I did it.

Your All-in-One Canning Companion

The Home Canning Success System is your all-in-one canning companion. Whether you’re brand new or a seasoned canner, this book helps you plan, organize, and track your projects with confidence. Ditch the guesswork—preserve with purpose!
Step 1: Prepping the Cherries for Canning
Remove the stems and rinse the cherries thoroughly. Pick through and toss any that are bruised or moldy.

📝 Pro Tip: If you can’t can them right away, store them in the fridge. Just be sure to take them out about 90 minutes before canning so they aren’t ice cold.
Step 2: Making the Syrup
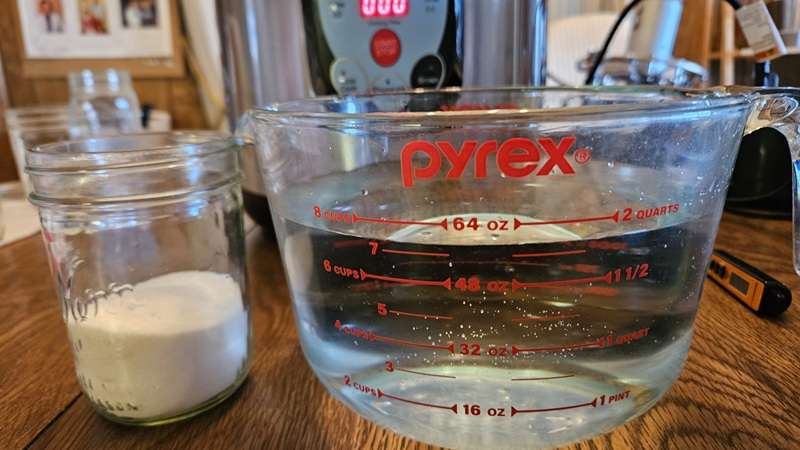
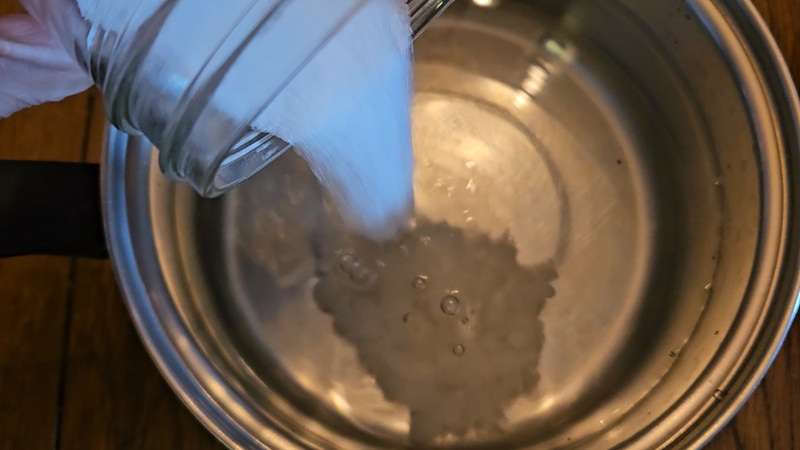
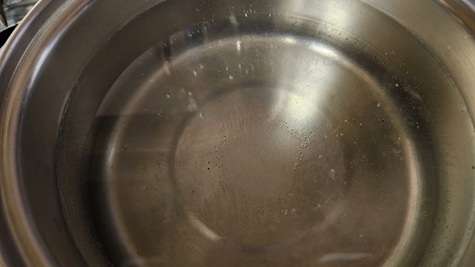
I opted for a light (10%) syrup. Here’s how I made it:
- 7½ cups of water
- ¾ cup sugar
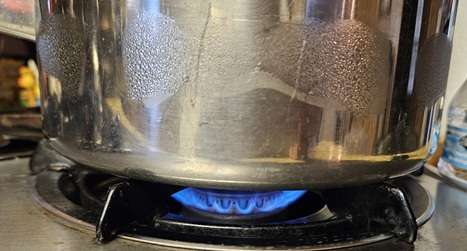
I brought it just to a light boil and turned off the heat once the sugar dissolved.
📝 Pro Tip: The amount of syrup you need depends on the number and size of jars of cherries you’ll can. Check out this article on the National Center for Home Food Preservation website for more information on syrup for canning fruit.
Step 3: Choose Your Pack Method
Fortunately, according to the National Center for Home Food Preservation, it’s perfectly safe to use either the raw pack or hot pack method. I chose to use the raw pack method, so that is what I’m showing below, step by step. But if you prefer to use the hot pack method, keep reading, as I have the instructions for that below as well.
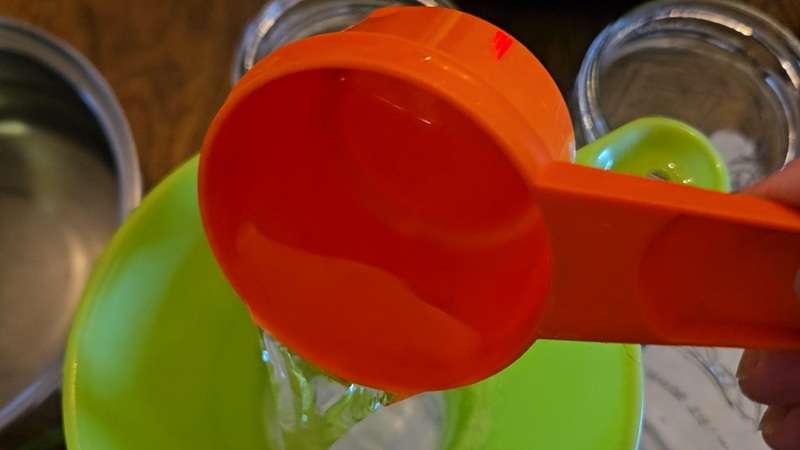
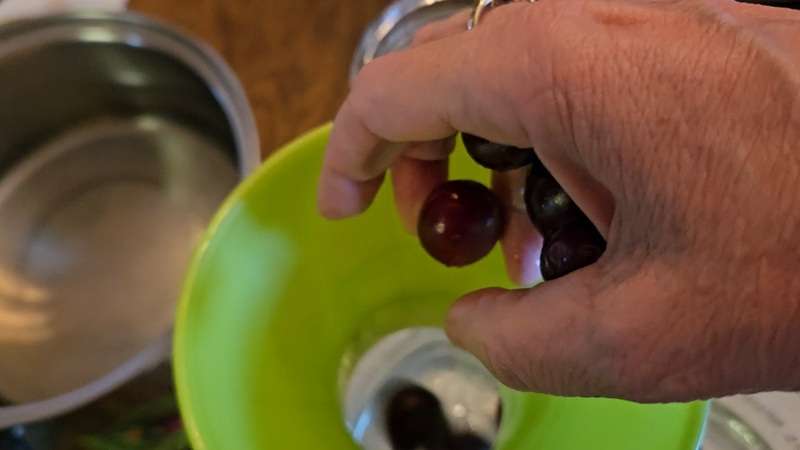
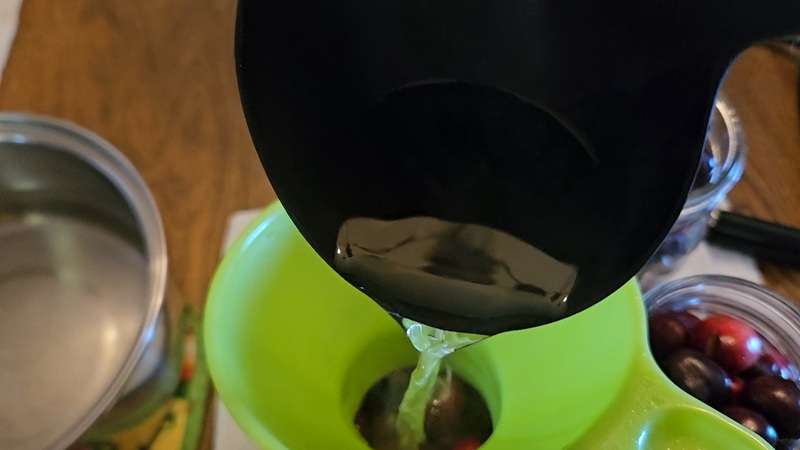
🍒 Raw Pack
- Pour ½ cup of hot syrup into each jar.
- Fill the jar with cherries, shaking gently to settle.
- Add more syrup to cover the fruit, leaving ½” headspace.
🔥 Hot Pack
- Add ½ cup syrup per quart of drained cherries in a large saucepan.
- Bring to a boil.
- Spoon cherries and hot syrup into jars, leaving ½” headspace.
Step 4: Final Steps Before Canning Cherries
Regardless of whether you’re using the hot pack or raw pack method, here are the final steps you need to take.
Debubble the Jars
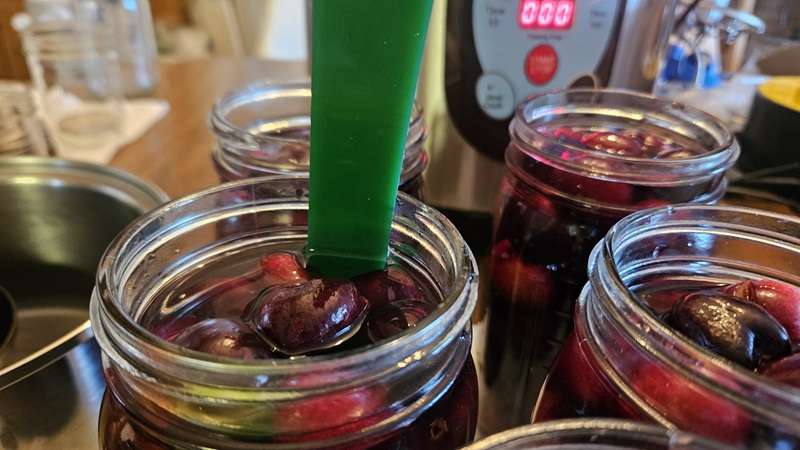
Check Headspace (1/2″)

Wipe the Rims with a Vinegar-Dampened Paper Towel

Place Canning Lids on and Tighten the Rings Fingertip Tight

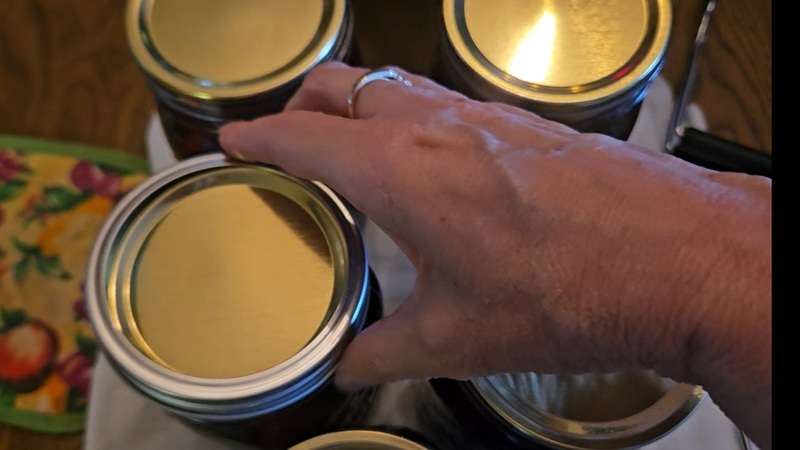
Step 5: Canning the Cherries
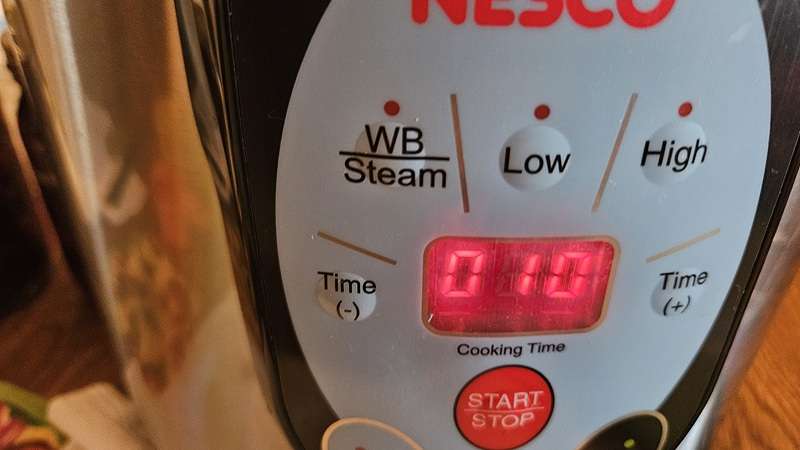
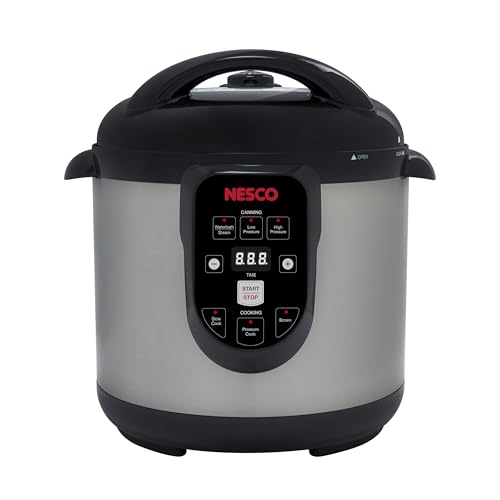
You can use either water bath or pressure canning. I usually water bath can fruit, but since my quart jars are too tall for that in the Nesco, I chose to pressure can.
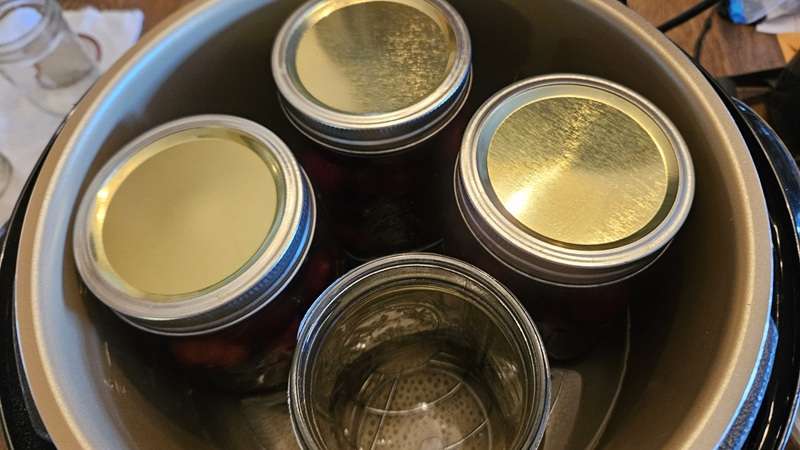
📝 Note: I used two Nesco canners—two jars in one and three in the other, adding extra water-filled jars to each to make a set of four.
🛠 Water Bath Processing Times (Based on Elevation)
| Style | Jar Size | 0–1,000 ft | 1,001–3,000 ft | 3,001–6,000 ft | Above 6,000 ft |
|---|---|---|---|---|---|
| Hot | Pints | 15 min | 20 min | 20 min | 25 min |
| Hot | Quarts | 20 min | 25 min | 30 min | 35 min |
| Raw | Both | 25 min | 30 min | 35 min | 40 min |
⚙️ Pressure Canning – Weighted Gauge
| Style | Jar Size | Pressure | Time |
|---|---|---|---|
| Hot | Pints/Quarts | 10 lbs | 10 min |
| Raw | Pints/Quarts | 10 lbs | 10 min |
Ready to can with confidence this year? Grab the Home Canning Success System—your step-by-step guide to organized, stress-free home canning!
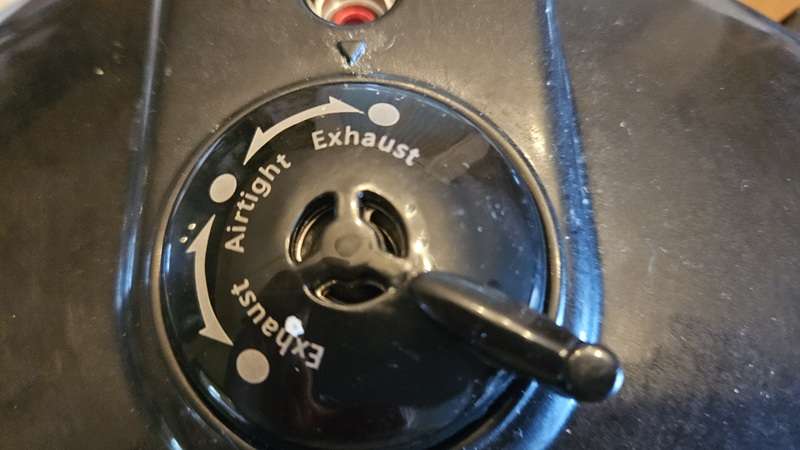
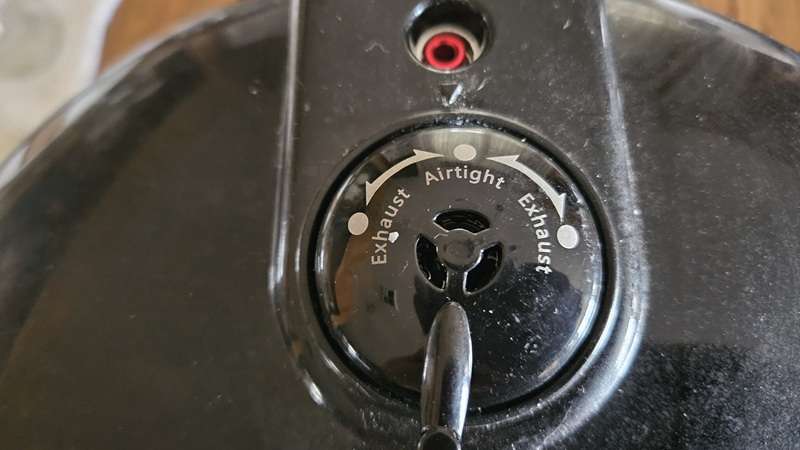
👉 Check it out on Amazon📝 Note: Since I’m above 1,000 ft in elevation, I used the 10-lb black weight and processed for 10 minutes. Note that since I live at an altitude higher than 1,000 feet, I generally use the green valve on my Nesco canner. However, since this called for 10 pounds of pressure, I swapped out the black valve in place of the green valve that I normally use.
The Final Product – Home Canned Cherries
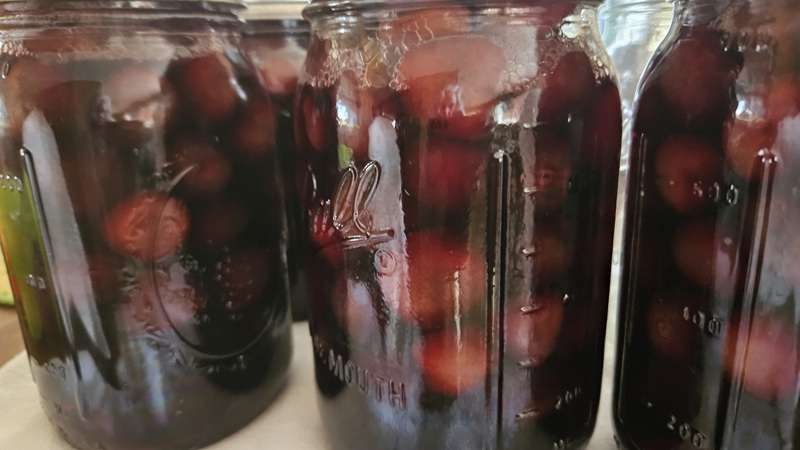
My 6 pounds of cherries made exactly 5 quarts, and now I have a delicious, shelf-stable treat to enjoy all year round!
Key Takeaways:
- You can safely can cherries without removing the pits.
- A light (10%) syrup made with 7½ cups water and ¾ cup sugar works great for preserving. You can adjust the amount of syrup based on the amount of cherries you are canning.
- Both raw pack and hot pack methods are options—choose what best works for you.
- Always leave ½” headspace when filling canning jars with cherries and syrup.
- Water bath or pressure canning are both safe methods for canning cherries—just adjust for altitude and follow the proper time charts.
Pin it for Later
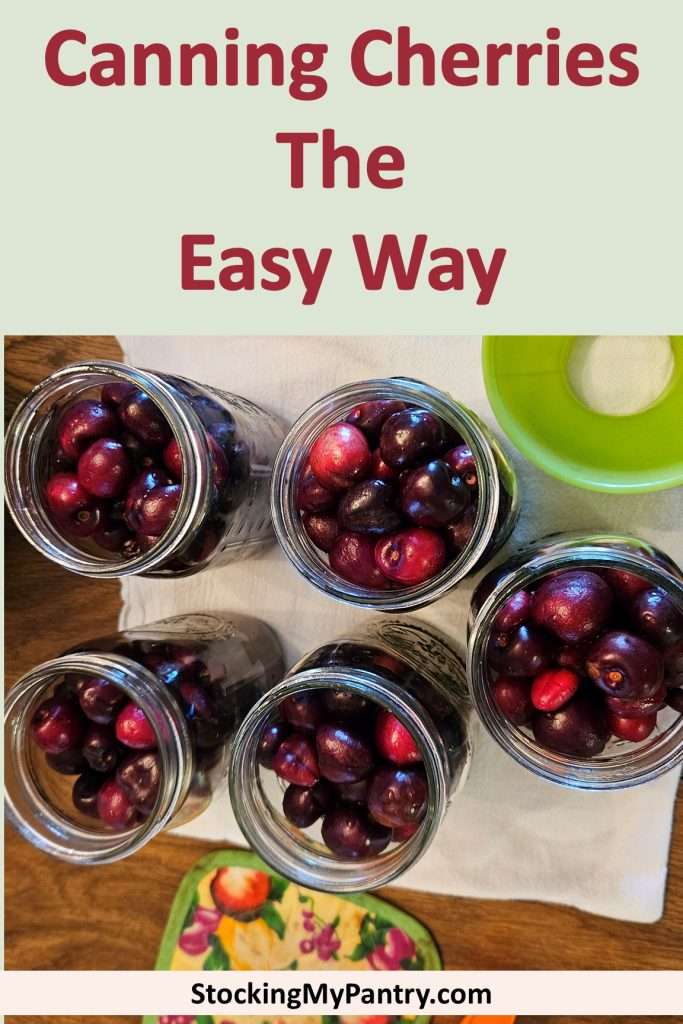


🛒 Shop This Post
This post includes affiliate links.
Final Thoughts on Canning Cherries the Easy Way
Canning cherries without pitting them might seem unconventional, but it’s quick, easy, and still gives you a tasty product. Whether you enjoy them straight from the jar or baked into a dessert, it’s a great way to stretch cherry season a little further.
If you’ve never tried pressure canning fruit, cherries are a great place to start!
Related Articles
If you enjoyed this article, you’re sure to enjoy these related articles:
Go here to see all of my articles on canning fruit.
Canning Cherries the Easy Way (No Pitting Required)
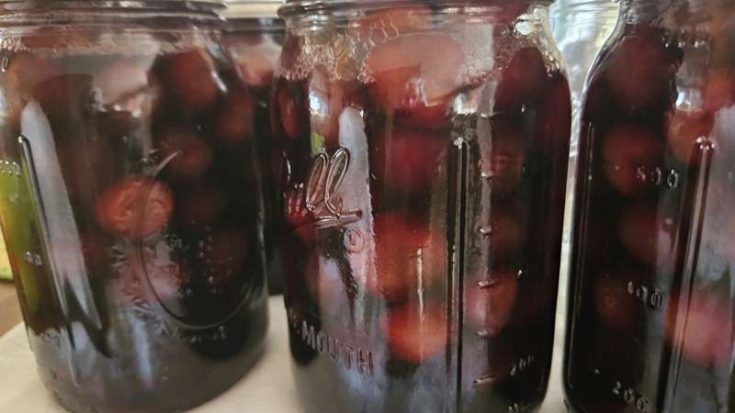
Learn how to can cherries without pitting them! This simple water bath or pressure canning method saves time and gives you sweet, shelf-stable cherries to enjoy year-round.
Ingredients
- 6 pounds fresh cherries, stems removed
- 7½ cups water
- ¾ cup granulated sugar
Instructions
1. Prep the Cherries
Remove stems, wash cherries, and discard any bruised or moldy fruit. Do not pit.
2. Make the Syrup
In a pot, combine 7½ cups water and ¾ cup sugar. Heat just until sugar dissolves. Do not boil.
3. Choose Your Packing Method
Raw Pack
Pour ½ cup hot syrup into each jar.
Add cherries, shaking gently to settle.
Top with more syrup, leaving ½” headspace.
Hot Pack:
Combine ½ cup syrup per quart of cherries in a pot.
Bring to a boil.
Ladle cherries and syrup into jars, leaving ½” headspace.
4. Prepare Jars for Processing
Debubble using a non-metallic tool.
Check and adjust headspace as needed.
Wipe jar rims with a vinegar-dampened paper towel.
Place lids and tighten rings fingertip-tight.
5. Process the Jars
Water Bath Canning:
Adjust time for altitude (see table in blog post).
Raw pack: 25–40 minutes depending on altitude and jar size
Hot pack: 15–35 minutes depending on altitude and jar size
Pressure Canning (Weighted Gauge):
10 lbs pressure for 10 minutes (pints or quarts)
6. Cool and Store
Let jars cool for 12–24 hours. Remove rings, check seals, and store in a cool, dark place for up to a year or more.
Notes
Recommended Products
As an Amazon Associate and member of other affiliate programs, I earn from qualifying purchases.


💬 I’d love to hear from you!
Have you tried this yourself? Have a question or tip to share? Leave a comment below — your experience or question could help someone else, too!