

Cherries are one of my favorite fruits to preserve, and cherry jam is one of the most delicious ways to enjoy them year-round. If you have a Ball Jam and Jelly Maker, making jam is incredibly easy and consistent. In this post, I’ll show you exactly how to make a small batch of cherry jam using this handy appliance—perfect for beginners or anyone short on time.
Whether you have fresh-picked cherries, or you found a great sale at the store (like I did!), this recipe will help you turn them into a rich, spreadable jam so that you can enjoy the taste of delicious cherries all year long.
Cherry Jam Ingredients and Equipment
This article includes affiliate links.
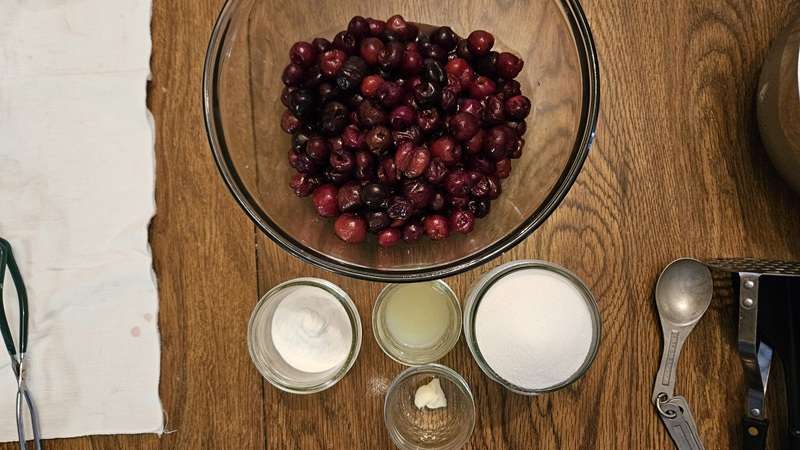
🍒 What You’ll Need
I’ve included the full list of ingredients and measurements in the printable recipe card below—but here are a few quick notes to help you prepare:
- Sweet cherries work best for this recipe, and you can use fresh, frozen, or even thawed pre-frozen cherries. Just make sure they’re pitted!
- I use Ball RealFruit Classic Pectin, which sets up beautifully in the Jam & Jelly Maker.
- A small amount of bottled lemon juice helps ensure the right acidity—and adds brightness to the flavor.
- I also add a touch of butter to reduce foaming. You’ll still want to keep an eye on it, but it usually works like a charm!
You’ll also find a reduced sugar version listed in the recipe card—perfect if you prefer a less sweet jam, like I do!
🛠 Equipment:
Here is the equipment you’ll need. Note that unless otherwise noted, all of the links go to Amazon.
- Ball Jam and Jelly Maker (unfortunately, this is no longer made, but this one on Roots and Harvest works the same way)
- Canning jars (6 half-pint jars)
- Canning lids and rings
- Canning funnel, ladle, and jar lifter
- Potato masher or hamburger masher
- Cherry pitter
- Water bath canner or deep stockpot. I’m using my Nesco canner.
Step-by-Step: Making Cherry Jam in the Ball Jam and Jelly Maker
Step 1: Prep the Cherries

Wash, stem, and pit your cherries.


If you’re starting with fresh cherries, you’ll find it’s much easier to pit them using a cherry pitter. Here is the cherry pitter that I purchased on Amazon, as well as a whole assortment of cherry pitters also available on Amazon.
Alternatively, you can buy frozen pitted cherries – just be sure to let them thaw completely and come to room temperature before moving forward.
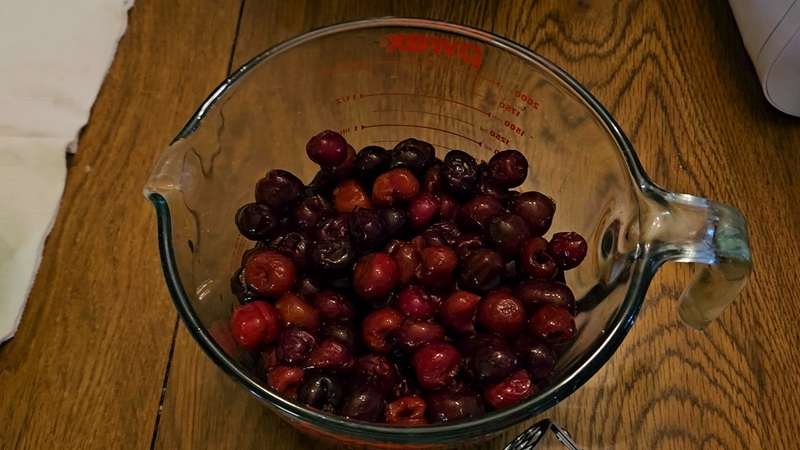
I purchased my cherries fresh and pitted them myself. But I didn’t have time to make the jam right away. so I froze the cherries. The cherries in the pitcher above are ones that I froze and then thawed before moving to the next step.
Once you have your cherries pitted, you’ll need to mash them. The recipe calls for the cherries to be “coarsley chopped.” There are a couple of ways to mash them.
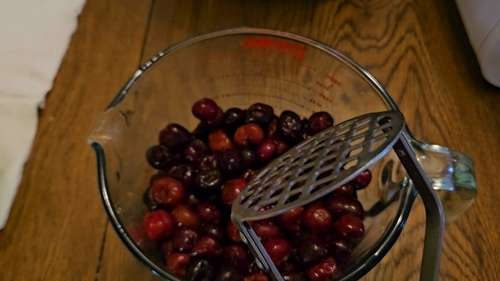
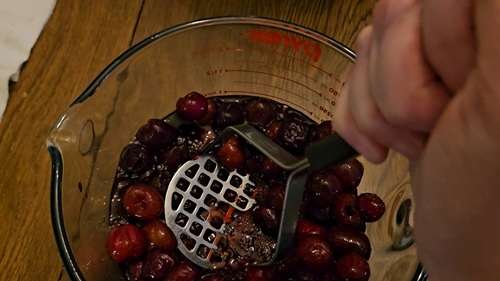
The recommendation that comes with the manual is to use a potato masher, which is what I’ve typically done in the past.
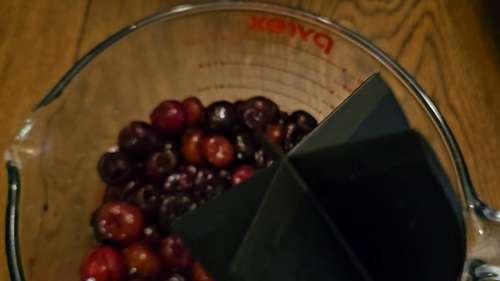
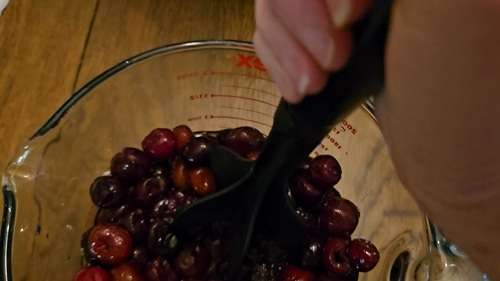
However, this time I happened to think about a “hamburger smasher” tool that I have, and I wondered if that would work well. It has some “cutting blades” which I thought may work a bit easier. I tested out both, and indeed the hamburger masher made easier work of it.
Note that you do NOT want to use a food processor or blender to crush the cherries. According to the manual that comes with the jam maker, “A food processor can break down the fruit’s natural pectin, preventing a good set.”
Step 2: Add Everything but Sugar to the Jam Maker
Next, you’ll need to add everything but the sugar to the jam maker, in the following order.
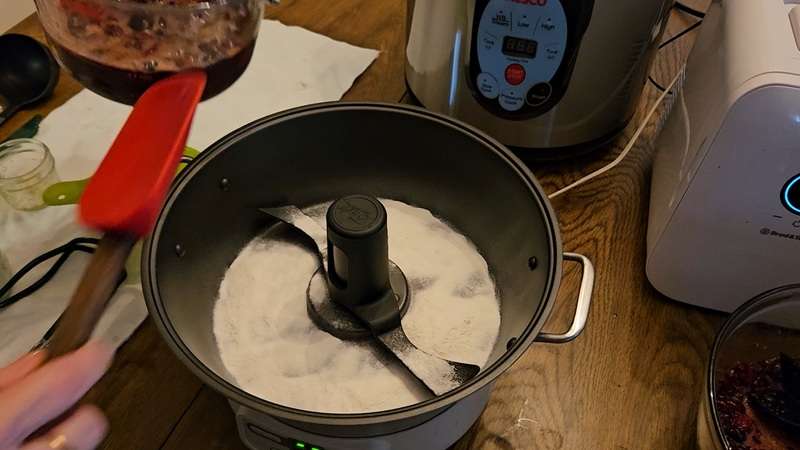
First, sprinkle the pectin evenly across the bottom of the jam maker.
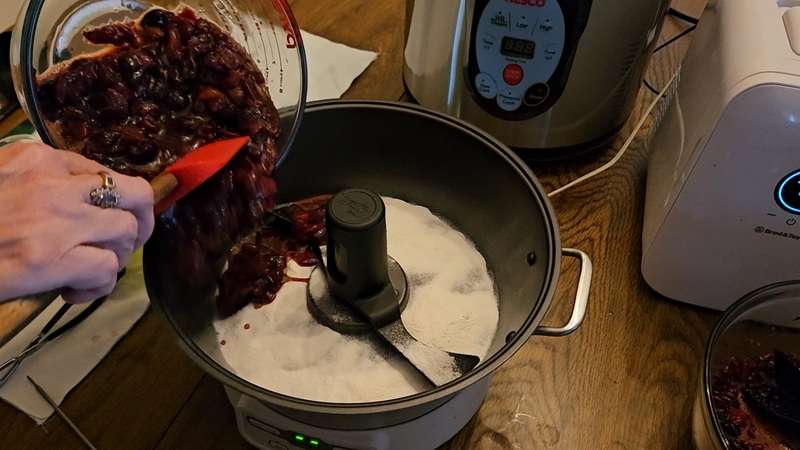
Then evenly distribute the crushed cherries over the pectin.
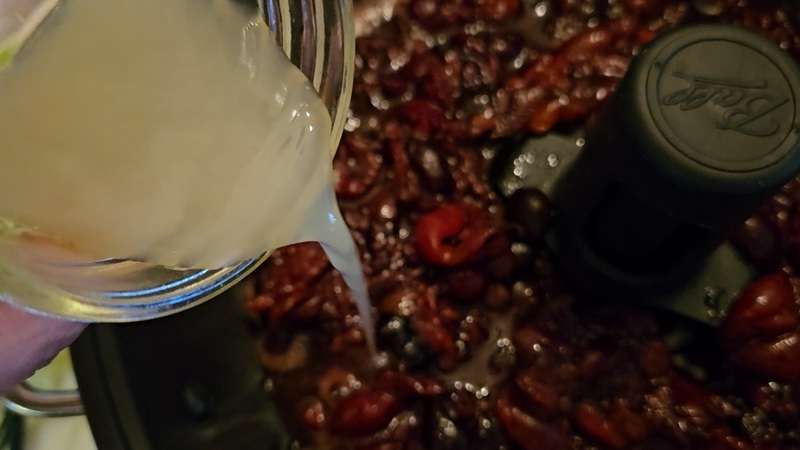
Next, pour in the lemon juice.

Finally, add in the butter.
Step 3: Start the Jam Maker

Now it’s time to let the jam maker do it’s magic!
Press the jam button. You’ll see that the time will automatically be set for 21 minutes.
Next, press the “enter” button, located in the upper left.
You’ll note that the stirrer will start moving around and around. If by chance it’s not moving, press it down to make sure it is all the way in place.
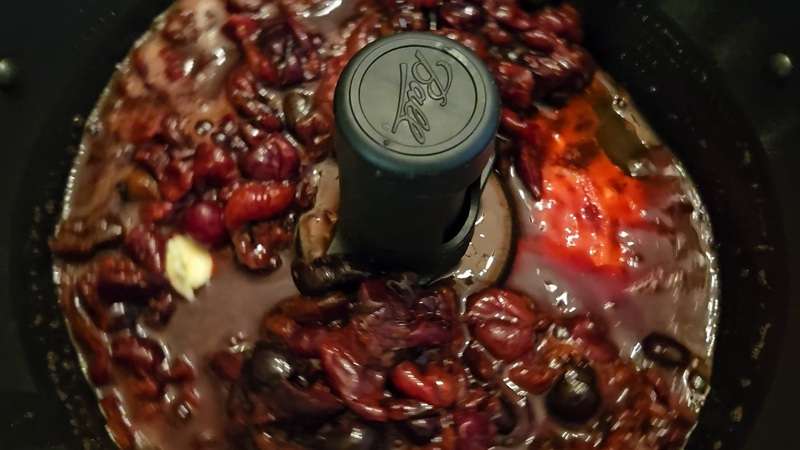
You may note that there is pectin on the bottom of the jam maker that isn’t yet incorporated. That is totally normal, and will be stirred in during the process. You may also note that there is fruit clumped up on the stirrer. This will also sort itself out, once you add in the sugar. I do sometimes find myself wanting to “fix” this by knocking the fruit off the stirrer, but it’s not necessary.
During this first stage, leave the lid off.
Step 4: Add Sugar
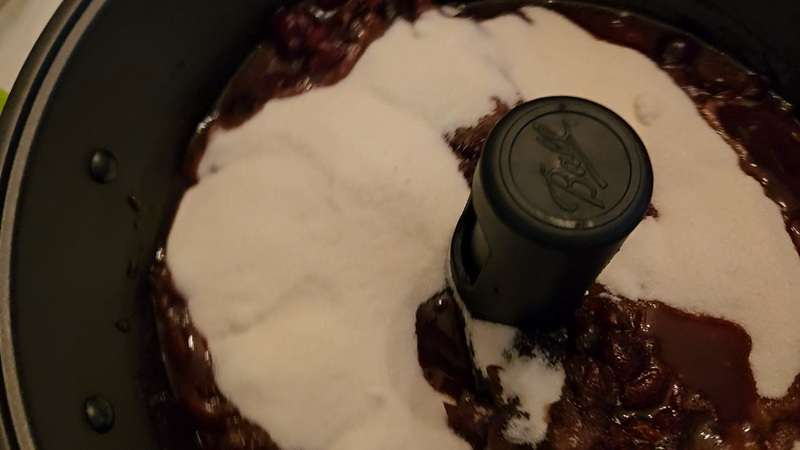
After 4 minutes, the machine will beep. Slowly pour in the sugar.
At this point it is time to put the lid on. There is nothing else you need to do until the processing is finished
Step 5: Let the Machine Work
The jam maker will stir and heat the jam for about 21 minutes total (17 minutes after adding the sugar). You’ll hear a final beep when it’s done.
Note that while the jam maker is doing its work, it’s a good time to make sure your jars are washed and heated, and you have out everything you need to can the jam. For instance, I like to get out my canning lids, funnel, ladle, jar lifter, etc. and have everything ready to go.
Ready to can with confidence this year? Grab the Home Canning Success System—your step-by-step guide to organized, stress-free home canning!
👉 Check it out on AmazonOne Little Problem I Had
I generally have no problem with foaming or the jam boiling over. The added butter takes care of the foam issue. However, for some reason, this time the jam started foaming up and through the lid I could see it was getting close to the top of the jam maker. I took the lid off, and let the foam go down, and then replaced the lid.
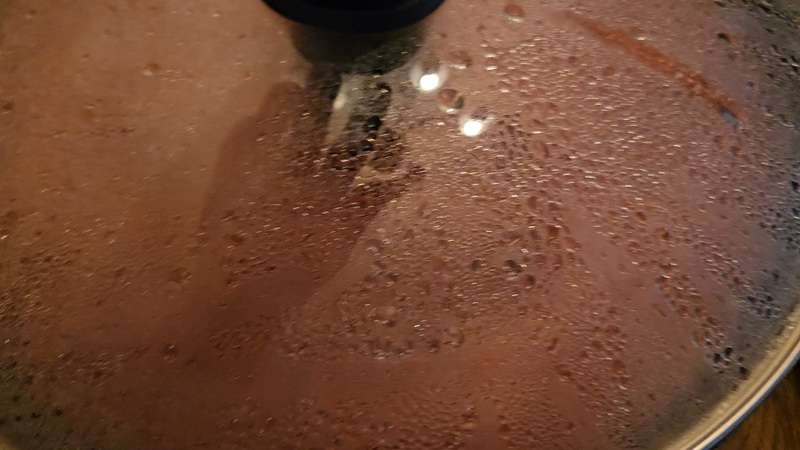
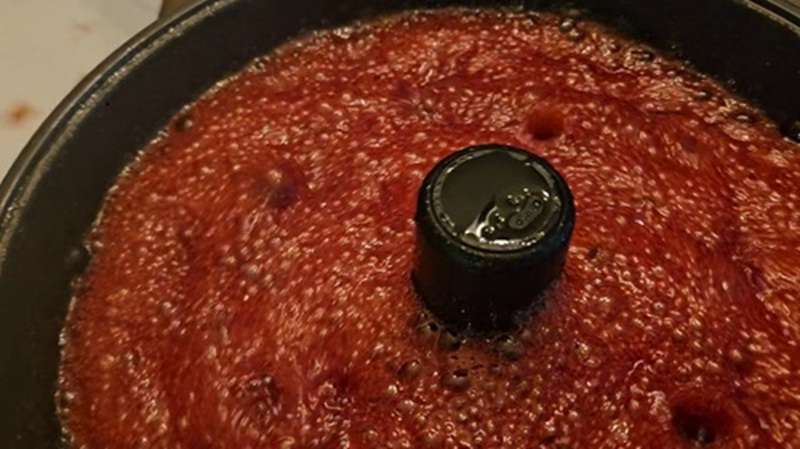
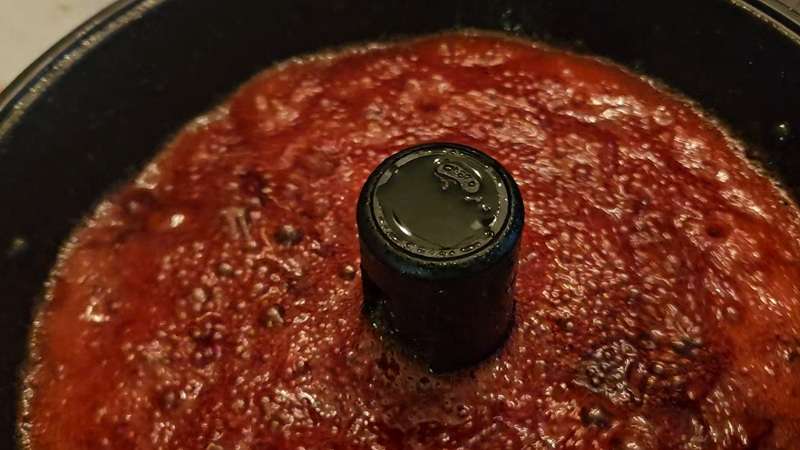
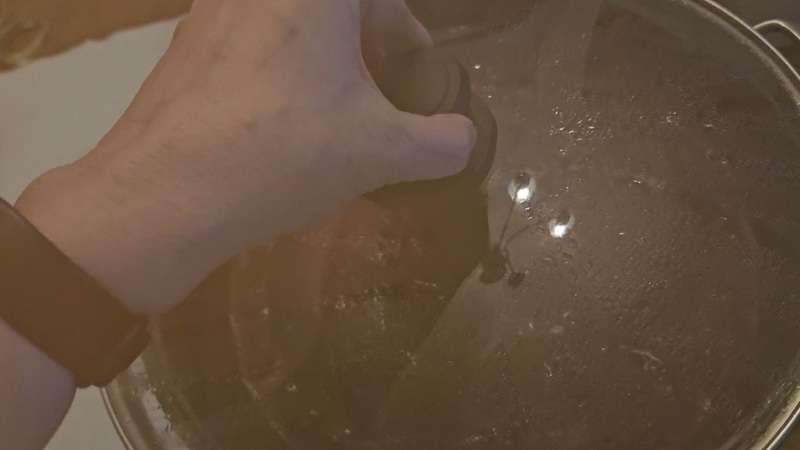
While I generally don’t have to do that, I wanted to mention it because while the jam maker generally does its thing without any problem, it’s worth peeking at it every now and then to make sure that all is well. Thankfully, I was nearby getting my jars, lids, and so on ready to go, so I saw it and avoided a disaster. 😊
Step 6: Ladle Jam into Sterilized Jars
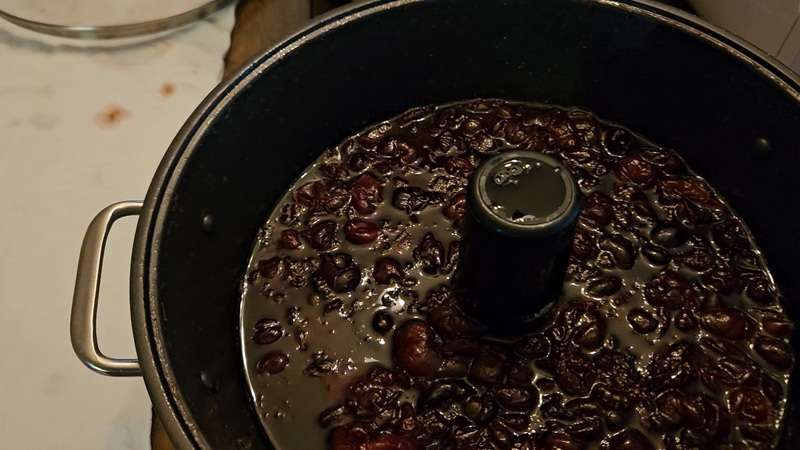
Once the jam maker stops, remove the lid. Be sure to hold the lid up away from you, to avoid being burned by the hot steam.
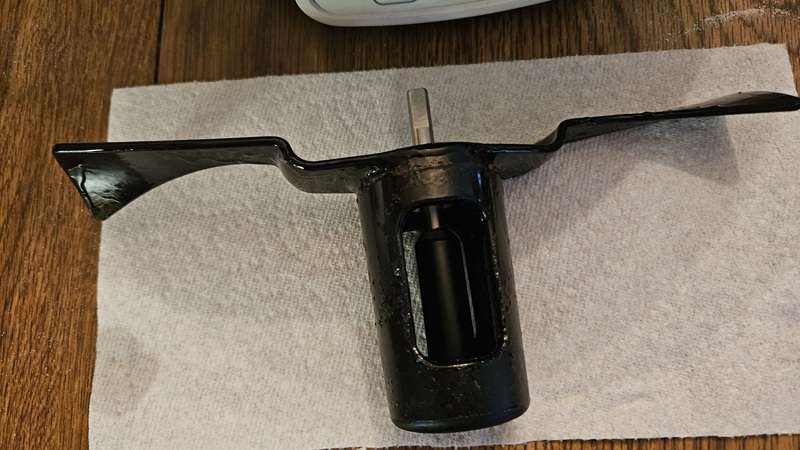
Use a pot holder to remove the stirrer.

Next, using a canning funnel and ladle, ladle the hot jam into your clean canning jars.
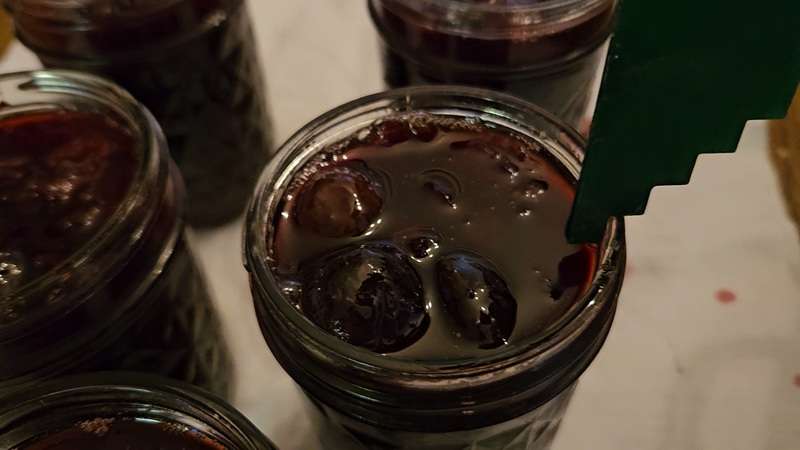
Leave 1/4″ headspace.
Step 7: Debubble, Wipe Rims, and Put the Lids On
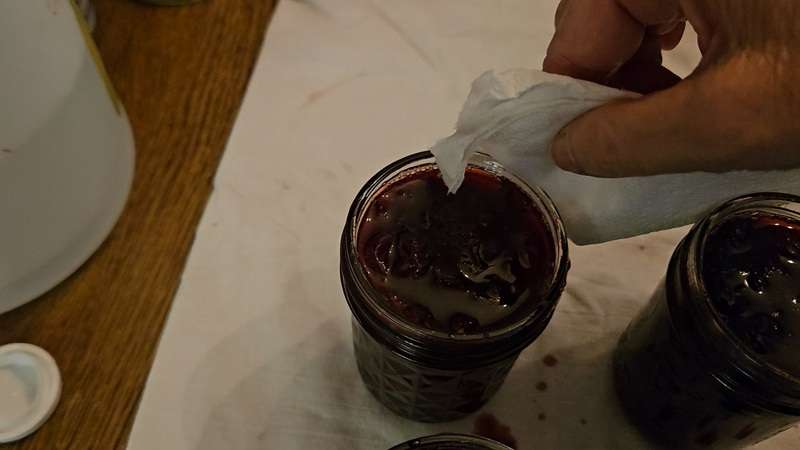
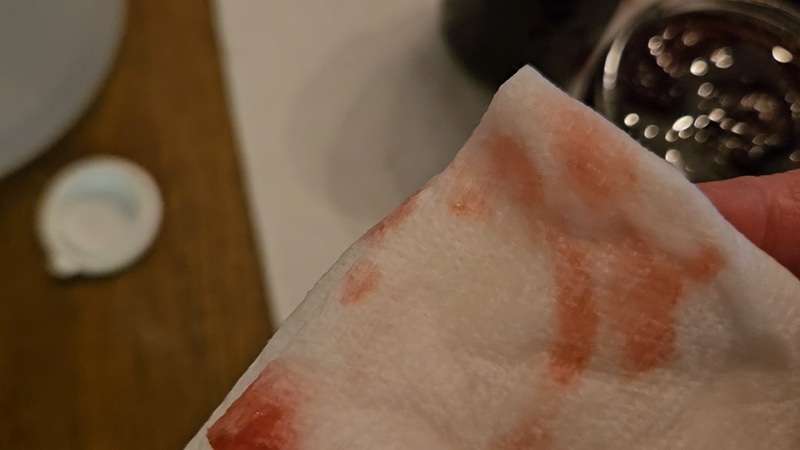
Next, debubble the jam. Then wipe the rims, put the lids on, and the rings, fingertip tight.
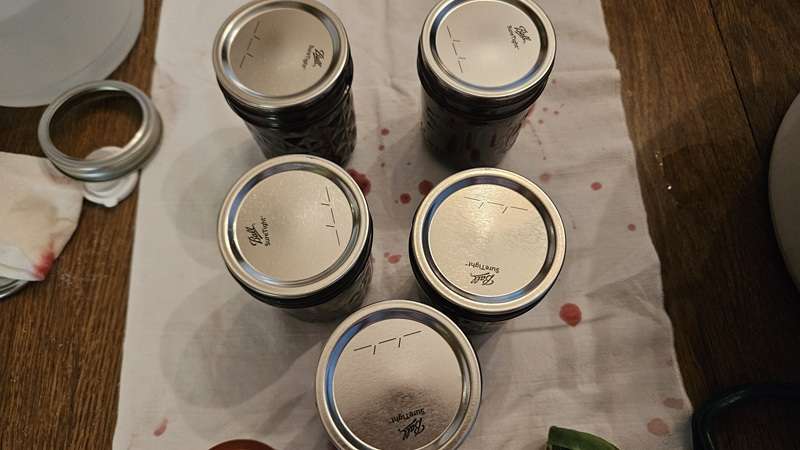
Note that step 7 is necessary for water bath canning, which I’ll describe below. If you do not have a water bath canner, or choose not to use it, there are a couple of other ways to store your jam – which I’ll share below.
Optional: Process the Cherry Jam in a Water Bath Canner
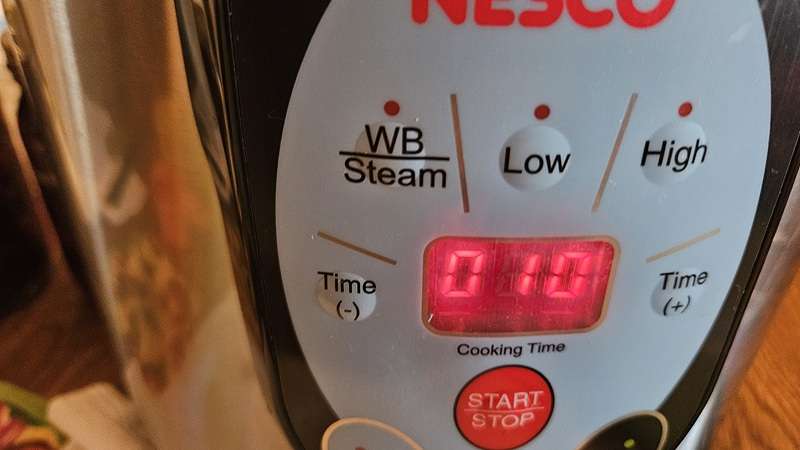
If you’d like to shelf-store your jam (not just refrigerate or freeze it), process jars in a boiling water bath:
- Place jars in canner, ensuring 1–2 inches of water above the lids
- Boil for 10 minutes (adjust for altitude if needed)
- Remove and cool for 12-24 hours
- Check seals and store sealed jars in a cool, dark place
The Nesco canner (Amazon) is the canner that I’ve been using for years now. I simply love it! If I had to buy only one canner, this would be it. I love that it can handle quarts and can water bath and pressure can. It’s the perfect size, and is often available at a better price than other electric canners. If by chance you can’t get the Nesco, check out the Carey Canner, also available on Amazon. These are the exact same canners, so get whichever one is cheapest at the time.
Other Methods for Storing Your Cherry Jam
While canning is necessary for shelf stable jam, there are other ways to store your jam.
Refrigerating Your Cherry Jam
The first option is to refrigerate your jam. To do so, ladle the hot jam into hot jars. leaving 1/4″ headspace. Allow the jam to come to room temperature. This should take about 30 minutes. Put lids on the jars and place in the fridge. Use within 3 weeks.
Freezing Your Homemade Cherry Jam
If you want to store your jam longer than 3 weeks and don’t want to can it, freezing it is a great option.
Here’s how to do it. Ladle the hot jam into hot jars leaving 1/2″ inch headspace. (Note that this additional headspace, compared to refrigerating or canning the jam makes room for the jam to expand as it freezes.) Allow it to cool until room temperture about 30 minutes. Put lids on the jars and place in the freezer. The jam will last up to a year in the freezer.
Pro Tip: when freezing jam, to avoid jar breakage, it’s best to use jars with straight sides, such as these Ball Quilted 8-oz jars or these 4-oz jars. You can also use Ball freezer jars. All of these are available on Amazon.
Pin it for Later
Conclusion
Making cherry jam with the Ball Jam and Jelly Maker is one of the easiest and most satisfying ways to preserve cherries. The machine takes care of the stirring and timing, making this an ideal method for beginners or anyone who wants to simplify their canning process.
Have extra cherries on hand? Try freezing or dehydrating them too—preserving fruit is one of the best ways to enjoy seasonal produce all year long!
Your All-in-One Canning Companion

The Home Canning Success System is your all-in-one canning companion. Whether you’re brand new or a seasoned canner, this book helps you plan, organize, and track your projects with confidence. Ditch the guesswork—preserve with purpose!
Related Articles
If you enjoyed this article, you are sure to enjoy these related articles.
💬 I’d love to hear from you!
Have you tried this yourself? Have a question or tip to share? Leave a comment below — your experience or question could help someone else, too!
Cherry Jam in the Ball Jam and Jelly Maker
This small-batch cherry jam recipe is made using the Ball Jam and Jelly Maker for easy, consistent results. Perfect for beginners or busy home preservers, this sweet and fruity jam captures the taste of summer and can be canned, refrigerated, or frozen
Ingredients
Standard Sugar Recipe
Reduced Sugar Recipe
Instructions
Notes
Recommended Products
This section contains affiliate links. If you purchase through them, I may earn a small commission at no extra cost to you.
Did you make this?
Tell me how it went in the comments or tag @stockingmypantry on Pinterest!