

If you’re looking for a fun twist on traditional cherry jam, you’ve got to try this chocolate cherry jam. It’s rich, decadent, and perfect for spreading on toast, topping brownies or ice cream, or even gifting to your chocolate-loving friends. And if you have a Ball Jam and Jelly Maker, the process is quick, simple, and nearly foolproof.
In this post, I’ll walk you through how to make this small-batch chocolate cherry jam with just a handful of ingredients and no standing at the stove stirring for hours.
Ingredients and Equipment
🍒 Ingredients

You’ll find the complete list of ingredients with exact measurements in the printable recipe card below—but here are a few helpful notes as you get ready:
- Sweet cherries are ideal for this recipe. I used fresh ones, but frozen cherries work great too—just make sure they’re completely thawed and pitted before chopping or mashing.
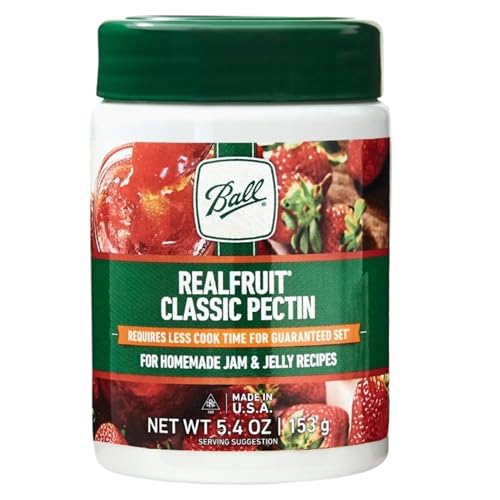
- I use Ball RealFruit Classic Pectin (Amazon), which works especially well in the Jam & Jelly Maker for achieving the perfect set.
- A bit of bottled lemon juice helps boost the acidity and brighten the rich flavor of the cherries and chocolate.
- Unsweetened cocoa powder gives this jam its fudgy, chocolatey twist—don’t skip it!
- I add a small amount of butter to help reduce foaming during cooking. It’s optional, but I’ve found it usually keeps foaming to a minimum.
🛠 Equipment
This article includes affiliate links.
You’ll need the following tools, all available on Amazon.
- Ball Jam and Jelly Maker (or equivalent from Roots & Harvest). If that isn’t available, this automatic pot stirrer may be a good option.
- Canning jars (six 8-oz half-pints work well)
- Lids and rings
- Jar lifter, ladle, and canning funnel
- Cherry pitter
- Potato Masher (I love using my “hamburger smasher” for this)
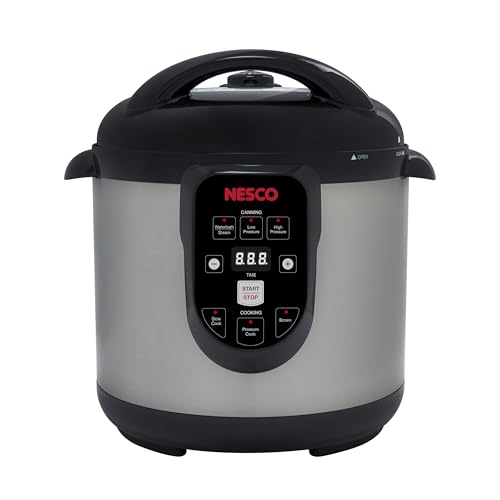
- Water bath or steam canner or deep stockpot with rack. I use the Nesco canner.
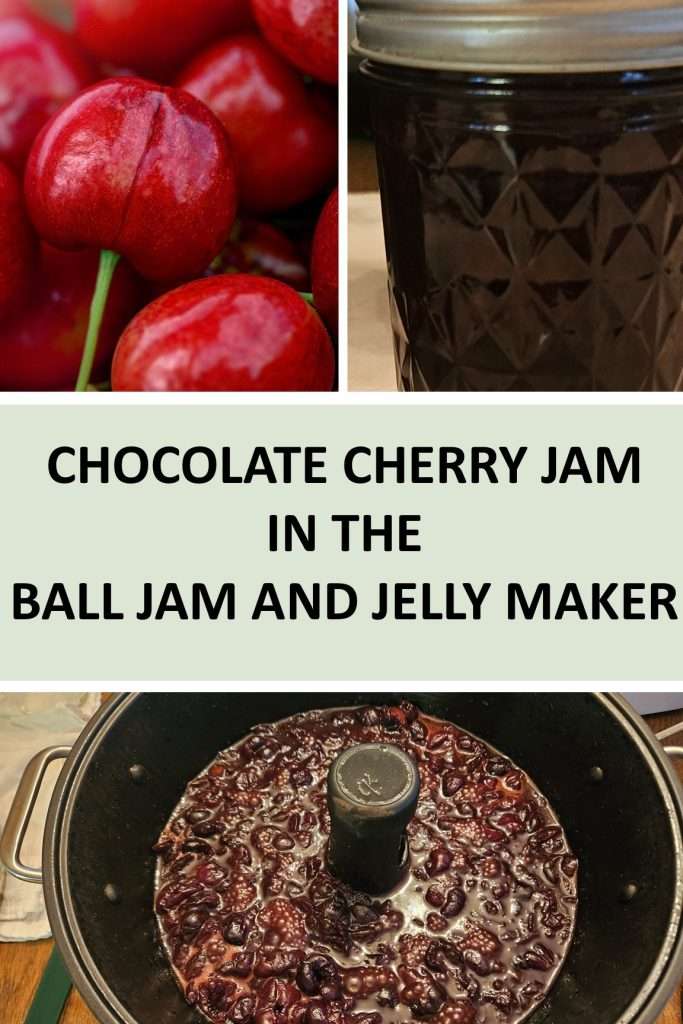
Step-by-Step Instructions For Making and Canning Chocolate Cherry Jam
Step 1: Prep the Cherries

Start by washing, stemming, and pitting your cherries. If you’re using fresh cherries like I did, a cherry pitter will save you a lot of time. Here is the cherry pitter that I use (Amazon).
Frozen cherries also work—just let them thaw completely and come to room temperature first.
Once pitted, coarsely chop or mash them. I’ve found that using a hamburger chopper works even better than a traditional potato masher for this step, though a potato masher works great. Just don’t use a food processor or blender—the jam maker manual warns that over-processing can damage the fruit’s natural pectin, which could prevent the jam from setting properly.
Wish your canning was more organized? This practical guide + printable toolkit will transform the way you stock your pantry.
👉 See the book on AmazonStep 2: Add Ingredients to the Jam Maker
Add the ingredients to the jam maker in the following order:
First, sprinkle the pectin evenly across the bottom of the jam maker.
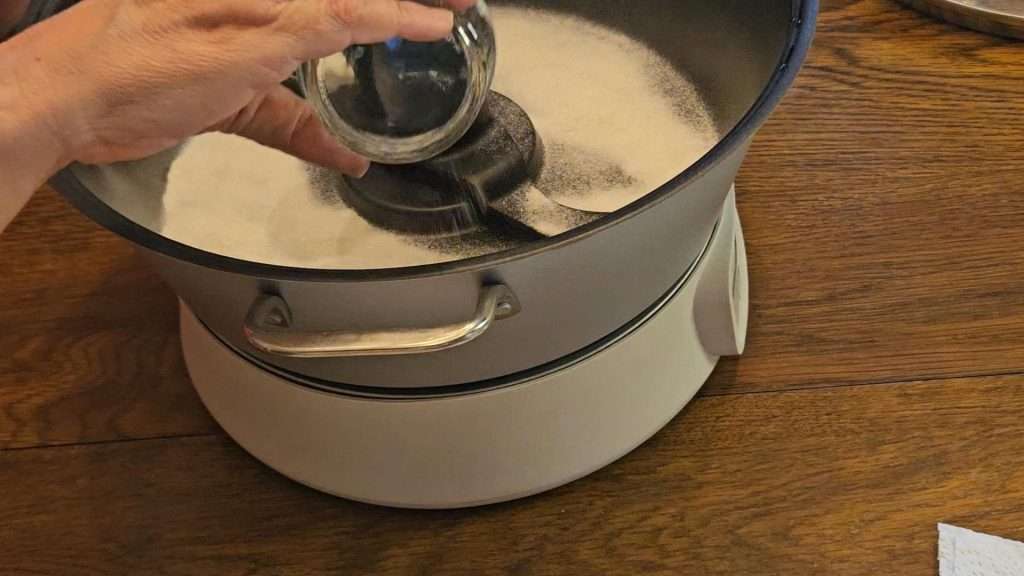
Next, add the chopped cherries and then pour in the lemon juice.
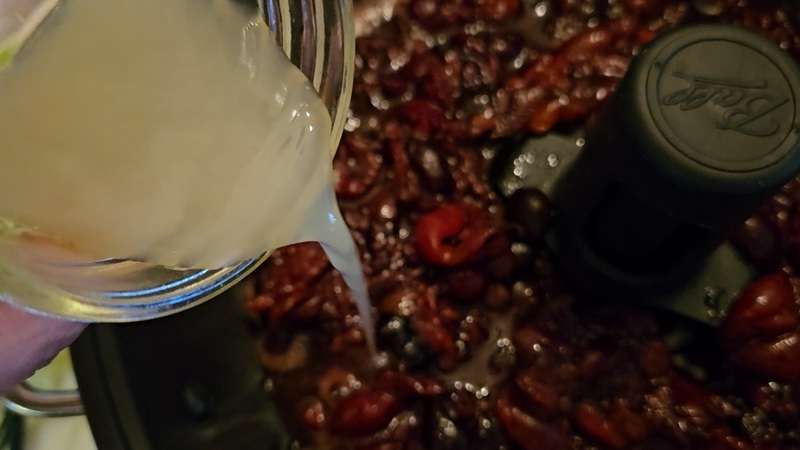
Finally, add the butter to reduce foaming.

Step 3: Start the Jam Cycle

Select the “Jam” setting, then press “Enter.” The display will show 21 minutes and the stirrer will begin to move.
While the jam maker is working, combine the sugar and cocoa powder.
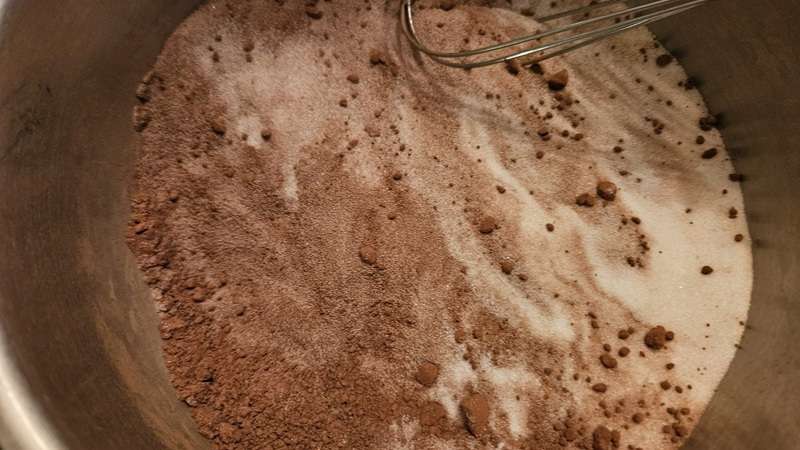
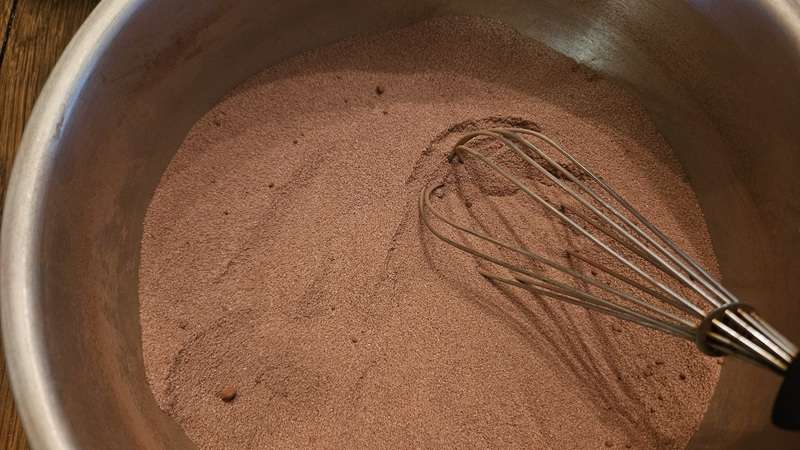
Step 4: Add the Sugar-Cocoa Mixture
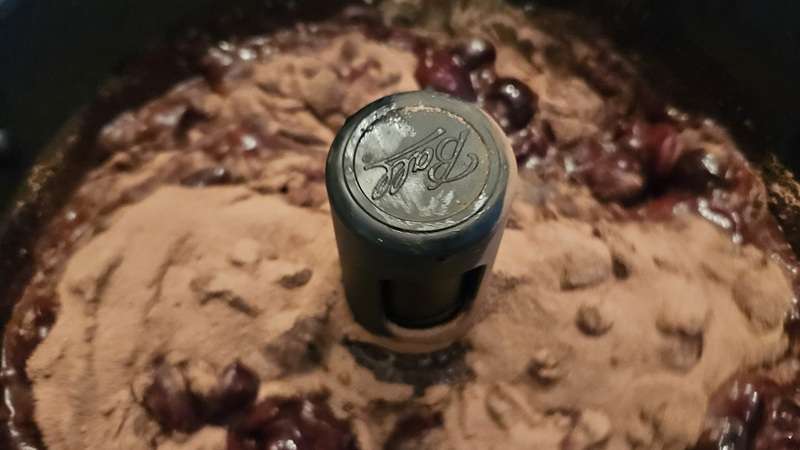
When the jam maker beeps at the 4-minute mark, it’s time to add your sugar and cocoa.
As mentioned above, before starting, I combined the sugar and cocoa powder in a separate bowl. This made it much easier to add the dry ingredients smoothly and evenly.
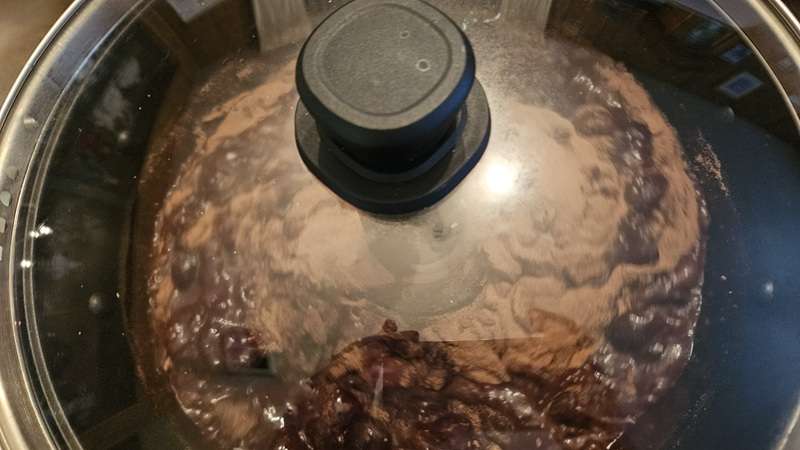
Once added, place the lid on the jam maker and let it finish the cycle.
✅ Note: I didn’t experience any issues with foaming during this batch. But it’s always smart to keep an eye on things. The good news is that you don’t need to hover over this, but later in the cycle, peek at it (without removing the lid) periodically just to make sure it doesn’t foam over. If you see it foaming, remove the lid to let the foam go down and then immediately replace the lid.
Step 5: When the Jam is Done

When the jam maker beeps at the end of the cycle, carefully remove the lid (always lift it away from you to avoid steam burns).
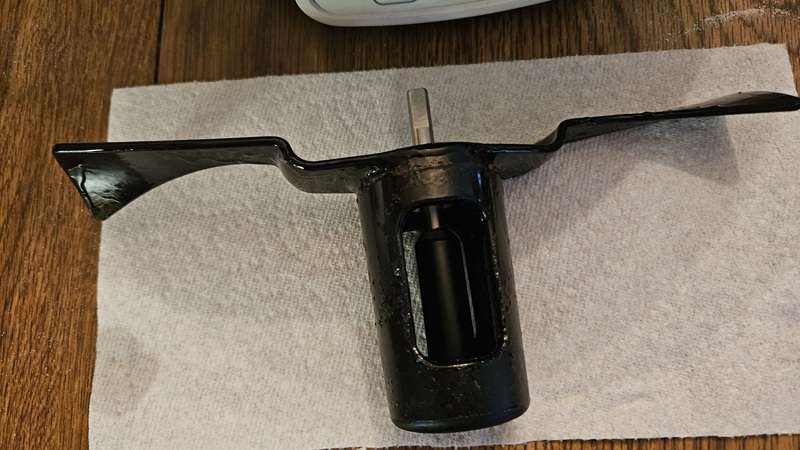
Use a potholder to take out the stirrer and set it on a paper towel.
Step 6: Ladle into Jars

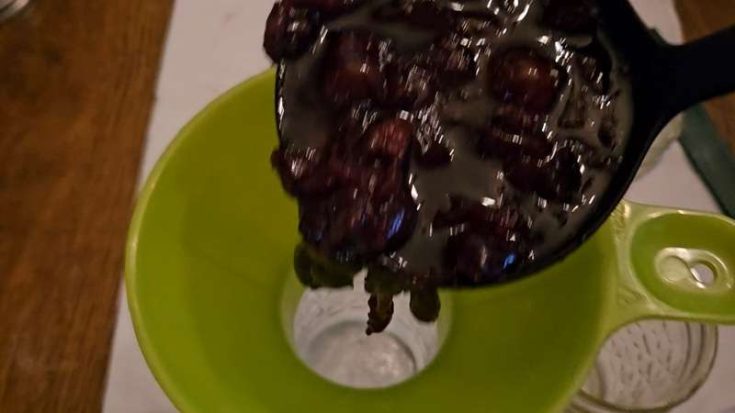
Use your canning funnel and ladle to fill your hot, clean jars with jam, leaving 1/4” headspace. Wipe the rims, apply the lids, and screw on the bands fingertip tight.
Step 7: Preserve the Jam
You can preserve your jam in one of three ways: water bath canning, refrigeration, or freezing.
Option 1: Water Bath Canning

If you want your jam to be shelf-stable, water bath canning is the way to go.
- Place filled jars in your water bath canner.
- Make sure jars are covered by at least 1–2 inches of water.
- Boil for 10 minutes (adjust for altitude if needed).
- Remove and cool for 12–24 hours.
- Check seals before storing.
I use the Nesco Electric Canner (Amazon), and it makes small-batch canning so easy. If it’s out of stock, the Carey Canner, also available on Amazon, is an identical alternative.
💡 New to Using the Nesco or Carey Canner?
Check out my step-by-step Nesco canner tutorials to learn how to use your electric canner with confidence.
👉 View Nesco Canner Tutorials →
Option 2: Refrigeration
For short-term storage, refrigerating is an easy option. Here are the steps for refrigerating your freshly made chocolate cherry jam.
- Ladle hot jam into hot jars, leaving 1/4” headspace.
- Let the jars cool at room temperature for about 30 minutes.
- Add lids and place jars in the fridge.
- Use within 3 weeks.
Option 3: Freezing
Want longer storage without canning? Freezing jam works beautifully.
- Fill hot jars with hot jam, leaving 1/2” headspace (to allow for expansion).
- Cool for 30 minutes.
- Add lids and place in the freezer.
- Jam will last up to a year.
💡 Tip: Use straight-sided jars like these Ball Quilted 8-oz jars or Ball freezer jars to prevent breakage, all available on Amazon.
Final Thoughts
This chocolate cherry jam is the perfect blend of fruity and fudgy—ideal for breakfast or dessert. And thanks to the Ball Jam and Jelly Maker, the process couldn’t be easier.
Want more cherry preserving ideas? Be sure to check out my posts on freezing cherries, dehydrating cherries, and making traditional cherry jam!
If you’re interested in other recipes using the Ball Jam and Jelly Maker, check out these posts:
Pin it for Later
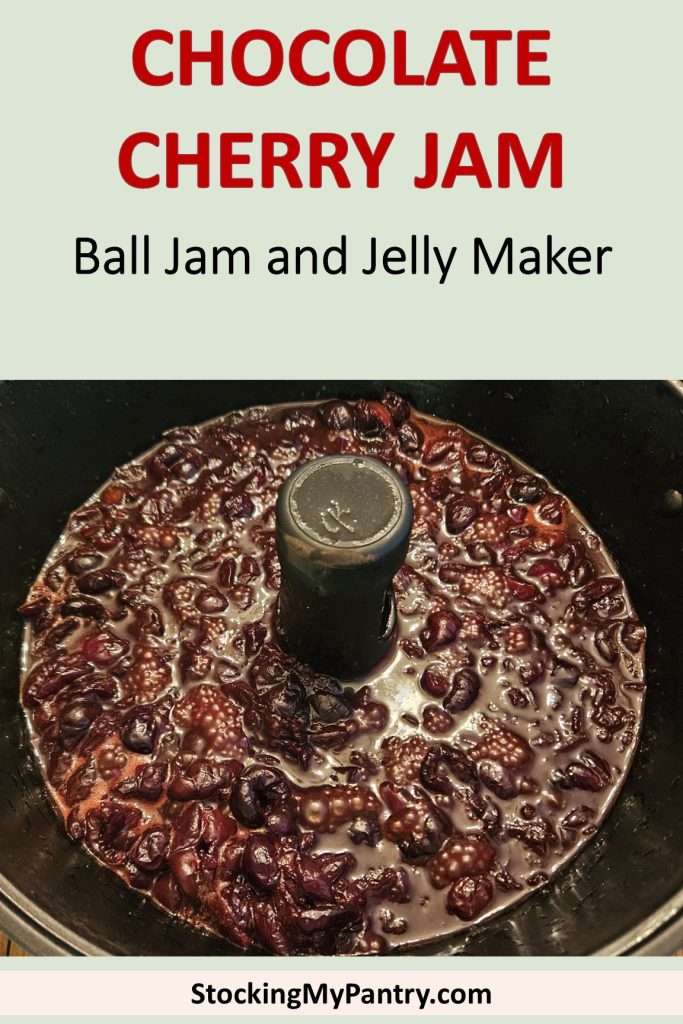
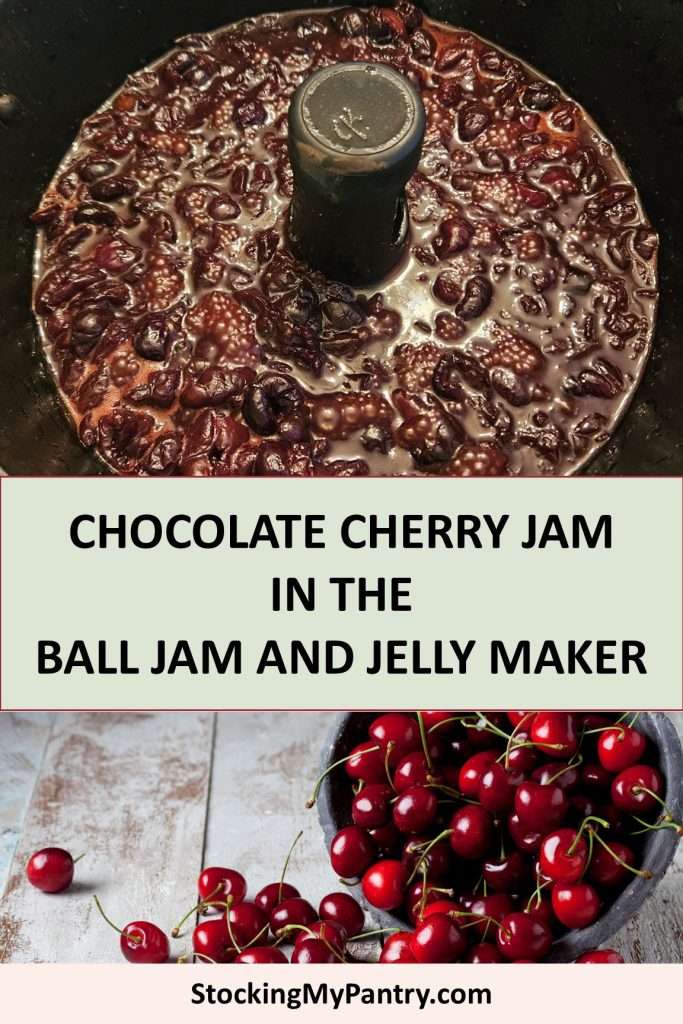
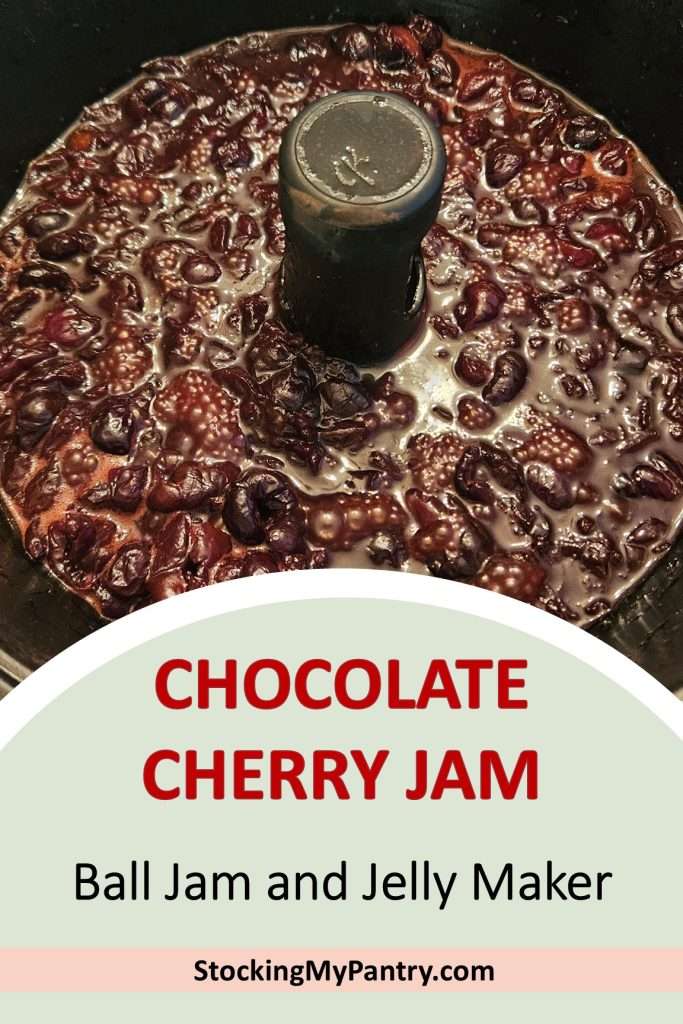
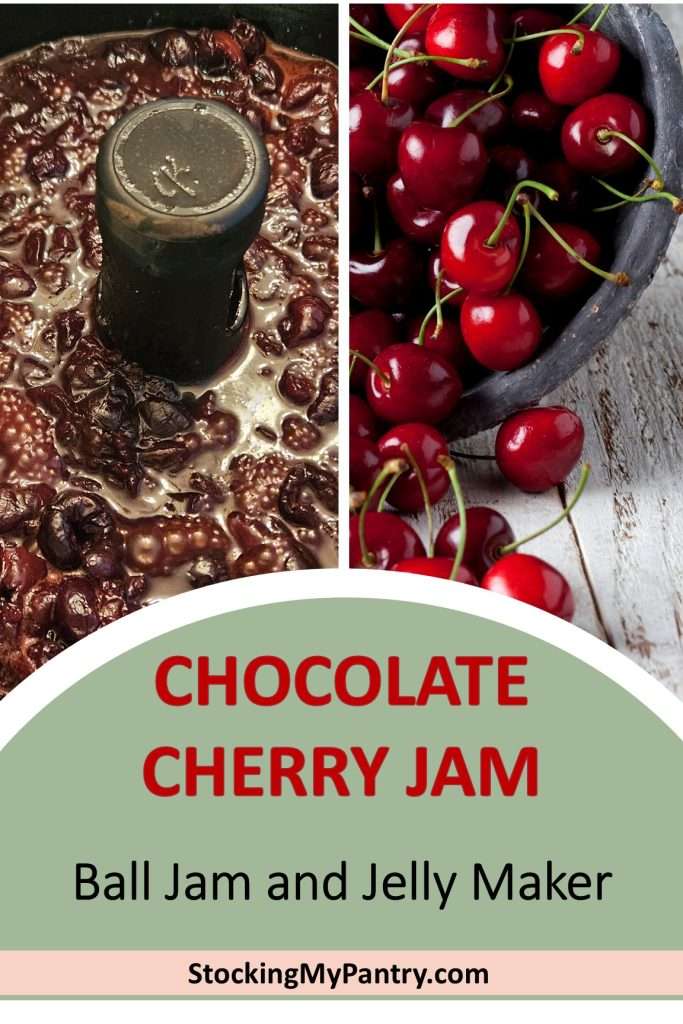
Chocolate Cherry Jam (Using the Ball Jam & Jelly Maker)
This rich and decadent chocolate cherry jam is a unique twist on traditional cherry jam—perfect for toast, brownies, or gifting! Made with sweet cherries and cocoa, it comes together easily with the Ball® Jam & Jelly Maker.
Ingredients
- 3 1/3 cups coarsely chopped sweet cherries (measured after chopping)
- 3 tablespoons Ball® Classic Pectin
- 2 tablespoons bottled lemon juice
- 2 1/2 cups granulated sugar
- 1/3 cup unsweetened cocoa powder
- 1/2 teaspoon butter (recommended, reduces foaming)
Instructions
- Prep the cherries
Wash, stem, and pit your cherries. If using frozen cherries, thaw them completely and bring to room temperature. Coarsely chop or mash them using a potato masher or hamburger chopper. Avoid using a food processor or blender. - Add ingredients to the jam maker
Sprinkle the pectin evenly across the bottom of the jam maker. Add the chopped cherries. Pour in the lemon juice. Add butter, if using. - Start the jam cycle
Select the “Jam” setting and press “Enter.” The machine will show 21 minutes and begin stirring automatically. - Mix sugar and cocoa
While the jam maker is running, combine the sugar and cocoa powder in a separate bowl. This will make it easier to add smoothly when prompted. - Add sugar-cocoa mixture
When the jam maker beeps at the 4-minute mark, gradually add the sugar-cocoa mix. Then place the lid on and let the cycle complete. - Watch for foaming
Foaming is usually minimal, especially if butter is added, but check occasionally. Peek through the lid (don’t remove it unless you see foam rising). If necessary, briefly lift the lid to reduce foam, then replace it. - Finish the cycle
When the jam maker beeps at the end, carefully remove the lid (away from you to avoid steam). Remove the stirrer with a potholder and set it on a paper towel. - Fill jars
Ladle hot jam into hot, clean jars using a canning funnel. Leave 1/4” headspace. Wipe rims, apply lids, and screw bands on fingertip-tight. - Choose preservation method
For long-term storage, process in a boiling water bath for 10 minutes (adjust for altitude). For short-term storage, let jars cool, add lids, and refrigerate for up to 3 weeks. For freezing, use straight-sided jars, leave 1/2” headspace, and freeze for up to 1 year.
Notes
Recommended Products
As an Amazon Associate and member of other affiliate programs, I earn from qualifying purchases.





💬 I’d love to hear from you!
Have you tried this yourself? Have a question or tip to share? Leave a comment below — your experience or question could help someone else, too!