

When I scored 2/3 of a bushel of zucchini for $15.99, I knew exactly what I wanted to do first. I decided to dehydrate zucchini, as my primary method of preserving the great deal I got.
I’m very limited on pantry space, so dehydrating zucchini is one of my go-to preservation methods, when it comes to stocking my pantry with this summer vegetable super star, so that I can enjoy the taste of summer all year long. Zucchini shrinks up a lot when dried, which means I can store a large quantity in a small footprint. It’s also much lighter than canned food, so I can keep it in half-gallon mason jars on a high shelf without worrying that the shelf will come crashing down.

Why I Prioritized Dehydrating Zucchini for Storage
Out of the approximately 22 pounds of zucchini I bought, I dehydrated about 10 pounds right away (the batch I’ll be documenting here) and later dried another 5 pounds or so.
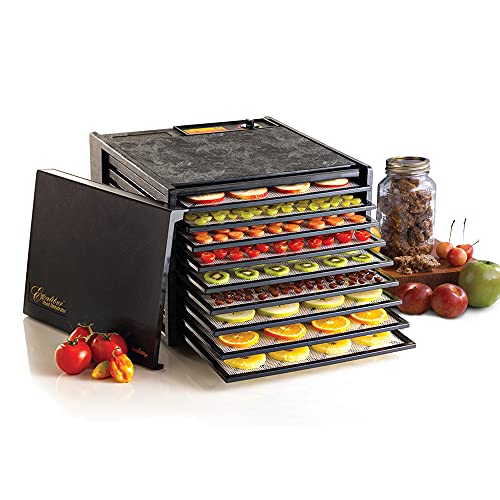
Another reason this project was doable? My recent investment in a brand-new 9-tray Excalibur dehydrator (Amazon) For this batch, I used both my new Excalibur (15 square feet of drying space) and my trusty 6-tray Cosori dehydrator (Amazon) -about 6½ square feet.
To be honest with you, when I first opened the Excalibur box, I almost sent it back. Why? Because it’s huge. And I seriously didn’t even know where I would put the darn thing! But then I realized that I could put it in my bedroom. Yes, I dehydrated some of this zucchini in my bedroom! My husband even mentioned that our bedroom smelled like zucchini. (Oh, the things we will do to stock our pantries!) But the good news is that having the larger dehydrator makes it possible to dehydrate in bulk more easily, so from that perspective, I think it’s well worth it.

Step-by-Step: How to Dehydrate Zucchini
Okay, now that you know that I dehydrated zucchini in my bedroom, let’s get into the step-by-step process. :)
Step 1 – Slice the Zucchini for Dehydrating
First, I trimmed both ends from the zucchini.
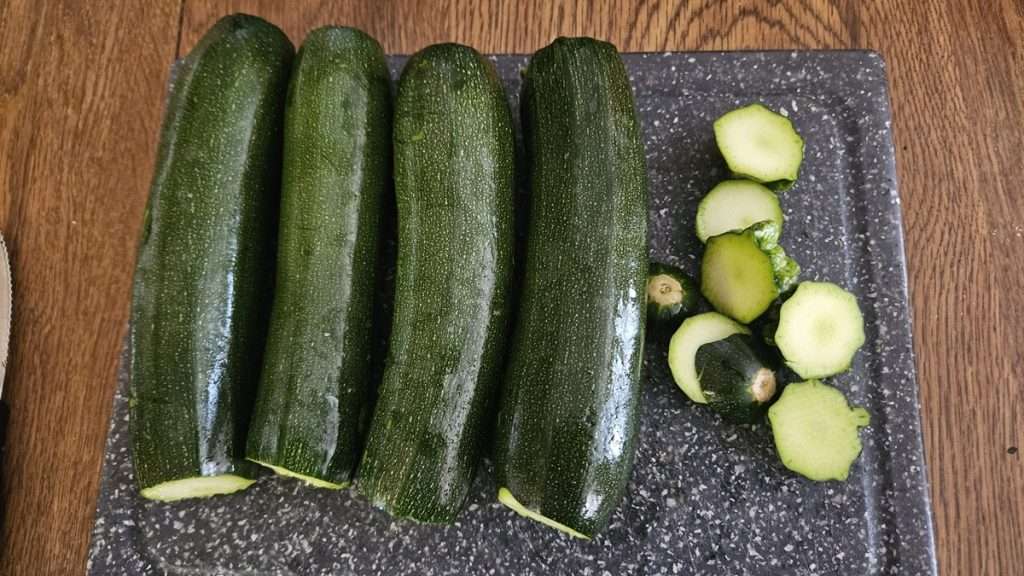
Then I sliced the zucchini into ¼-inch thick slices. From my 10-pound batch, that worked out to about 42 cups of raw zucchini slices.
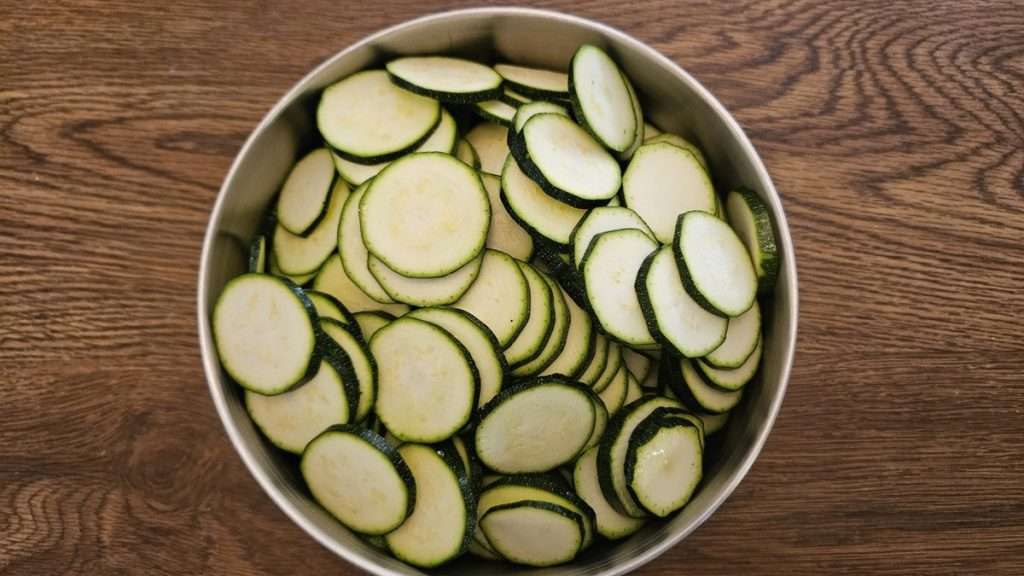
Step 2 – Load the Dehydrator Trays
Now it’s time to load the dehydrator trays with all of that wonderful zucchini you sliced up. :)
When you dehydrate zucchini, arrange the slices so they are touching but not overlapping.
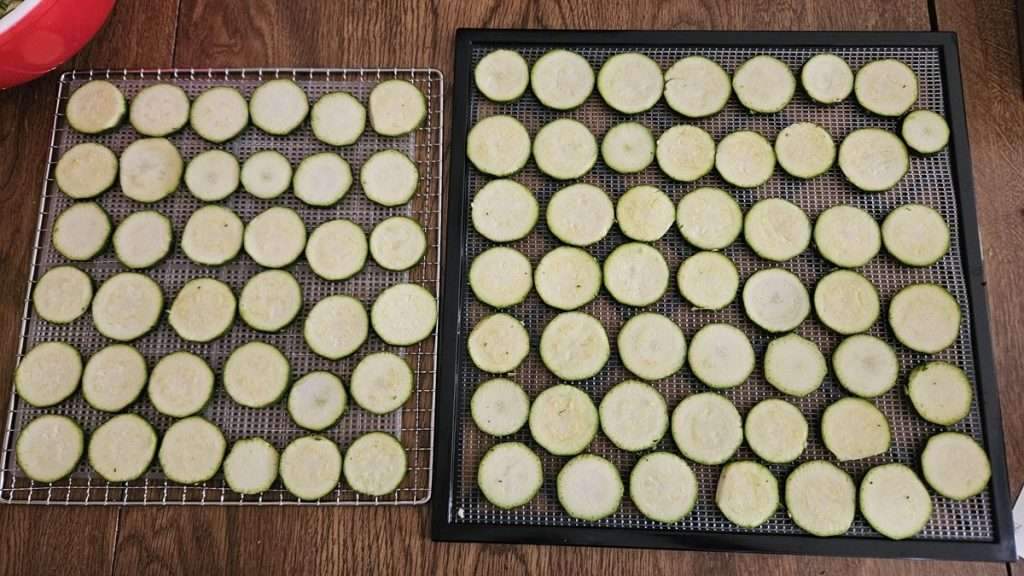
As you can see in the image above, the slices of zucchini are close together, but not in any way overlapping. You can also see the size difference in the Cosori dehydrator trays, and the Excalibur trays. (I think this is the moment when I was immediately grateful that I had found a place to set up my new Excalibur dehydrator (Amazon) – especially when you consider there are 9 trays. This made my bedroom smelling like zucchini worth it, lol. 😆
Step 3 – Dehydrate Zucchini at 125°F
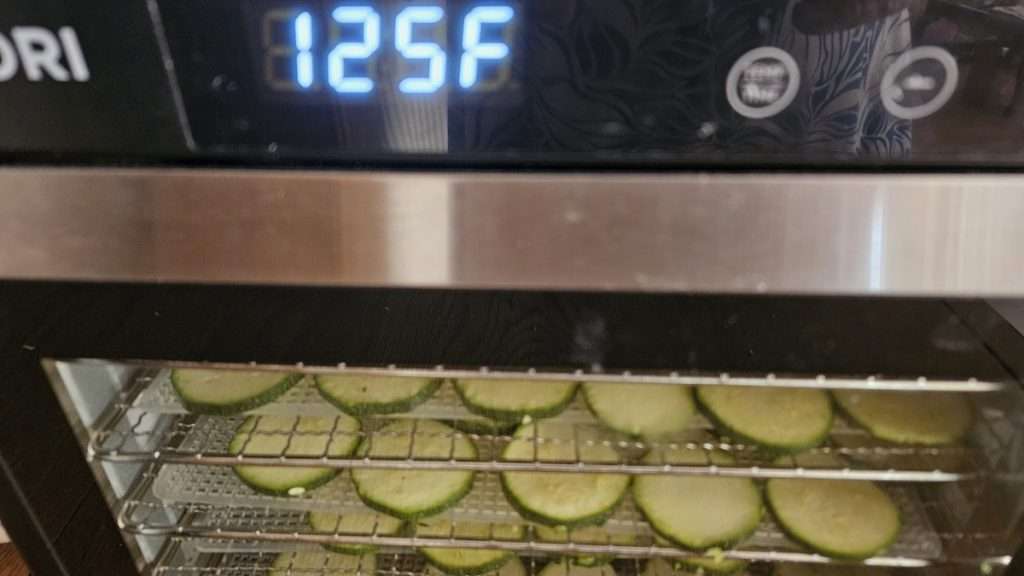
You can dehydrate zucchini anywhere between 115°F and 135°F. The lower the temperature, the more nutrients you retain, but it also takes longer. Because of that, my preference is to dehydrate at 125°F as the sweet spot.
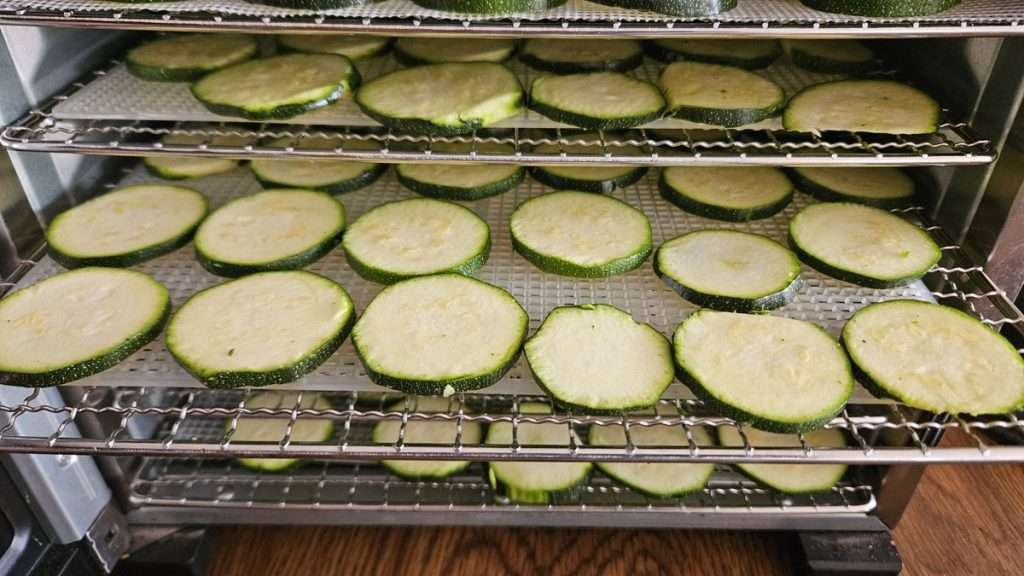
3 Hours and 15 Minutes Into Dehydrating
After just 3 hours and 15 minutes, the zucchini had shrunk considerably, with big gaps between slices. They were shriveled but still flexible and moist—exactly what I expected, since Tammy Gangloff, author of The Ultimate Dehydrator Cookbook (Amazon), notes zucchini typically takes 10–12 hours at this temperature.
Interestingly, the zucchini in the Excalibur dehydrator was more dehydrated at the 3-hour mark than the batch in the Cosori, even though both have 600-watt motors.
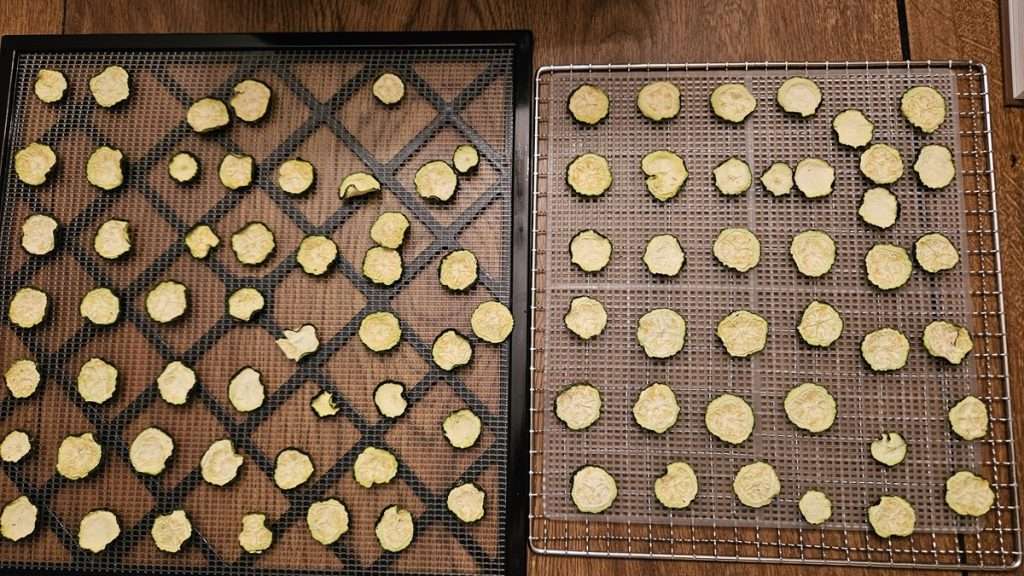
One thing to note is that even though there was more progress with the zucchini in the Excalibur, you can see that in both dehydrators, there was a tremendous amount of progress in just a few hours. As you may recall, the zucchini slices were touching when I first put them into the dehydrator, and as you can see from the image above, there was now a lot of space between them.
Step 4 – Test the Zucchini for Dryness
At this point, it was time for me to go to bed. Thankfully, it’s perfectly safe to keep a dehydrator running overnight.
I left the zucchini to dry overnight. After 11 hours total, both batches were completely dry.
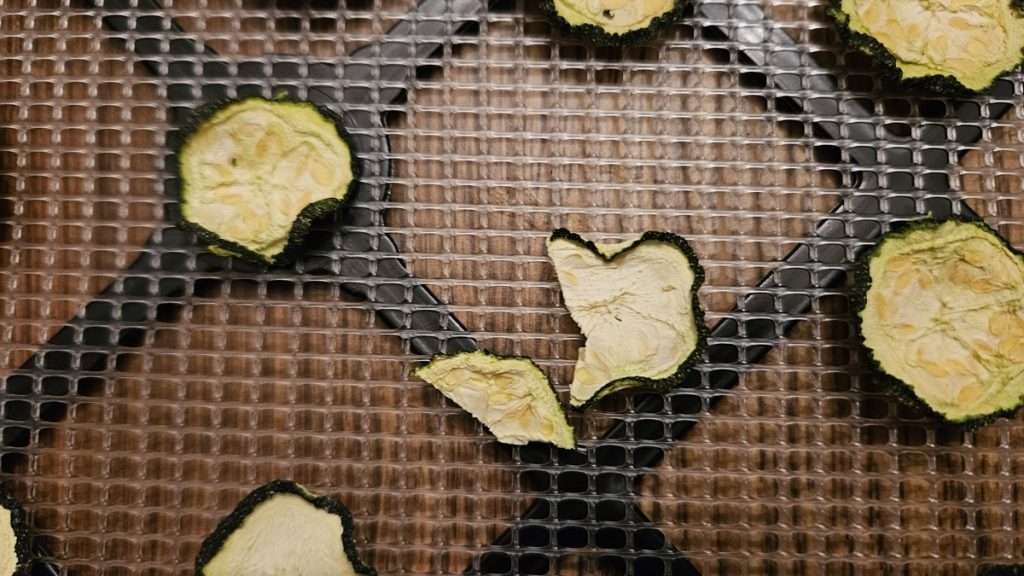
How to test for doneness when you dehydrate zucchini: The slices should feel dry to the touch, be brittle, and snap cleanly in half. If they bend or feel leathery, keep drying.
The Results
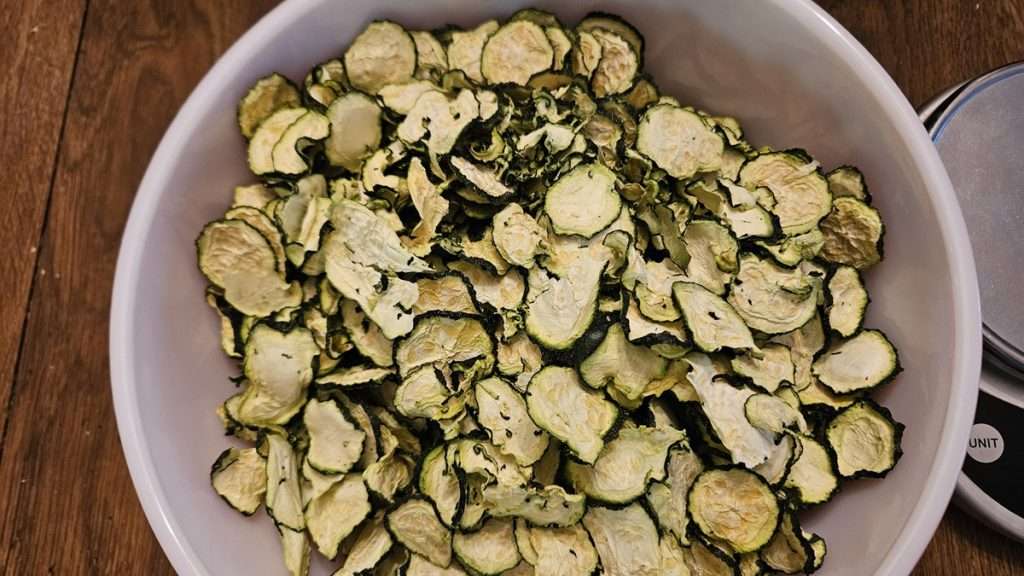
In the image above, you may notice some green flecks of zucchini on some of the slices. That is because I used a food processor to slice up the zucchini, and some of the zucchini ended up grated instead of sliced. For that reason, I don’t recommend using a food processor. (Live and learn, right?!) When I dehydrated the second batch of zucchini, I sliced it by hand. While it took a bit longer to do, it really wasn’t that hard, and the result was better. You can also use a mandoline (Amazon) as a good middle ground when it comes to speed and neatness.
In terms of the results, here’s what I started off with, compared with the end weight and volume after dehydrating.
- Before drying: ~42 cups, 10 pounds of zucchini.
- After drying: ~12 cups, ½ pound of zucchini chips.
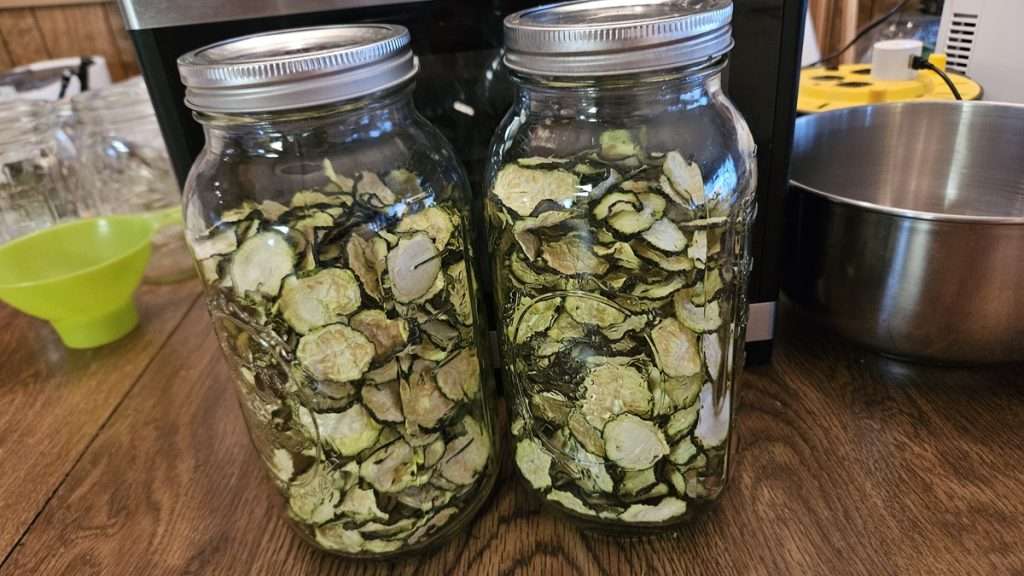
I partially filled two half-gallon mason jars. The reason I only partially filled them is because it’s a good practice to condition food after dehydrating, before storing it away in your pantry. If you’re unfamiliar with the term, “conditioning” as it relates to dehydrating, here’s a video that explains it well.
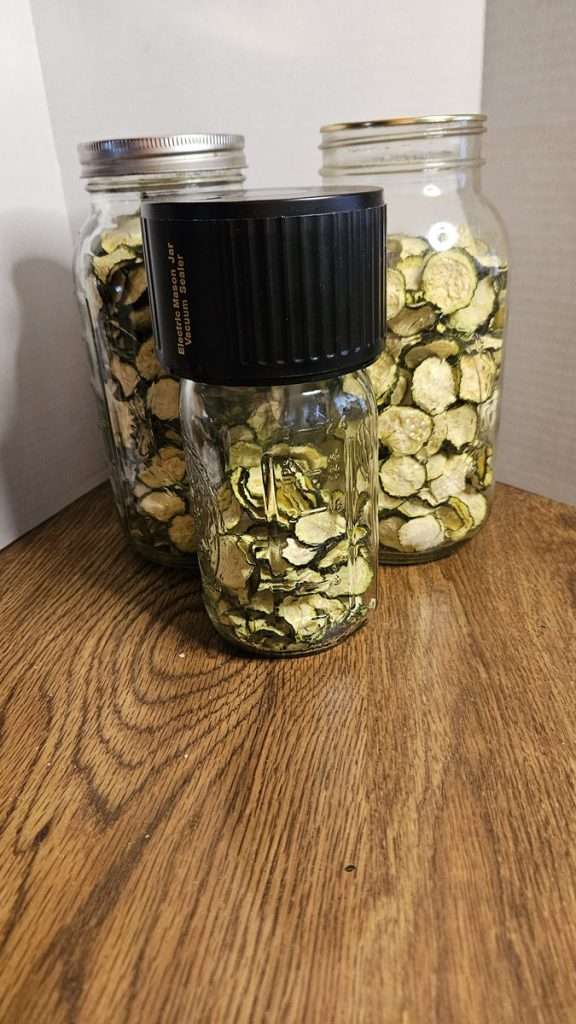
Other Ways I Preserved My Zucchini
Dehydrating zucchini wasn’t the only thing I did with my haul. I also:
- Canned Mediterranean-style zucchini and tomatoes (see my blog post here)
- Froze breaded zucchini for easy side dishes later (see my blog post here)
Final Tips for How to Dehydrate Zucchini
- Uniform slicing is key to even drying.
- Check periodically toward the end of drying—dry times vary by humidity, thickness, and dehydrator model.
- Store in airtight containers in a cool, dark place for maximum shelf life. If you have a vaccum sealer (Amazon), that will extend the shelf life, so why not use it?
Dehydrating zucchini is an easy, space-saving way to preserve this versatile vegetable, and I’ll definitely be doing more next season.
Pin it for Later



Print it for Later
How to Dehydrate Zucchini for Long-Term Storage
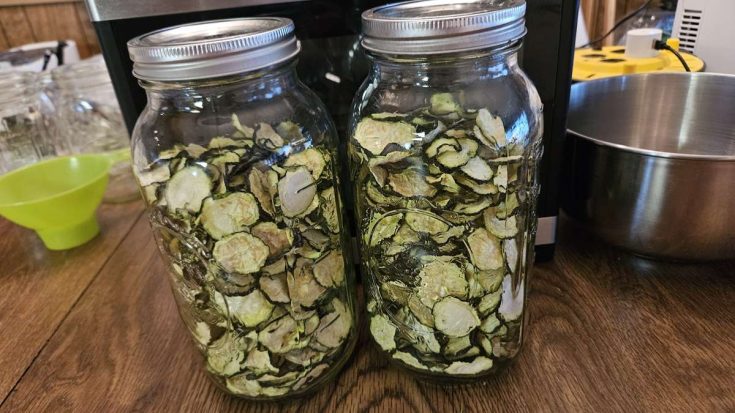
Learn step-by-step how to dehydrate zucchini so it’s lightweight, shelf-stable, and perfect for small-space storage. I’ll walk you through prepping, drying, and storing zucchini so you can enjoy it year-round.
Materials
- Zucchini - the amount depends on how much you have! I started with 10 pounds of zucchini and filled both a Cosori 6-tray and an Excalibur 9-tray.
Tools
- Sharp knife or mandoline slicer
- Cutting board
- Dehydrator (Excalibur, Cosori, or similar)
- Mason jars or other airtight containers
- Optional: Vacuum sealer
Instructions
- Wash and Trim Zucchini
Wash zucchini thoroughly and cut off both ends. - Slice Evenly
Slice zucchini into ¼-inch thick rounds. Uniform slices help ensure even drying. - Arrange on Trays
Place slices on dehydrator trays so they are touching but not overlapping. - Set Temperature
Set dehydrator to 125°F (52°C). - Dry Until Brittle
Total dry time is typically 10–12 hours. Zucchini should feel dry, brittle, and snap in half easily. - Cool and Store
Let zucchini cool completely before storing in airtight containers. For best results, condition for 7–10 days, shaking the jars daily to check for moisture.
Notes
Recommended Products
As an Amazon Associate and member of other affiliate programs, I earn from qualifying purchases.




💬 I’d love to hear from you!
Have you tried this yourself? Have a question or tip to share? Leave a comment below — your experience or question could help someone else, too!