

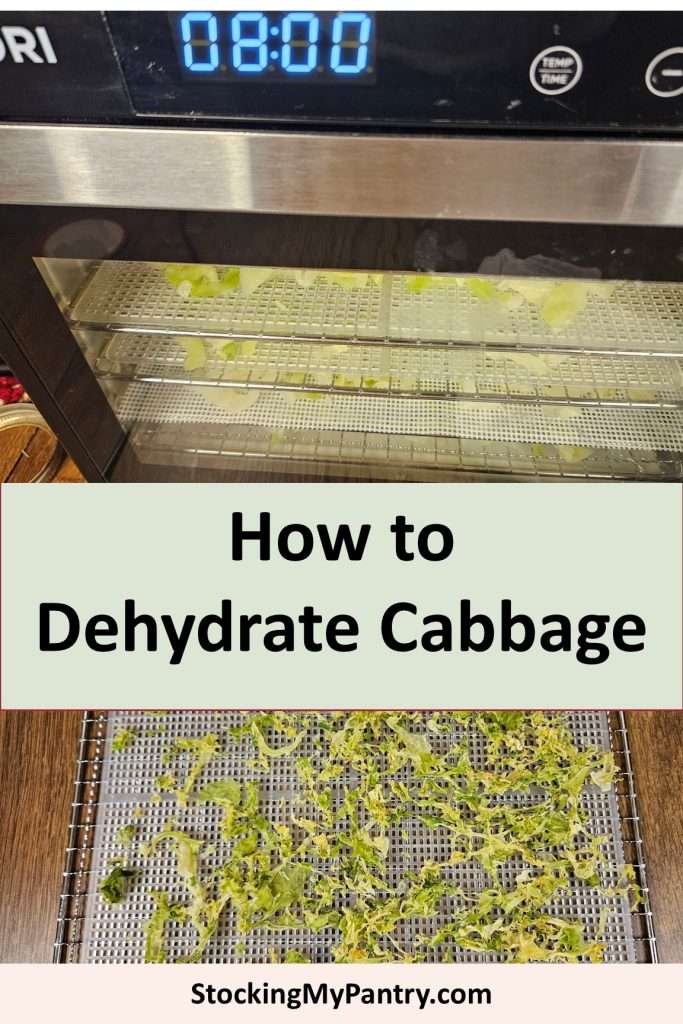
Cabbage is one of the easiest vegetables to dehydrate—and it’s a great pantry staple for soups, casseroles, and stews.
This article includes affiliate links.
Most instructions (including those in The Ultimate Dehydrator Cookbook by Tammy Gangloff – Amazon) suggest blanching cabbage before dehydrating. But instead of blanching mine on the stove, I decided to steam it in my Nesco Electric Canner and Cooker.
This method worked beautifully and made the whole process smoother. Let me show you exactly how I did it.
Prepping the Cabbage
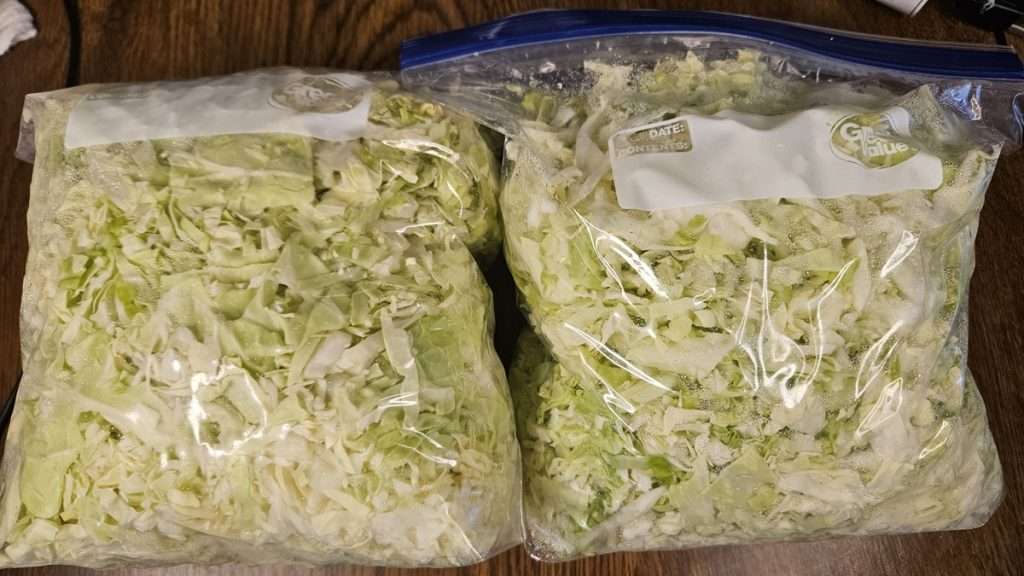
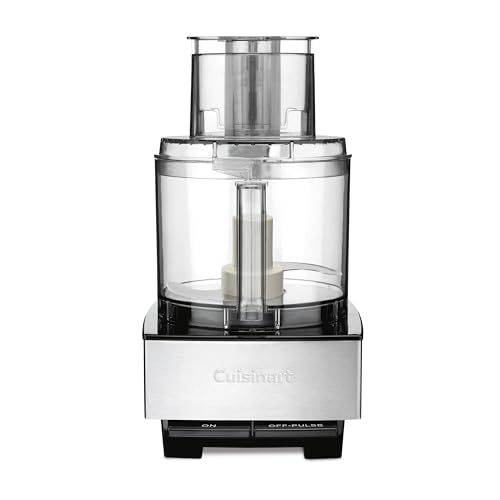
I started with just under 5 pounds of cabbage, which was about 40 cups shredded using the slicing blade of my food processor.
Steaming the Cabbage in the Nesco
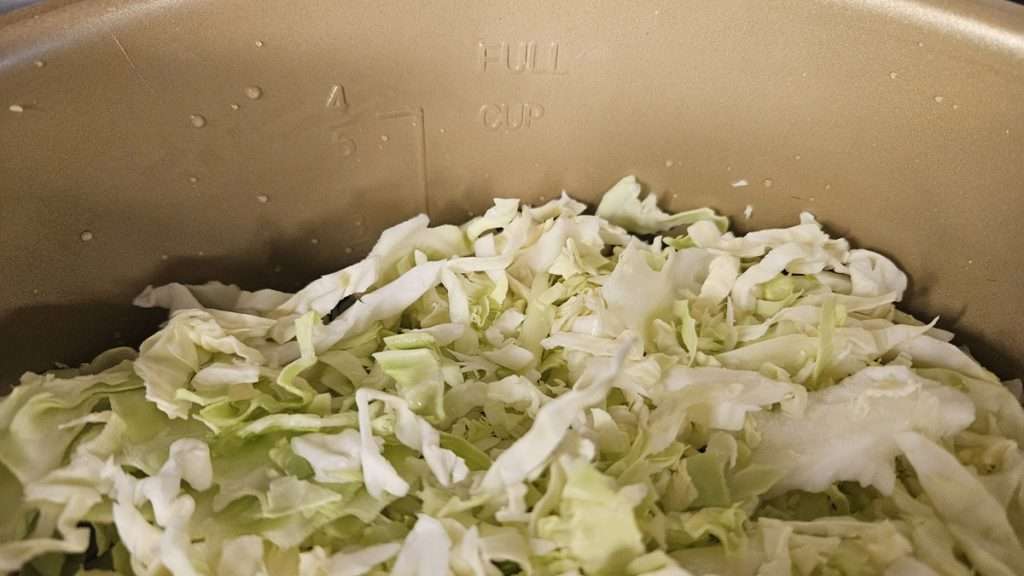
Since this part overlaps with my blog post on how to steam vegetables in the Nesco, I’ll keep it brief:
- Added 4 cups hot water + canning rack + steam rack.
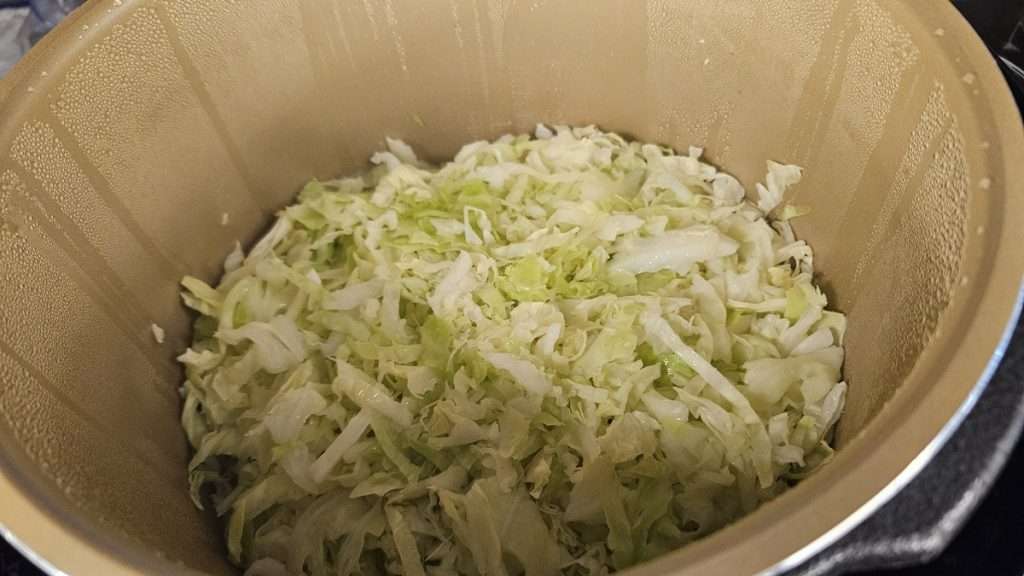
- Loaded cabbage about 2 1/2 pounds at a time, for a total of 2 loads.
- Set Nesco to Steam for 1–2 minutes.
- Immediately drained, rinsed the cabbage, and plunged it into ice water.
A Note About Blanching Cabbage Before Dehydrating
I do want to touch on the topic of blanching cabbage just a bit before I go further. Some say you do not need to blanch cabbage before dehydrating, and some say you do. Some of it comes down to whether or not you are going to store it longer term. For short term, you can get away with not blanching. But blanching cabbage before dehydrating it does improve the overall quality and shelf life, and in my opinion is worth it, especially if you want to store it long term.
Another thing I love about steaming or blanching cabbage before dehydrating is that it cooks down so much, that it makes it possible to load more cabbage into the dehydrator at a time. I’m always looking for ways to dehydrate more at once, and blanching definitely helps in that regard.
Now on to the rest of the information on what to do after blanching or steaming your cabbage.
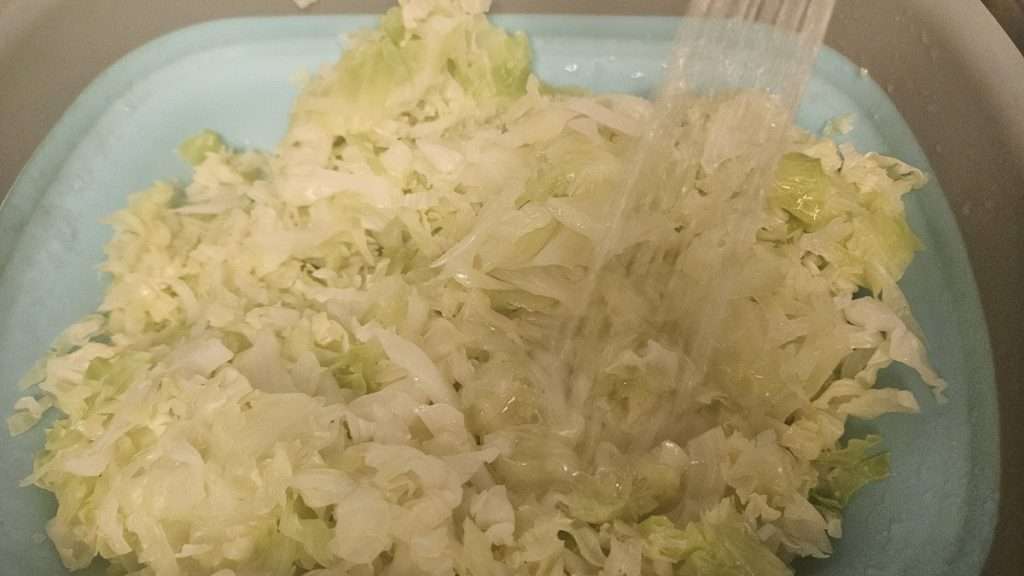
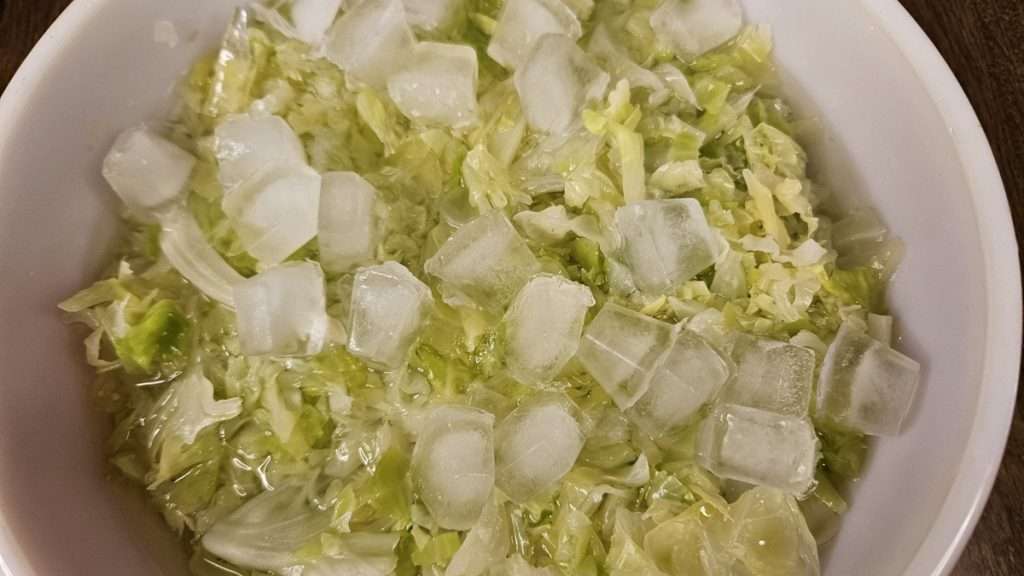
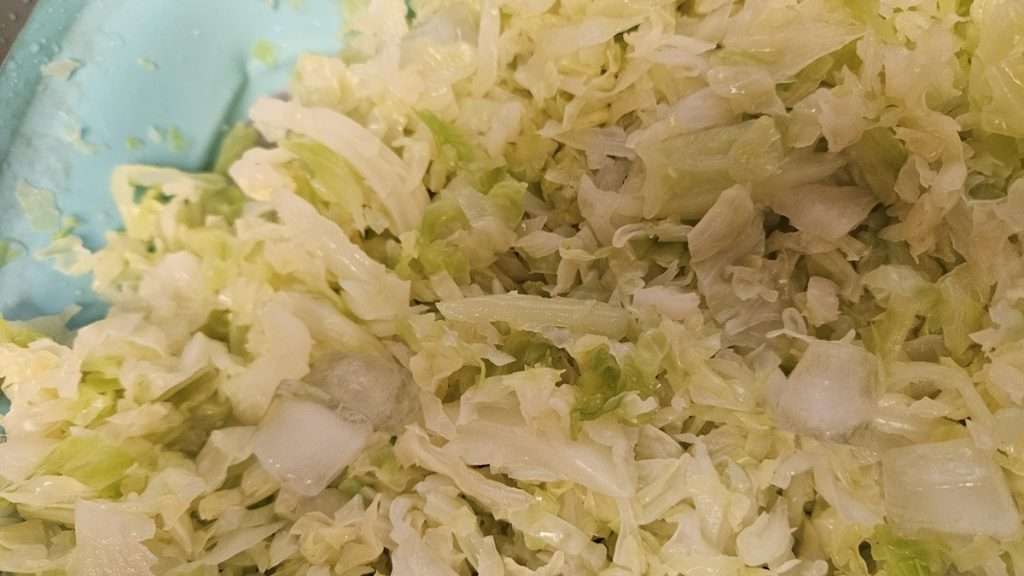
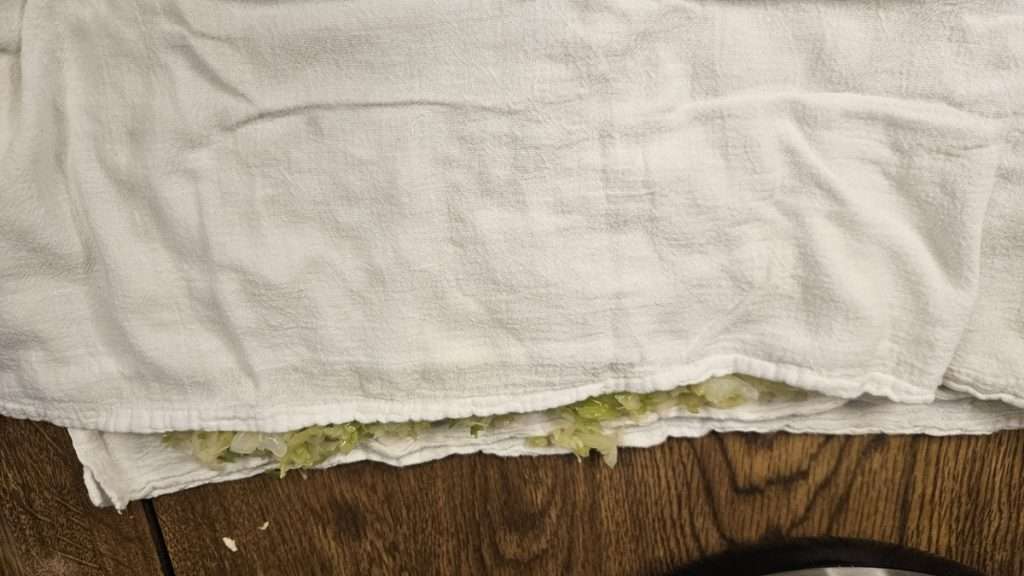
After the ice water bath, I wanted to remove as much excess water as possible. I did this by of course first draining the cabbage and then putting it on a flour sack towel. I then put another flour sack towel on top and patted it dry.
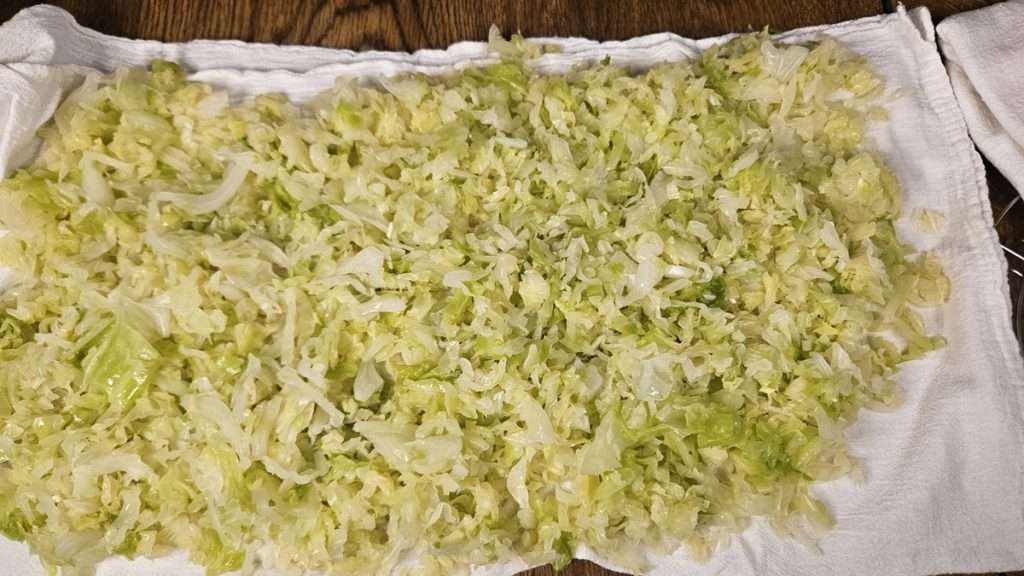
Loading the Dehydrator
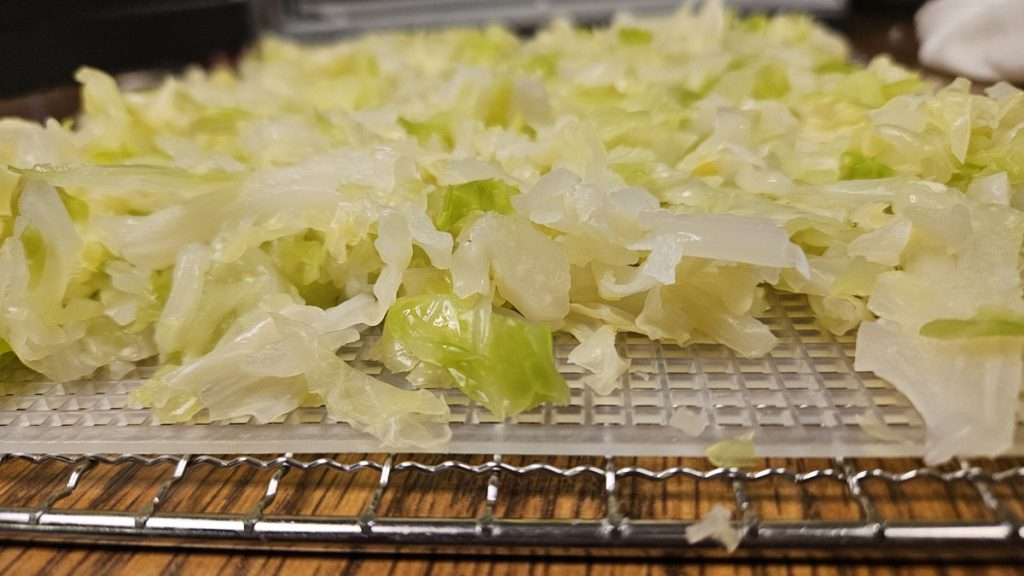
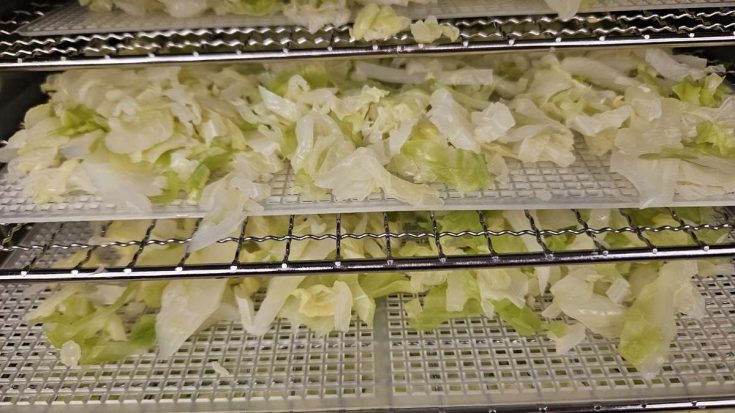
I spread the steamed cabbage across 6 Cosori dehydrator trays (Amazon), piling it about an inch thick since it shrinks down a lot during drying.
Dehydrating Cabbage Process
Now let’s get into the actual process of dehydrating cabbage.
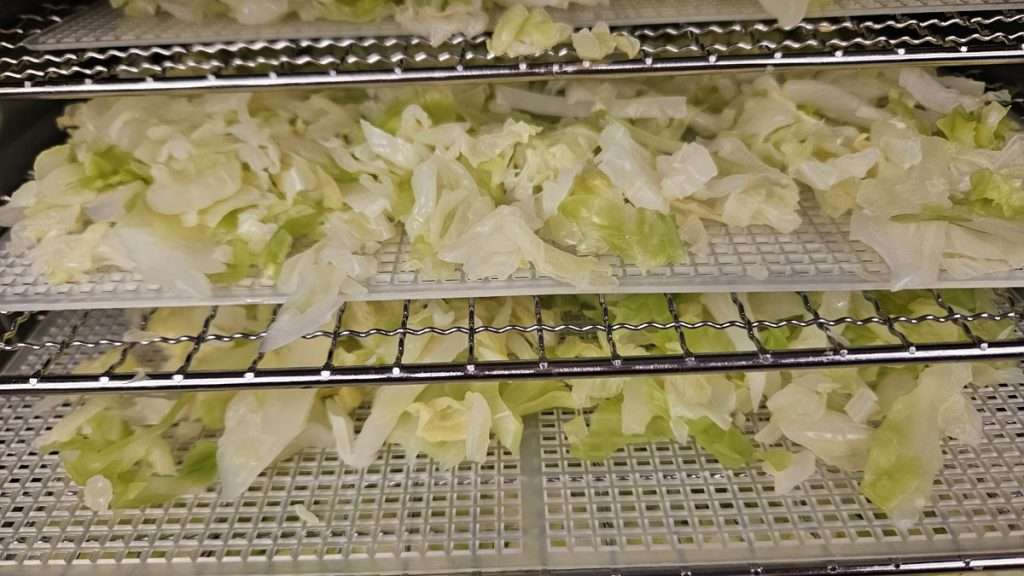
- Temperature: 125°F
- Time: 8–10 hours
You’ll start off by setting the temperature on your dehydrator to 125 – 135 degrees Fahrenheit. I typically use 125 degrees, which is what I did in this case.
Typically, it takes between 8 and 10 hours to dehydrate, though as always there are factors that impact the length of time. For instance, if you live in an area with high humidity, or if your cabbage pieces are larger, it may take more than 10 hours.
Cabbage After 6 Hours in the Dehydrator
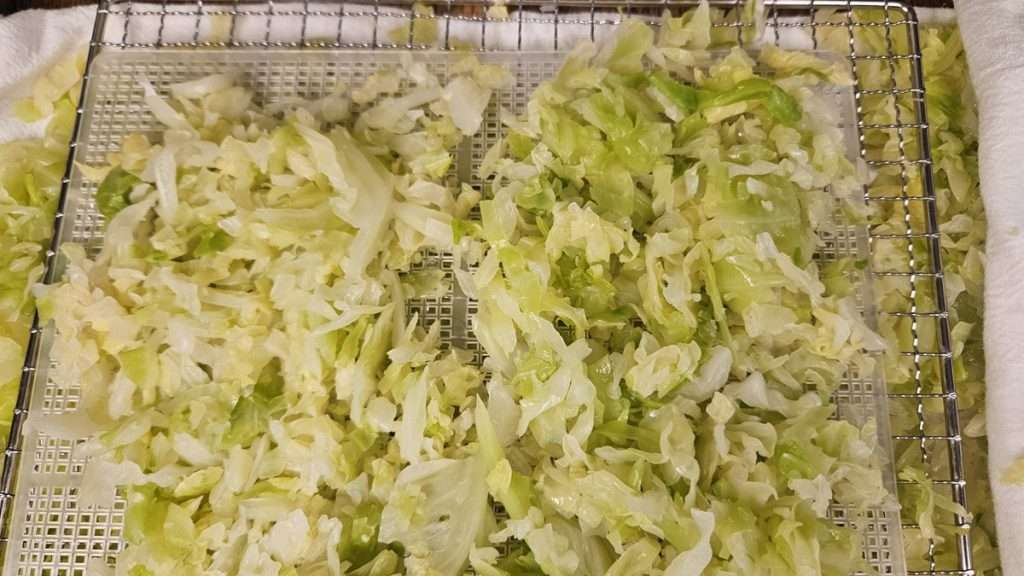
Even though I didn’t expect the cabbage to be completely dehydrated after 6 hours, I checked it just to see how it was coming along.
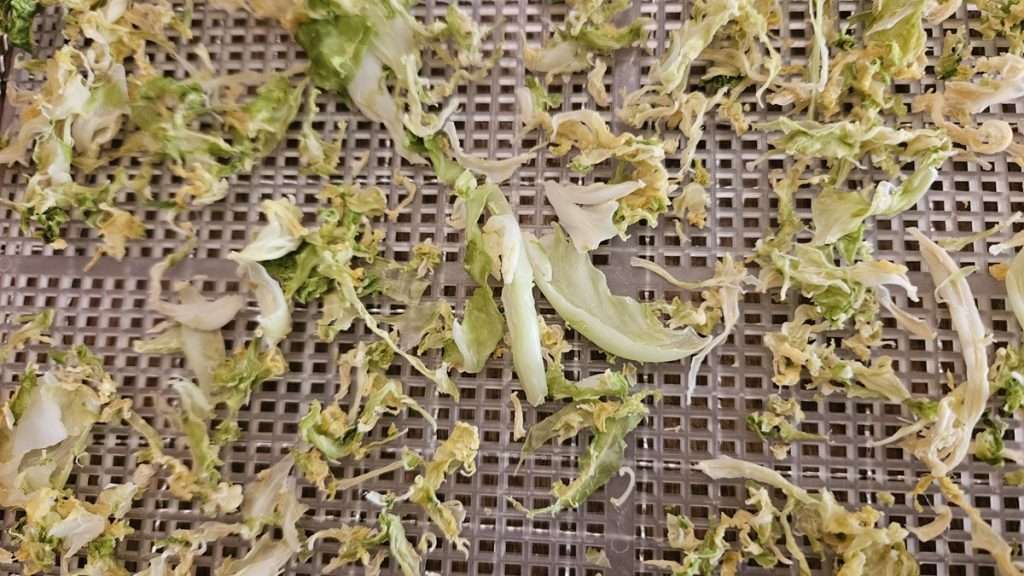
At 6 hours: cabbage was partially dry, some pieces still plump.
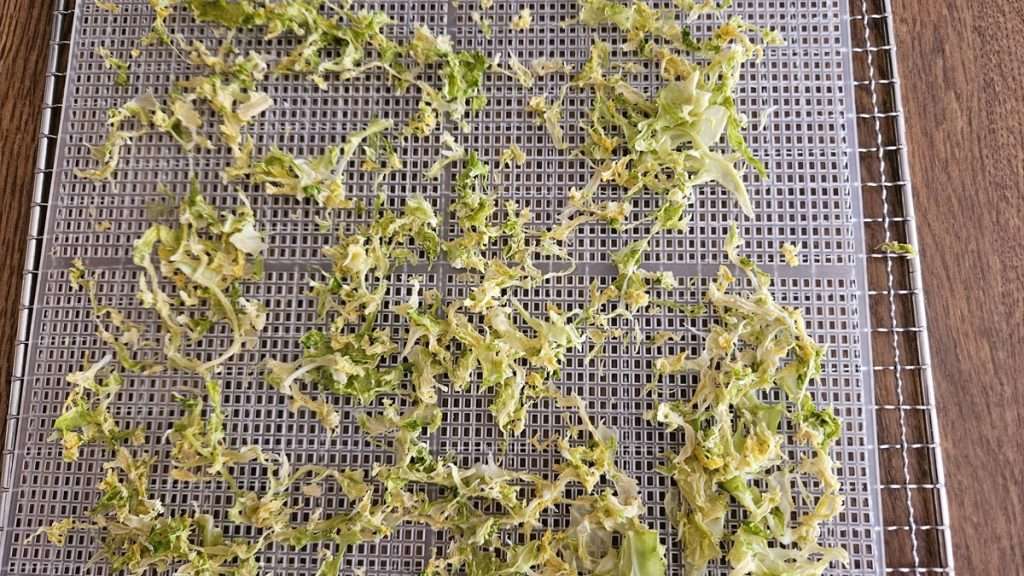
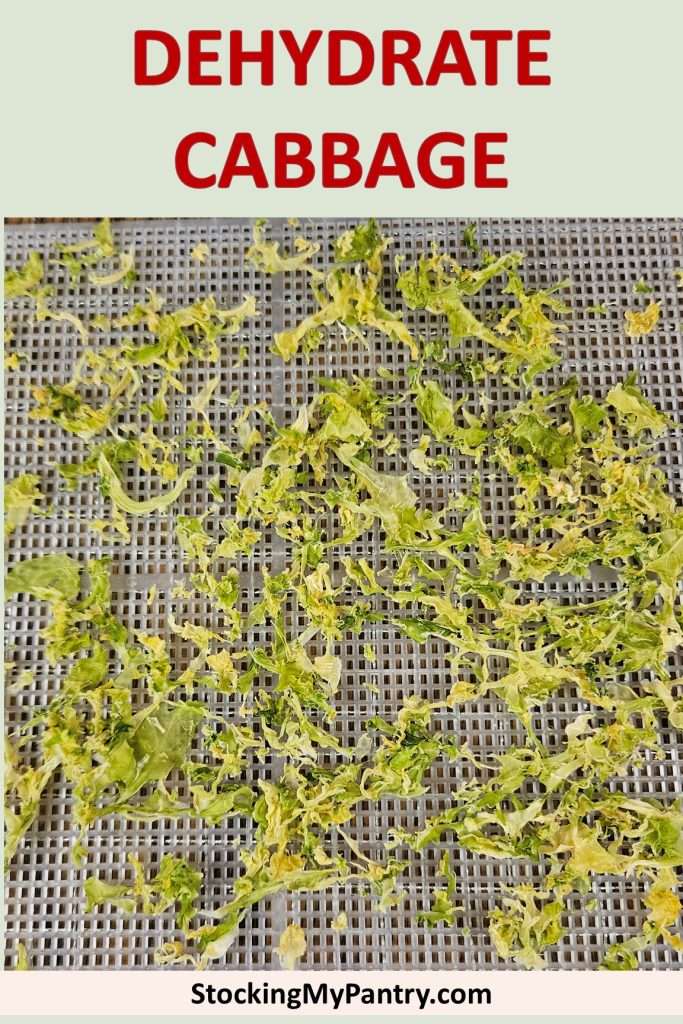
In the image above, it may look like the cabbage is completely dehydrated, but upon closer look, you can see there are some pieces that are more plump. Also, some of the parts that looked dry, upon touching still felt a bit moist.
Cabbage After 8 Hours in the Dehydrator
Naturally, since the cabbage wasn’t completely dehydrated after 6 hours, I put it back into the dehydrator. I decided to check it 2 hours later.
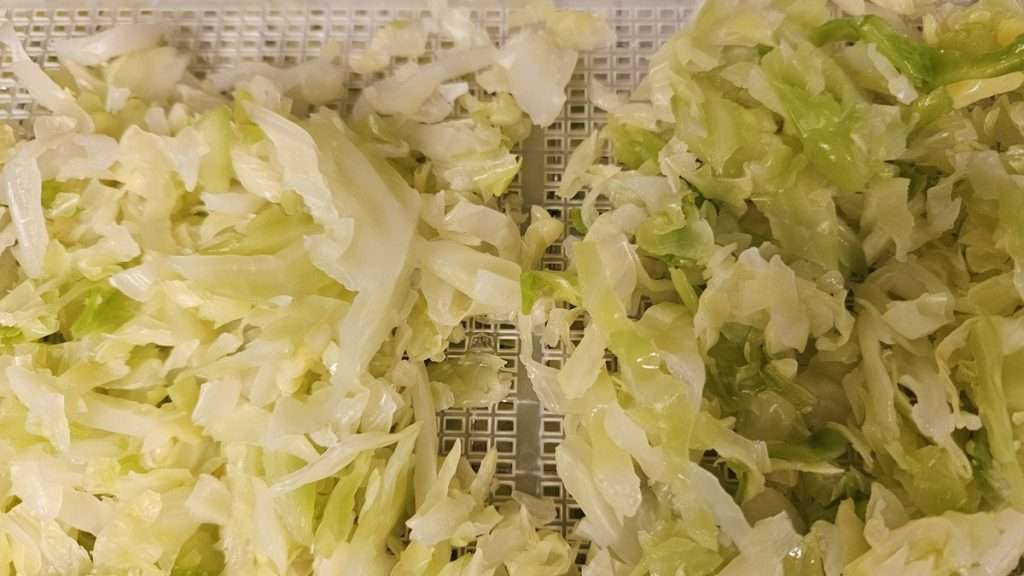
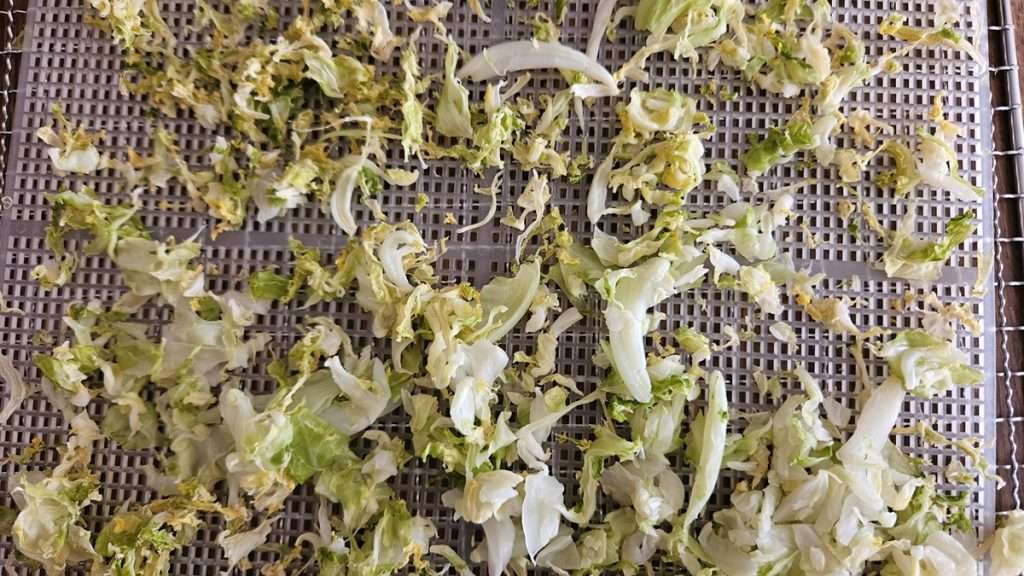
At 8 hours in the dehydrator, the cabbage was nearly all dry except a few larger pieces.
Cabbage after 10 Hours in the Dehydrator
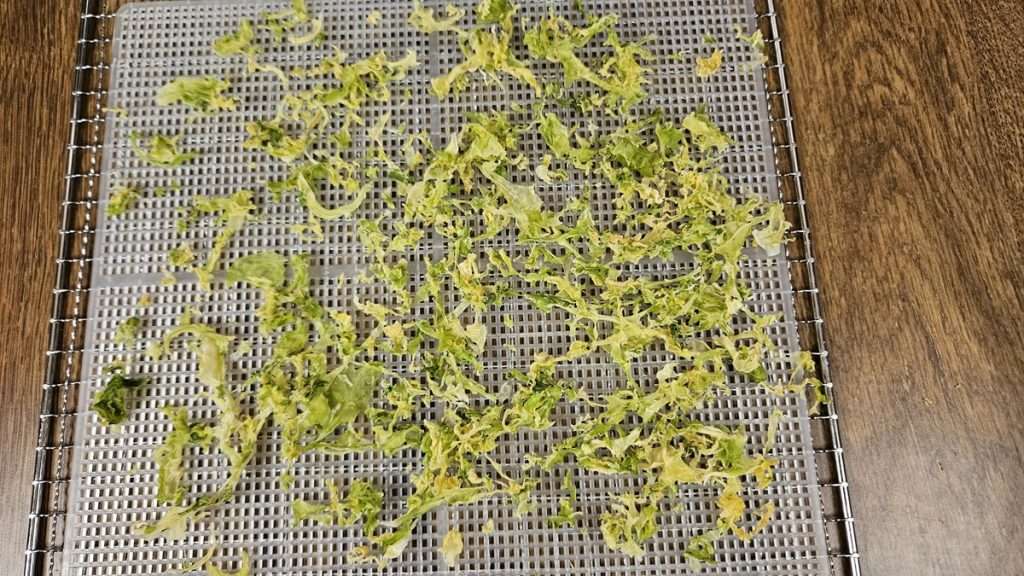
According to Tammy Gangloff’s book, The Ultimate Dehydrator Cookbook (Amazon), the dryness test for cabbage is that it should feel dry like paper and be flexible.
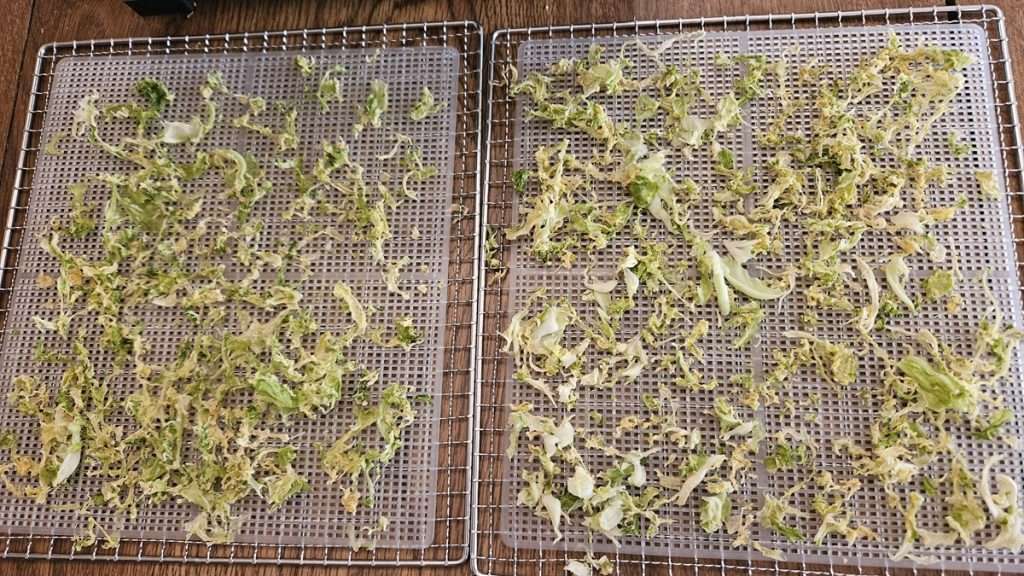
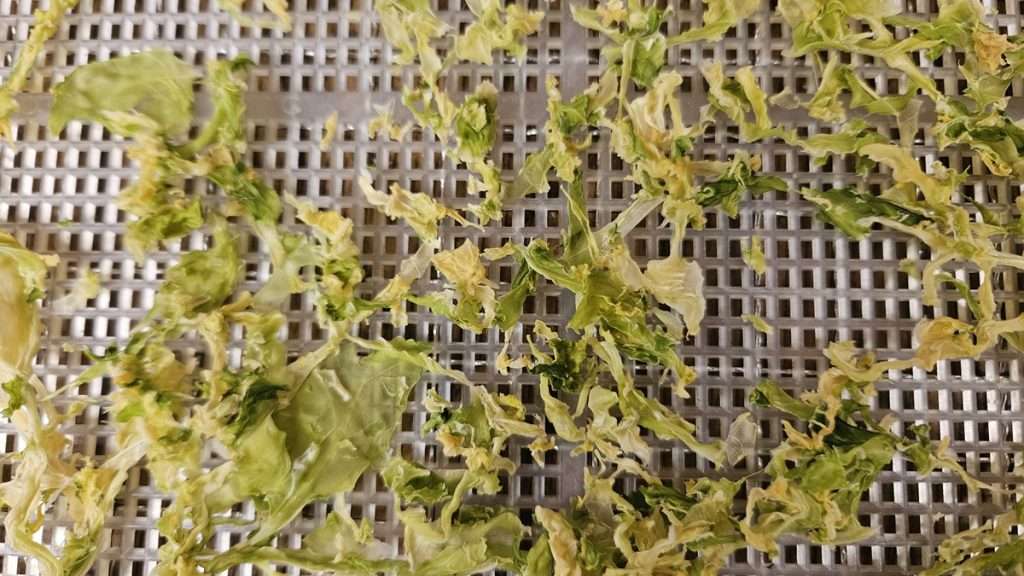
After 10 hours in the dehydrator, the cabbage was 100% dry and papery. I actually find that when it’s dehydrated, it crumbles quite easily.
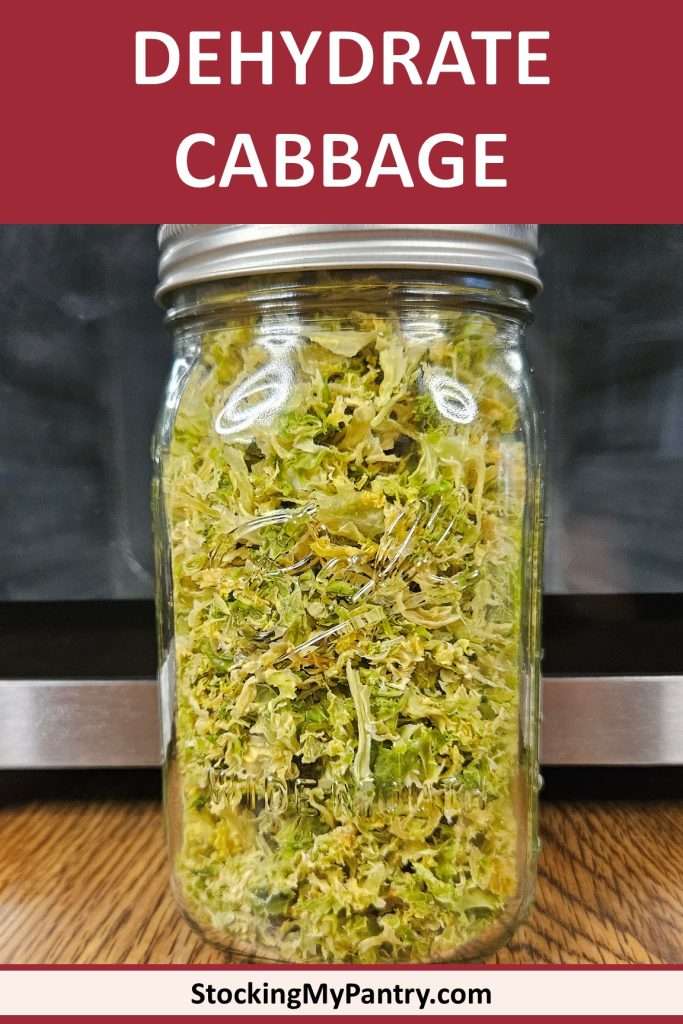
Below are photos of completely dehydrated cabbage.
Storing Dehydrated Cabbage
Once cooled, I conditioned the cabbage in a half full mason jar, shaking it daily for about a week to check for moisture. Then I vacuum sealed the cabbage for long-term storage.
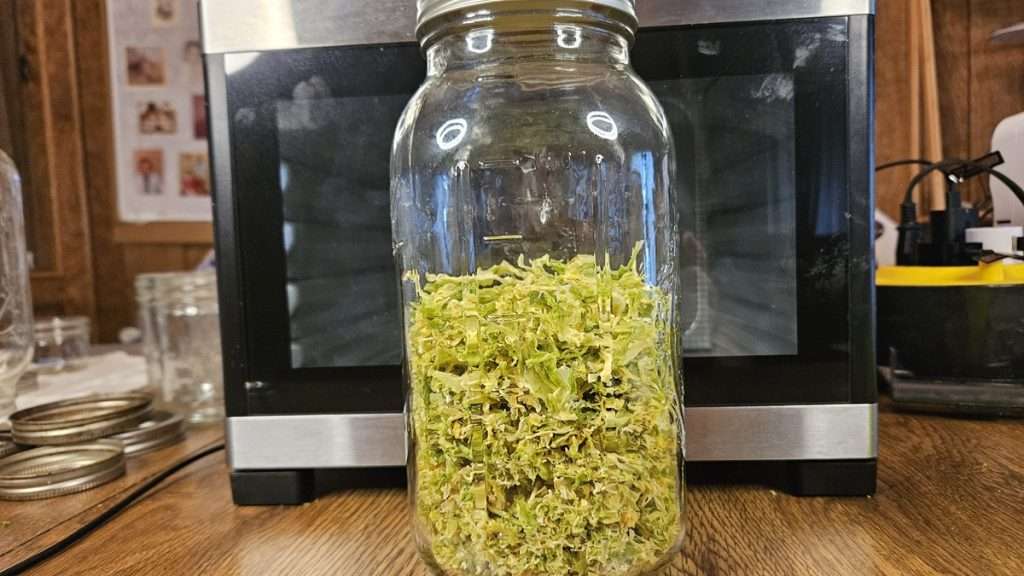
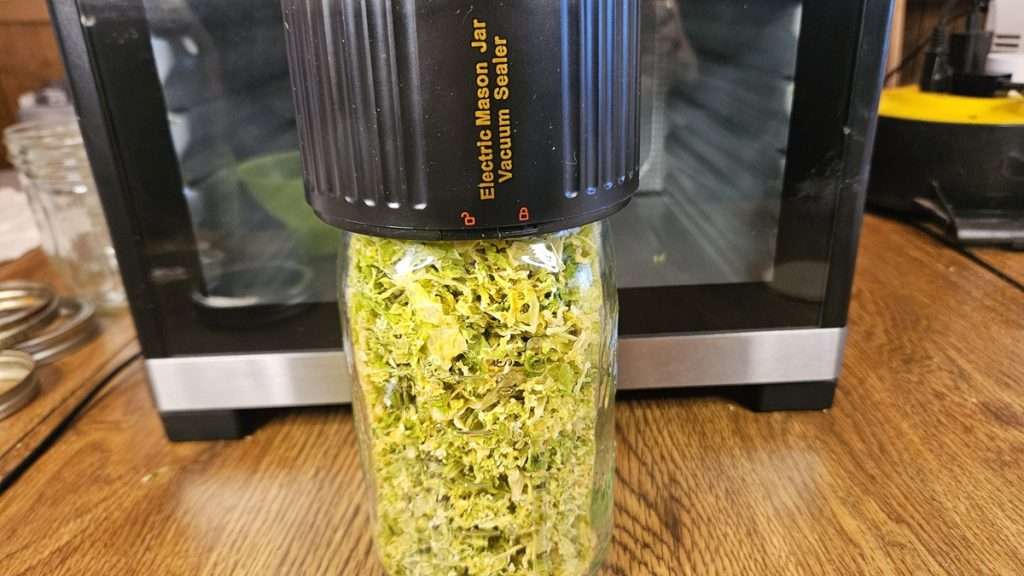
Vacuum sealing your cabbage is not mandatory, but it will increase the shelf life, so that is why I do it. If you are storing your dehydrated cabbage in mason jars like I do, I recommend picking up vacuum sealers that work with mason jars, such as these found on Amazon.
This small, easy-to-store vacuum sealer is made for mason jars. It’s cordless, simple to use, and a great tool for long-term food storage.
👉 Check it out here.
Rehydrating Dehydrated Cabbage
When dehydrating most vegetables, I typically just pour some hot water into the jar or bowl filled with my dehydrated food, and allow it to sit for 15 minutes or so. But I have found that with cabbage, it works much better to boil the dehydrated cabbage for about 3 minutes to rehydrate it.
I personally love to fry cabbage, so what I do is to first boil the cabbage, and then drain it and pat it dry, before frying it up.
Tips & Observations
Here are my best tips for how to dehydrate cabbage.
- Steam vs blanching on the stovetop: Steaming in the Nesco was faster and easier than blanching on the stovetop.
- Color retention: The batch steamed for only 1 minute was noticeably brighter green.
- Tray management: After shrinking down, I was able to redistribute the cabbage more evenly across trays.
- Vacuum seal your dehydrated cabbage for longer shelf life.
- Before cooking as desired, boil your dehydrated cabbage for 3 minutes, and then proceed to cook it in whatever way you prefer.
Final Thoughts
Dehydrating cabbage is simple, and using the Nesco for steaming makes prep even easier. Now I have jars of dried cabbage ready for soups, casseroles, or quick weeknight meals—all without taking up fridge or freezer space.
Related Articles
If you enjoyed this article on how to dehydrate cabbage, you are sure to enjoy these related articles.
- Freezer Slaw: How to Make Coleslaw You Can Freeze
- How to Make Old Fashioned Sauerkraut
- How to Dehydrate Potatoes
Pin it for Later

Print it for Later
Here are printable instructions for how to dehydrate cabbage.
How to Dehydrate Cabbage
Learn how to dehydrate cabbage at home for long-term storage. This step-by-step guide shows you how to steam, dry, and store cabbage so it’s ready for soups, casseroles, and more.
Materials
- Fresh cabbage (about 5 lbs)
- Ice water (for cooling)
Tools
- Food processor or sharp knife (for shredding)
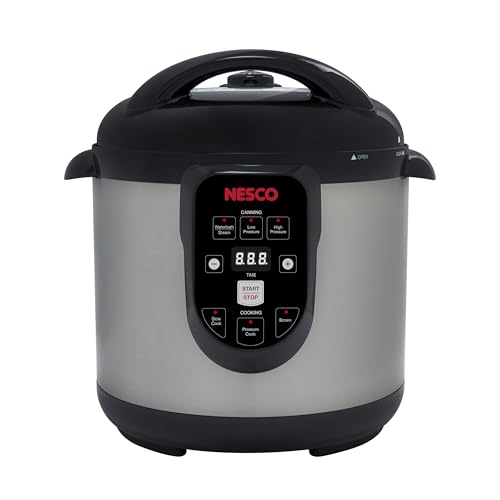
- Nesco Electric Canner & Cooker (for steaming)
- Colander
- Large mixing bowl
- Flour sack towels
- Dehydrator (set to 125°F)
- Mason jars (for conditioning and storage)
- Optional: Vacuum sealer with jar attachment
Instructions
- Prep the cabbage – Shred cabbage using a knife or food processor. About 5 pounds makes roughly 40 cups shredded.
- Steam briefly – In the Nesco canner, add 4 cups hot water with canning + steam racks. Steam half the cabbage at a time for 1–2 minutes.
- Cool quickly – Drain cabbage into a colander, rinse with cold water, then plunge into an ice bath to stop cooking. Drain again and pat dry with towels.
- Load dehydrator trays – Spread cabbage evenly on trays, about 1 inch thick. It will shrink as it dries.
- Dehydrate – Set dehydrator to 125°F. Dry for 8–10 hours, checking periodically. Cabbage is done when it feels papery and crumbles easily.
- Condition & store – Place dried cabbage in jars half full for a week, shaking daily to check for moisture. Once conditioned, vacuum seal or store in airtight jars.
Notes
Recommended Products
As an Amazon Associate and member of other affiliate programs, I earn from qualifying purchases.
-
 COSORI Food Dehydrator
 -
 Nesco Electric Canner
 -
 Cuisinart Food Processor 14-Cup
 -
![White Flour Sack Towels [12 Pack - 28 x 28 Inch]](https://m.media-amazon.com/images/I/41tDxhzHEuL._SL500_.jpg) White Flour Sack Towels [12 Pack - 28 x 28 Inch]
White Flour Sack Towels [12 Pack - 28 x 28 Inch] -
 Over the Sink Collapsible Colander
 -
 LOVE MOMENT Electric Mason Jar Vacuum Sealer Kit for Wide Mouth and Regular Mouth Mason Jars
 -
 Ball Wide Mouth Clear Glass Canning Quart 32 Oz Mason Jars with Lids, 12 Pack
💬 I’d love to hear from you!
Have you tried this yourself? Have a question or tip to share? Leave a comment below — your experience or question could help someone else, too!