

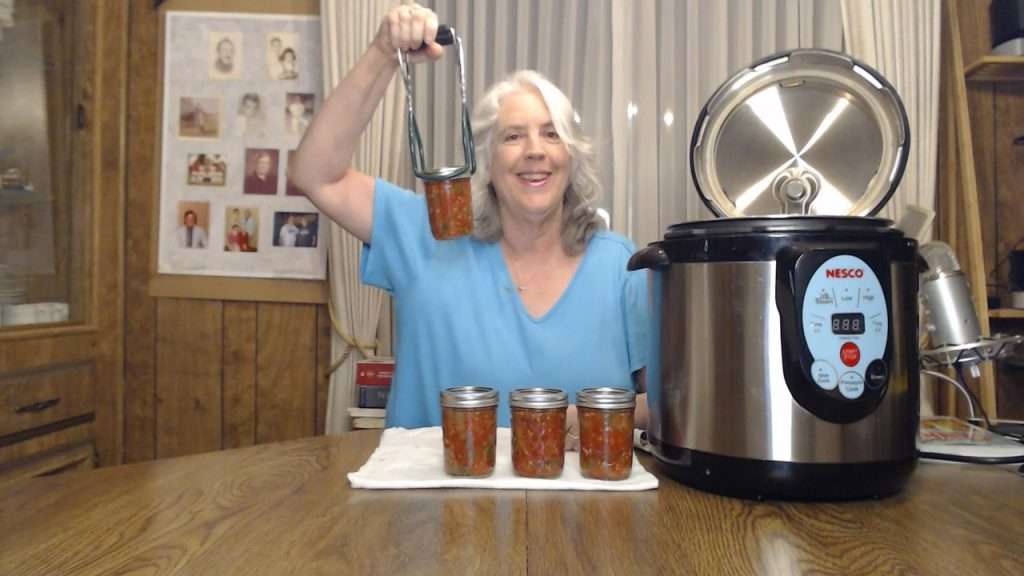
In this article, I’ll take you on a flavorful adventure as I dive into making and canning salsa ranchera!
This article includes affiliate links.
This recipe comes straight from the All New Ball Book of Canning and Preserving (Amazon), and I’m thrilled to share the process with you. Whether you’re using a Nesco canner (Amazon) like me or another water bath or steam canner, this salsa recipe is sure to add a spicy, roasted kick to your pantry.
Canning Salsa Ranchera (Video)
Salsa Ranchera Ingredients
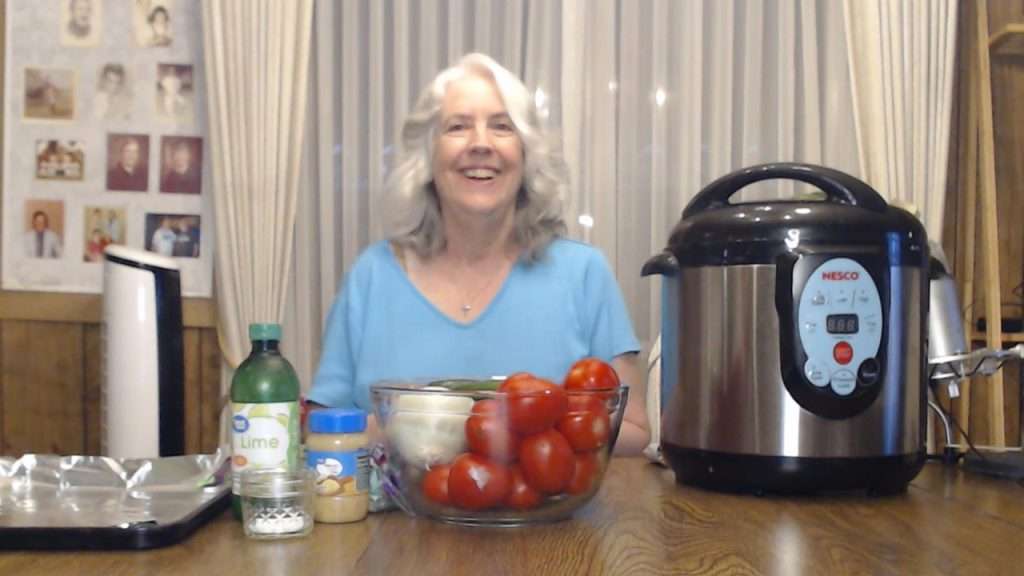
One of the things that drew me to this Salsa Ranchera canning recipe is its simplicity. With just a few ingredients, you can create a salsa packed with bold flavors. For this recipe, you’ll need:
- 3 lbs of Roma tomatoes
- 3/4 lb of jalapeno peppers
- 4 garlic cloves
- 2 teaspoons of salt
- 1/2 cup of chopped cilantro
- 1/3 cup of lime juice
I made a slight adjustment with the jalapenos since the bag of jalapenos I bought was a bit underweight. However, that’s not an issue for water bath or steam canning; you can use less of a low-acid food such as peppers, but not more.
If you’re looking for a milder salsa, feel free to substitute the jalapenos with something like poblano peppers.
Wish your canning was more organized? This practical guide + printable toolkit will transform the way you stock your pantry.
👉 See the book on AmazonRoasting the Vegetables: The Secret to Depth of Flavor
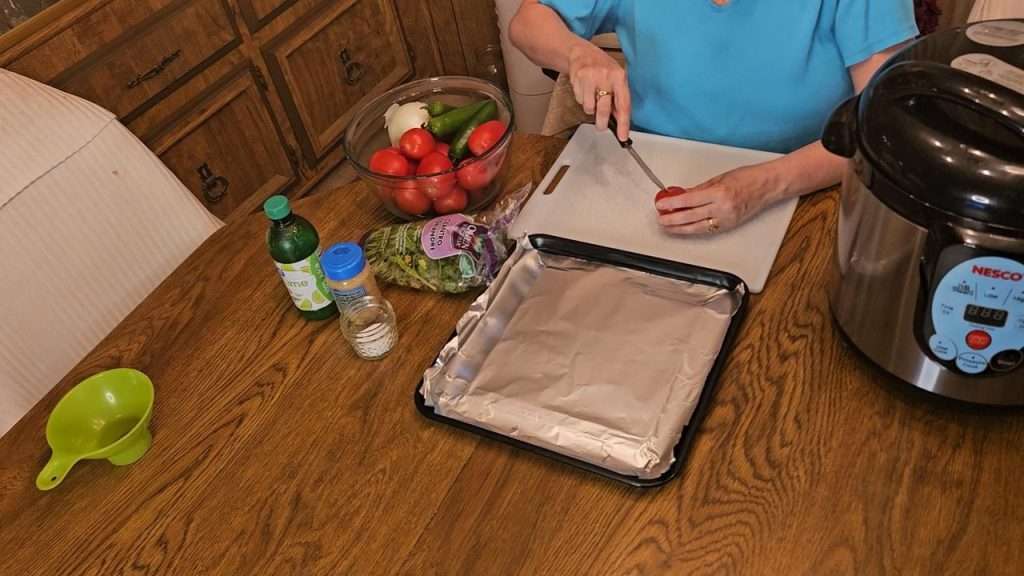
A standout feature of this recipe is the roasted vegetables, which adds a delicious depth of flavor.
I started by coring the tomatoes and placing them on a roasting pan.
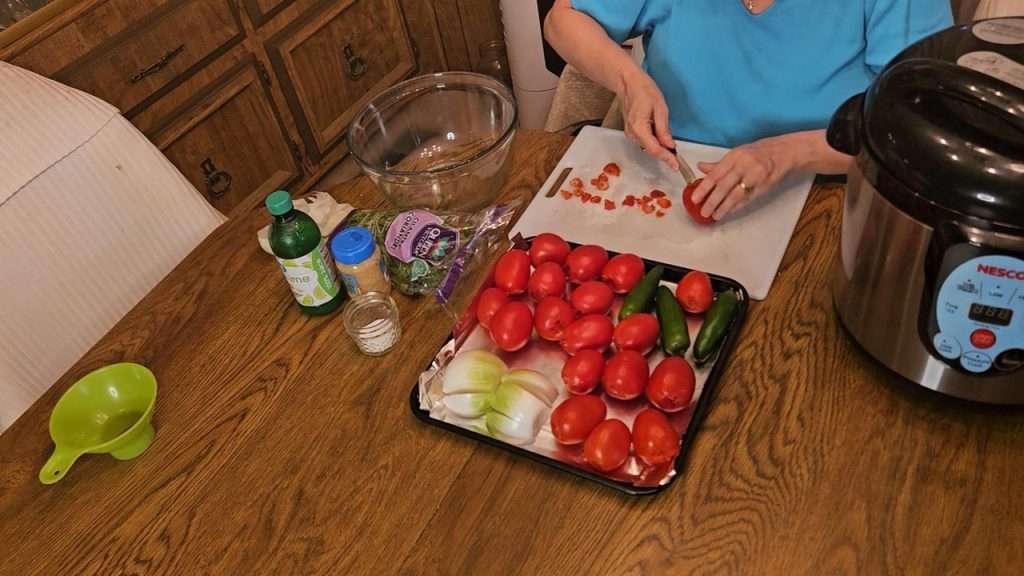
The recipe also calls for thick onion slices, but I opted to cut them into wedges to fit better in my small roasting pan. Since it was over 100 degrees where I live, I used my countertop oven to avoid heating up the kitchen. :) The only problem with this is that it was harder for me to cram all of the vegetables on the smaller baking sheet, so I cut them in a way that they’d fit between other vegetables.
The roasting process is simple: preheat your oven to 425°F, arrange the tomatoes, jalapenos, onion, and garlic on a baking sheet lined with aluminum foil.
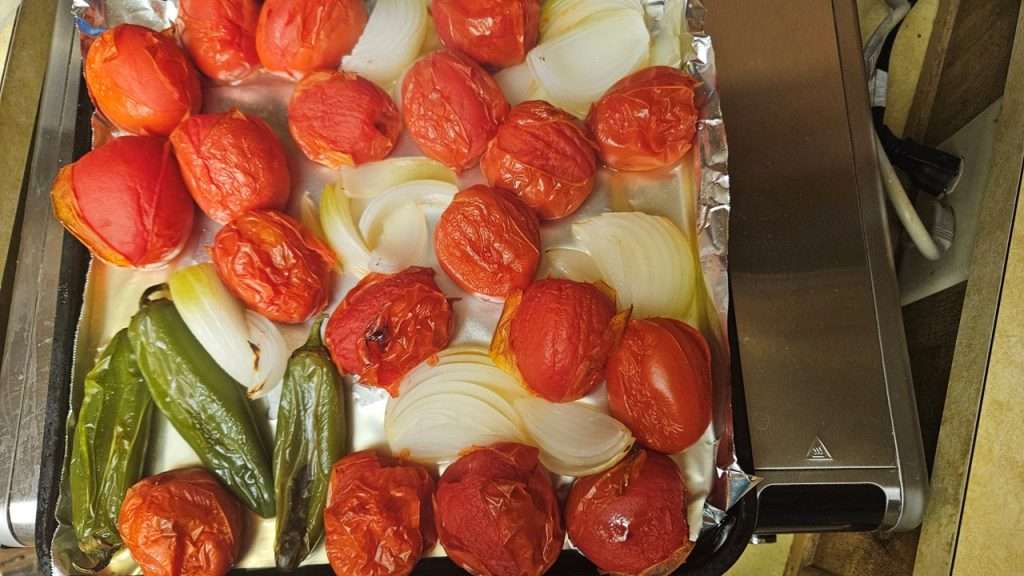
After 20 minutes, remove the garlic from the roasting sheet.
Note: Another adjustment that I made is that I used jarred minced garlic, so I didn’t put that onto the baking sheet.
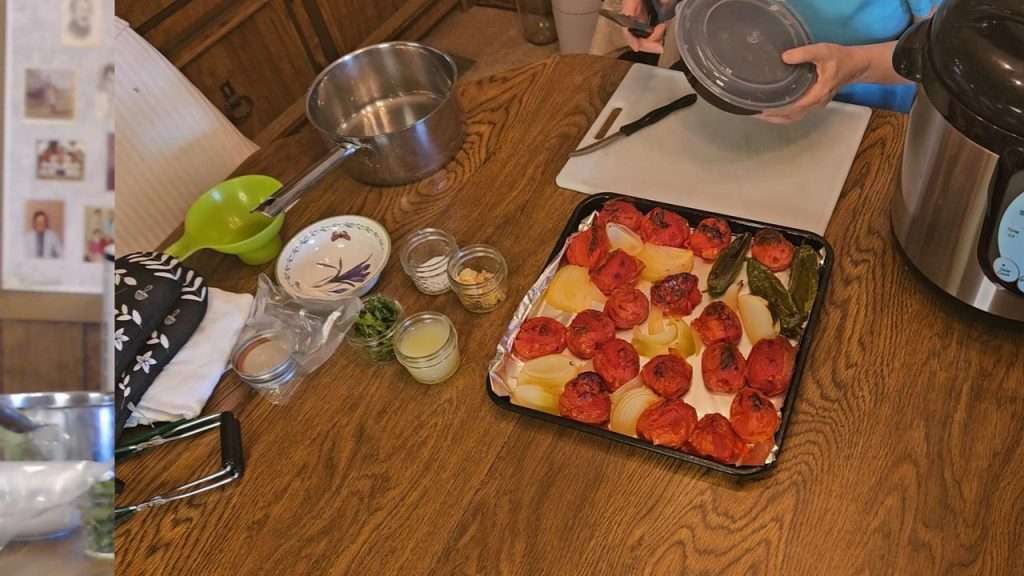
Put the baking sheet back into the oven, and continue roasting for an additional 20 minutes, for a total of 40 minutes.
The jalapenos, tomatoes, and onions should be soft and slightly charred by the end of the roasting time, which intensifies their natural sweetness and flavors.
Preparing the Salsa Ranchera Vegetables
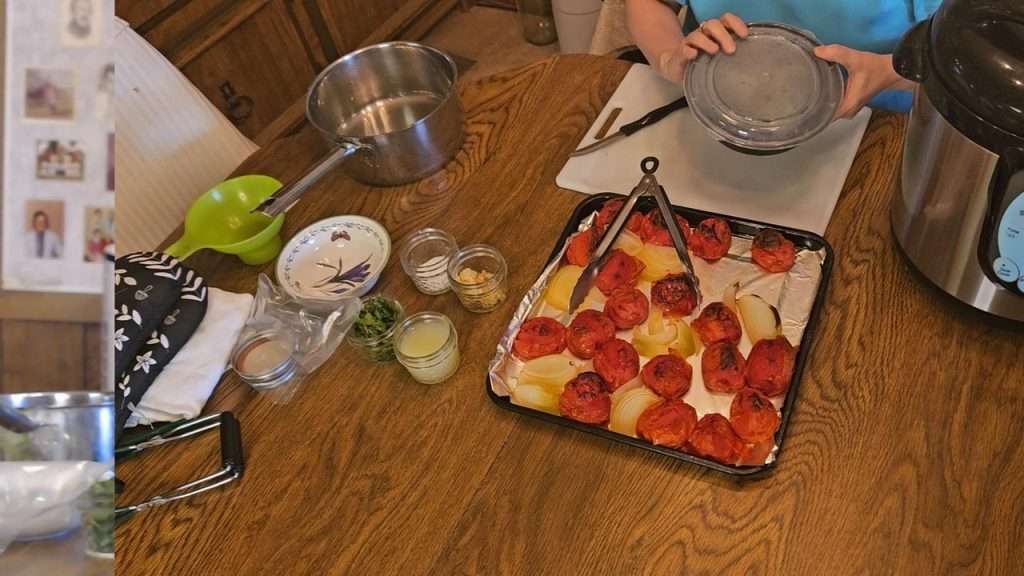
After removing the vegetables from the oven, put the jalapenos in a bowl and cover with plastic wrap. An alternative method is to put them in a bowl with a tight-fitting lid. You can also put them into a zippered bag and tightly close it. The main goal here is to steam the jalapenos so you can peel the charred skin off.
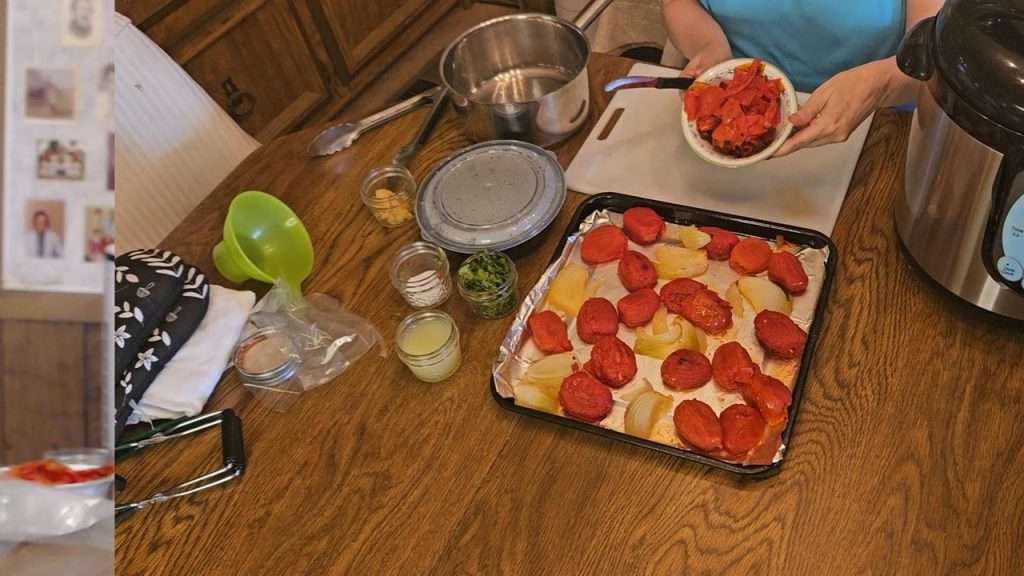
While you’re steaming the jalapenos, go ahead and peel the tomatoes. Thankfully, this is super easy to do, because after roasting, the tomato skin peels off super easy. Just be careful, because the tomatoes will be steaming hot.
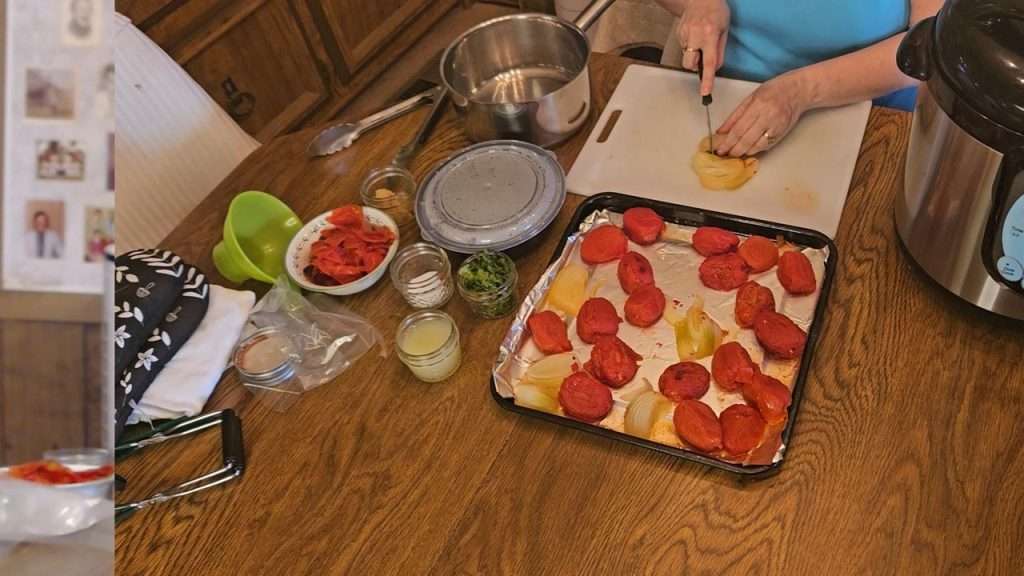
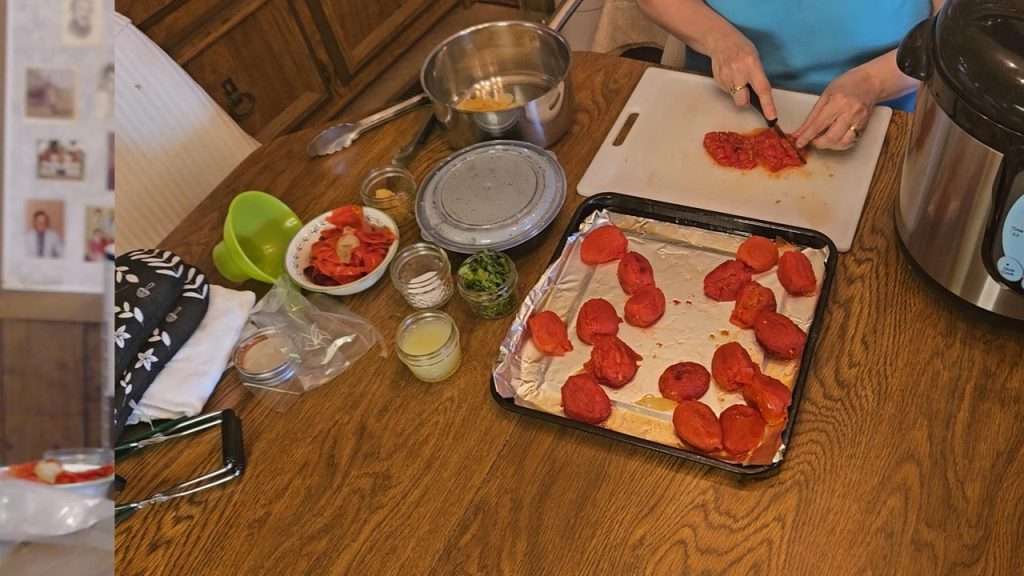
Once the onions, garlic, and tomatoes are cool enough to handle, dice them and put them into a stainless steel pot, along with the salt.
Prepare the Jalapenos
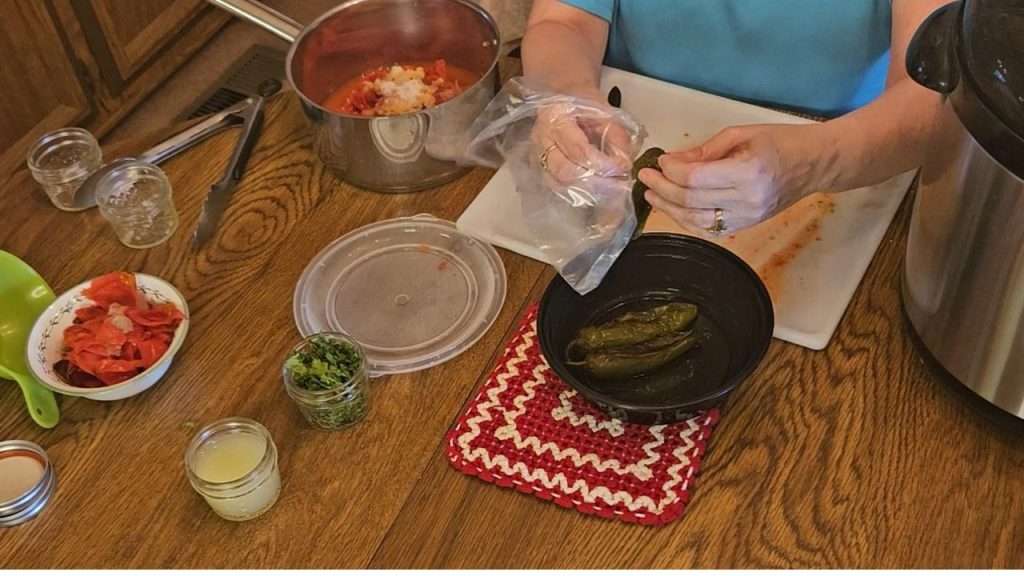
By this point, the jalapenos had steamed long enough to remove the charred skin.
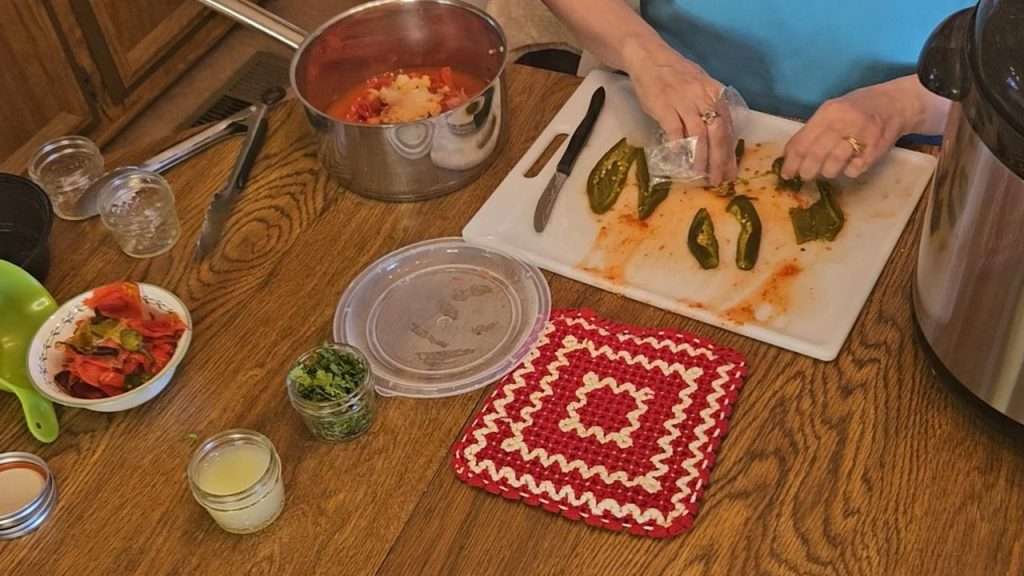
The biggest challenge I had at this point was removing the seeds and veins from the jalapenos. The jalapenos were so soft that I couldn’t really grab onto the seeds and veins without tearing the jalapenos. Because of that, if you want to remove the seeds and veins from your jalapenos, I recommend that you remove the seeds and veins before roasting them.
Pro tip: What I will likely do in the future is cut the jalapenos in half, and scrape out the seeds and veins. Then put them on the roasting pan, skin side up, and roast.
After doing the best I could to remove the veins and seeds from the jalapenos, I chopped them and put them into the pot with the rest of the vegetables, the salt, and garlic.
Cooking and Canning the Salsa
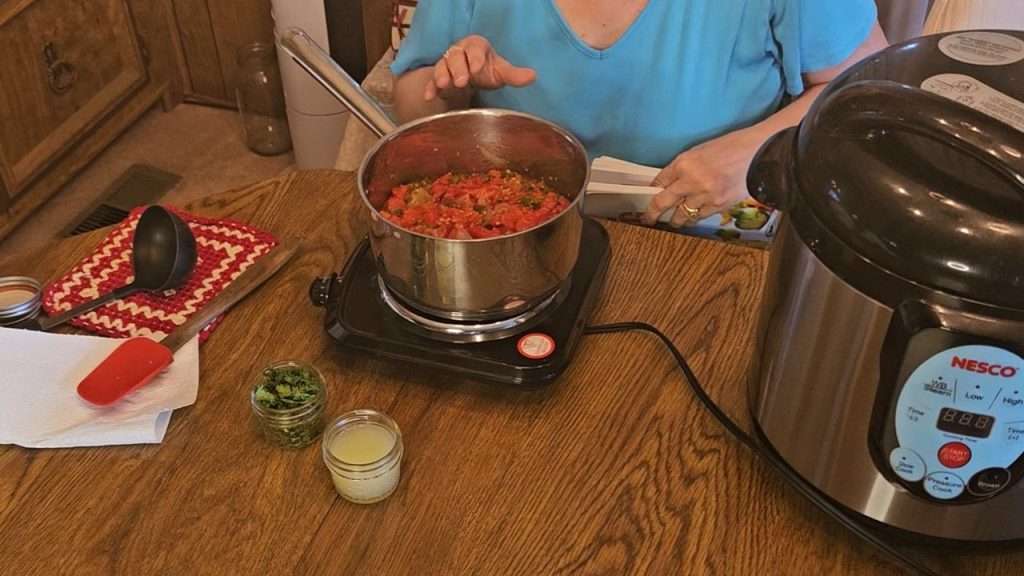
With all the vegetables and garlic in the pot, I brought the mixture to a boil while stirring frequently. Once it reached a boil, I reduced the heat and let it simmer for 2 minutes.
Although the recipe stated it would fill four pint jars, in looking at the salsa in the pot,I had a feeling it might come up quite a bit short. Also, since I have a small family, I chose to prepare half pints instead of pints.
Pro tip: It’s important to note that you can use smaller jars if needed, but never larger ones, as this could affect the processing time and safety of the canned product. So feel free to use pints or quarts when canning Salsa Ranchera, but never quarts.
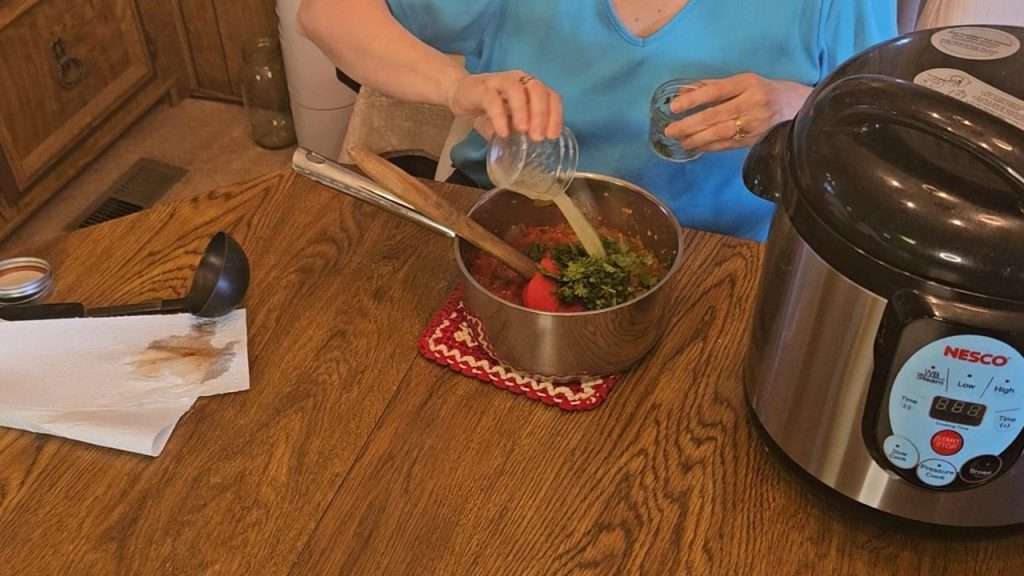
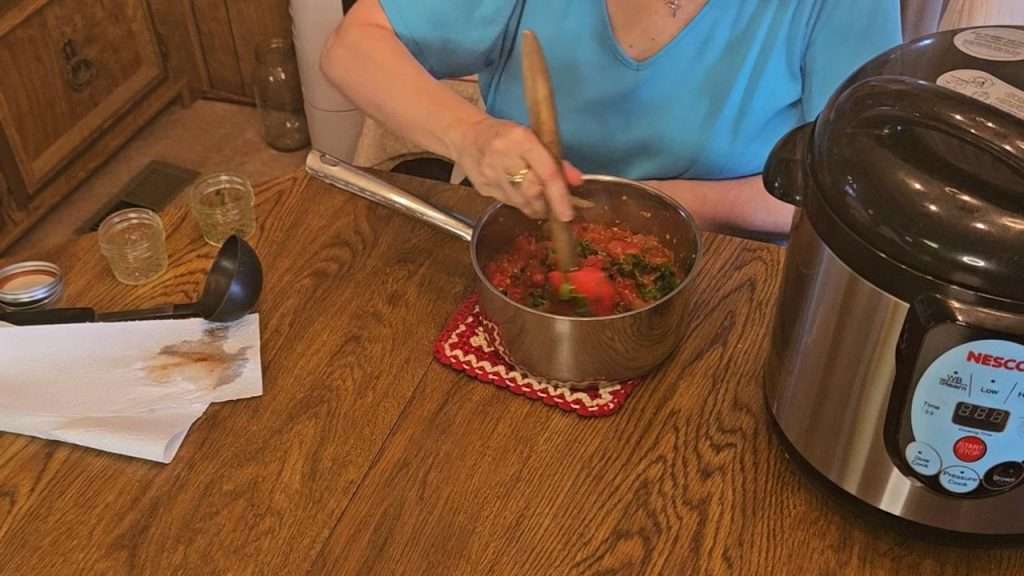
After simmering, I removed the pot from the heat and stirred in the cilantro and lime juice.
The smell was incredible—roasting the vegetables really paid off in terms of flavor. I then filled the jars, leaving 1/2 inch of headspace to ensure proper sealing.
I couldn’t resist tasting the salsa, even though it was still hot. This salsa tastes great, but it was a bit spicy for us. Again, this goes back to the problem of not being able to do a good job removing the seeds and veins, due to the jalapenos being so soft. But if you enjoy spicy salsa, this may be perfect for you.
Filling Canning Jars with Salsa Ranchera
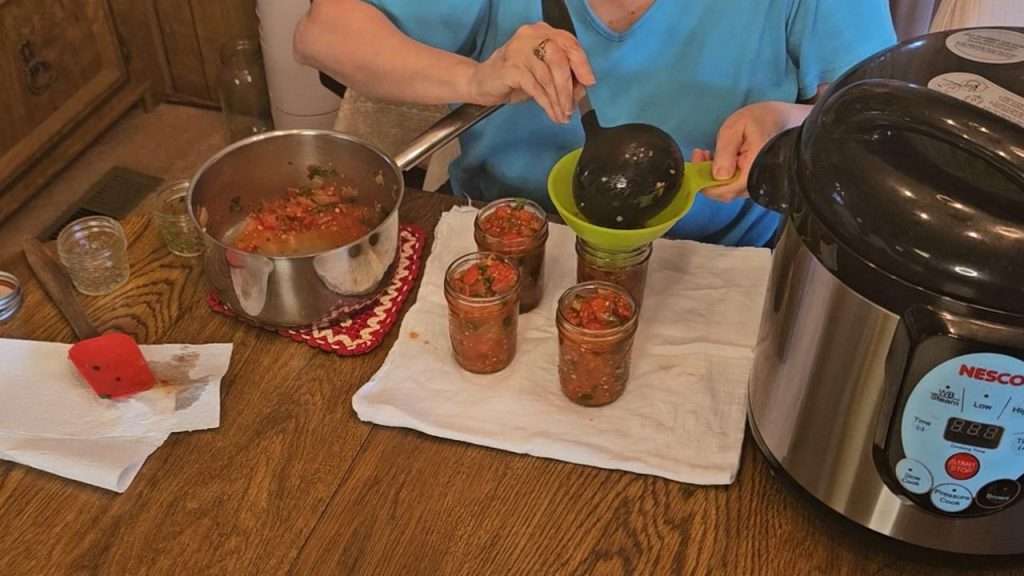
Now it’s time to fill the jars with your delicious, salsa ranchera! Start off by ladleing the salsa into the jars, using a ladle and canning funnel, up to 1/2″ headspace.
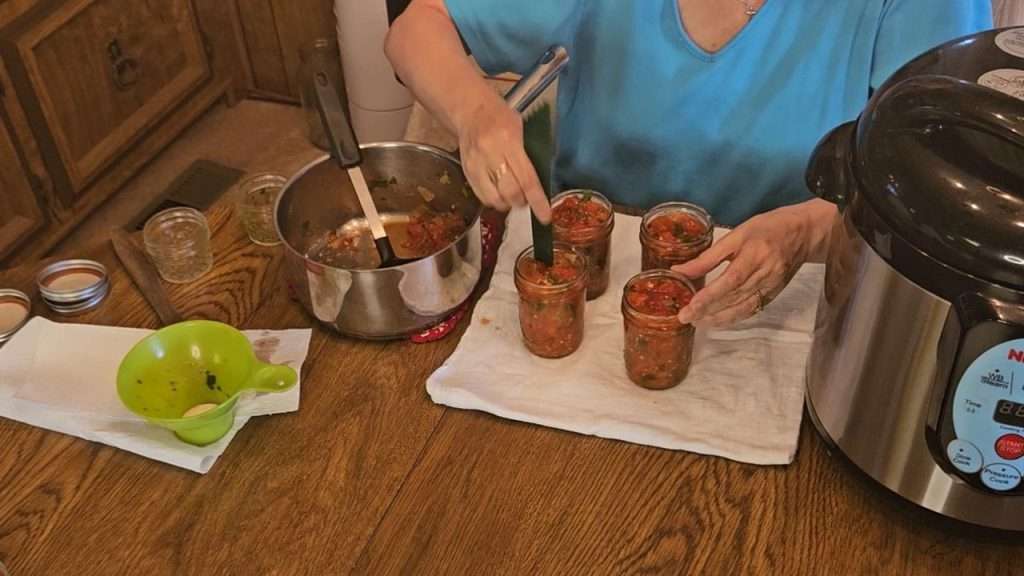
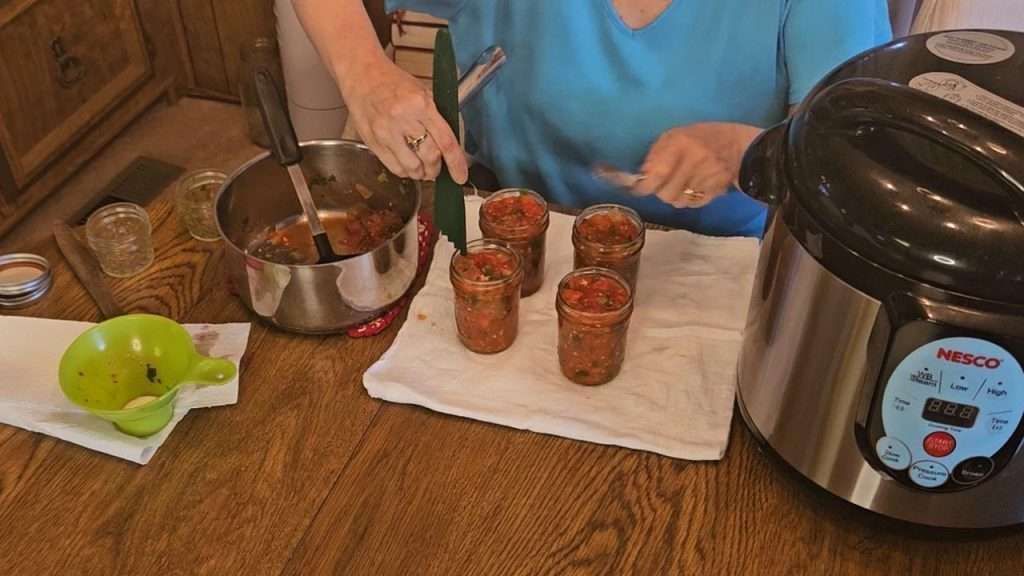
Next, debubble the jars and recheck the headspace.
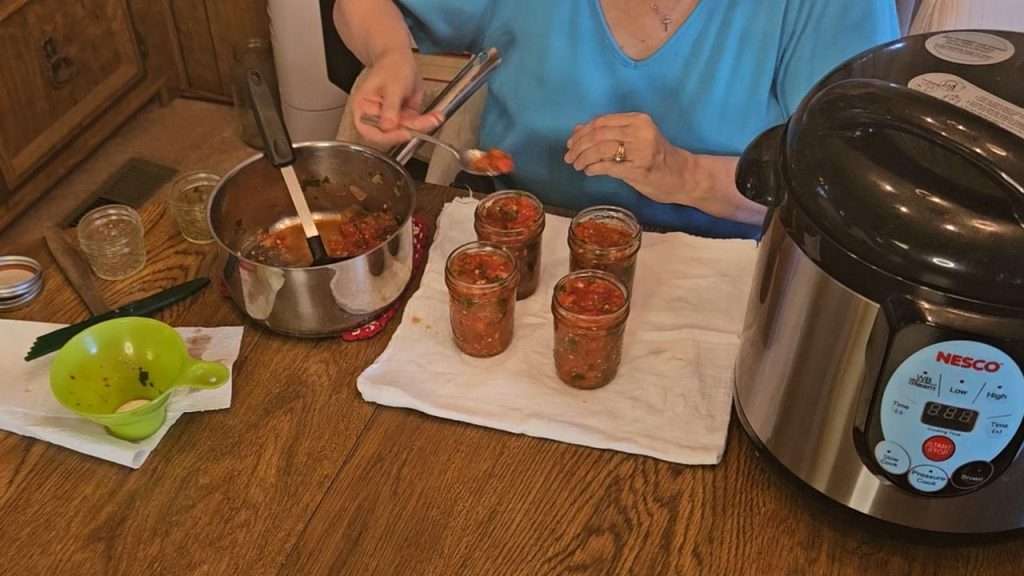
Use a spoon to remove or add salsa to jars to bring them all up to 1/2″ headspace.
Make every jar count. Learn how to set smart canning goals, track your inventory, and build a pantry your family will love—with the Home Canning Success System.
👉 Check it out on AmazonAdding Canning Lids and Rings
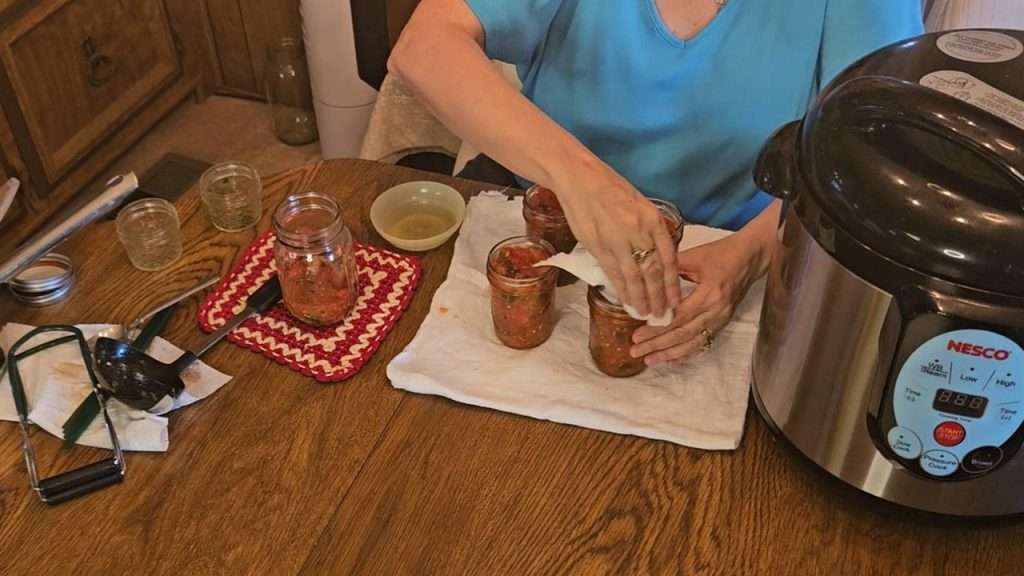
Using a paper towel or cloth dipped in water or vinegar, wipe the rims.
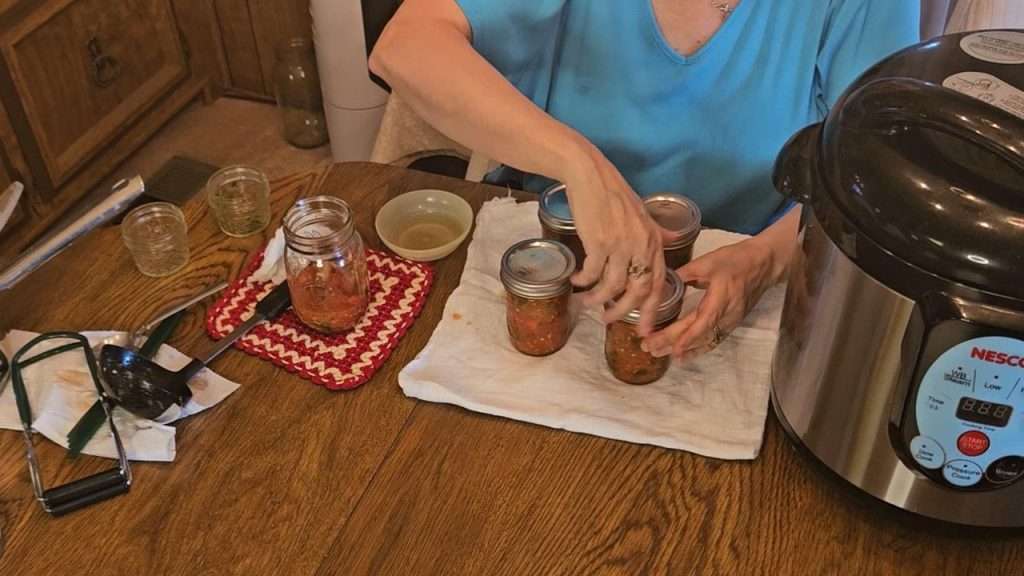
Put on the lids, and canning rings, fingertip tight.
Canning Salsa Ranchera
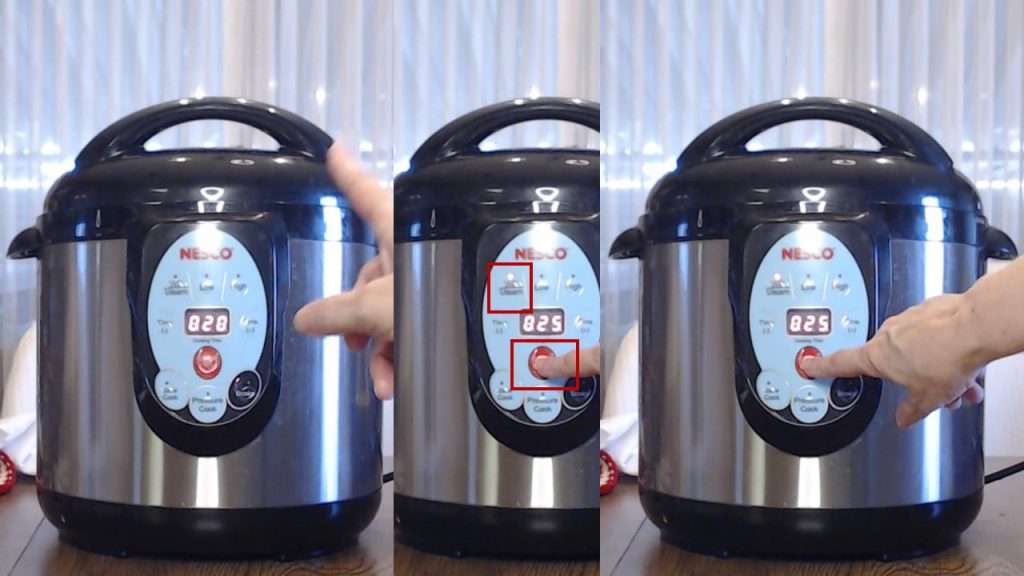
Now let’s talk about the actual process of canning salsa ranchera. This is a water bath or steam canning recipe.
Your All-in-One Canning Companion

The Home Canning Success System is your all-in-one canning companion. Whether you’re brand new or a seasoned canner, this book helps you plan, organize, and track your projects with confidence. Ditch the guesswork—preserve with purpose!
The processing time is for both pints and half pints is 20 minutes, adapting for altitude. As an example, due to my altitude, I processed the salsa for 25 minutes.
Conclusion
Canning Salsa Ranchera was a rewarding process that resulted in a delicious, homemade salsa that I’m excited to enjoy throughout the year. The combination of simple ingredients and the depth of flavor from roasting the vegetables makes this recipe a keeper.
Whether you prefer a spicy kick or something milder, this Salsa Ranchera can be tailored to suit your taste, simply by changing the type of peppers you use. If you’re looking to stock your pantry with a versatile, flavorful salsa, give this recipe a try—you won’t be disappointed!
Related Articles
If you enjoyed this article, you are sure to enjoy these related articles:
💬 I’d love to hear from you!
Have you tried this yourself? Have a question or tip to share? Leave a comment below — your experience or question could help someone else, too!