

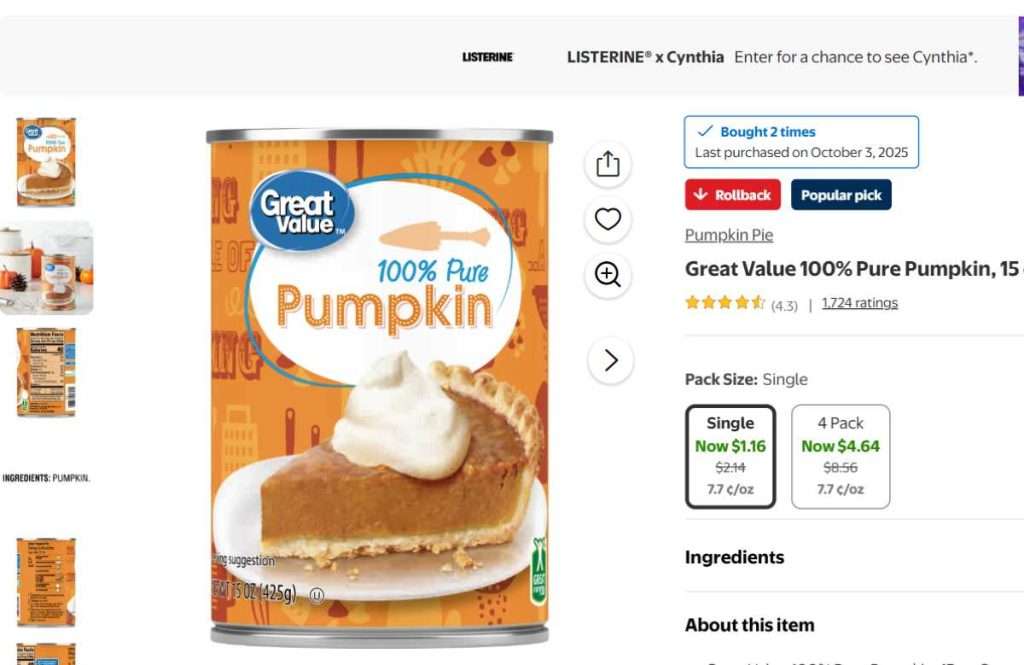
Tis the season to save big on canned pumpkin! Every October and November, the price of canned pumpkin drops significantly, making it the perfect time to stock up. The great thing about canned pumpkin is that it’s already shelf stable, so you don’t have to dehydrate it right away. You can simply buy it at the best price, tuck it into your pantry, and then dehydrate it later when you have the time.
Why Dehydrate Canned Pumpkin?
Even though it’s already shelf stable, dehydrating canned pumpkin has several great benefits.
One of the biggest reasons is that canned pumpkin is simply easier to work with than fresh pumpkin. If you’ve ever processed fresh pumpkin, you know it takes quite a bit of work: washing, cutting, scooping out the seeds, cooking, and then pureeing it before it’s even ready to dehydrate. Unless you grow your own pumpkins and enjoy the whole process, canned pumpkin wins hands down in terms of convenience. It’s often cheaper too, especially during fall sales.
Dehydrating canned pumpkin also saves a surprising amount of space. Once dehydrated and powdered, pumpkin takes up roughly 75% less room—an important perk if you have limited storage space or maintain a prepper pantry.
Another benefit is that dehydrated pumpkin powder creates far less waste. Many recipes call for only part of a can, which often leads to leftover pumpkin puree that ends up forgotten in the fridge or freezer. When you store dehydrated pumpkin powder instead, you can rehydrate exactly the amount you need.
Finally, pumpkin powder is a great way to boost the nutrition of everyday foods. It blends beautifully into smoothies, soups, chili, pancakes, flatbreads, oatmeal, and more. And if your family isn’t big on pumpkin, they won’t taste a small amount—it just adds a touch of extra nutrients.

How to Dehydrate Canned Pumpkin
This article includes affiliate links.
Now let’s get into how to dehydrate canned pumpkin.

Dehydrating canned pumpkin is straightforward, but there are a few tips that make the process smoother and help ensure an even, thorough dry.
Step 1: Decide How Much Canned Pumpkin to Put on Each Dehydrator Tray
Before you start spreading pumpkin onto trays, it helps to understand how much puree each tray can realistically hold. Your dehydrator model will affect this, and this is one reason I recommend starting with smaller amounts. Once you spread pumpkin onto the first dehydrator tray, you’ll know whether or not you can add more. For instance, if after spreading the pumpkin puree on the tray, it’s super thin or doesn’t even fill the tray, you can put more pumpkin onto the tray.
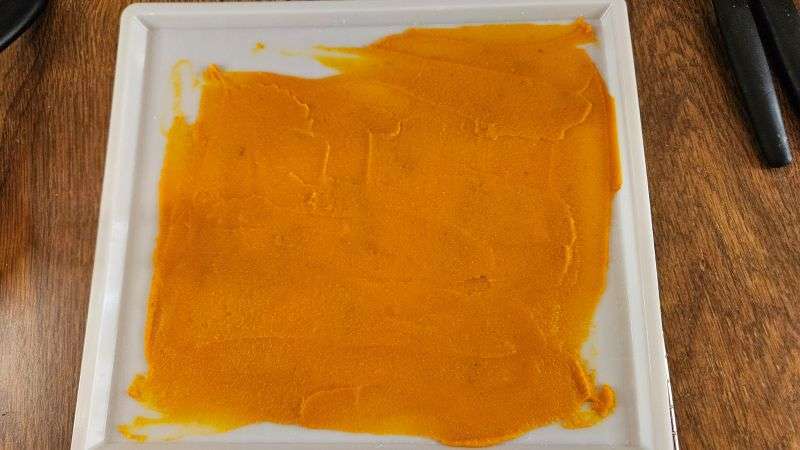
For reference, I’m using the Cosori 6-tray stainless steel dehydrator (Amazon) with fruit leather trays. When I first began experimenting, I started with ¾ cup of pumpkin puree on a tray just to get a feel for how thick the layer of pumpkin would be. While this amount did spread nicely, it didn’t fully cover the tray, so I knew I could add more.
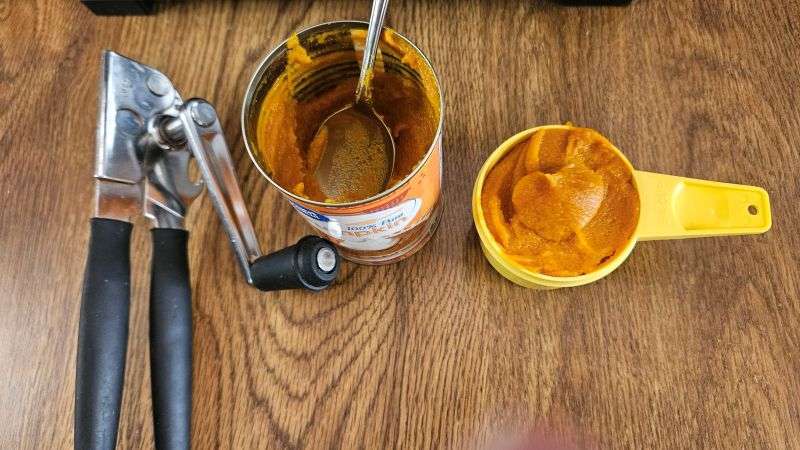
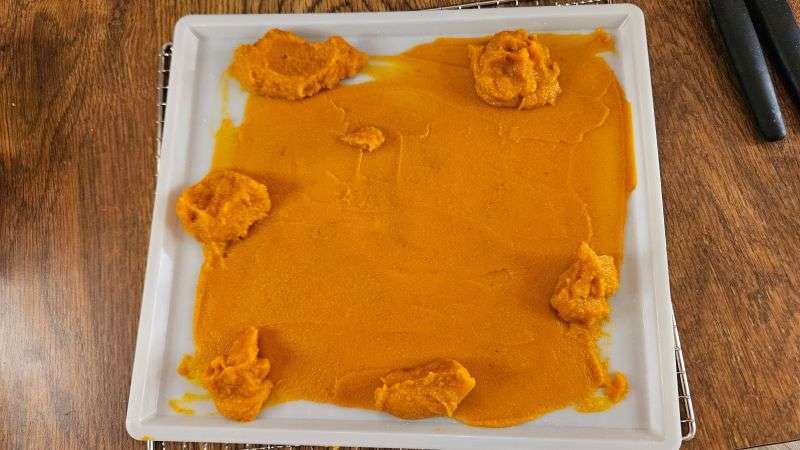
To get an even layer, it helps to add small blobs of puree in different areas of the tray rather than dumping it all in one big blob. Dumping a big blob of pumpkin onto the tray all at once tends to create a thicker center that dries much slower than the edges. Smaller spoonfuls make it easier to spread the puree into an even, uniform layer.
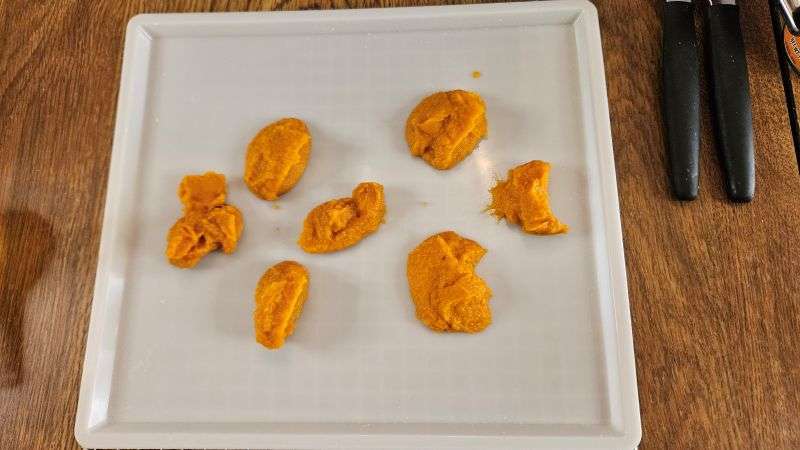
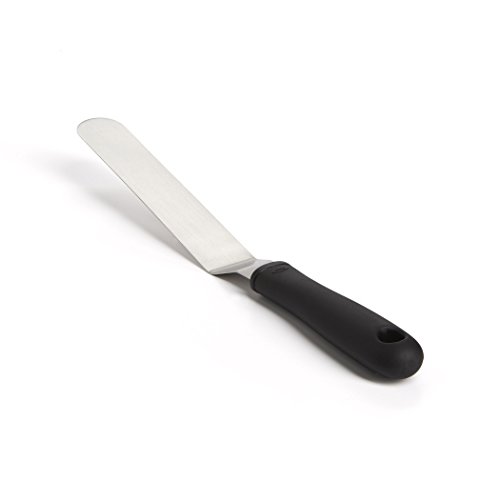
Once the tray is dotted with puree, use an offset spatula (Amazon) to spread it out. I highly recommend this tool. Offset spatulas are commonly used for frosting cakes, but they’re fantastic for dehydrating projects because they help create a smooth, even surface—something that truly makes a difference when dehydrating pumpkin puree. Uneven thickness means uneven drying, which can add hours to the process.
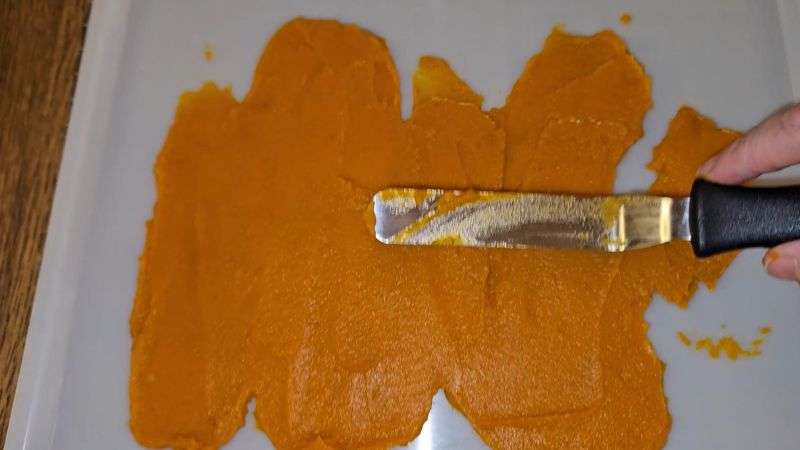
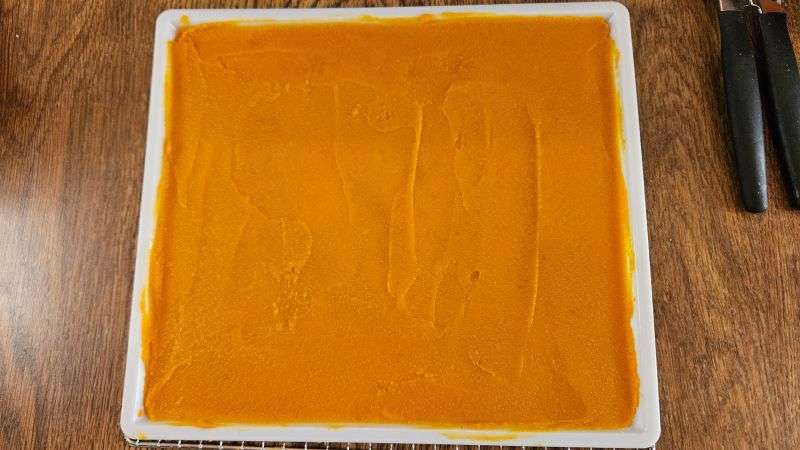
After testing different amounts, I found that 1½ cups of puree per Cosori fruit leather tray (Amazon) was close to the maximum capacity. At that amount, the puree spread out to about ¼ inch thick, reaching the rim of the tray. Anything thicker won’t dry properly. Aim for a thickness of ⅛ to ¼ inch of pumpkin puree on each tray.
Doing the Math to Figure Out How Much Pumpkin Puree Per Dehydrator Tray
If you want to dehydrate whole cans without having leftovers, here’s the math: A 15-ounce can contains about 1¾ cups of pumpkin puree. I had five cans, which equals 8.75 cups total. Dividing that by six trays comes out to 1.46 cups per tray, which I rounded up to 1½ cups. Starting smaller and adding more is always easier than scraping puree off the tray, so feel free to adjust based on your dehydrator.
Below is what the puree looks like at different amounts:
Step 2: Load the Dehydrator
As you spread the pumpkin puree onto each dehydrator tray, load them into the dehydrator. If you’re curious how mine looked, here’s a peek:
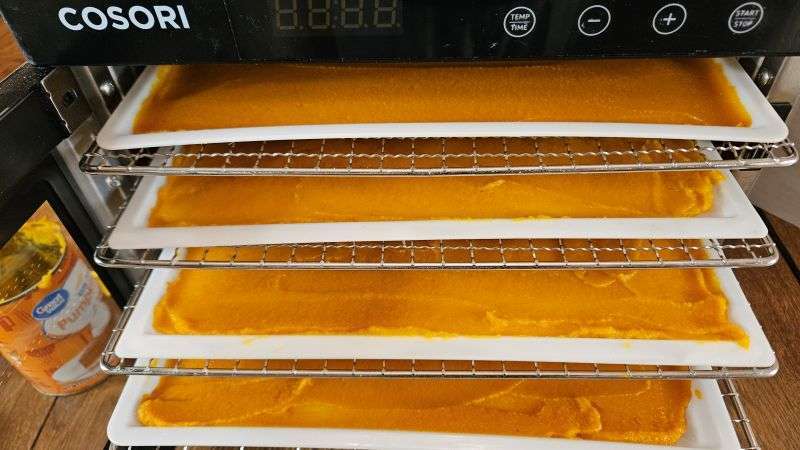
Obviously, if I had fewer cans of pumpkin puree, I could have either spread less on each dehydrator tray, or used fewer trays.
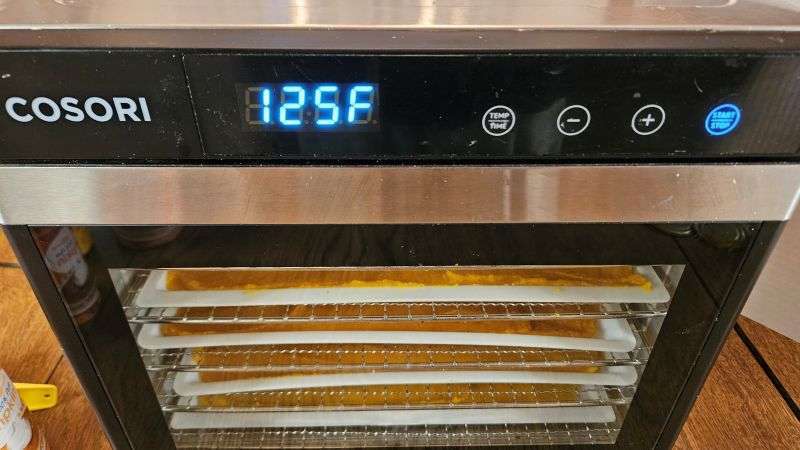
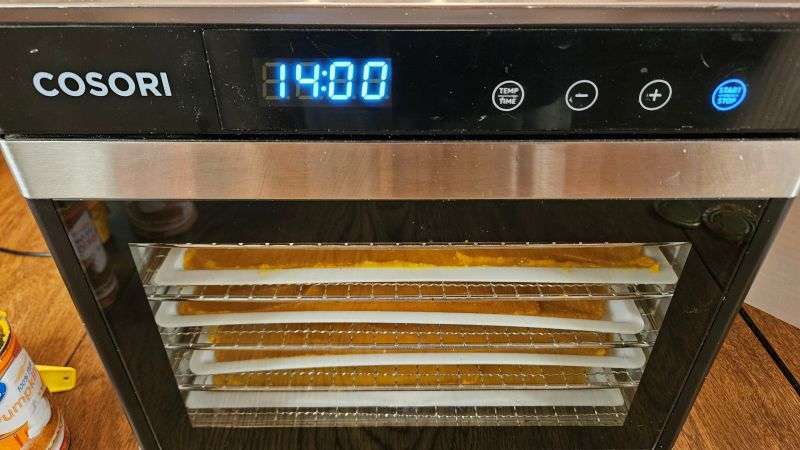
Step 3: Dehydrate Canned Pumpkin at 125°F
Pumpkin puree dehydrates best at 125°F. Most batches fully dry within 10–12 hours, although this varies based on thickness and humidity. I set mine for 14 hours because I dehydrated overnight and didn’t want the machine shutting off while I was asleep.
Step 4: Check the Dehydrated Pumpkin for Doneness
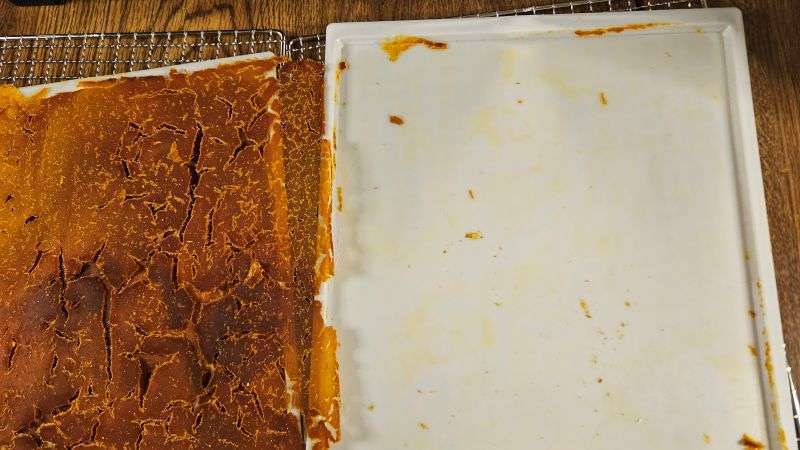
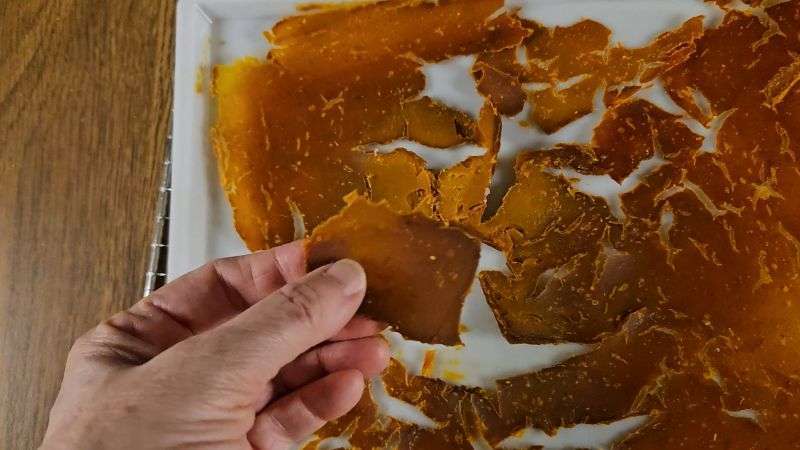
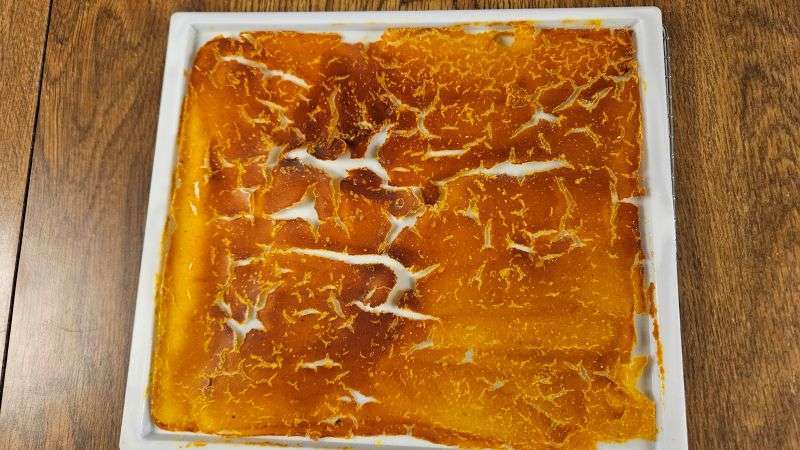
When pumpkin puree is spread in a thin layer, it forms a thin, flexible sheet when dehydrated. When it’s mostly dry, it’s easy to pull up off the tray. You should be able to lift it and see your fingers faintly through it.
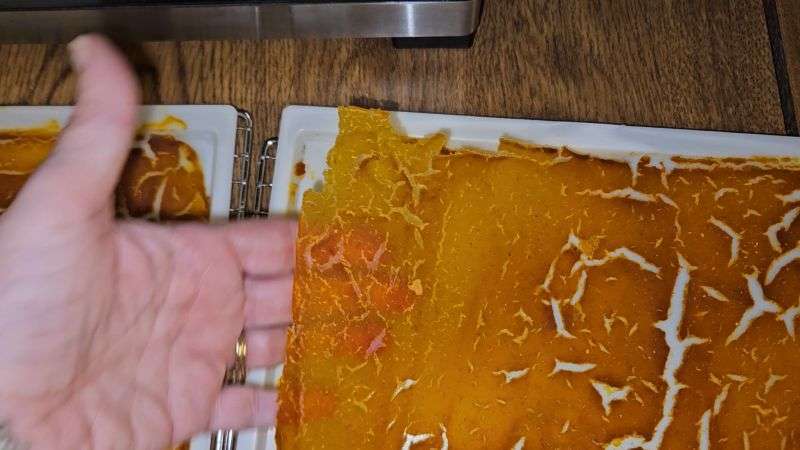
However, if some areas were spread thicker, those parts will still feel tacky and won’t peel up easily.
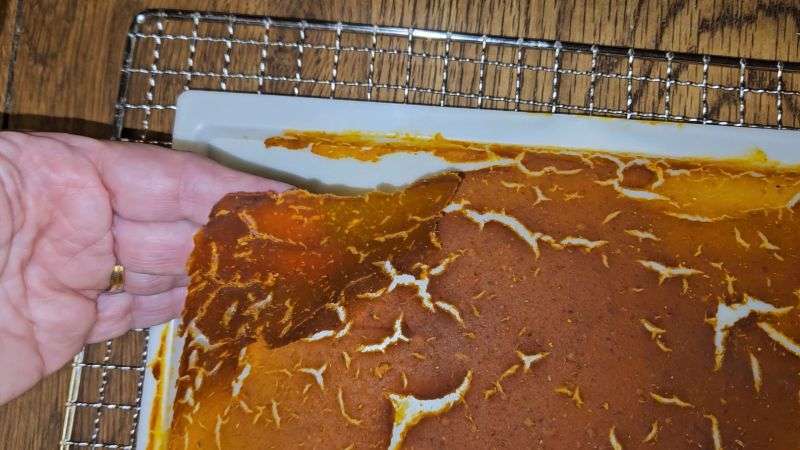
Once the sheet releases from the tray easily, you can peel it off, flip it, and let the underside finish drying if needed. Flipping helps accelerate the process.
Note that I didn’t need to do this much, because it was dehydrating while I was sleeping, and therefore in the dehydrator for a longer period before I could check on it. If you are awake when dehydrating your pumpkin puree, around eight hours in you may be able to remove it from the tray and flip it over.
Also note that when you remove it from the tray and flip it over, you can put it onto a mesh dehydrator screen rather than a fruit leather tray for better airflow. This will help speed up the drying process.
If only certain sections are still damp, tear those pieces into smaller bits so they dry faster.
Storing Dehydrated Pumpkin
Dehydrated pumpkin can be stored as pieces or ground into pumpkin powder. Pieces last longer, but powder takes less space and is easier to use when cooking or baking.
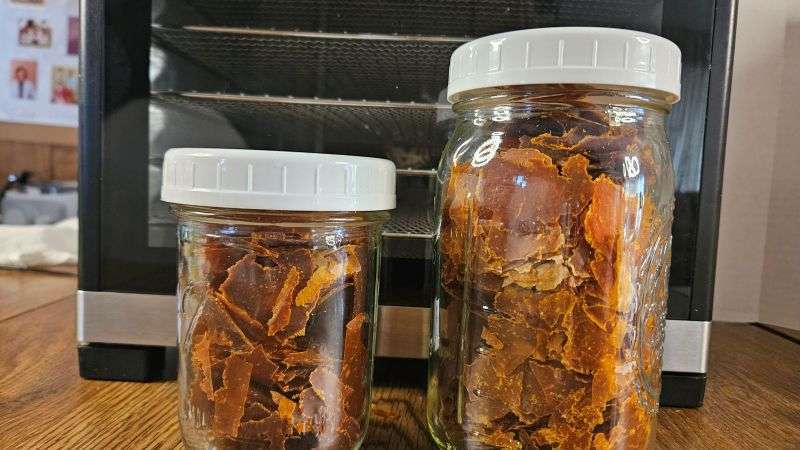
This small, easy-to-store vacuum sealer is made for mason jars. It’s cordless, simple to use, and a great tool for long-term food storage.
👉 Check it out here.
How to Make Pumpkin Powder
Pumpkin powder is the easiest way to use dehydrated pumpkin. You can easily spoon some pumpkin powder into pancake batter and other recipes. Also, while it’s possible to rehydrate pieces of dehydrated pumpkin puree, pumpkin powder rehydrates more easily.
Here’s how to make pumpkin powder.
Break the dehydrated pumpkin into small pieces before blending. This reduces strain on the blender and helps you get a finer grind.
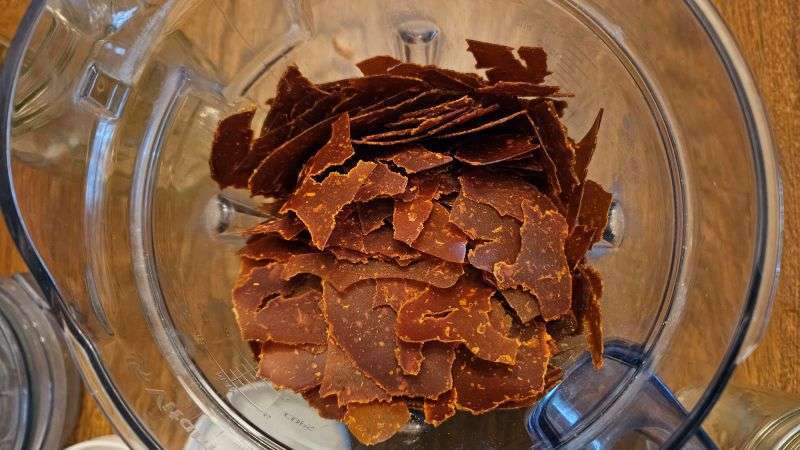
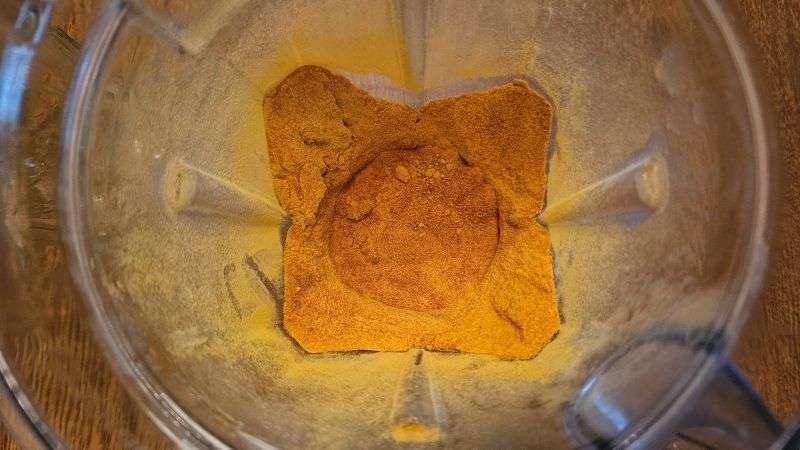
A high-powered blender (I used my Vitamix Dry Grains container) creates a very fine powder, but any blender will do. A coffee grinder works too, though the small capacity makes it a slower process.
Let the powder cool, break up any clumps, and then measure it immediately. This helps you know exactly how much powder each can produced.
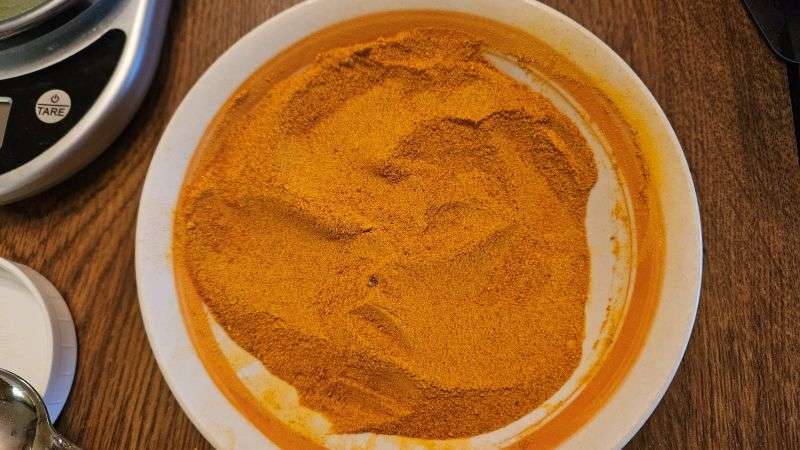
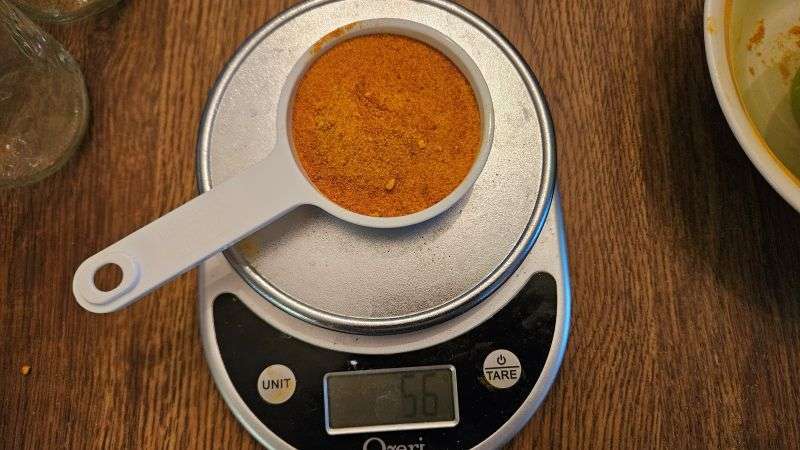
From five 15-ounce cans of pumpkin, I ended up with about 1⅓ cups of pumpkin powder, or 56 grams per can. A scant ⅓ cup of powder equals one full 15-ounce can of pumpkin puree when rehydrated.
How to Rehydrate Pumpkin Powder
Pumpkin powder absorbs water gradually, so it’s best to start with a little less and add more after 5–10 minutes if needed. The texture thickens as it sits.
As a general rule of thumb, you’ll need one part pumpkin powder to four-five parts water.
Here’s a simple table to help you rehydrate the amount you need:
| Pumpkin Powder | Start With This Much Water | Makes Approximately |
| 1 tbsp | 4–5 tbsp | ¼ cup puree |
| ¼ cup | 1–1¼ cups | 1 cup puree |
| Scant ⅓ cup | 1¾–2 cups | 15 oz can substitute |
| ½ cup | 2¼–2½ cups | ~2 cups puree |
| 1 cup | 4–5 cups | ~4 cups puree |
If the rehydrated pumpkin looks a little soupy at first, let it rest. It will thicken noticeably as the powder absorbs water. If necessary, you can always add more pumpkin powder to get it to a thicker consistency, though it’s better to start with less water and add more if needed.
Conclusion
Dehydrating canned pumpkin is one of the easiest and most rewarding dehydrating projects you can do. It saves space, lets you take advantage of seasonal sales, reduces food waste, and gives you a versatile ingredient that works in everything from smoothies to baked goods to soups. With pumpkin powder in your pantry, you can make exactly the amount you need—no more forgotten leftovers in the fridge.
Whether you store it in pieces or grind it into powder, dehydrated canned pumpkin is a smart addition to any prepper pantry or small-space kitchen. I hope this tutorial helps you feel confident getting started.
Pin it for Later


Related Articles
If you enjoyed this article, you’re sure to enjoy these related articles.
- How to Dehydrate Mashed Potatoes for Your Prepper Pantry
- How to Freeze Cranberries
- How to Make Cranberry Fruit Leather
Print it for Later
How to Dehydrate Canned Pumpkin
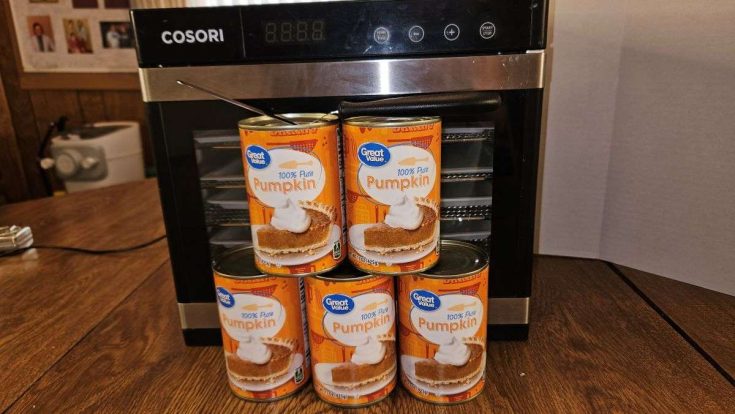
Learn how to dehydrate canned pumpkin for long-term storage, make pumpkin powder, and rehydrate it for recipes. Perfect for prepping, saving space, and reducing food waste.
Materials
- Canned pumpkin
Tools
- Dehydrator with fruit leather trays
- Offset spatula
- Blender or coffee grinder (for making powder)
- Airtight jars for storage
Instructions
Step 1: Prep the Pumpkin
Spread small spoonfuls of canned pumpkin onto a fruitleather tray. Start with about ¾ cup to see how it spreads, then increase up to1½ cups if your dehydrator tray allows.
Step 2: Spread Evenly
Use an offset spatula to spread the pumpkin evenly to athickness of ⅛–¼ inch. A smooth, even layer helps the pumpkin dehydrate fasterand more uniformly.
Step 3: Load the Dehydrator
Place each filled tray into your dehydrator. If you’redehydrating several cans, continue preparing trays until all trays are filled.
Step 4: Dehydrate at 125°F
Set the dehydrator to 125°F and let it run for 10–12 hours.Thicker sections may need up to 14 hours.
Step 5: Check for Doneness
The pumpkin is done when it forms a dry, flexible sheet thateasily peels off the tray. If some parts are still tacky, tear them intosmaller pieces and return them to finish drying.
Step 6: Store as Pieces or Powder
Store dried pieces in airtight jars, or blend into pumpkinpowder for easier use. Let the powder cool, break up clumps, and measure it soyou know how much each can yielded.
Notes
- • A 15-ounce can contains approximately 1¾ cups of pumpkin puree.• When ground, one can yields about 56 grams (a scant ⅓ cup) of pumpkin powder.• To rehydrate: mix 1 part pumpkin powder with 4–5 parts water. Start with less water and add more as needed after 5–10 minutes.• Pumpkin powder works great in baking, soups, smoothies, and more.
Recommended Products
As an Amazon Associate and member of other affiliate programs, I earn from qualifying purchases.


💬 I’d love to hear from you!
Have you tried this yourself? Have a question or tip to share? Leave a comment below — your experience or question could help someone else, too!