

If you’ve ever wondered how to freeze oranges, you’re in the right place! Freezing oranges is a simple way to make fresh fruit last longer and reduce waste. When oranges are in season or on sale, it’s easy to end up with more than you can use before they spoil. Freezing lets you preserve oranges at their peak so they’re ready when you need them—for smoothies, snacks, salads, and more.
This method works well for anyone who likes to keep fruit on hand without constant trips to the store. I personally stock up on fruit when it’s on sale, and freezing it is one of the easiest ways to make sure it doesn’t go bad. I also make smoothies for my family six days a week, and frozen fruit is always part of them. Freezing fresh fruit, such as oranges, ahead of time means I don’t have to buy as much pre-frozen fruit later, which helps keep grocery costs down.

To my surprise, I discovered that oranges freeze better than many other fruits, so they are a great thing to stock up on when they are on sale. Oranges are also one of the easiest fruits to prepare for freezing.
In this post, I’ll show you how to freeze oranges step by step using a straightforward, hands-on method. I’ll walk you through exactly what I do—from prepping the oranges to getting them into the freezer—so you can confidently freeze oranges at home without overthinking the process.
How to Freeze Oranges (Step-by-Step)
Now let’s get into how to freeze oranges, step-by-step. You’ll be amazed at how easy this is.
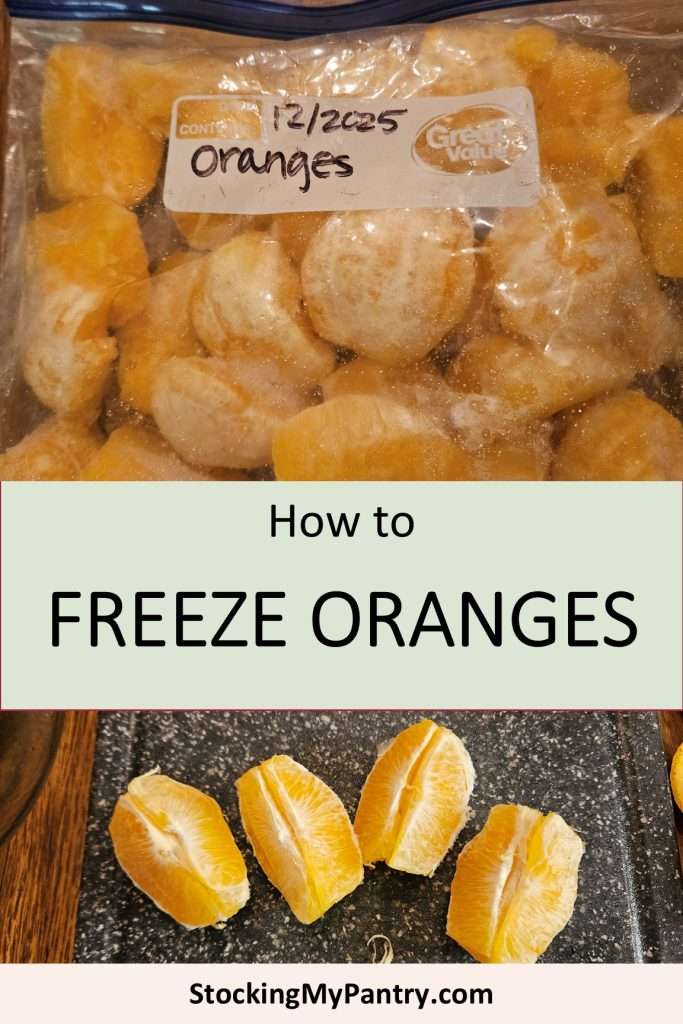
Step 1: Peel the Oranges
You may be tempted to just toss whole, unpeeled oranges into the freezer. And technically, that’s okay to do from a safety perspective. But it isn’t the best way to go about it. Here’s why.
First, it takes longer to freeze and thaw whole, unpeeled oranges. Second, it can be quite messy to deal with frozen, unpeeled oranges. You won’t be able to easily peel them while frozen, and if you wait until they thaw and then peel them, you’ll end up with a juicy mess.
Thankfully, peeling oranges to prepare them for freezing is super easy. I do it in the following way:
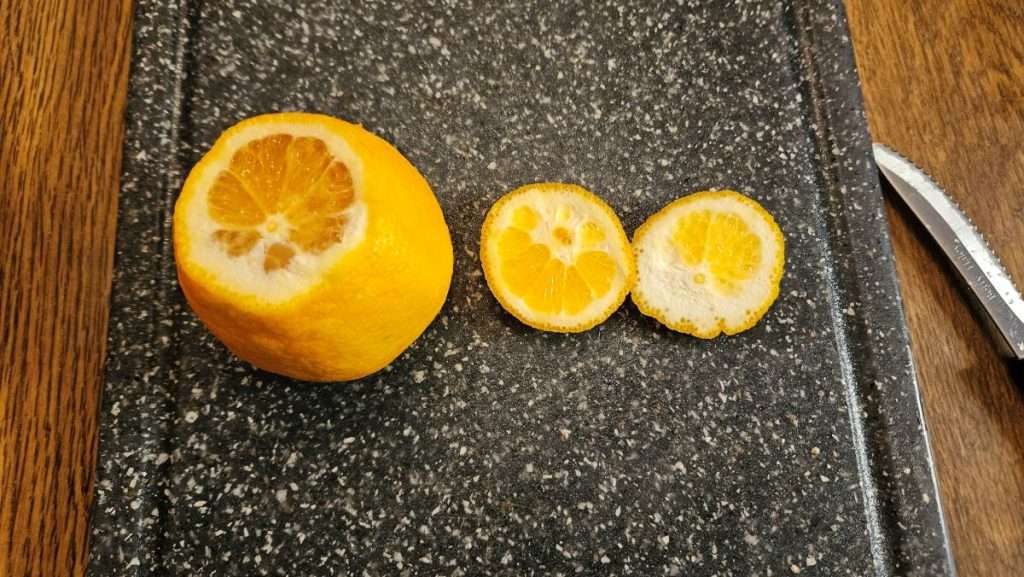
First, cut the top and the bottom off of each orange.
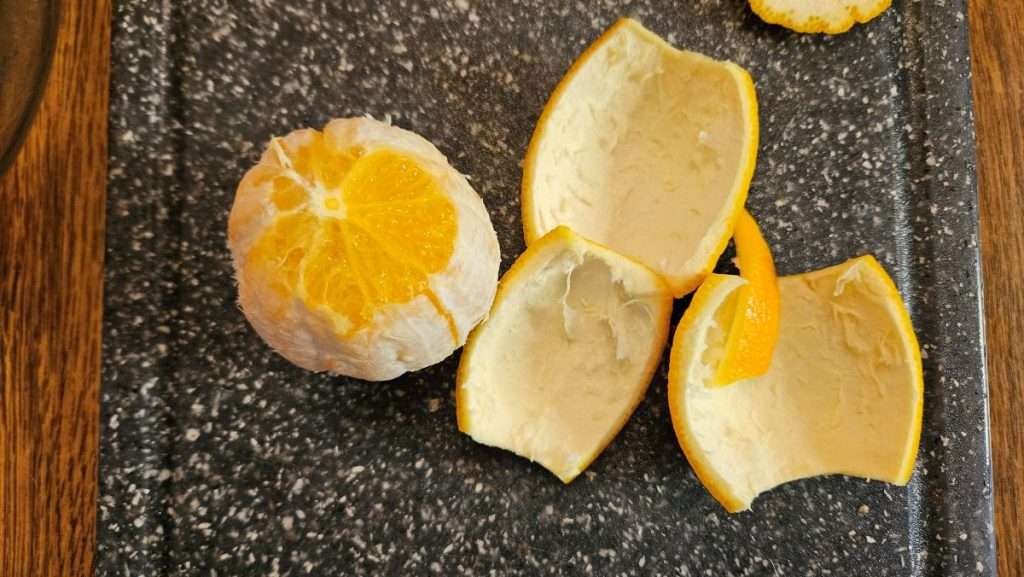
Next, score the orange peel from top to bottom in a few different sections. I generally do this in four sections, but if you’re working with very large oranges, you may want to do six sections instead.
Finally, use your fingers to remove the peel one little section at a time.
Step 2: Separate the Oranges into Sections
Next, separate each orange into sections. The easiest way that I’ve found to do this is to stick your thumb into the middle of the orange, and then pull it into halves.
From there, I like to break it into halves again, to end up with the orange in fourths. If desired, you can continue to separate the orange into smaller sections, all the way down to individual pieces, but I find that when I go to use the frozen oranges, I always use at least 1/4 of the orange at a time.
Step 3: Remove the Strings

Regardless of the type of oranges you purchase, there are generally some “strings.” You’ll especially notice them in the middle of one or more of the sections. Thankfully, it’s super easy to pull off the strings.
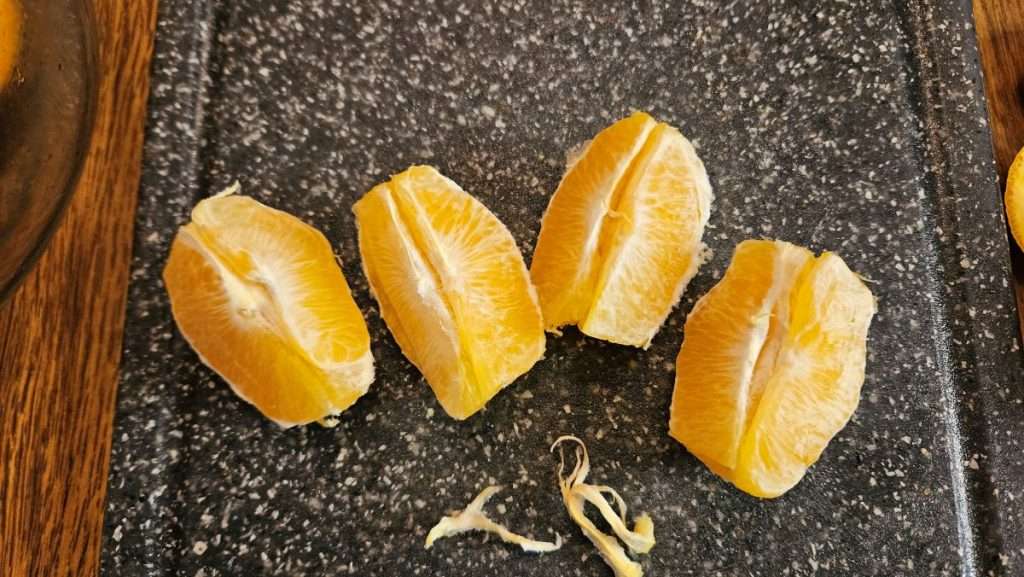
Step 4: Leave the Pith (for Now)
Depending on the type of oranges you’re working with, there may be quite a bit of pith left on the oranges, but don’t worry about removing that yet. While it’s technically just fine to take the time to remove the pith before freezing your oranges, I find that it’s much easier to remove using a paring knife after they are frozen.
Note that you can also wait until the oranges are frozen to remove any seeds. The oranges I worked with were seedless, so I didn’t need to do that part. (Later in this blog post you’ll see a video by Phyllis Stokes. She shows how she cuts out seeds when the oranges are frozen.)
Freezing and Storing the Oranges
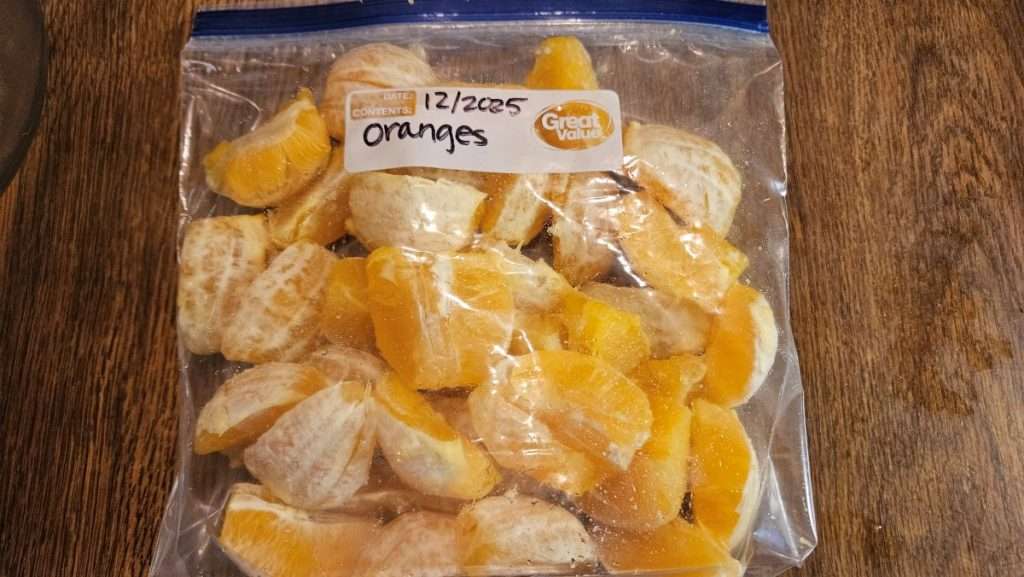
Thankfully, freezing and storing oranges is super easy. If you’ve read some of my other blog posts on how to freeze fruit, such as my posts on how to freeze blueberries, or how to freeze grapes, you’ll see that I often flash freeze fruit before putting them into freezer storage bags or containers.
The good news is, since, for the most part, the membranes of the individual orange sections will still be intact, flash freezing ahead of time isn’t necessary. While there is a slight chance that the orange sections will stick together when freezing, if that happens, they are easy to pull apart.
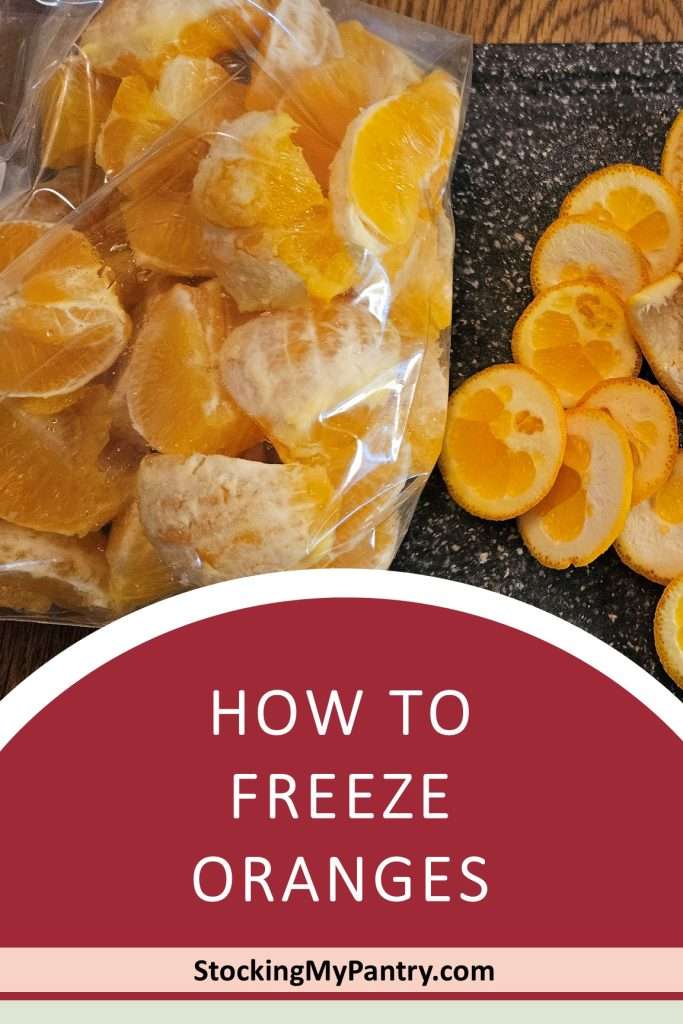
I simply put my prepared oranges into a labeled freezer bag, squeeze out the air, and stick it in the freezer. Since the oranges don’t tend to stick together when frozen, you don’t need to worry about ending up with an awkwardly shaped solid block of frozen fruit that ends up tumbling out of the freezer.
How to Use Frozen Oranges

I mentioned earlier that it’s easier to remove the pith from oranges, when they are frozen, compared to when they are fresh. You can do so by using a paring knife, and cutting off the pith. At this point, you can easily cut out any seeds from the orange – again, while they are still frozen.
Frozen oranges are delicious in smoothies. This is one of my favorite ways to use them. I’ve also put some frozen, unthawed oranges in a blender together with some Greek yogurt, to make a healthy, orange creamsicle-like dessert.

You can also thinly slice frozen oranges and use them in a salad. I like to cut them while they are still frozen, and then once they’ve thawed, add them to a salad. I also give the sliced up, thawed oranges to my 94-year-old mom and she loves eating them with a fork. This is easier for her than eating the whole sections.
My husband and I like to let the frozen orange sections thaw, and then eat them by hand as a delicious snack or side dish.
Does the Texture Change When Oranges are Frozen?
If you’re like me, you always wonder what the texture of frozen fruit is going to be like when you let it thaw. Some of the fruit that I freeze, such as apples, are soft and mushy when they thaw. The good news is, frozen oranges are almost exactly like fresh oranges.
Before I froze oranges for the first time, I watched a video by Phyllis Stokes on how to freeze oranges. (For reference, I’m embedding the video below. It’s worth watching, because she includes a lot of great tips on how to freeze oranges.
According to her, frozen oranges, when thawed, are just like fresh. I would say that she is mostly right. However, there are some slight differences.
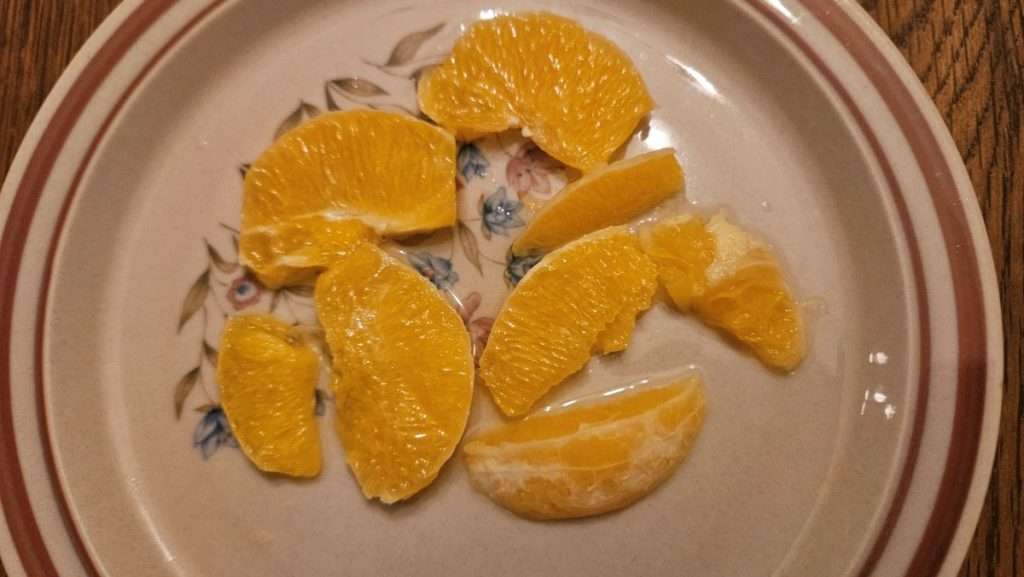
The only real difference that I’ve noticed is that when you slice up the frozen oranges, once they thaw, you’ll notice that there is a fair amount of juice on the plate. This would make cut up oranges a bit more messy to eat (by hand anyway), compared to fresh oranges.
I also tried leaving the orange sections to thaw without cutting them up. In that case, they were much less messy, though you can see a small amount of juice on the plate.
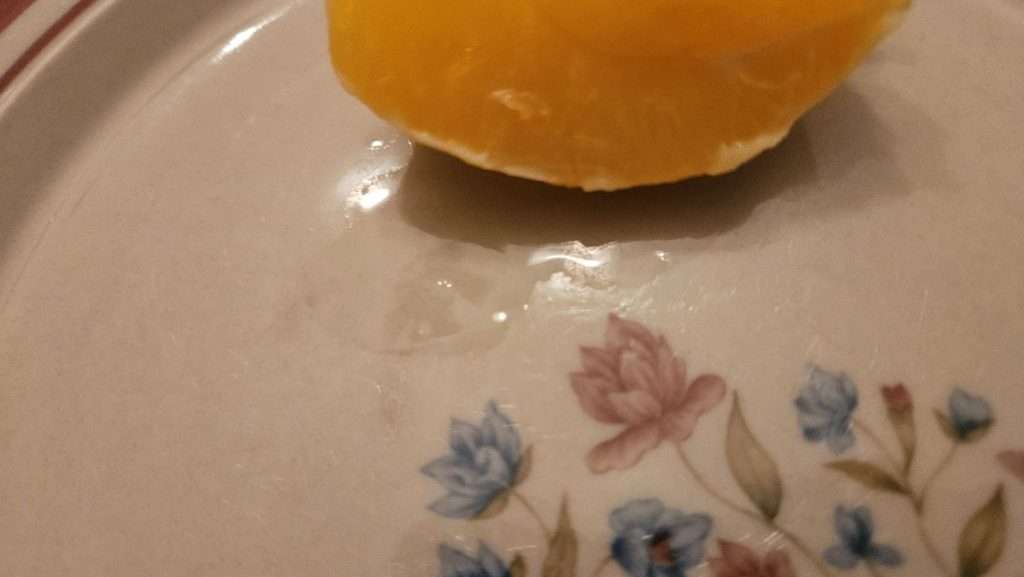
In terms of taste and texture, frozen oranges, once thawed, taste very much like fresh oranges, and are not at all mushy. They are delicious!
How to Use Orange Peels

If you’re into food storage like I am, you may hate to toss perfectly good orange peels away. The good news is, there are good ways to use them, instead of just tossing them.
The first way is to use the orange peels to create orange zest. If you’re going to do that, I recommend zesting the oranges before peeling them. You can either freeze the orange zest or dehydrate it. When dehydrating it, I like to use my Cosori mini-dehydrator (Amazon affiliate link). It’s small enough that I don’t mind running it for a small load.
Secondly, you can use orange peels to make orange vinegar. Orange vinegar makes a wonderful, natural cleaner, and it cost next to nothing to make! The video below, by Rain Country provides some great tips on how to make and use orange vinegar.
Finally, I love this video by RoseRed Homestead on how to make candied citrus peels, which are wonderful for baking. the process is a fairly long one, but most of the time is hands off, and it’s a simple and delicious way to use up the orange peels.
Why Freezing Oranges Is Worth the Effort
Freezing oranges is an easy, practical way to make the most of fresh fruit—especially when oranges are in season or on sale. With just a little prep, you can stock your freezer with oranges that are ready for smoothies, snacks, or everyday use, without worrying about them going bad in the fridge.
Once you’ve done it even once, the process becomes second nature. Peeling and sectioning the oranges before freezing makes them easier to use later, and freezing them this way helps preserve their flavor and texture surprisingly well. It’s a simple habit that can save money, reduce food waste, and make it easier to keep fruit on hand.
If you regularly buy fresh fruit, make smoothies, or want a flexible way to store oranges for later, freezing them is well worth the small amount of effort up front. It’s one of those simple kitchen tasks that pays off every time you open the freezer.
Related Articles
If you enjoyed this blog post, you’re likely to enjoy these related blog posts.
Pin it for Later


Print it for Later
How to Freeze Oranges

Freezing oranges is an easy way to preserve fresh fruit so it’s ready for smoothies, snacks, or everyday use. This simple method shows how to prep and freeze oranges so they store well and are easy to use later.
Materials
- Oranges
Tools
- Cutting board
- Sharp knife
- Paring knife (optional, for later use)
- Freezer-safe zip-top bags
Instructions
- Prepare the oranges
Wash the oranges. Cut off the top and bottom of each orange. - Peel the oranges
Score the peel from top to bottom in several sections and remove the peel using your fingers. - Separate into sections
Pull the orange apart into halves, then quarters. You may separate into smaller pieces if desired. - Remove strings
Pull off any stringy membranes, especially near the center of the orange. - Leave the pith
Do not worry about removing all the pith at this stage. It is easier to remove after freezing. - Package for freezing
Place the prepared orange pieces into a labeled freezer-safe bag. Remove as much air as possible and seal. - Freeze
Place the bag in the freezer until frozen solid.
Notes
💬 I’d love to hear from you!
Have you tried this yourself? Have a question or tip to share? Leave a comment below — your experience or question could help someone else, too!