

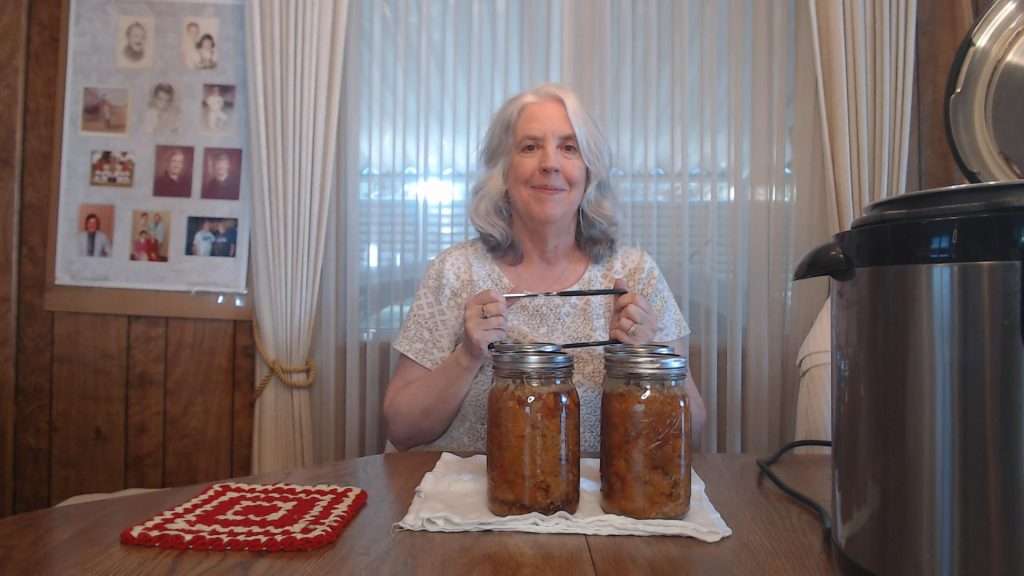
Canning is a fantastic way to preserve meals for future use, and today, I’m sharing a delicious recipe for chicken and gravy dinner in a jar.
This article includes affiliate links.
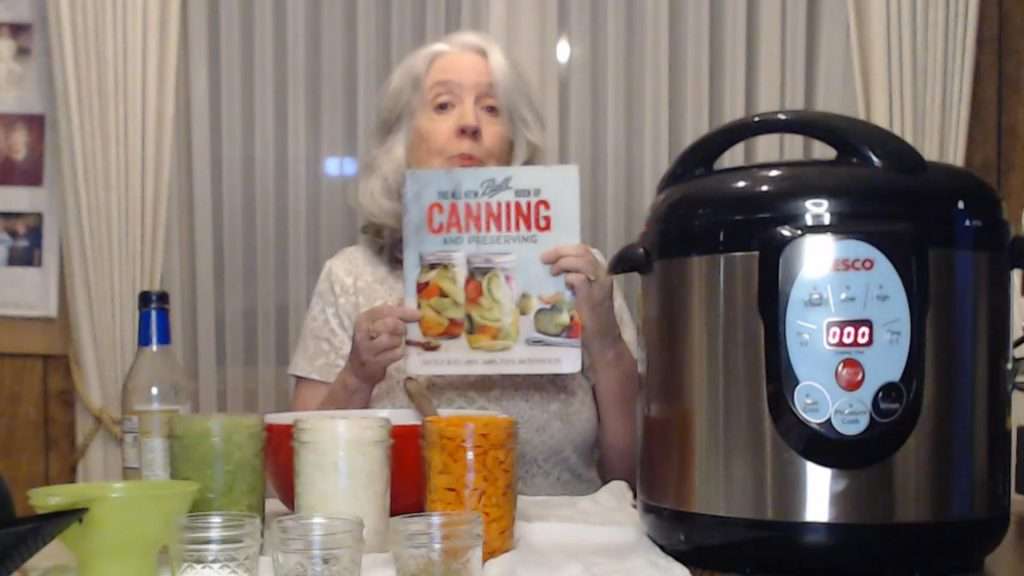
This recipe is adapted from The All New Ball Book of Canning and Preserving (Amazon) and is perfect for a simple, one-jar meal. In this article I provide the recipe exactly as it’s written in the book, and I also share my own little variations.
By following these steps, you can create a ready-to-eat chicken and gravy dinner that is shelf-stable and convenient.
Canning Chicken and Gravy Dinner in a Jar (Video)
Check out the video on how to can chicken and gravy dinner in a jar. The video is also a great place to interact with me and other viewers. :)
Ingredients
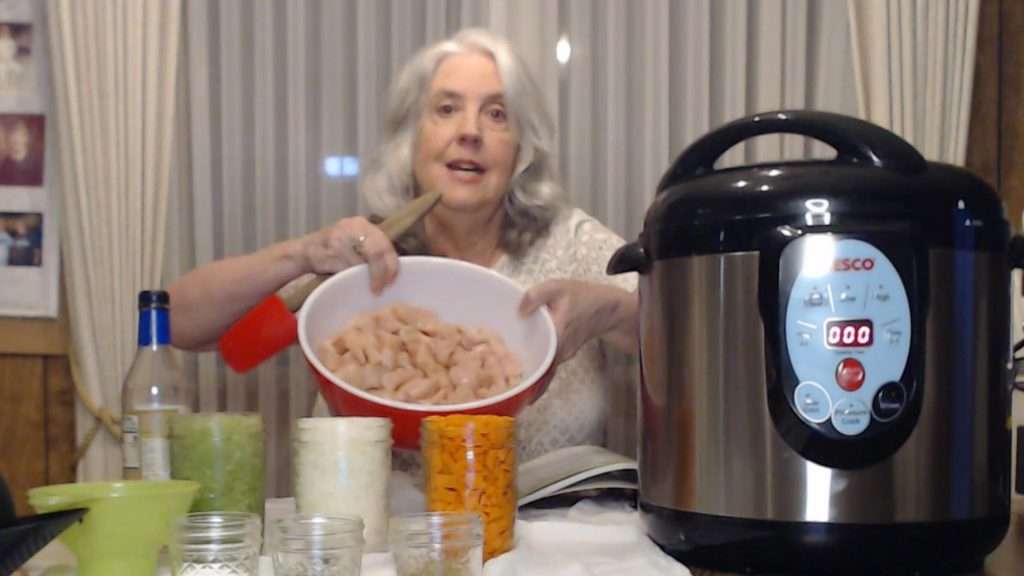
This recipe yields 2 quarts or 4 pints. However, in this demonstration, the recipe was doubled to produce 4 quarts.
For 2 Quarts (as written in the original recipe):
- 2 lbs of boneless, skinless chicken breast, cubed
- 1 cup finely chopped celery (250 mL)
- 1 cup finely chopped onions (250 mL)
- 1 cup peeled and diced potatoes (250 mL)
- 2 tsp salt
- 1 tsp ground black pepper
- 2 tsp poultry seasoning
- 4 tbsp dry white wine (optional)
- Hot chicken broth to fill jars
Note: If you want to make 4 quarts, double all of these ingredients, as you’ll see below.
Adaptations Made in This Recipe
The first thing to be aware of is that I doubled the recipe, so the amounts below are double what the original recipe states. I also made a couple of other changes, such as using carrots instead of potatoes and white cooking wine instead od fry white wine.
Here are the ingredients that I actually used.
- 4 lbs of chicken breast
- 2 cups of finely chopped celery (500 mL)
- 2 cups of finely chopped onions (500 mL)
- 2 cups of carrots (500 mL) instead of potatoes
- 4 tsp salt
- 2 tsp ground black pepper
- 4 tsp poultry seasoning
- White cooking wine instead of dry white wine (2 tablespoons per quart jar)
Ready to can with confidence this year? Grab the Home Canning Success System—your step-by-step guide to organized, stress-free home canning!
👉 Check it out on AmazonEquipment Needed
Here’s the equipment you’ll need for canning chicken and gravy in a jar.
- Pressure canner (such as a Nesco or Carey canner – both available on Amazon)
- 4 quart jars (Amazon) with lids and rings, or 8 pint jars. (Note, this is for the doubled recipe.)
- Kitchen scale (Amazon) (optional but recommended for accurate measurements)
- Large mixing bowl
Step-by-Step Instructions for Canning Chicken and Gravy in a Jar
Now let’s get into the step-by-step instructions for canning chicken and gravy in a jar.
1. Prepare Your Canning Jars and Equipment
Before you begin assembling your ingredients, ensure that your jars and water are heated. Since this is a raw pack recipe, you’ll want to heat the water to approximately 140 degrees Fahrenheit.
If using a Nesco canner or Carey canner, you can follow the instructions in this blog post:
2. Combine the Ingredients
Next, combine the ingredients, except for the dry white wine (or white cooking wine).
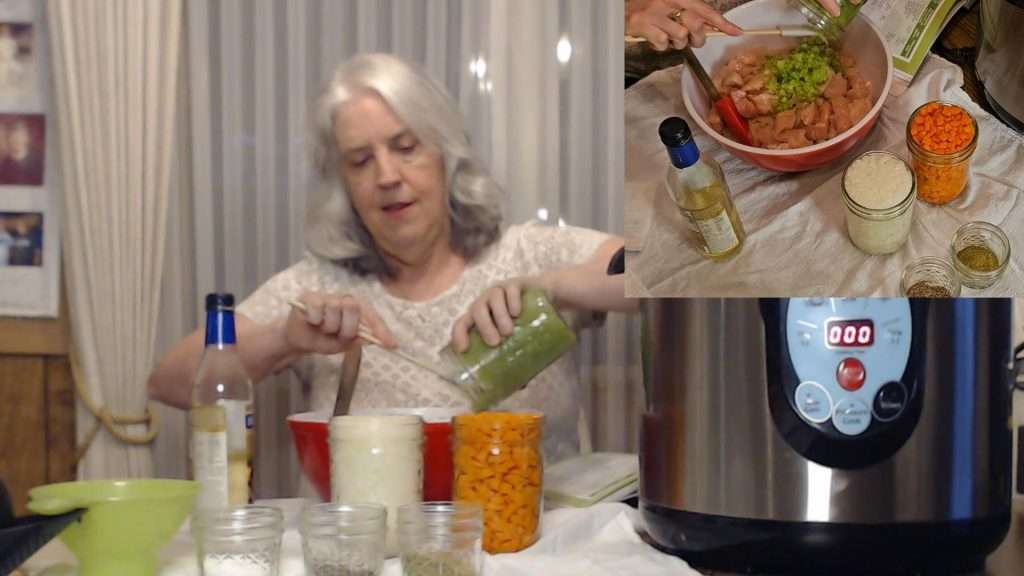
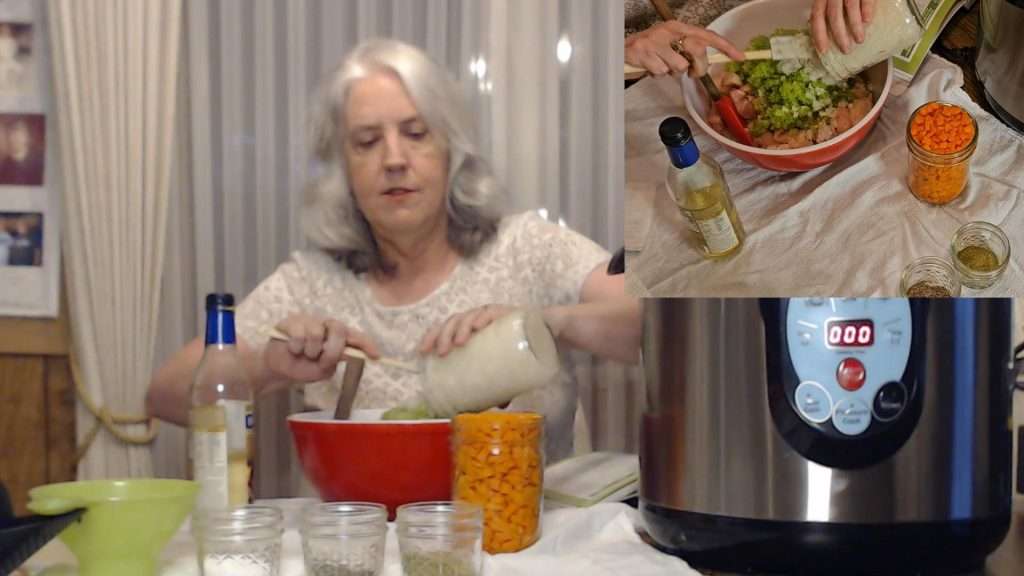
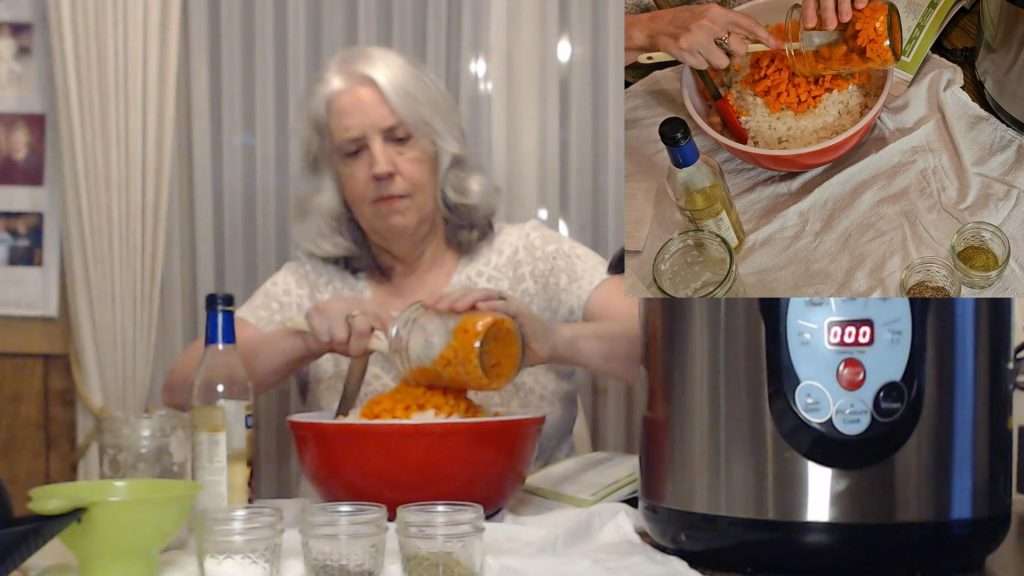
In a large mixing bowl, combine the cubed chicken, chopped celery, onions, and carrots (or potatoes, if following the original recipe).
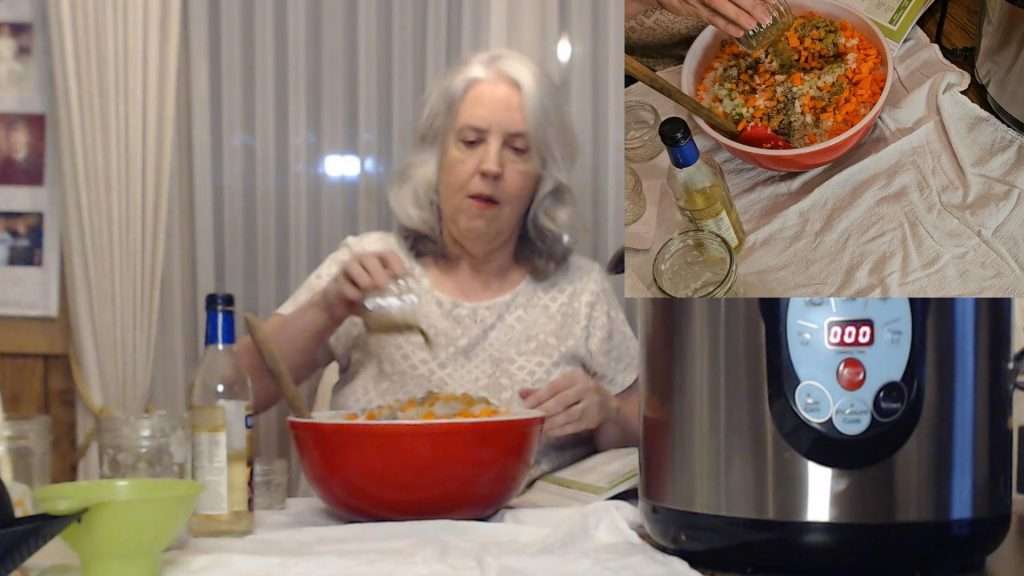
Add in the dry seasonings: salt, pepper, and poultry seasoning.
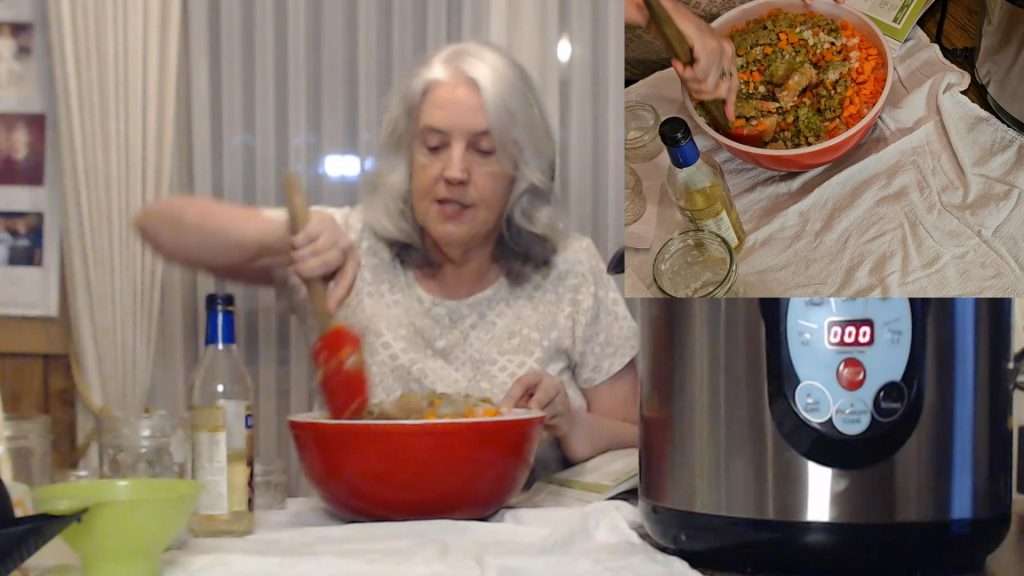
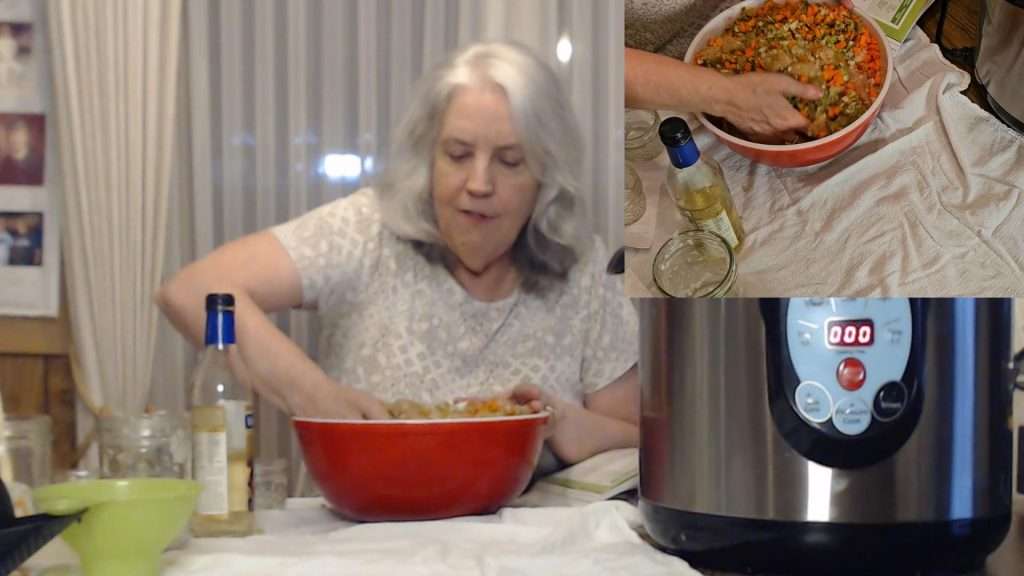
Mix everything well to ensure that the ingredients and seasonings are evenly distributed.
3. Fill the Jars
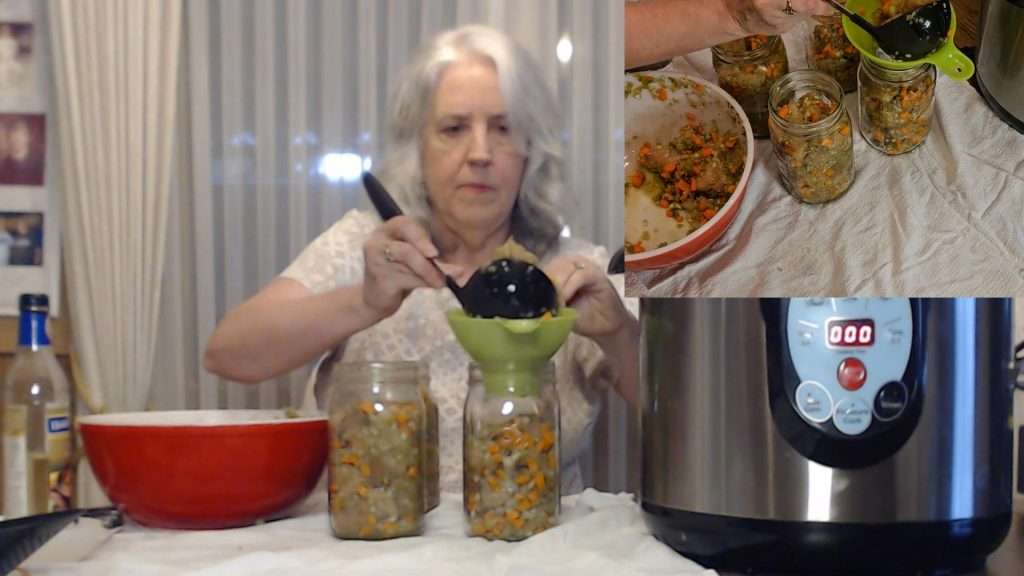
Remove the hot jars from the canner and fill each jar with the chicken and vegetable mixture. Leave about 1 inch of headspace at the top of each jar.
If needed, you can pack the ingredients down, but be sure to leave a minimum of 1″ headspace.
4. Add White Wine and Chicken Broth
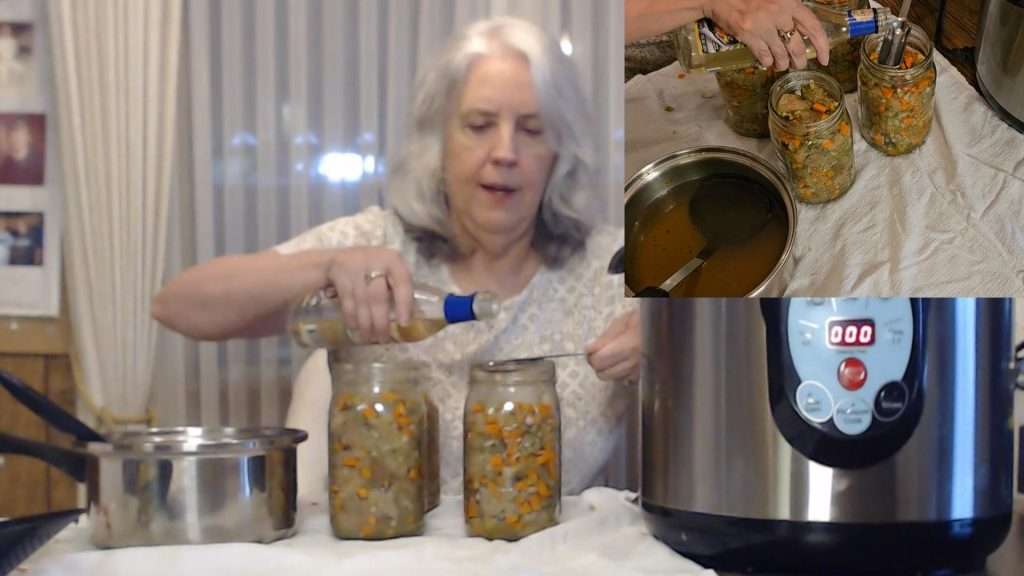
For each quart jar, add 2 tablespoons of dry white wine (or white cooking wine). If you prefer to omit the wine, you can skip this step.
Next, pour hot chicken broth into each jar, filling it until the ingredients are covered and the jar still has 1 inch of headspace.
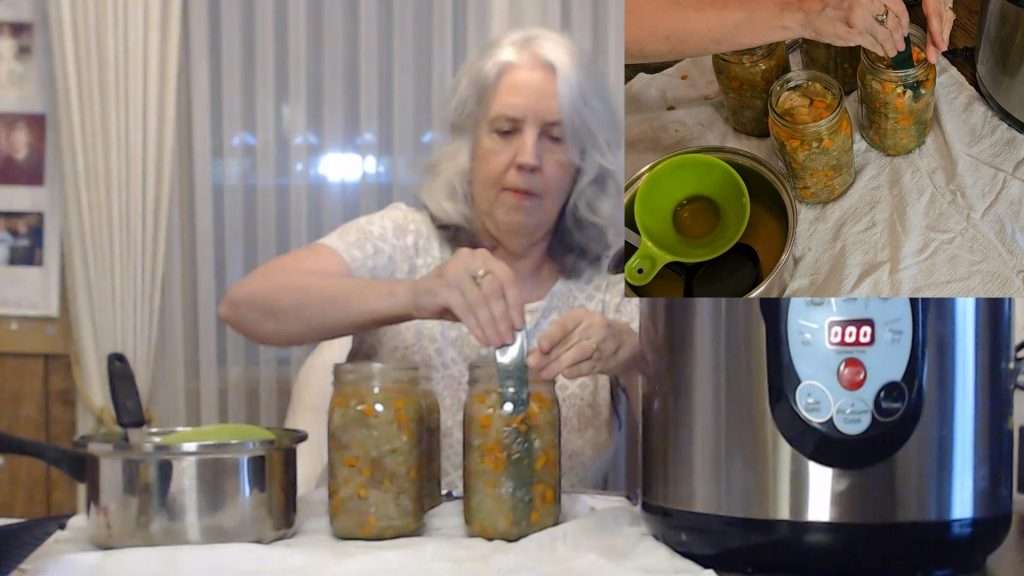
Debubble the jars using a debubbling tool or a spatula to release any trapped air pockets.
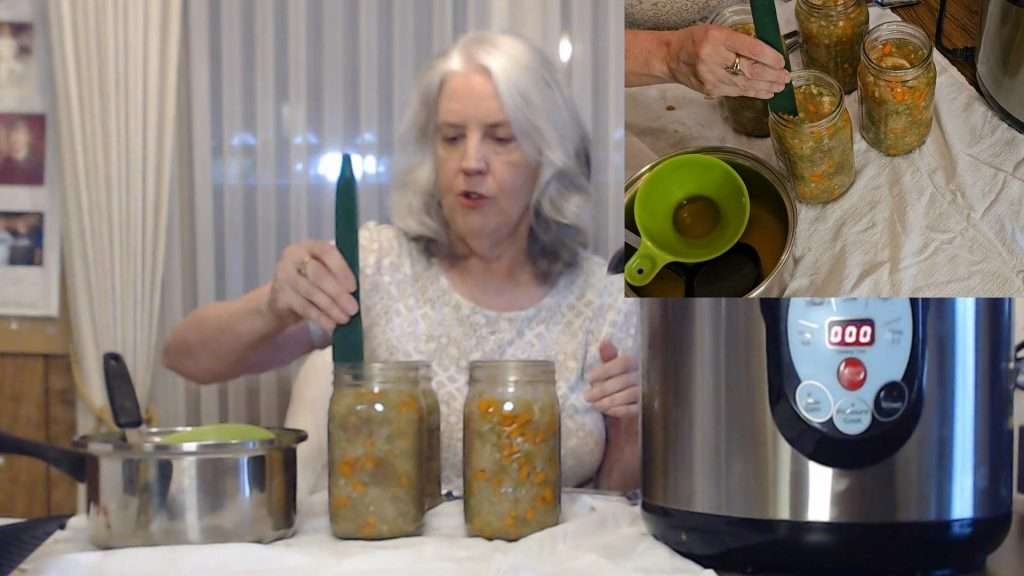
5. Wipe the Rims and Apply the Lids
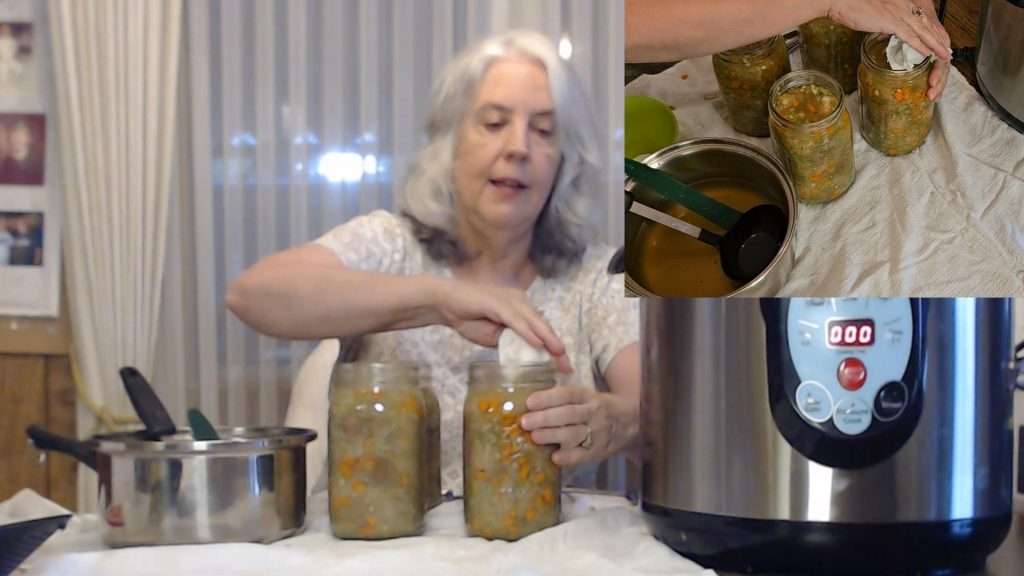
Use a clean towel dipped in vinegar to wipe the rims of the jars. This step is especially important when canning meats, as any fat or residue left on the rim can prevent the jars from sealing properly.
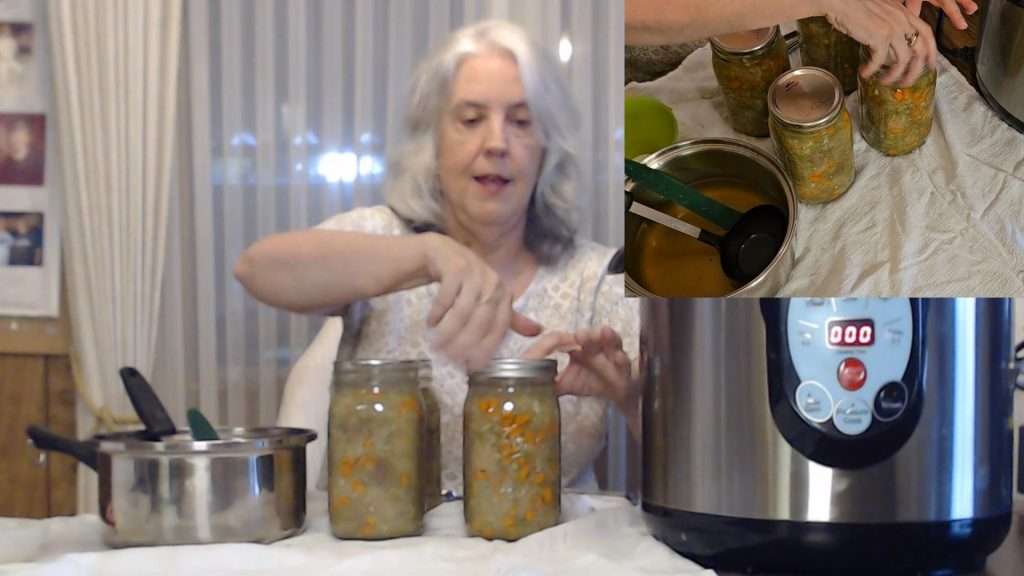
Once the rims are clean, place the lids on the jars and screw on the rings until they are fingertip-tight.
6. Process the Jars
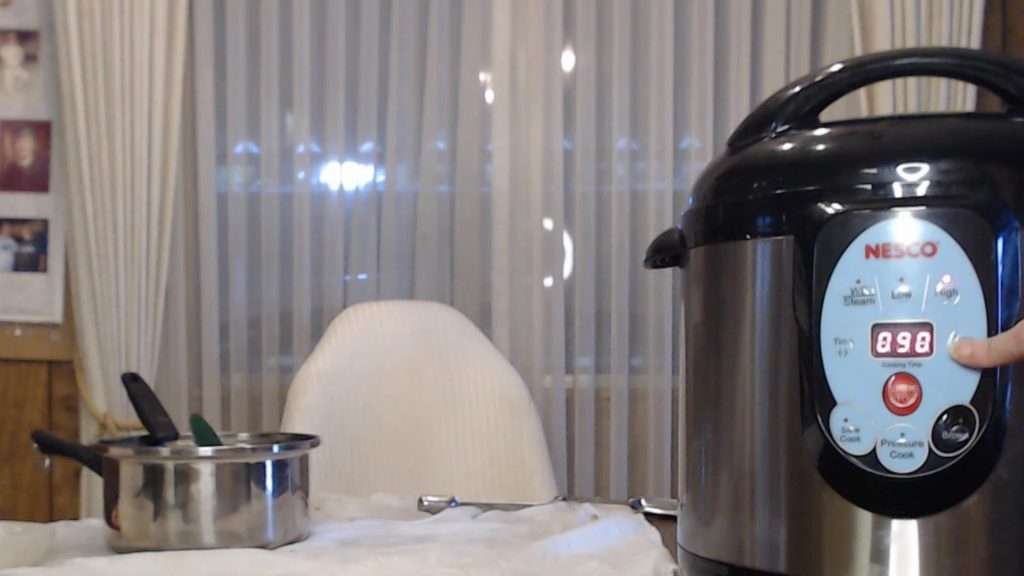
Place the jars into the pressure canner, making sure they are evenly spaced. Lock the lid of the canner and follow the manufacturer’s instructions for your model.
For quart jars, process them for 90 minutes at the appropriate pressure for your altitude. (If you’re making pints, process them for 75 minutes.)
Once the time is up, allow the canner to cool naturally before removing the jars.
How to Serve Your Chicken and Gravy Dinner in a Jar
Once you’re ready to eat your canned chicken and gravy dinner, simply pour the contents of a quart jar into a saucepan. Whisk in 2 tablespoons of flour to thicken the liquid into a gravy, then simmer for about 10 minutes, stirring often. If you’re using pint jars, reduce the flour to 1 tablespoon.
Alternatively, if you’re looking for a gluten-free option,instead of using flour, whisk in cornstarch that has been combined with a small amount of cold water instead of flour. Pour the cornstarch slurry directly into the pot.
For a richer flavor, melt 2 tablespoons of butter in the pan. Whisk the flour into the melted butter, and cook for about 1 minute, stirring constantly. Then, whisk the liquid into the butter and flour mixture, stirring to combine so there are no lumps. The add the rest of the jar contents in, and cook until thickened.
Serve your chicken and gravy over mashed potatoes, rice, or your favorite side dish, and enjoy a comforting, homemade meal with minimal effort.
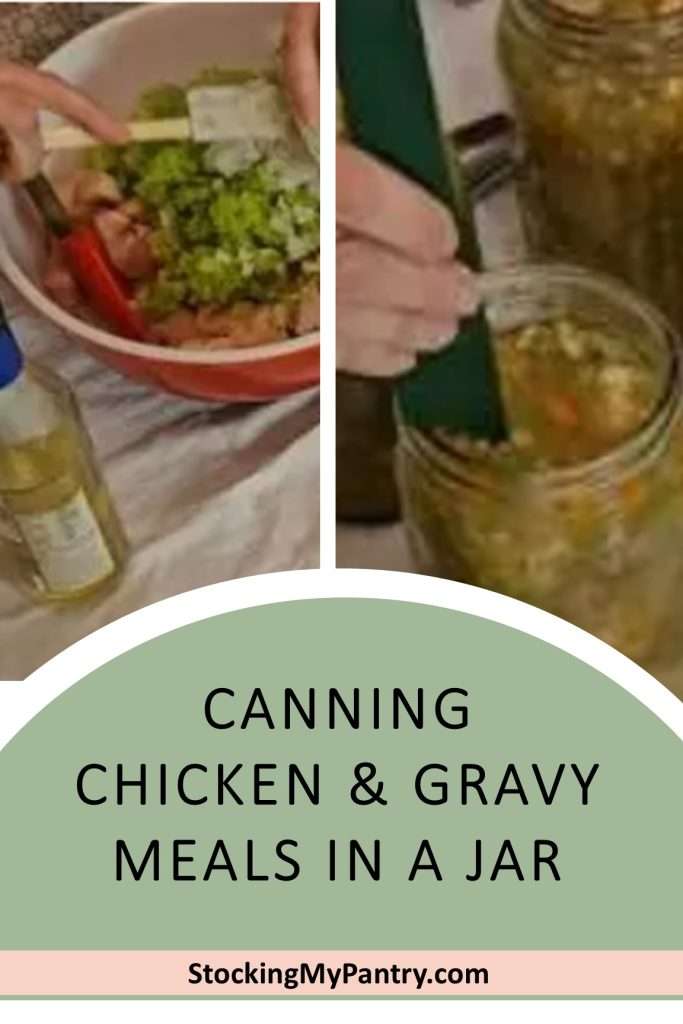
Pin it For Later
Conclusion
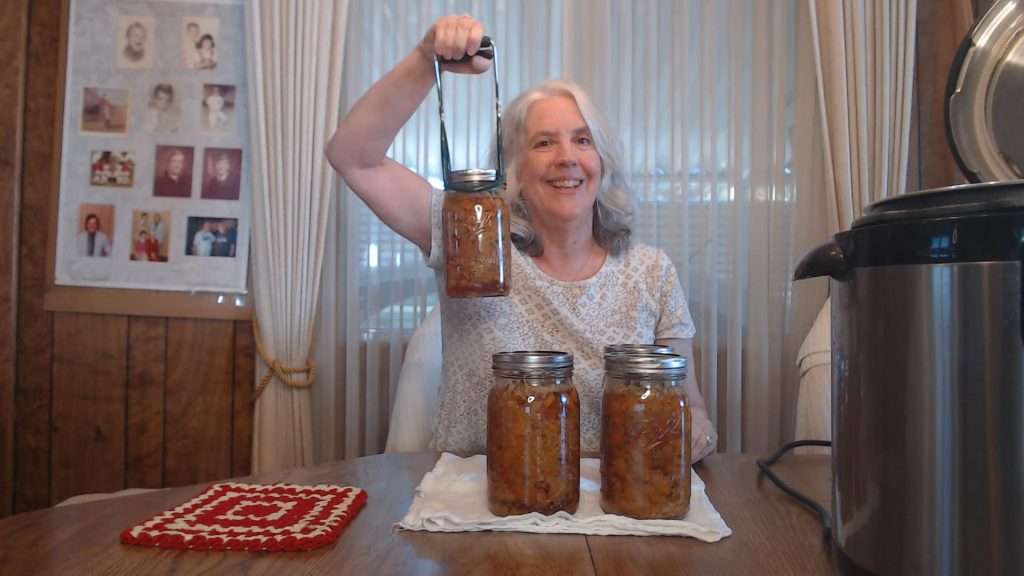
Canning chicken and gravy dinner in a jar is an excellent way to ensure you have ready-made meals on hand for busy days. By using a pressure canner, you can safely preserve this savory meal for months.
Whether you stick to the original recipe or customize it with your favorite vegetables and seasonings, this dish is sure to become a pantry staple.
Happy canning, and if you have any questions or comments, be sure to leave them on my YouTube video.
Your All-in-One Canning Companion

The Home Canning Success System is your all-in-one canning companion. Whether you’re brand new or a seasoned canner, this book helps you plan, organize, and track your projects with confidence. Ditch the guesswork—preserve with purpose!
Related Articles
If you enjoyed this article, you’re sure to enjoy these related articles:
💬 I’d love to hear from you!
Have you tried this yourself? Have a question or tip to share? Leave a comment below — your experience or question could help someone else, too!