

Making cranberry fruit leather is a great way to use up fresh cranberries and create a tangy, shelf-stable treat perfect for snacking or adding to your emergency supplies.
This article includes affiliate links.
This recipe, adapted from The Ultimate Dehydrator Cookbook (Amazon) by Tammy Gangloff, walks you through the process from start to finish.
Cranberry Fruit Leather Recipe
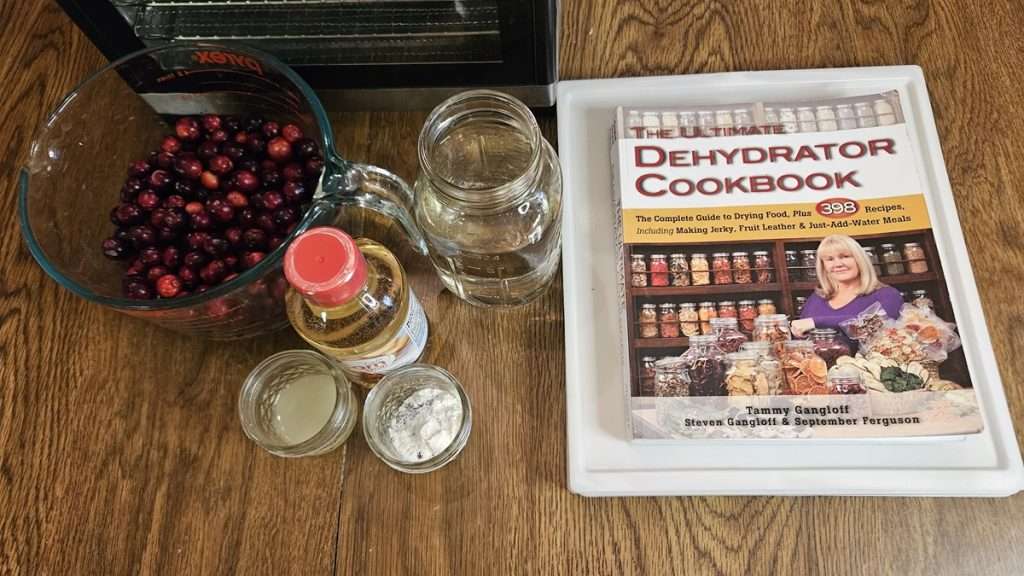
For this recipe, I made 1 ½ times the original amount because I had extra cranberries I wanted to use up before they went bad. Here’s what I used:
- 6 cups cranberries (original recipe calls for 4 cups)
- 3 cups water (original recipe calls for 2 cups)
- 1 ½ cups corn syrup (original recipe calls for 1 cup)
- 1 ½ tablespoons lemon juice (original recipe calls for 1 tablespoon)
- 1 ½ teaspoons cornstarch (original recipe calls for 1 teaspoon)

Blending the Ingredients
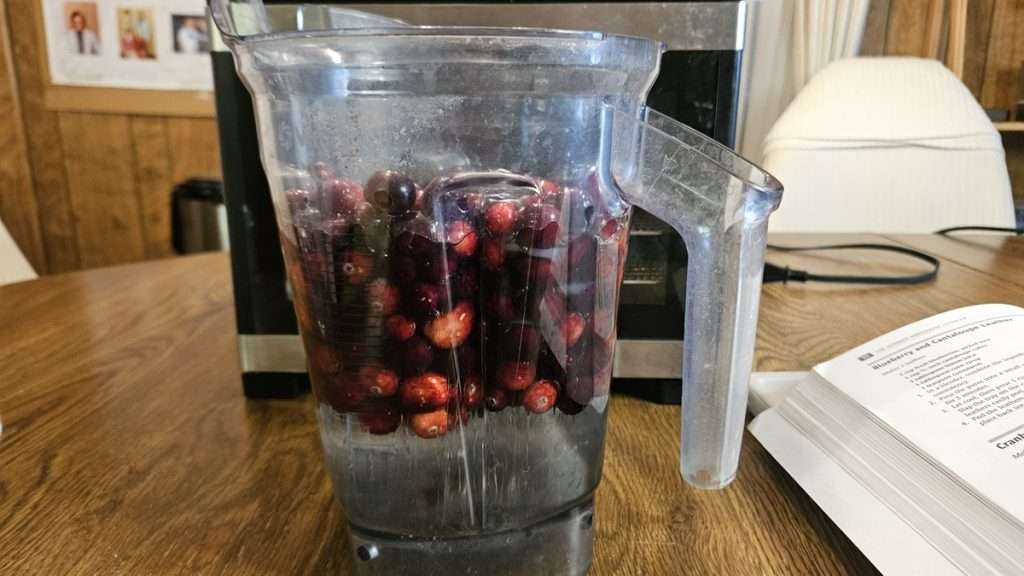
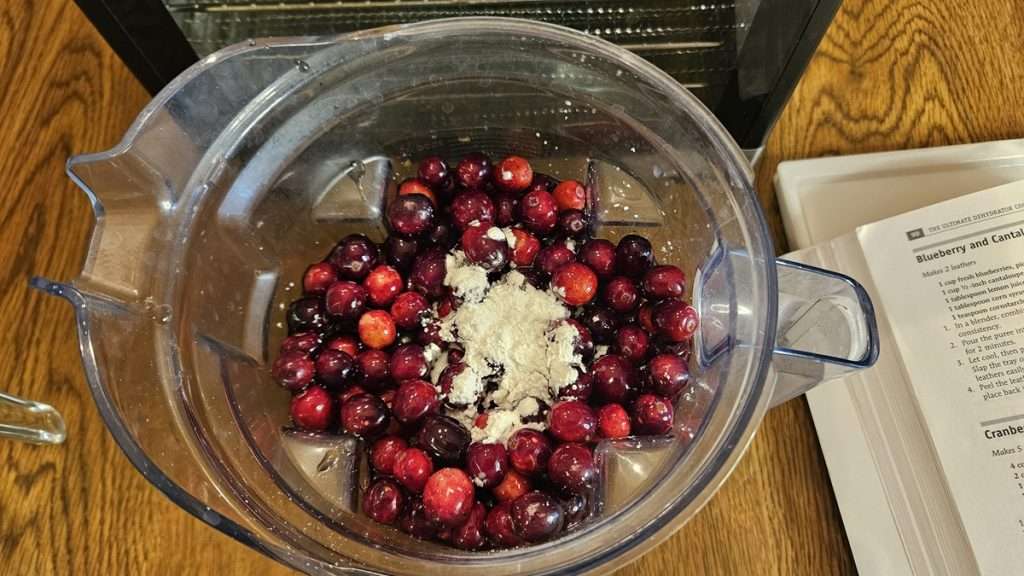
To start, place the fresh cranberries, corn syrup, water, lemon juice, and cornstarch into a blender. Blend until the mixture is smooth and fully pureed, making sure there are no chunks of cranberry left.
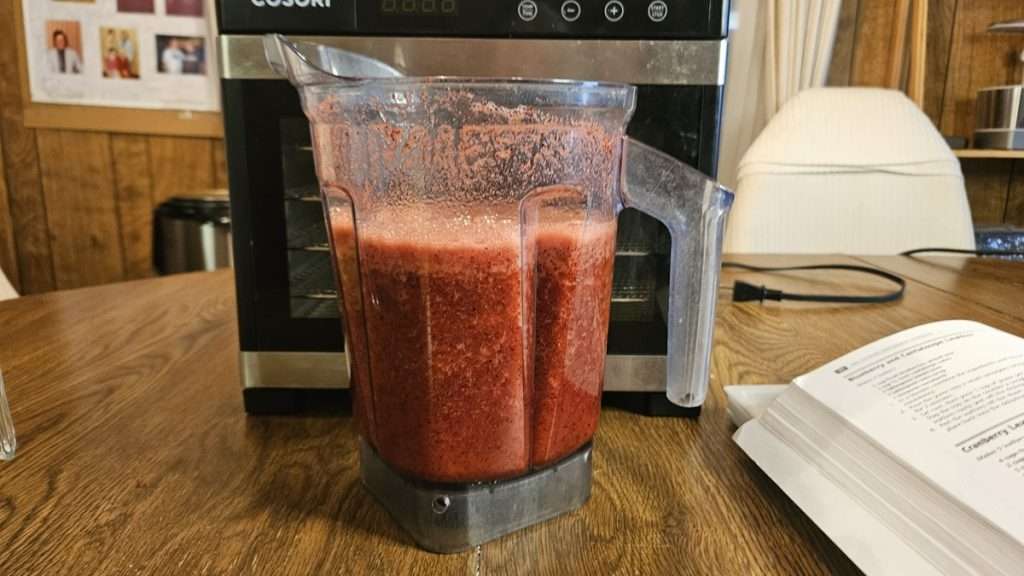
Cooking the Cranberry Puree

Transfer the blended mixture to a pot and bring it to a simmer.
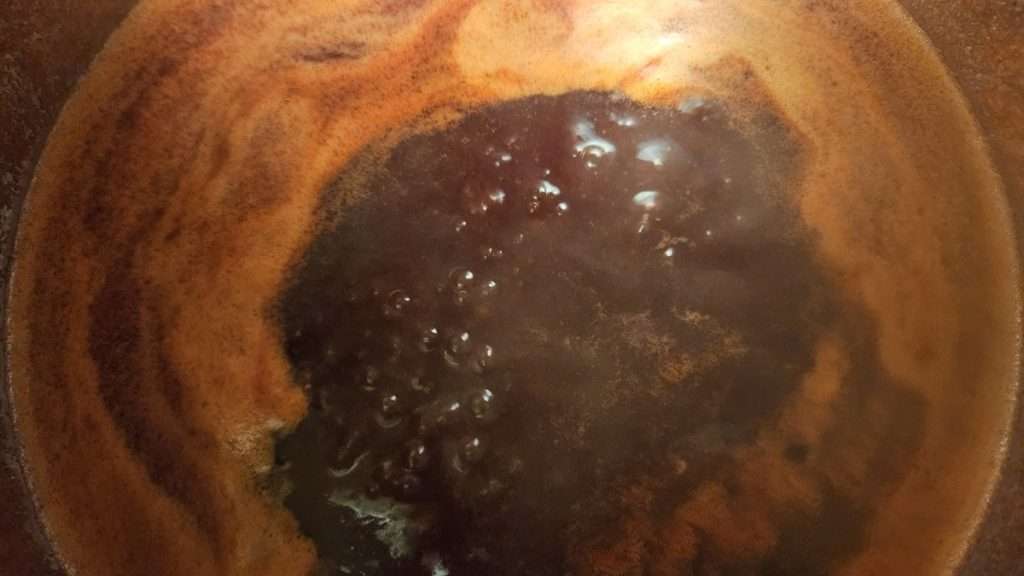
According to the recipe as it’s written in the book, you need to simmer it for 15-20 minutes, until it’s the consistency of applesauce.
However, in my case, I simmered it for 30 minutes, to get it to a moderately “applesaucy” consistency. It could be that I had the flame lower than needed to get the job done in 15-20 minutes, but I’d rather cook it longer rather than have it scorch.
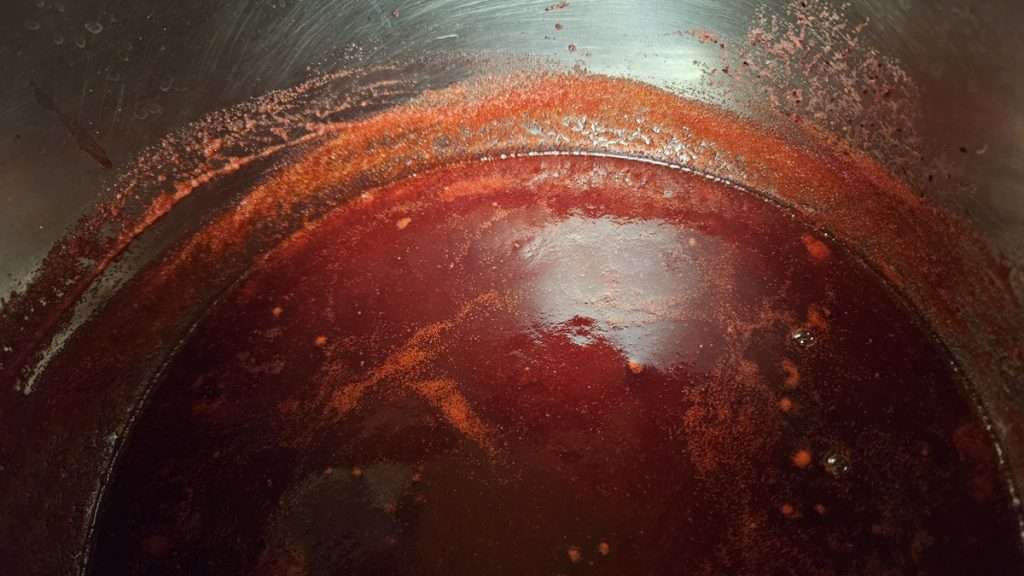
Once the puree has thickened, allow the mixture to cool slightly before moving on to the next step.
Putting the Cranberry Puree on Fruit Leather Trays
Next, you’ll need to distribute the cranberry fruit leather puree evenly. You can either use fruit leather trays, or if you don’t have fruit leather trays, line your dehydrator trays with parchment paper.
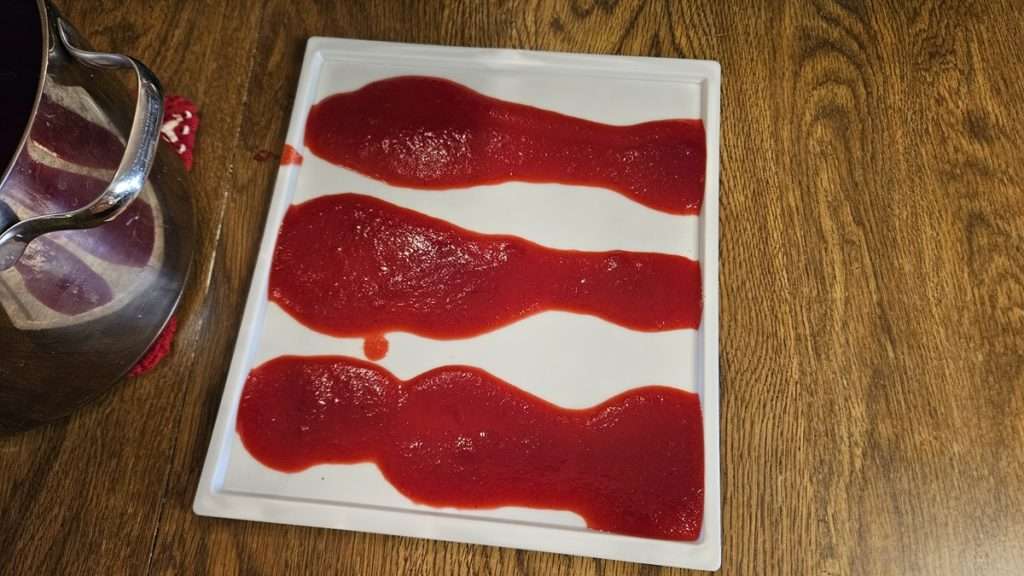
According to the instructions in the book, you should pour the cranberry puree in three strips on the tray, and then slam the tray on the counter or table to evenly distribute the puree. Unfortunately for me, the tray-slamming method never seems to work.
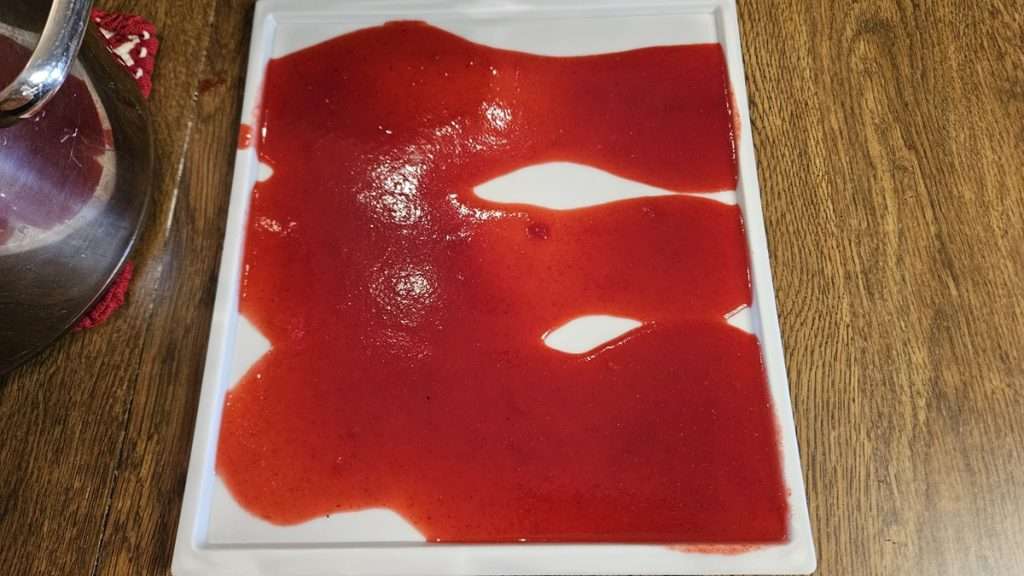
Since there were still gaps on the dehydrator tray even after slamming the tray on the table, I decided to put some additional cranberry fruit leather on each tray.
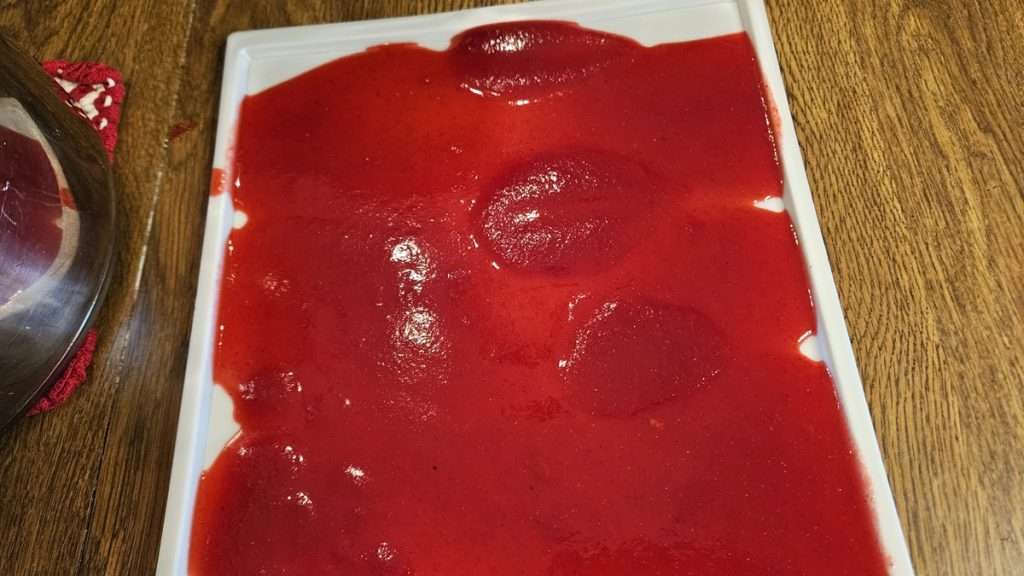
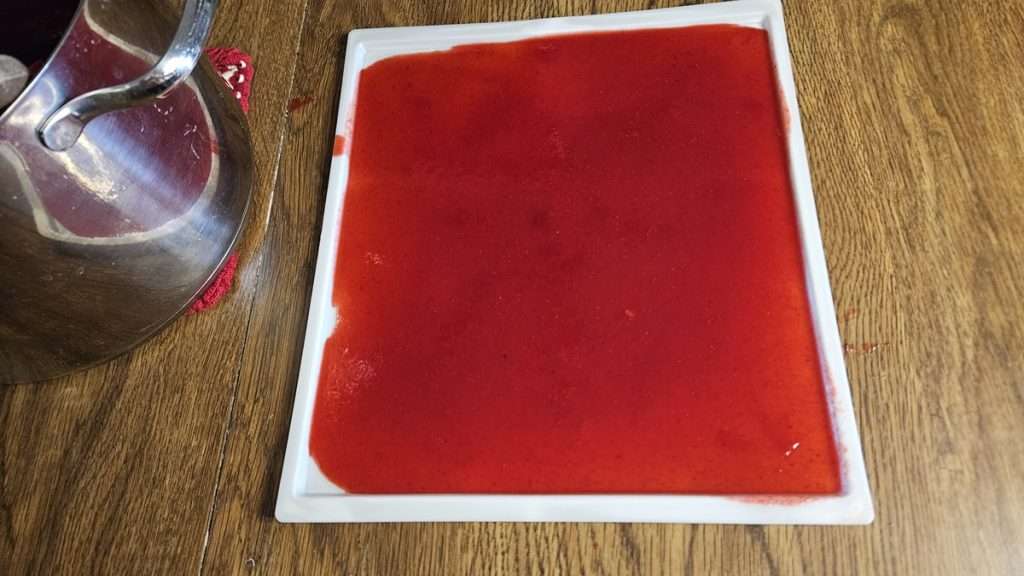
I found that tilting the trays back and forth helped distribute the puree smoothly. Next, I gently tapped the trays on the counter in an attempt to evenly distribute the cranberry puree. (I say that it was an attempt, because I never seem to be able to do this perfectly.)
Pro tip: leave small gaps on the edge of the tray so you have something to grab onto when it’s time to peel the fruit leather off the tray.
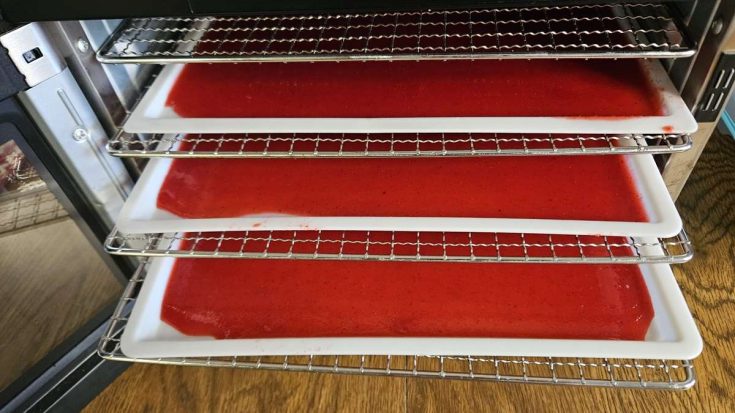
I used my Cosori 6-tray premium stainless steel dehydrator and ended up with five trays of fruit leather. The orginal recipe called for 1 cup of fruit puree per tray, but I put about 1 1/3 cups of cranberry puree on each tray.
Dehydrating the Cranberry Fruit Leather
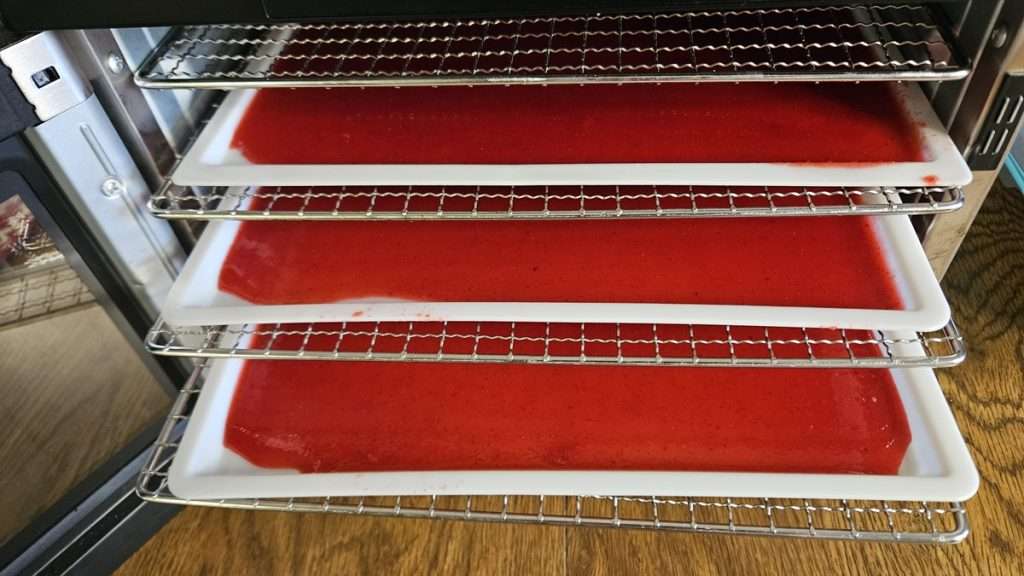
Once you’ve distributed the cranberry puree evenly on the fruit leather trays, and allowed it to cool a bit, it’s time to put the trays into the dehydrator.
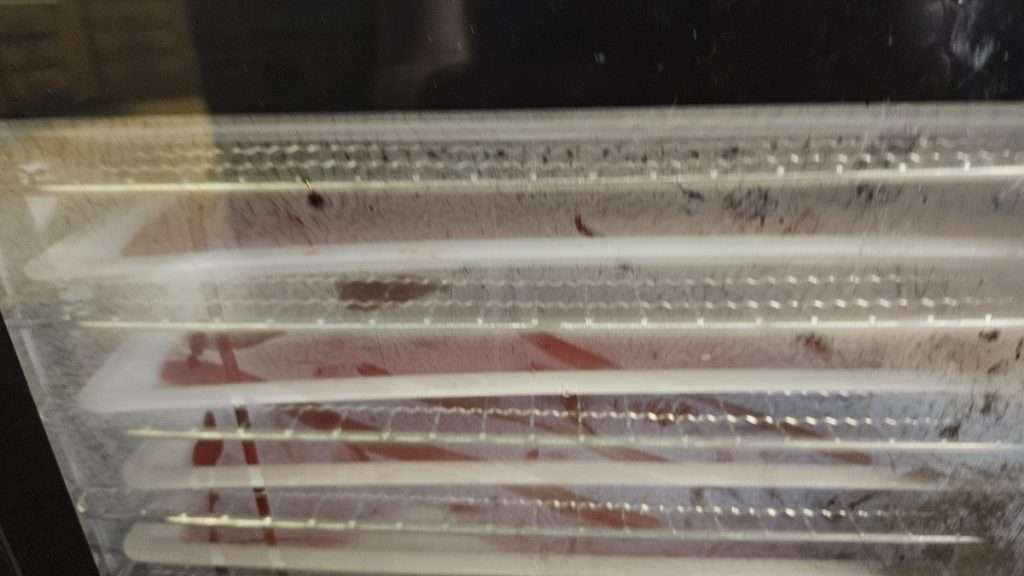
Note that when I initially put the trays of cranberry puree into the dehydrator, the door on the dehydrator started steaming up. This was a clear sign that I hadn’t allowed the puree to cool enough before placing it in the dehydrator.
I opened the dehydrator door and left it open for a few minutes to allow the puree to cool a bit more
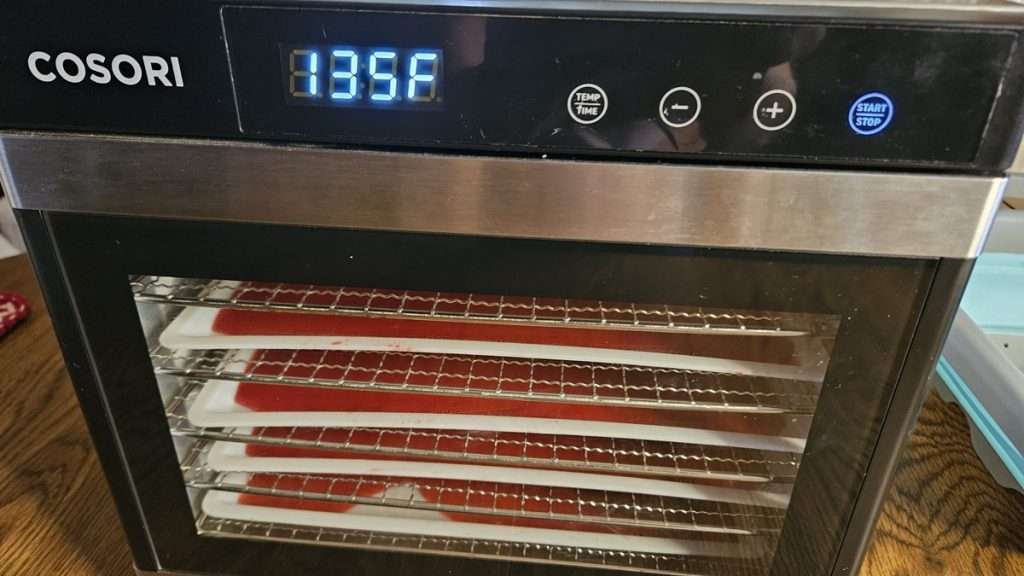
The original recipe suggests a temperature of 125°F, but since many fruit leather recipes recommend 135°F, I opted for the higher temperature to save time.
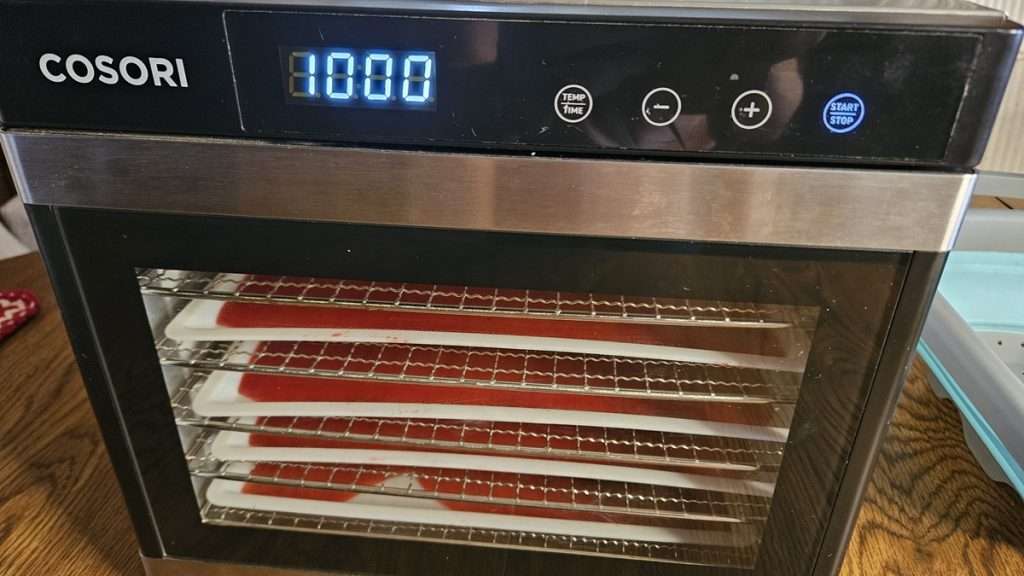
I set the dehydrator for an initial 10 hours and checked on it after that.
Cranberry Fruit Leather after 10 Hours in the Dehydrator
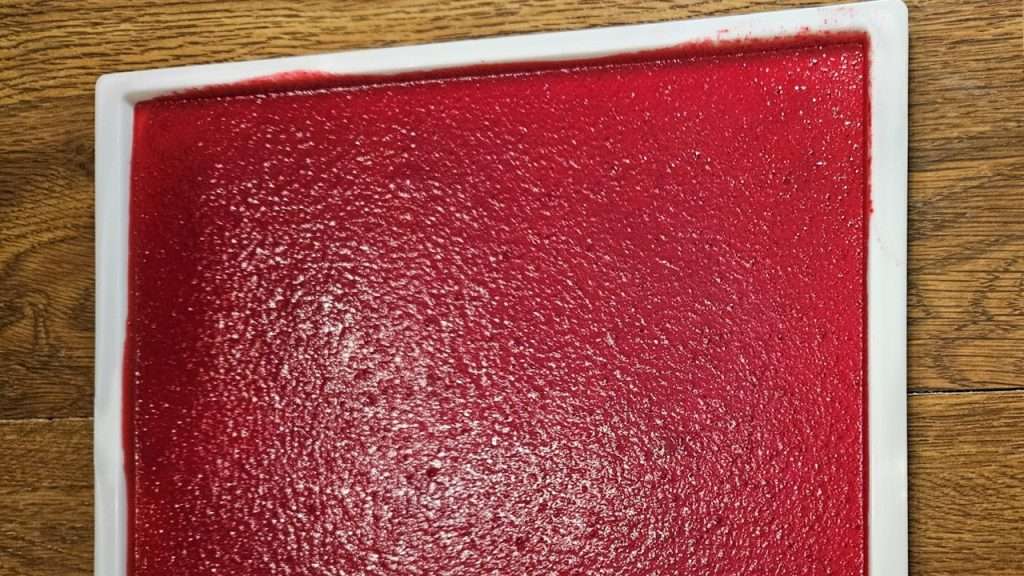
After 10 hours, I checked the leather. It was still a bit sticky and had some thicker spots, likely from using more puree.
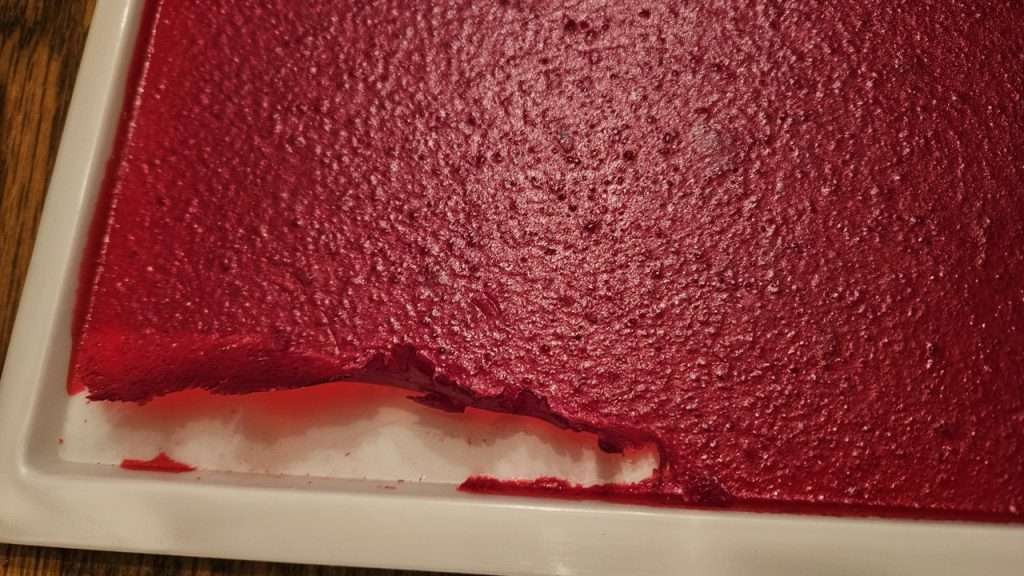
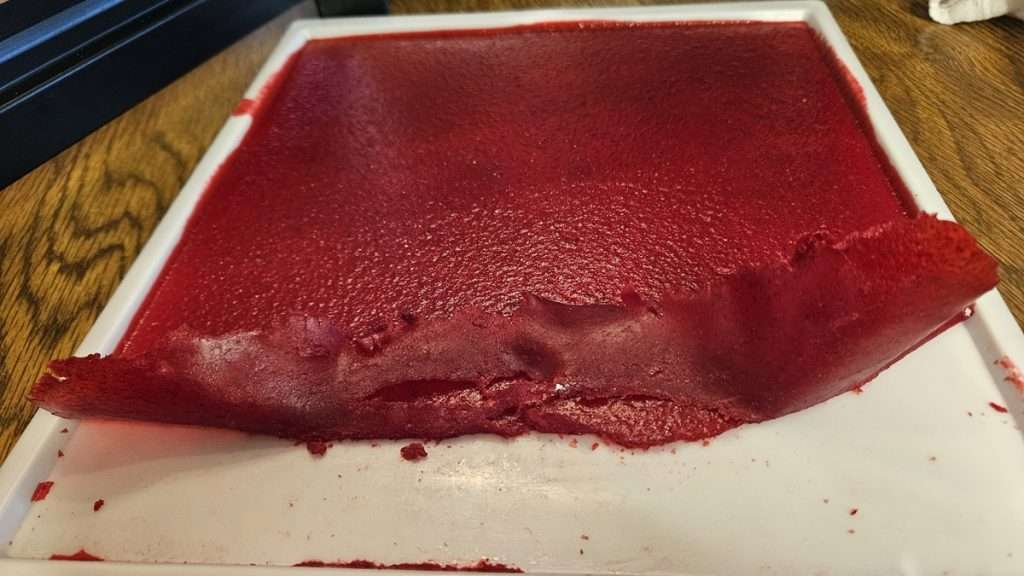
So, I let it dry for an additional three hours.

Once I could easily peel the fruit leather from the tray, I transferred it to mesh screens for a final two hours to ensure complete drying.
Removing the Fruit Leather from the Trays
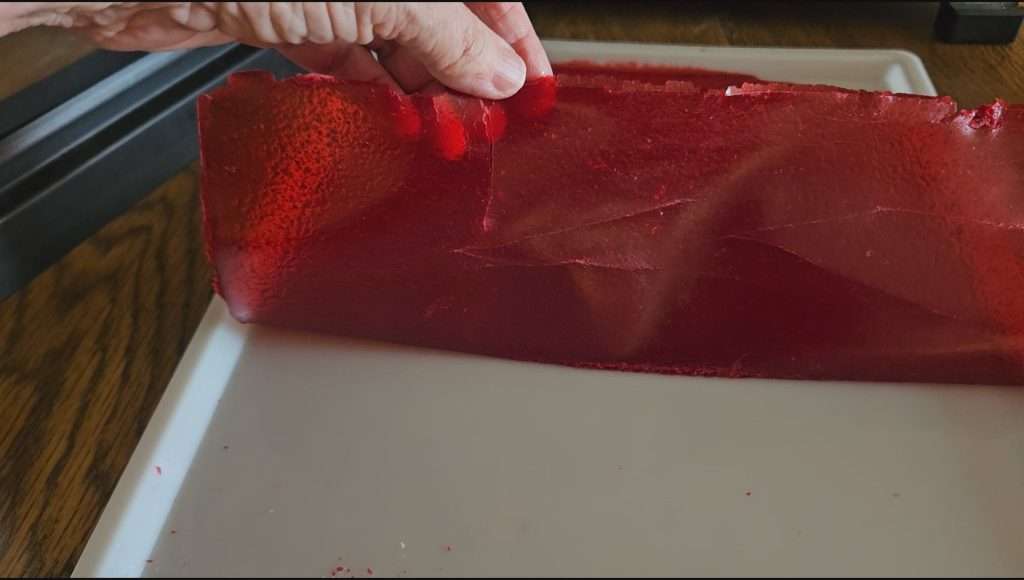
Honestly, for me the hardest part of making fruit leather is getting it off the tray. Here are a couple of tips for making it a bit easier.
First, don’t overfill the trays. As I mentioned above, the original recipe called for putting one cup of puree on each tray. That didn’t seem like enough to me, so I added an additional 1/3 cup of cranberry puree to each tray. Because of that, I ended up with a couple of thick spots that required more drying time.
That brings me to the next point, and that is that if the fruit leather hasn’t dried enough, it will stick to the trays.
If the fruit leather appears to be mostly dry, allow it to cool a bit before attempting to remove it from the trays. When it is is warm, it will be more gummy, which will make it hard, if not impossible to remove it from the trays.
This small, easy-to-store vacuum sealer is made for mason jars. It’s cordless, simple to use, and a great tool for long-term food storage.
👉 Check it out here.
To peel off the fruit leather, start at one end and gently pull across the entire width of the tray. If you feel any resistance, it may need more drying time.
Once the fruit leather is completely dry, allow it to cool for about 30 minutes before moving on to the next step. This is crucial, because if there is heat, there will be some moisture, which can lead to mold during storage.
Storing Fruit Leather
Once your cranberry fruit leather is fully dried and cooled, roll it up in wax paper and cut it into small pieces. The size is up to you, but I generally make mine about one to two inches across. Alternatively, you can skip the wax paper, and just cut the fruit leather into strips.
Store the strips or rolled up fruit leather in an airtight container or a Ziploc bag. Cranberry fruit leather stored this way can last for months, though it never seems to last very long around here.
Conclusion
Making cranberry fruit leather is a great way to store cranberries that are only in season for a short period of time each year. They are a nice change from cranberry sauce, and are a delicious, portable snack. They are a great treat to store in your prepper pantry, or you can enjoy them sooner rather than later as a grab-and-go treat.
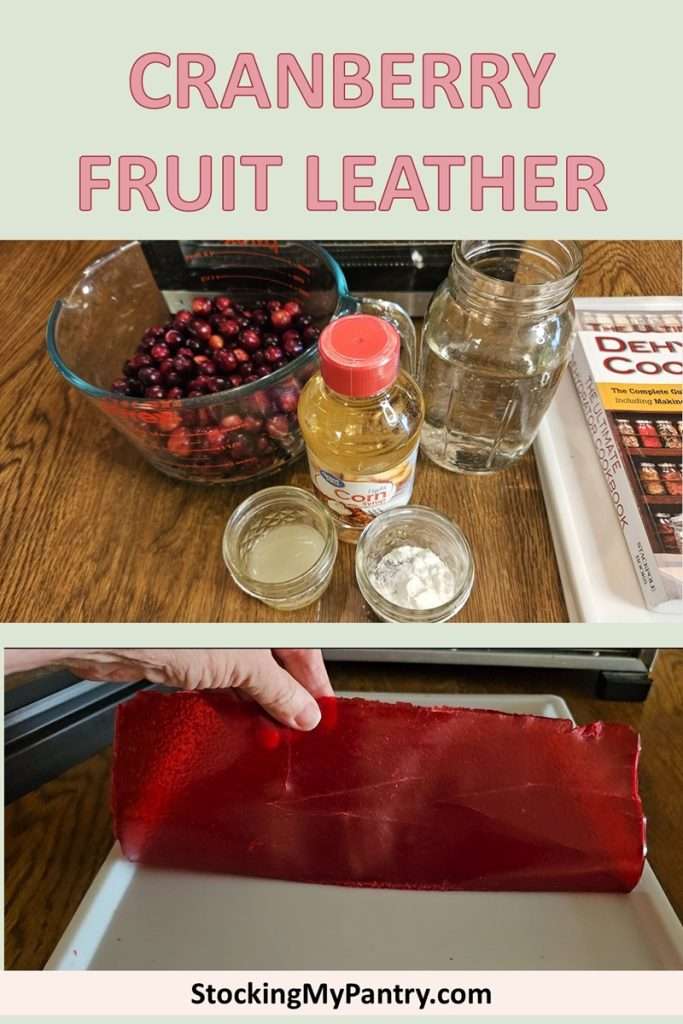
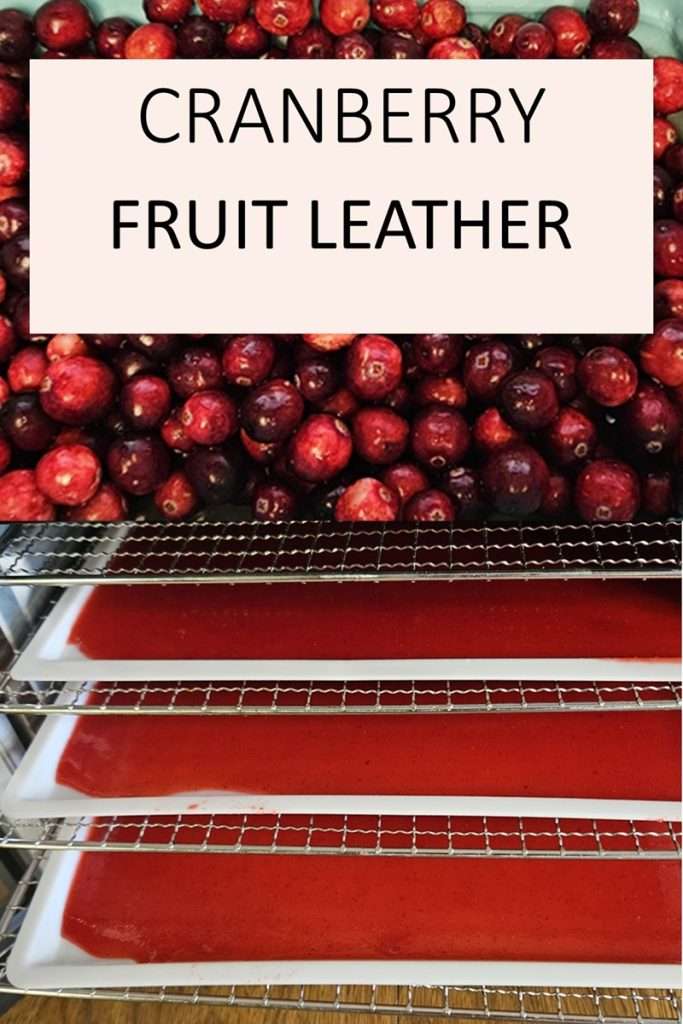
Pin for Later
Print it for Later
How to Make Cranberry Fruit Leather
This homemade cranberry fruit leather is sweet, tangy, and perfect for snacking or adding to your prepper pantry. Fresh cranberries are blended, simmered to an applesauce-like consistency, and slowly dehydrated until perfectly pliable. Easy to make, stores well, and tastes amazing.
Ingredients
- 6 cups fresh cranberries
- 3 cups water
- 1 ½ cups corn syrup
- 1 ½ tablespoons lemon juice
- 1 ½ teaspoons cornstarch
Instructions
- Blend the ingredients: Add the cranberries, water, corn syrup, lemon juice, and cornstarch to a blender. Blend until the mixture is completely smooth, scraping the sides as needed.
- Cook the puree: Pour the blended cranberry mixture into a pot. Bring to a gentle simmer over medium or medium-low heat. Cook for 15–30 minutes, stirring often, until the mixture thickens to an applesauce-like consistency. Remove from heat and allow to cool slightly.
- Prepare dehydrator trays: Place fruit leather trays in your dehydrator, or line the regular trays with parchment paper. If using parchment-lined trays, plan to peel the leather gently after drying.
- Spread the puree: Pour the puree onto each tray in long strips. Tilt the tray to help spread the mixture evenly. Don't overfill—in your test batch, thicker areas took much longer to dry.
- Begin dehydrating: Set the dehydrator to 135°F. Dry for 10 hours. If condensation builds on the dehydrator door, open it for a few minutes to release moisture.
- Check and continue drying: After 10 hours, check the leather. If the center or thicker spots feel sticky or gummy, dry for 3 more hours.
- Finish on mesh screens: Once mostly dry and peelable, transfer the sheets to mesh screens and dry an additional 2 hours to ensure even drying.
- Peel and cool: Let the fruit leather cool completely. Gently peel it from the trays or parchment paper.
- Cut and store: Place the finished fruit leather on a cutting board. Cut into strips, optionally rolling each strip in wax paper. Store in an airtight container or vacuum-sealed jar.
Notes
Recommended Products
As an Amazon Associate and member of other affiliate programs, I earn from qualifying purchases.


Related Articles
If you enjoyed this article, you are sure to enjoy these related articles:
💬 I’d love to hear from you!
Have you tried this yourself? Have a question or tip to share? Leave a comment below — your experience or question could help someone else, too!