


Cherries are one of summer’s sweetest gifts—but the season is short. Freezing cherries at home is one of the easiest and most versatile ways to enjoy them year-round. Another reason I love freezing cherries is that it buys me time to preserve them other ways. For instance, I also love to dehydrate and can cherries, make cherry jam, and so on. But I don’t always have time to get to all of those projects before the cherries go bad. Getting them into the freezer as soon as possible after buying them is a great way make sure I don’t waste any of them.
The good news is that it’s possible to freeze cherries whole with pits, or pitted so you can easily use them for smoothies, baking, or making jam. Regardless of how you plan to do it, this guide will show you the best way to freeze cherries so you can either preserve your harvest or, like me, stock up on cherries when they’re on sale.

This article includes affiliate links.
Why Freeze Cherries?
Freezing cherries is perfect for:
- Smoothies
- Baking pies and muffins
- Homemade sauces
- Quick snacks
- Juices and infusions
- Making jam or jelly
- Dehydrating
In addition to using frozen cherries in smoothies, the primary reason I freeze cherries is that it’s the fastest and easiest way to preserve them. As I mentioned above, freezing cherries buys me time which makes it possible for me to do other things with them, such as canning, in the future.
Comparing Home-Frozen Cherries with Store-Bought Frozen Cherries


I’ll have to admit that I often buy frozen cherries, because it is obviously easier to just buy frozen cherries than to freeze them myself. 😆
As you can see in the image above, the Great Value Frozen cherries are already pitted. And as you can see from the ingredient list, the only ingredient is cherries. There is no added sugar.
But at the current time, the Great Value frozen cherries are $4 a pound, and I was able to snag the fresh cherries on sale for just $0.99 a pound. Granted, this is an unusually good price for fresh cherries, which was why I decided to stock up on them and freeze them myself.
Should You Pit Cherries Before Freezing?
Obviously, the most challenging aspect of freezing cherries is pitting them. So the question is, do you need to pit cherries before freezing them?
❓ Do you need to pit cherries before freezing?
Not necessarily—it depends on how you plan to use them.
✅ When You Can Freeze Cherries with Pits:
- For juicing or syrups (you’ll strain them later)
- When making cherry liqueur or infused vinegar
- If you’re in a hurry and want to freeze now and prep later
🚫 When You Should Pit Cherries First:
- For smoothies (pits cannot be blended)
- For baking (you don’t want to bite into a pit)
- For snacking (pits can be a choking hazard)
- For making jam
⚠️ Important: Always label bags that contain cherries with pits. It’s easy to forget and can lead to injury if eaten without checking.

How to Use Frozen Cherries with Pits
There are a few ways to use frozen cherries with pits.
🔹 First, Thaw Slightly and Pit Before Use
- Let cherries thaw at room temp for 15–20 minutes
- Use a cherry pitter, straw, or one of the methods shown in the videos below if you don’t have a pitter.
- Use immediately in baking or cooking.
💡Pro tip: If you let cherries thaw completely before pitting, there will be a lot of juice and they will be very messy. They will also be soft, and because of that crush more when you pit them. If you choose to thaw them completely before pitting, be sure to use gloves such as these food service gloves (Amazon) so you don’t stain your hands. You may also want to wear clothing that you don’t mind getting stained.
🔹 Second, Use Whole in Cooked Recipes
- Add directly to a pot when making syrup or juice
- Simmer, then strain out pits with a fine mesh strainer or food mill
🔹 Third, Great for Infusions
- Add frozen whole cherries to jars of vodka, brandy, or vinegar
- Let steep for several weeks, then strain and store
How to Pit Cherries Before Freezing
In my particular case, I decided to do the work of pitting the cherries before freezing them. While pitting is optional, I wanted to be able to quickly use the frozen cherries without worrying about whether or not they had pits.
Granted, pitting them was quite a bit of work, but I used a pitter that pits multiple cherries at once, which made it go faster. I also enlisted the help of my husband. :)
If you don’t yet have a cherry pitter, this is the one that I purchased on Amazon. I like this one because it pits 7 cherries at a time and is easy to use. It’s also inexpensive.


Now, if you don’t have a cherry pitter and either don’t want to purchase one or simply have cherries you want to pit right away, here are a couple of alternate methods of pitting cherries without a pitter.
Step-by-Step: How to Freeze Cherries

Now, let’s get into the step-by-step process of freezing cherries.
Step 1: Wash and Prep the Cherries
- Rinse cherries under cool running water
- Remove the stems
- Choose whether to pit or leave them whole
Step 2: Pre-Freeze to Prevent Clumping

To avoid frozen cherries sticking together:
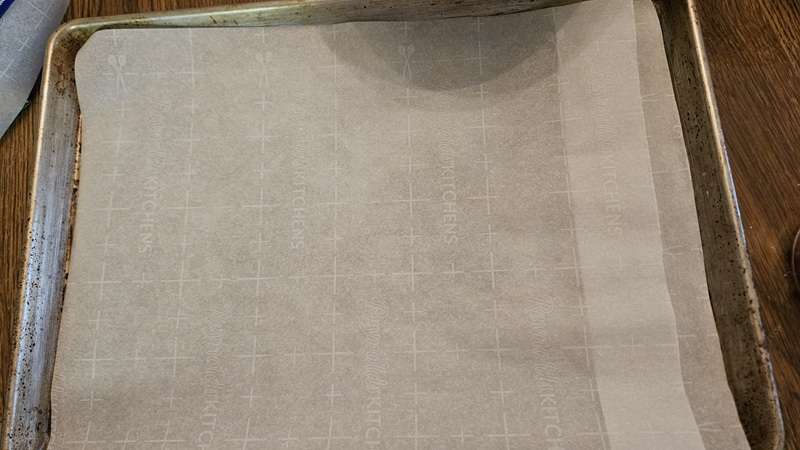
- Line a baking sheet with parchment paper
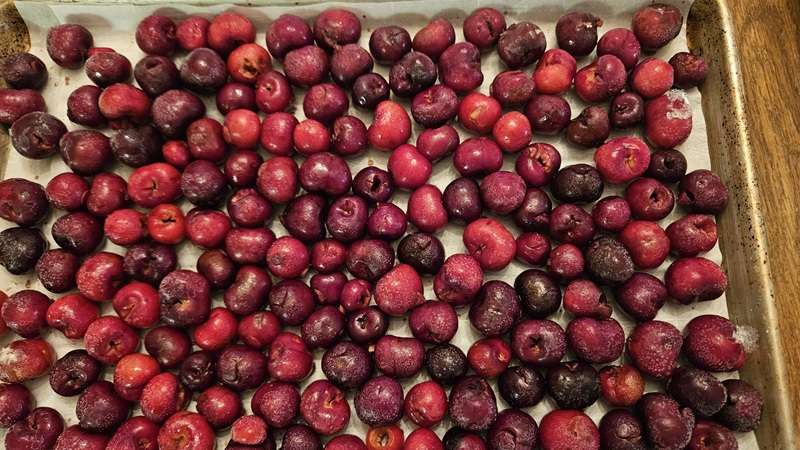
- Spread cherries in a single layer (pitted or whole)
- Freeze for 1–2 hours until solid


Note that it’s not necessary to cover the cherries before putting them into the freezer, especially if you’re freezing them for just a couple of hours. In my case, I knew that I wouldn’t be able to remove them from the freezer until the next day, so I covered the tray with plastic wrap.
Step 3: Package for Long-Term Storage

Once cherries are solid:
- Transfer to freezer-safe bags or containers
- Remove as much air as possible
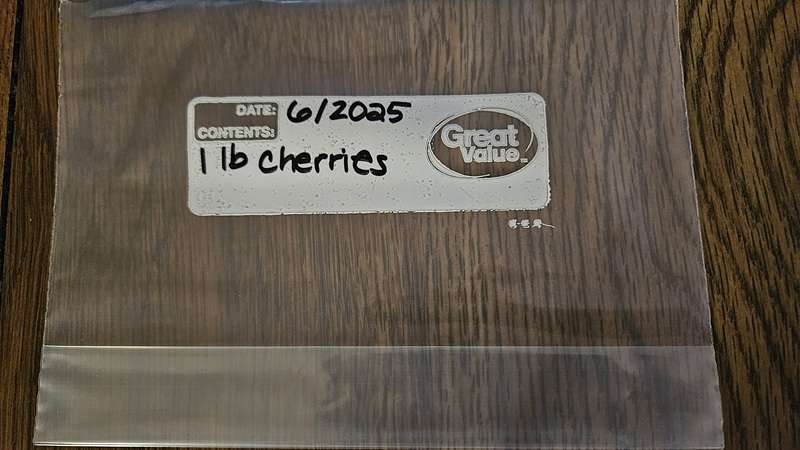
- Label with the date and note whether cherries are pitted (In my case I didn’t need to make note of this because I pitted all of the cherries.)
Pro tips for Storing Frozen Cherries
While optional, here are a couple of extra tips for freezing cherries.
First, label the freezer bag before putting the frozen cherries into the bag. While you can write on the bag once it’s full, it’s much harder to do.
Next, I chose to use a kitchen scale (Amazon) to weigh out one pound of cherries for each bag.

🛒 Shop This Post
Check out these helpful tools on Amazon!
Pin it For Later




Best Uses for Frozen Cherries
✅ Frozen and Pitted:
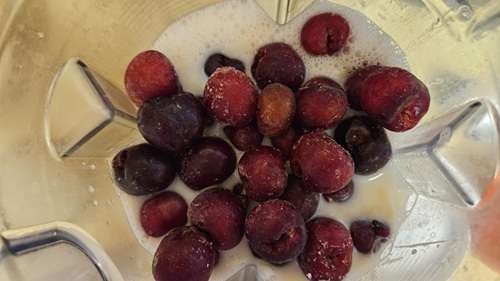
- Toss directly into smoothies or yogurt
- Add to muffins, pies, or cobblers
- Simmer into cherry sauce or compote
- Preserve them in some other way such as canning, making jam, or dehydrating them.
✅ Frozen with Pits:
- Simmer for juice or syrup and strain later
- Use in alcohol or vinegar infusions
- Thaw and pit before using in baked goods
Storage Tips
- Freeze at 0°F or below
- Use within 6–12 months for best flavor
- Keep in small portions for convenience and quicker thawing
- Avoid freezer burn by sealing bags tightly and minimizing air exposure
Final Thoughts
Freezing cherries—whether pitted or whole—is a simple and rewarding way to extend cherry season. With a little prep, you’ll have fruit ready for pies, smoothies, sauces, and more. Whether you’re preserving your own harvest or saving a sale from the farmer’s market, your future self will thank you for it.
Related Articles
If you enjoyed this article, you’re sure to enjoy these related articles.
- How to Freeze Grapes
- How to Freeze Blueberries
- Canning Cherries the Easy Way
- Dehydrating Frozen Cherries
How to Freeze Cherries

Learn how to freeze cherries the easy way—whether whole or pitted—so you can enjoy them all year long. This step-by-step guide helps you preserve your cherry harvest (or stock-up sale haul!) quickly and effectively, with tips to prevent clumping and make storage simple.
Materials
- Fresh cherries
- Parchment paper
- Freezer-safe bags or containers
- Plastic wrap (optional)
Tools
- Cherry pitter (optional)
- Baking sheet
- Kitchen scale (optional)
- Marker (for labeling)
Instructions
Step 1: Wash and Prep Cherries
Rinse cherries thoroughly under cool running water. Remove stems. Decide whether to pit them now or freeze them whole.
💡 Pit cherries if you plan to use them in smoothies, baking, or jam. Freeze whole if you're short on time or plan to use them in infusions or juices.
Step 2: Pre-Freeze to Prevent Clumping
Line a baking sheet with parchment paper. Spread cherries in a single layer—do not stack. Place in the freezer and freeze for 1–2 hours or until solid.
💡 If you’ll be freezing them longer than a few hours before transferring, lightly cover the tray with plastic wrap.
Step 3: Transfer to Storage Bags or Containers
Once cherries are fully frozen, transfer them to freezer-safe zip-top bags or airtight containers. Label the bags with the date and whether the cherries are pitted. Remove as much air as possible before sealing.
💡 Label bags before filling to make writing easier.
Step 4 (Optional): Portion Before Freezing
Use a kitchen scale to weigh out 1-pound portions. This makes it easy to use the right amount later for recipes that call for a specific quantity.
Notes
- Store at 0°F or below
- Use within 6–12 months for best flavor and texture
- Keep in small batches for easier use and faster thawing
- Prevent freezer burn by removing excess air from bags
- Prep time is dependent on how many cherries you plan to freeze and includes washing, stemming and pitting the cherries. If you have a lot of cherries to process, it will take more time.
Recommended Products
As an Amazon Associate and member of other affiliate programs, I earn from qualifying purchases.




💬 I’d love to hear from you!
Have you tried this yourself? Have a question or tip to share? Leave a comment below — your experience or question could help someone else, too!
I’d love to hear your favorite way to use frozen cherries! Comment to let me know!