

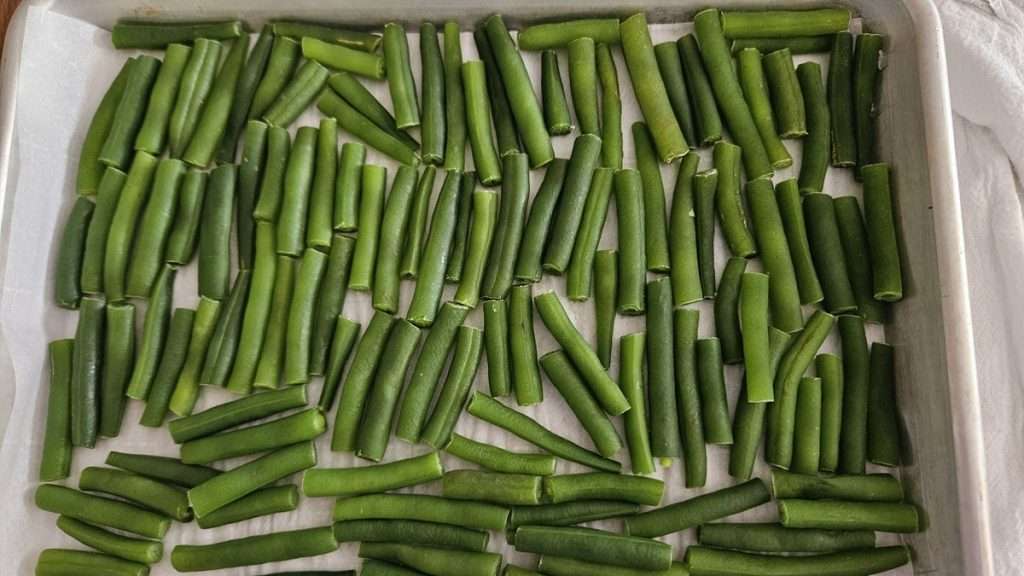
Freezing green beans is a fantastic way to preserve their garden-fresh flavor to enjoy all year long. If you’re looking for how to freeze green beans, you’re in the right spot! Whether you grew them yourself, picked them up at the farmers market, or bought them on sale at the grocery store, freezing green beans is simple and doesn’t require any special equipment. Here’s how to do it — step by step.
Why Freeze Green Beans?
Frozen green beans retain their flavor, color, and nutrients for up to a year when stored properly. They’re perfect for soups, stews, casseroles, or simply as a quick veggie side. Plus, freezing them yourself means you can avoid the additives and packaging waste that often comes with store-bought frozen veggies.
Step-by-Step Instructions for Freezing Green Beans
This article includes affiliate links.
✅ Tip: You’ll find photos and tips for each step below. You can also jump to the [printable checklist] if you want a summary version!
Step 1: Wash and Trim the Green Beans

Give your green beans a good rinse, then trim off the stem ends. Discard any green beans that aren’t good.
Optional Step – Stringing Green Beans:
Depending on the variety of green beans you bought, you may need to string them first. I didn’t need to string mine, but if yours do have strings, this YouTube video shows how to do it.
Step 2: Cut Green Beans into Pieces

Cut the green beans into the size you prefer. I cut mine into 1- to 2-inch pieces — perfect for soups and side dishes.
Step 3: Blanch the Green Beans
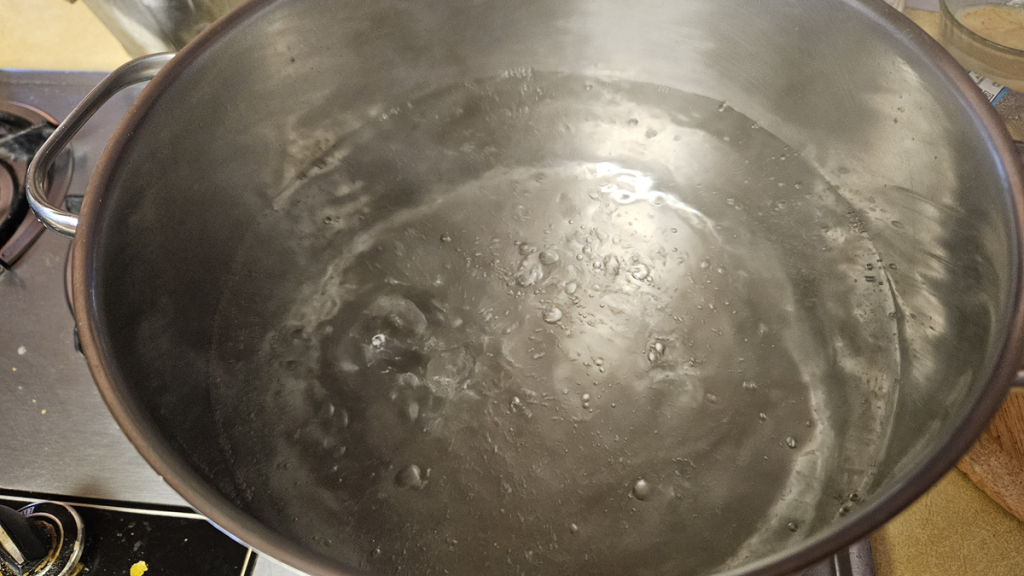
Bring a large pot of water to a boil. Add the green beans. Once the water returns to a boil, set a timer and boil for 3 minutes.
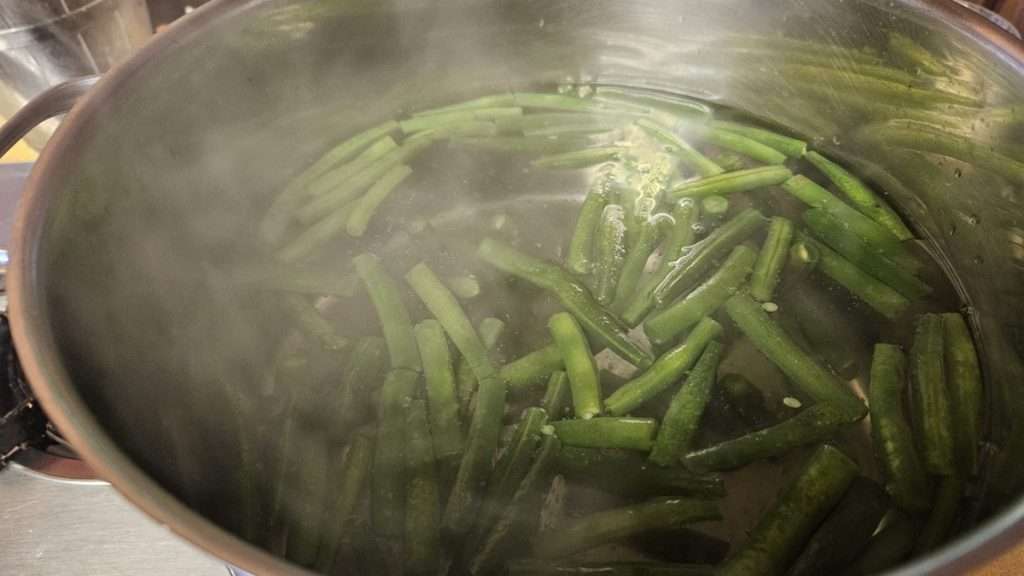
⏲️ Important: Don’t start the timer until the water comes back to a boil after adding the beans.
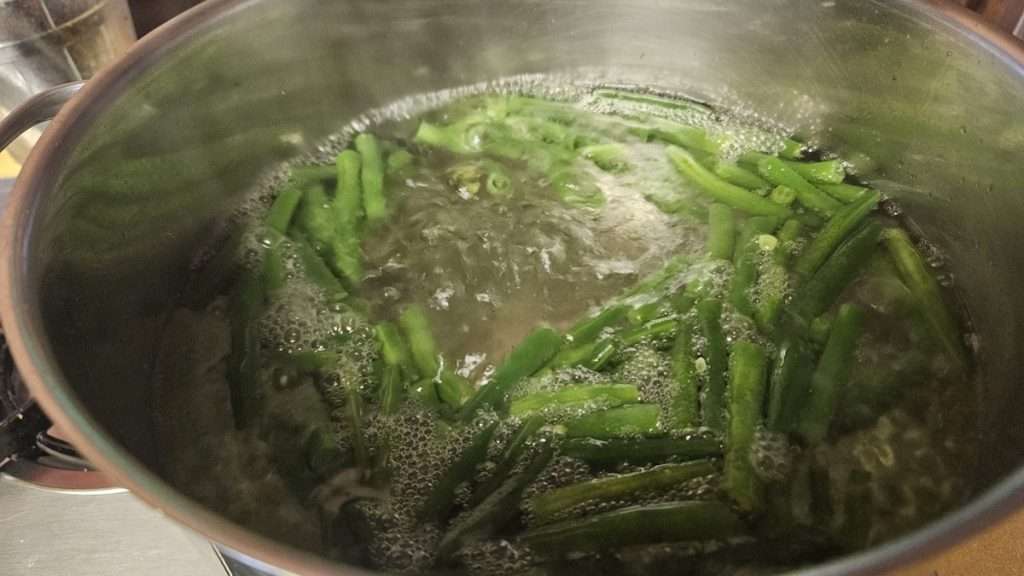
Step 4: Cool the Beans in Ice Water
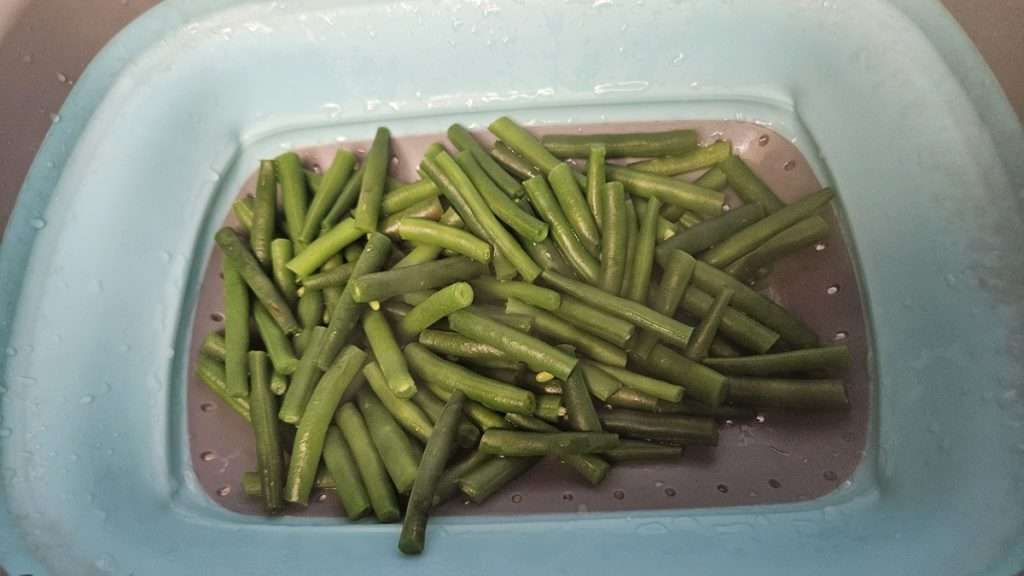
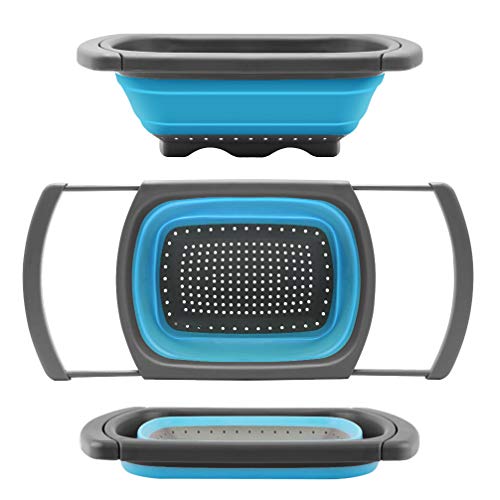
Once the 3 minutes are up, drain the beans using a colander. I like this over the sink colander (Amazon), because it holds the green beans above the sink, so they don’t sit in the water. It’s also collapsible so it doesn’t take much room to store.
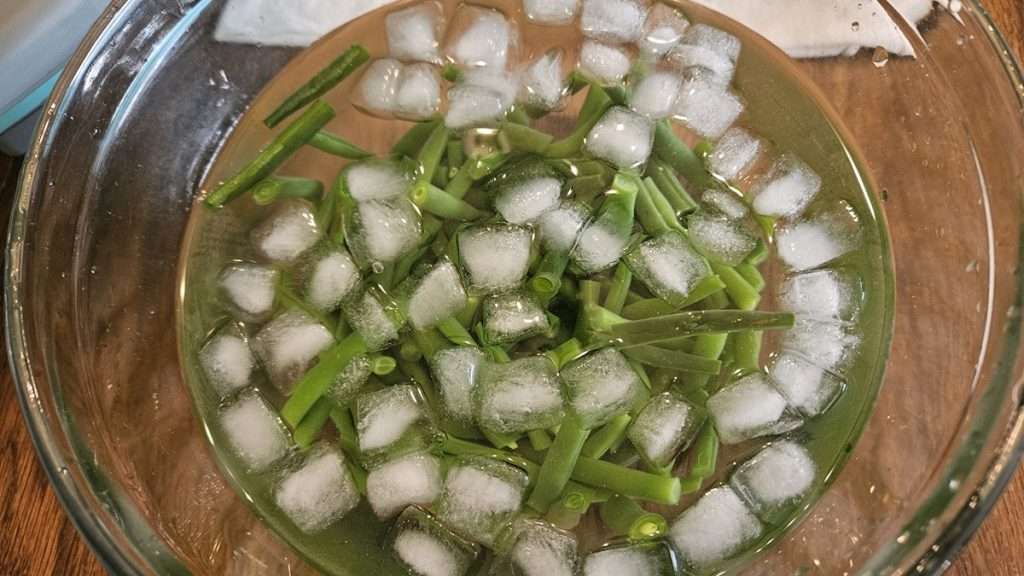
Immediately transfer them to a bowl of ice water and leave them there for another 3 minutes. This stops the cooking process and helps them stay crisp.
Step 5: Drain and Dry the Green Beans

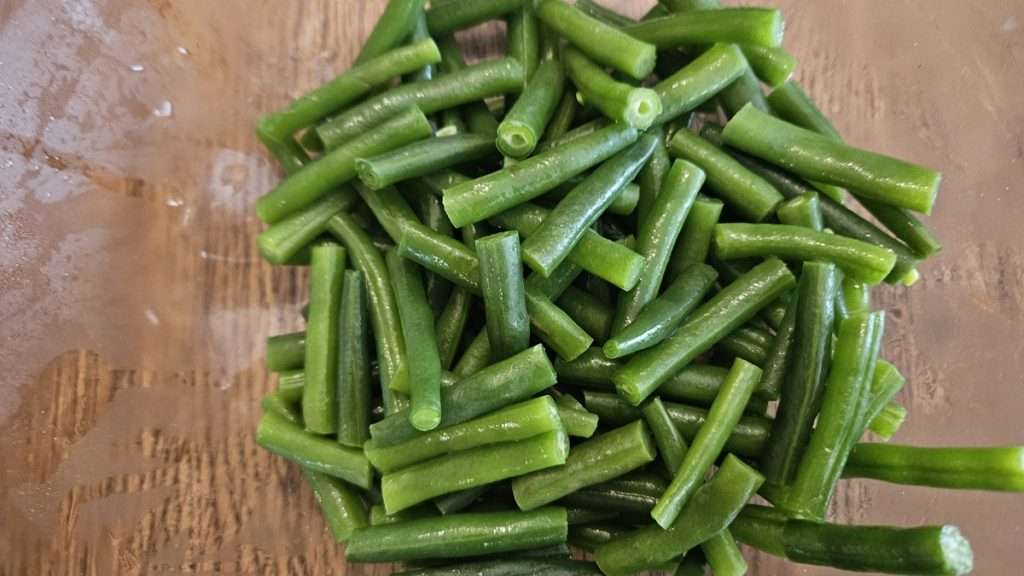
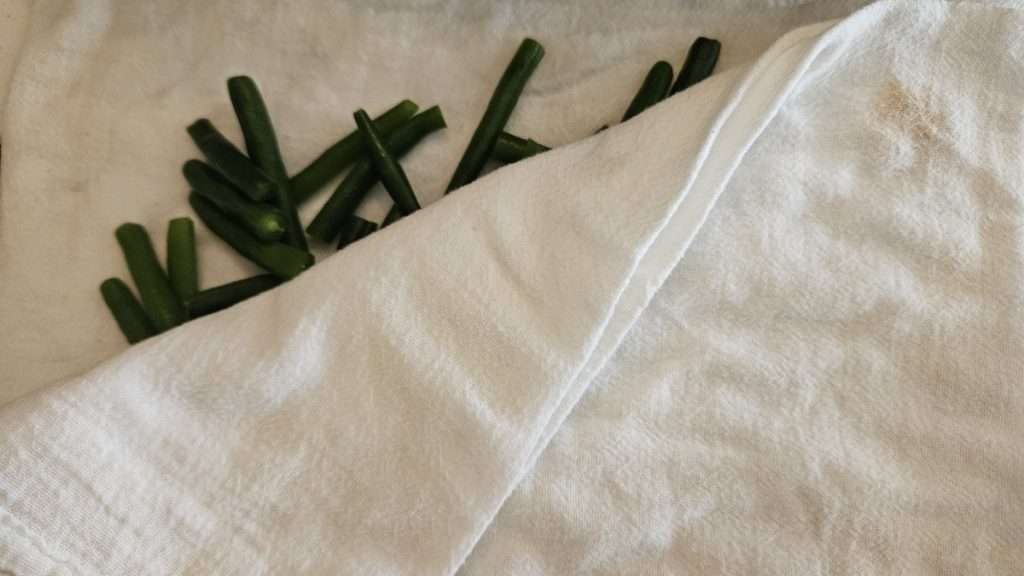
Drain the beans again, then dry them thoroughly. I like to spread mine out on a clean flour sack towel and pat them dry with another one. You could also use paper towels, but flour sack towels are more absorbent and reusable.

💡 Pro Tip: I use flour sack towels for so many things in the kitchen — drying produce, lining bread baskets, covering rising dough — and they’re great for drying blanched veggies too. There’s a wide assortment of flour sack towels available on Amazon.
Step 6: Pre-Freeze the Green Beans
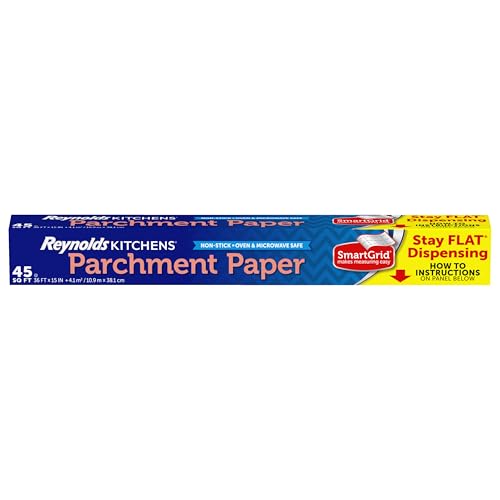
Place the green beans in a single layer on a baking sheet lined with parchment paper. Freeze for 2–3 hours until solid.
🧊 Why Pre-Freeze? This step prevents the beans from clumping together so you can grab just what you need later.
Step 7: Bag and Label
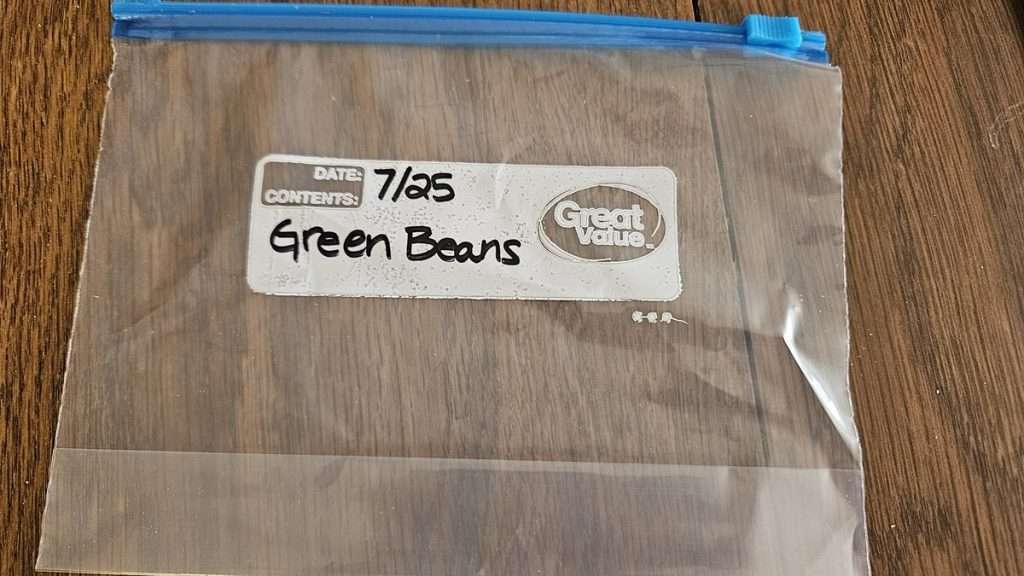
Transfer the frozen green beans into freezer bags or containers. Be sure to label with the date and contents before adding the beans — it’s much easier that way!
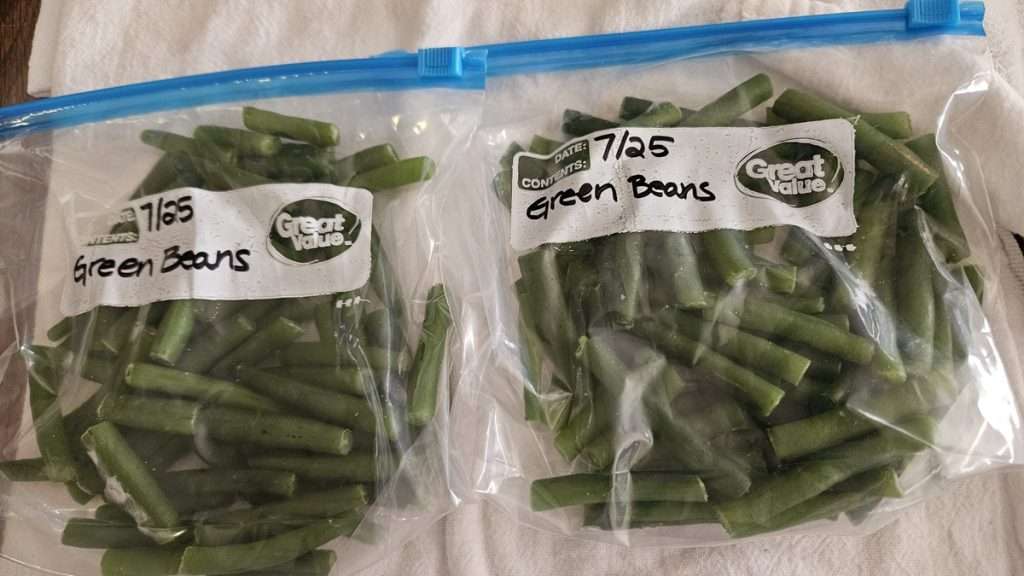
💡 I like to press out as much air as possible and flatten the bags before sealing. This helps them lay flat in the freezer, saving space and making them easier to stack. Removing as much air as possible before placing the bags in the freezer also helps them to retain the quality and last longer.
How Long Do Frozen Green Beans Last?
Frozen green beans stay fresh and crisp for up to a year when stored in airtight freezer-safe bags or containers. Be sure your freezer is at 0°F or below for best results.
How to Use Frozen Green Beans
There’s no need to thaw them! Just toss them into soups, stews, casseroles, or a pot of simmering water. Cook them for about 10 minutes or until they reach your desired tenderness.
Final Thoughts
Freezing green beans is easy, cost-effective, and a great way to enjoy garden-fresh flavor all year long. With just a little prep time, you can stock your freezer with ready-to-cook green beans that taste like summer — even in the middle of winter.
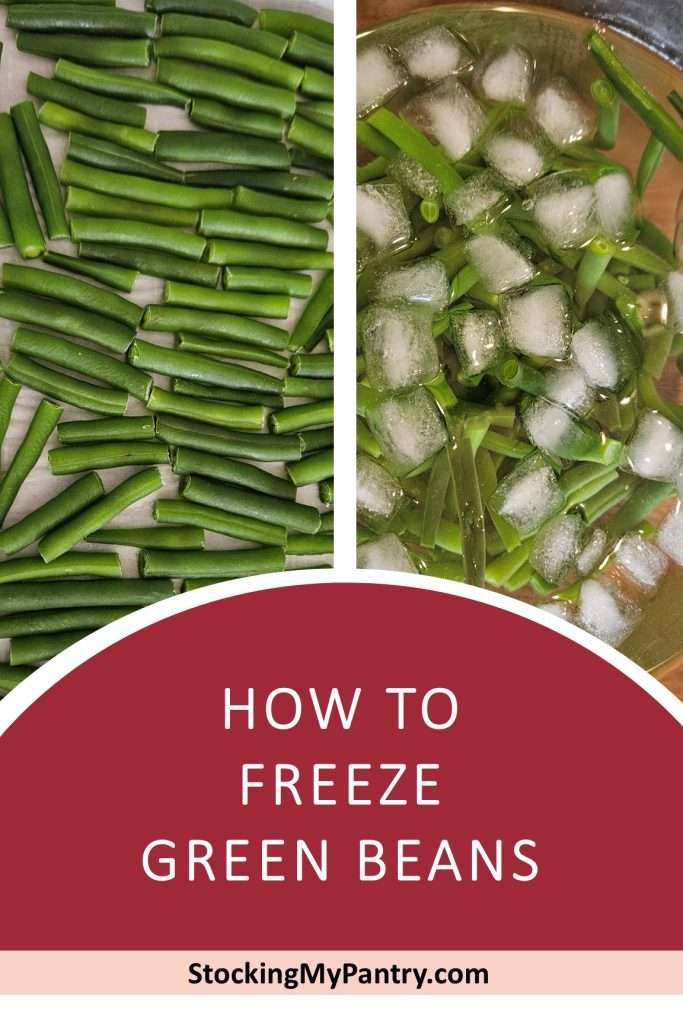
📌 Pin it for Later


Related Articles
If you enjoyed this article, you’re sure to enjoy these related articles.
- How to Freeze Cucumbers
- How to Freeze Cherries (With or Without Pits)
- How to Freeze Grapes
- The National Center for Home Food Preservation
How to Freeze Green Beans
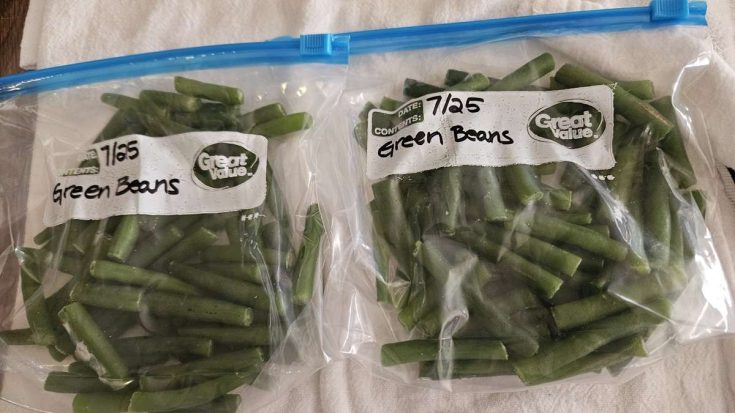
Freeze green beans at home with this easy step-by-step process. Learn how to wash, blanch, and pre-freeze green beans to keep them fresh and crisp for up to a year.
Materials
- Fresh green beans
- Knife and cutting board
- Large pot
- Large bowl
- Colander
- Ice cubes and water
- Flour sack towels or paper towels
- Parchment paper
- Baking sheet
- Freezer bags or containers
- Permanent marker for labeling
Instructions
1. Wash and trim the green beans. Remove stem ends and string them if needed.
2. Cut into 1–2" pieces (or desired size).
3. Blanch green beans: Bring a pot of water to a boil. Add green beans and boil for 3 minutes once the water returns to a boil.
4. Cool in ice water: Drain and transfer to an ice water bath for 3 minutes.
5. Drain and dry: Pat the green beans dry with a flour sack towel or paper towels.
6. Pre-freeze: Spread green beans in a single layer on a parchment-lined baking sheet. Freeze for 2–3 hours.
7. Transfer to freezer bags: Label bags with date and contents before filling.
8. Remove air and flatten: Press out excess air and flatten for easier freezer storage.
Notes
Estimate storage time: Up to 12 months in a freezer set to 0°F (-18°C)
Recommended Products
As an Amazon Associate and member of other affiliate programs, I earn from qualifying purchases.
![White Flour Sack Towels [12 Pack - 28 x 28 Inch]](https://m.media-amazon.com/images/I/41tDxhzHEuL._SL500_.jpg)


💬 I’d love to hear from you!
Have you tried this yourself? Have a question or tip to share? Leave a comment below — your experience or question could help someone else, too!