

Interested in a sweet and delicious way to use up an abundance of cherries? If so, you’re in the right place! In the article I’ll show you how to make cherry fruit leather in a food dehydrator.
Also, if you’ve ever made fruit leather and ended up with a sticky, stubborn mess on your dehydrator trays, you’re not alone. Because of that, when dehydrating this batch of cherry fruit leather, I experimented with a few different ways of preparing the dehydrator trays to see which way worked best. Not only did it turn out delicious— I found one way in particular that made it easy to peel the cherry fruit leather off the tray.
Let me walk you through the simple ingredients, the step-by-step process, as well as tips on how to keep fruit leather sticking to the tray.
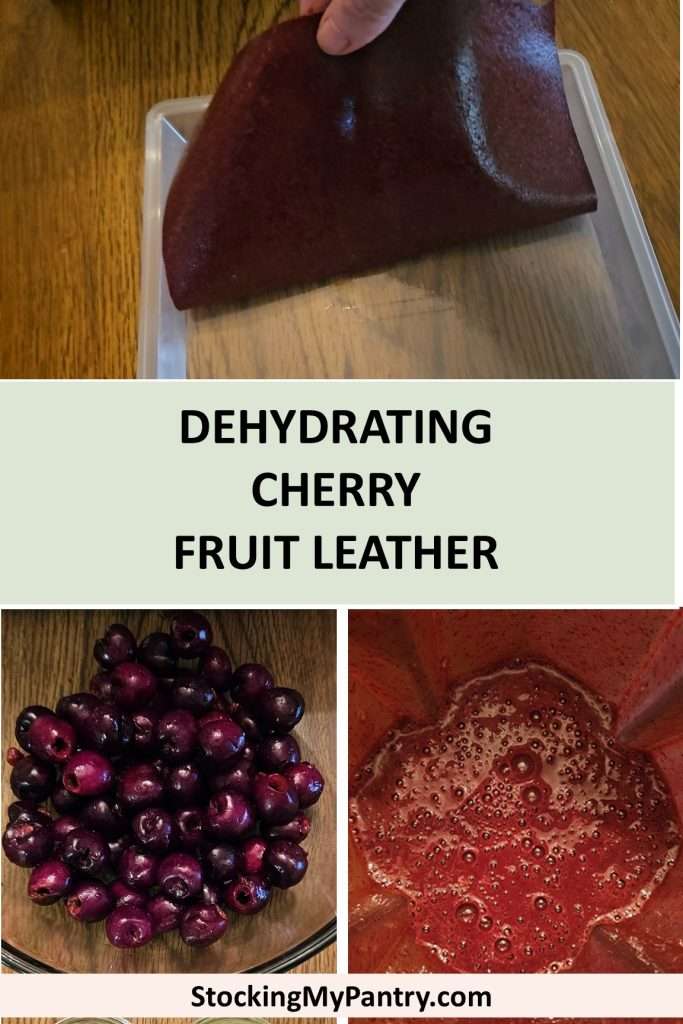
Why Make Homemade Cherry Fruit Leather?
Homemade cherry fruit leather is a great way to use up extra cherries, especially when they’re in season and plentiful. It’s free from artificial sweeteners, dyes, and preservatives—just real fruit and a couple of simple ingredients to help with texture and shelf stability.
It also makes a fantastic snack for kids (or adults!), and it’s easier to make than you might think.
This article includes affiliate links.
Cherry Fruit Leather Ingredients
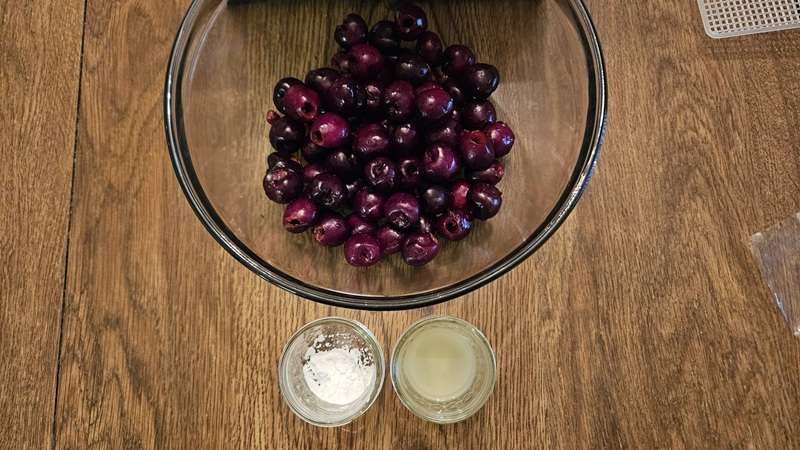
- Fresh cherries – I used 4 cups of pitted cherries. If you’re using a cherry pitter (I love this one – Amazon), it makes quick work of the prep.
- Lemon juice – Just 2 tablespoons adds vitamin C and helps preserve the color and quality.
- Cornstarch – I added 1 ½ teaspoons, which helps the fruit leather stay flexible and less prone to cracking when you roll it up. It also helps to thicken it up a bit before dehydrating, which helps it to dehydrate a bit faster.
Why lemon juice and cornstarch?
While many fruit leather recipes skip these, I find both ingredients really helpful. Lemon juice adds vitamin C and helps preserve color. Cornstarch improves the texture and prevents cracking, which is especially helpful if you want to roll them up for storage or lunches.
How to Dehydrate Cherry Fruit Leather
Now let’s get into the step-by-step process of making cherry fruit leather.
Pit the Cherries
You’ll need to start off by pitting the cherries. Other than the actual dehydrating process, this is the most time-consuming part of making cherry fruit leather.


The best way that I’ve found to pit cherries is to use a cherry pitter, that pits multiple cherries at a time. This is the cherry pitter that I use, that you can pick up on Amazon.
If you don’t have a cherry pitter, and you have a bunch of cherries staring you in the face that you need to preserve sooner rather than later, the videos below show a couple of methods for pitting cherries without a cherry pitter.
Preparing the Cherry Puree
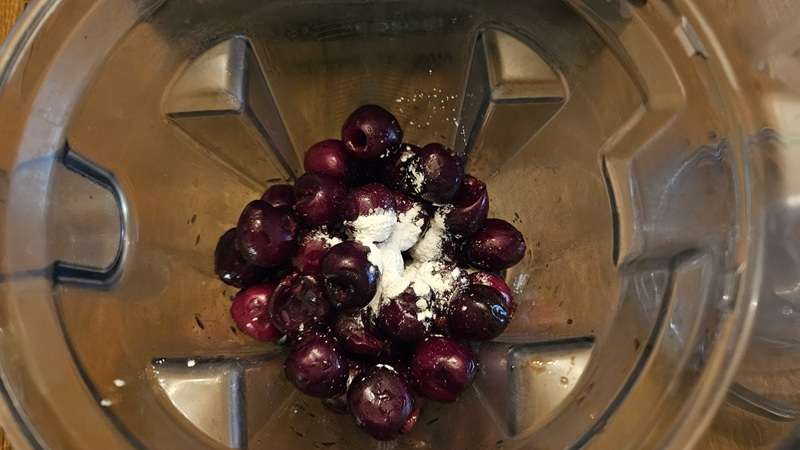
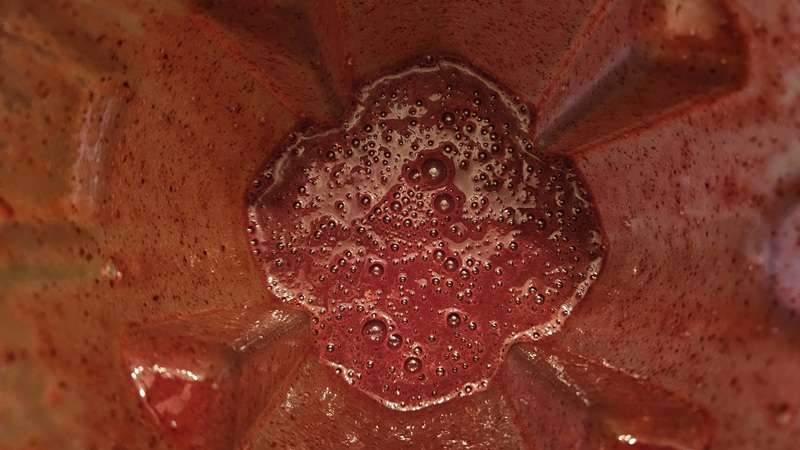
Creating the cherry puree for your fruit leather is super easy. Simply dump the cherries, lemon juice, and corn starch into a blender or food processor, and run until you get a smooth texture.
Next, pour the puree into a stainless steel pot and bring it to a boil.
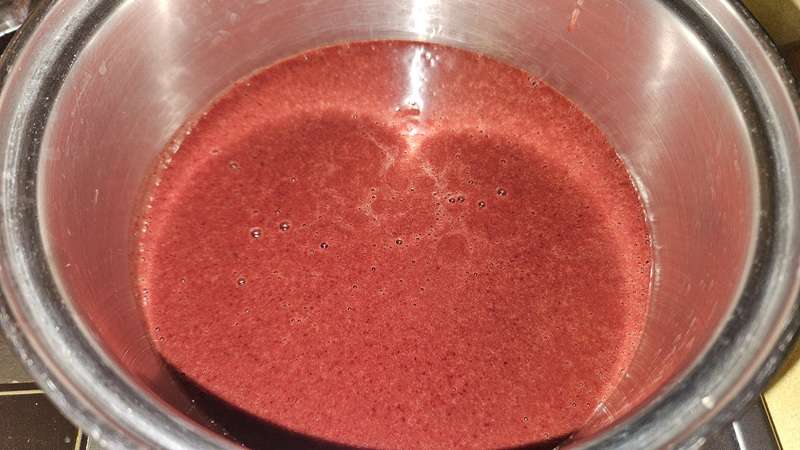
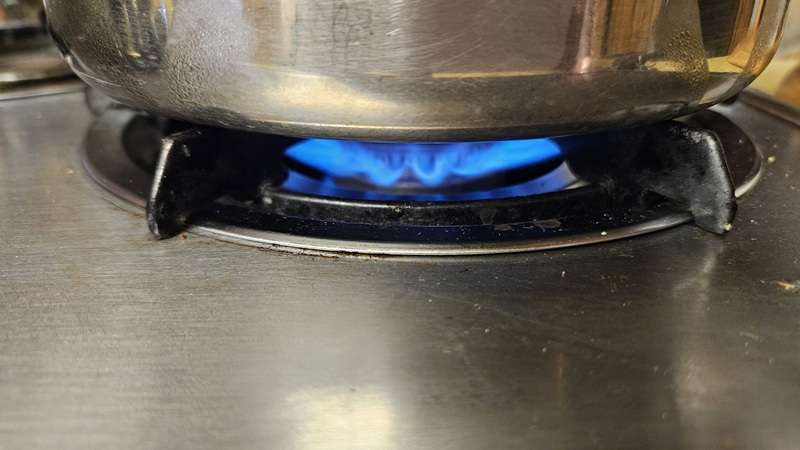
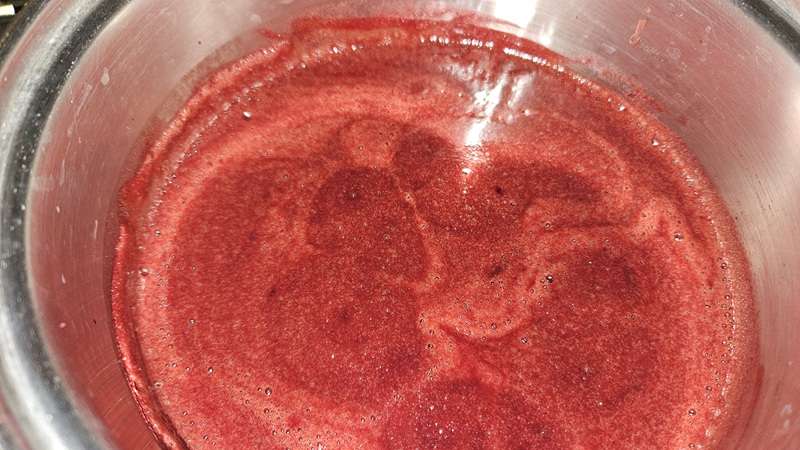
Once boiling, reduce the heat and let it simmer for 2 minutes, stirring frequently.
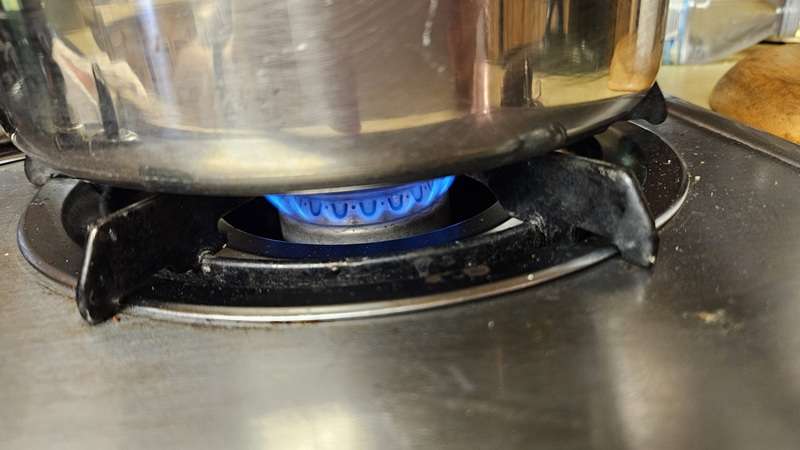
This short cooking time helps thicken the puree slightly and activate the cornstarch. In terms of consistency, you want the cherry puree to be the consistency of apple sauce. Not super thick, and yet not thin and watery.
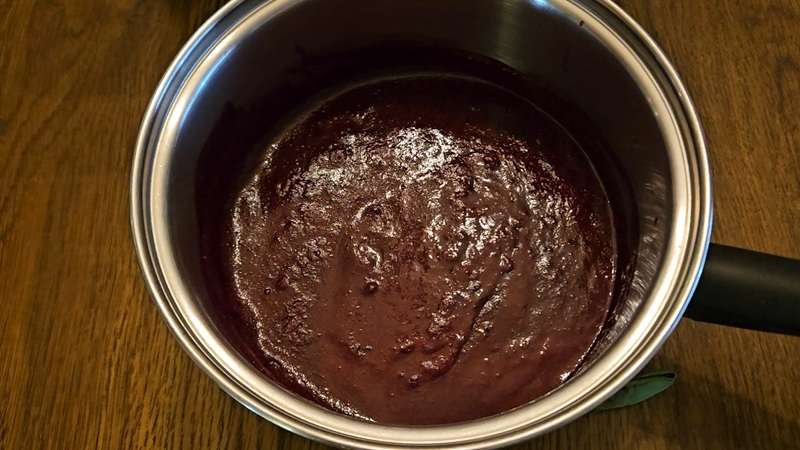
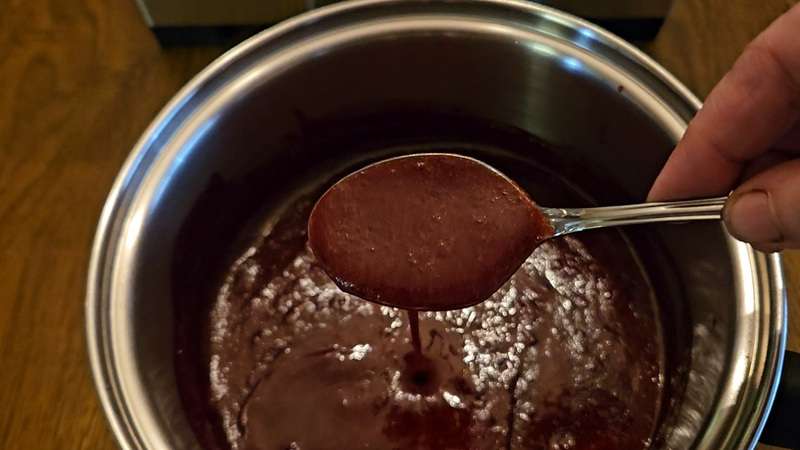
Allow the mixture to cool before spreading it onto dehydrator trays.
Since I made a small batch, I used my Cosori mini dehydrator (Amazon), which is perfect for smaller amounts and uses less electricity than a full-size dehydrator. This is also a great dehydrator if you want to keep a dehydrator on your kitchen counter for frequent use, and don’t have a ton of room in your kitchen.
If you’d like to learn more about the Cosori mini dehydrator, I have two articles that you may find helpful:
My Experiments With Keeping the Cherry Fruit Leather from Sticking on the Trays!
As I mentioned earlier in this article, in the past I’ve had problems with fruit leather sticking to trays. So when I set out to make the cherry fruit leather, I decided to try a few different methods to see which worked best.
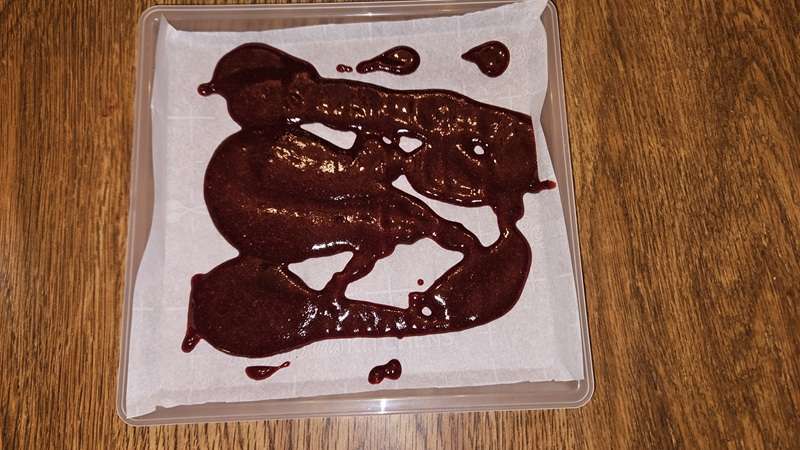
Parchment Paper
The first method was to put parchment paper on the fruit leather trays, and the put the cherry puree on that. This is the method that is recommended in the recipe book that comes with the Cosori mini dehydrator.
Plastic Freezer Bag
The second method is one I read about in the Ultimate Dehydrator Cookbook by Tammy Gangloff, that you can pick up on Amazon. That book is my go-to book when it comes to all things related to dehydrating food.
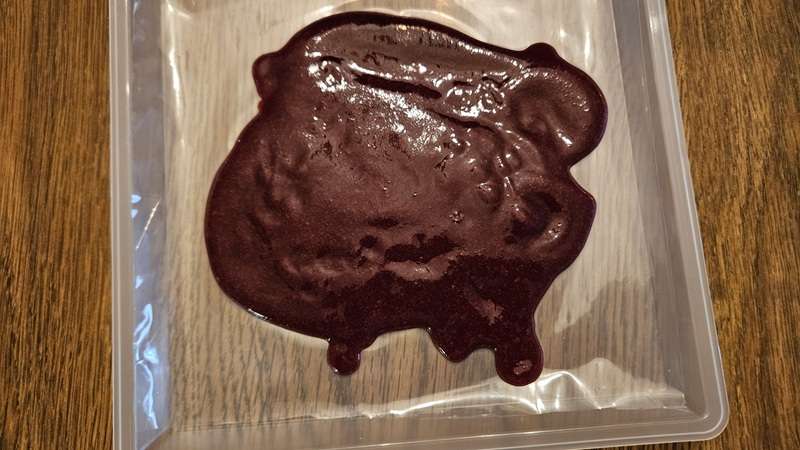
In the book she states:
Less expensive alternatives to drying sheets are. . .large ziptop bags cut open to make one large sheet. . . if there is any print on the bag, face it away from the food, otherwise it will transfer to the leather when it is peeled away from the plastic.
In my case, I just used the part of the bag without any print, so I didn’t have to worry about the print transferring. Note that this ziptop bag method worked great for my mini dehydrator trays, because they are small. The bag may have been a bit small for full size dehydrator trays.
Spreading a Small Amount of Oil on the Tray
The final method I tried to keep the cherry fruit leather from sticking to the tray is I spread a TINY amount of oil on the tray. The downside of this is that any fat in dehydrated food potentially reduces the shelf life of the dehydrated food, so you’ll want to use as little oil as possible.
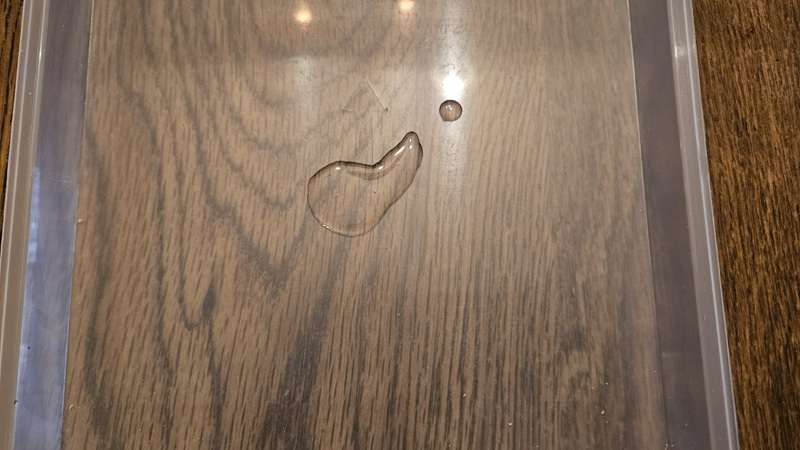
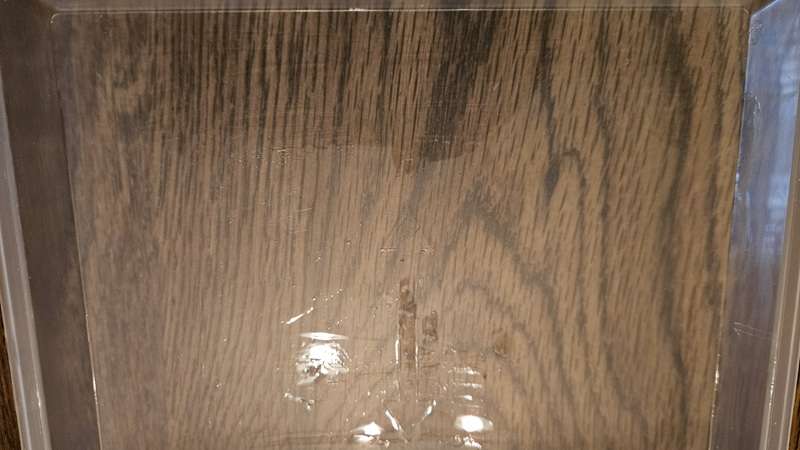
Spreading the Cherry Puree on Fruit Leather Trays
Regardless of which method above you decided to go with, it’s now time to spread the cherry puree on your fruit leather trays.
First, let’s talk about the amount of cherry puree per tray. since I was using the mini-dehydrator, I used 1/2 cup of fruit leather per tray. If you are using a full-size dehydrator, I recommend using 1 cup of fruit puree per tray.
To spread the cherry puree evenly on the trays, I recommend first pouring the fruit puree in strips on the sheet. This gives you a head start in getting the puree evenly spread on the trays.
Next, whack the trays on the table to help evenly distribute the fruit leather. To be honest with you, regardless of how much I whack the trays, while it helps, it still doesn’t completely distribute the fruit leather throughout the tray.
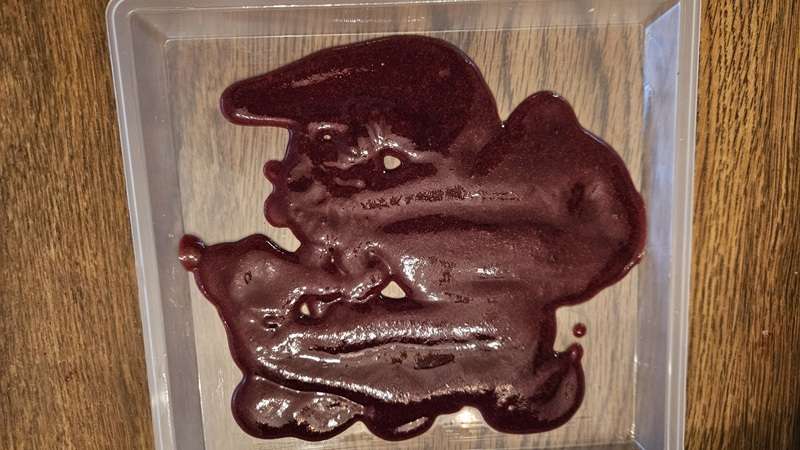
Because of that, the next step that I recommend is to tilt the tray back and forth, from side to side until the puree is as even as possible.
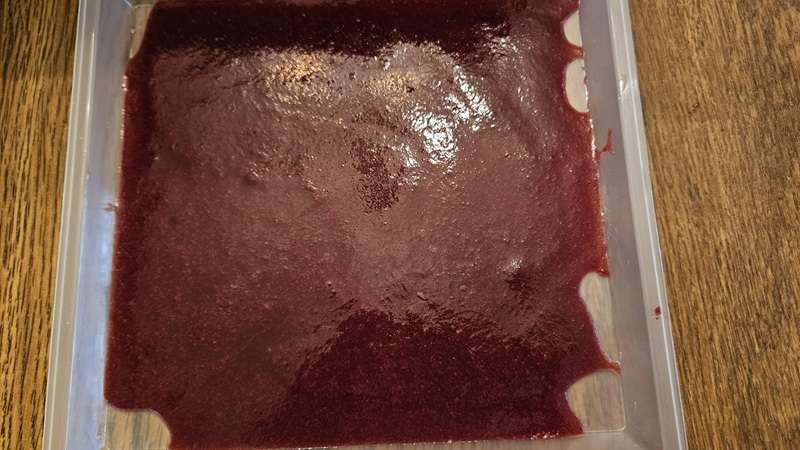
After that, I whacked it on the table again for good measure, which did help get it more even.
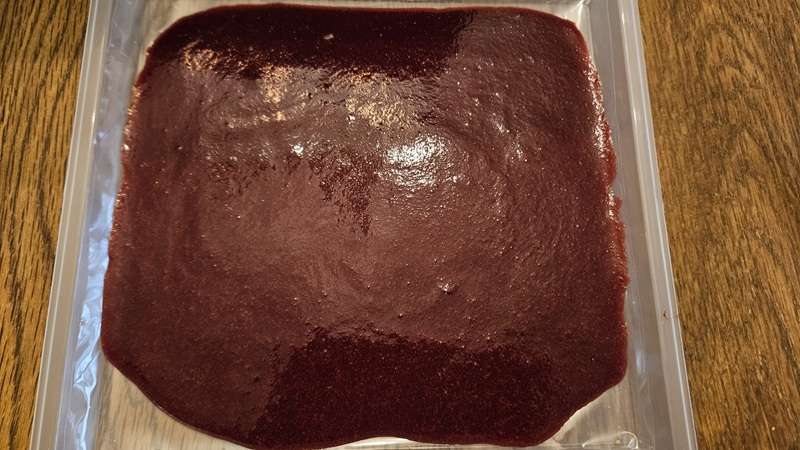
You can also use a spatula (an offset spatula such as these on Amazon) to help smooth out the puree.
Dehydrating Time and Temperature
I set the dehydrator to 135°F and initially set the timer for 6 hours.
However, I started checking around the 4.5-hour mark, and here’s what I found:
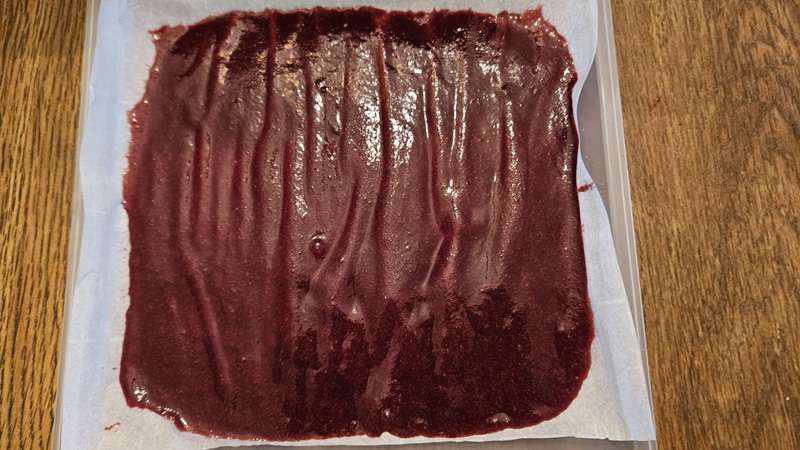
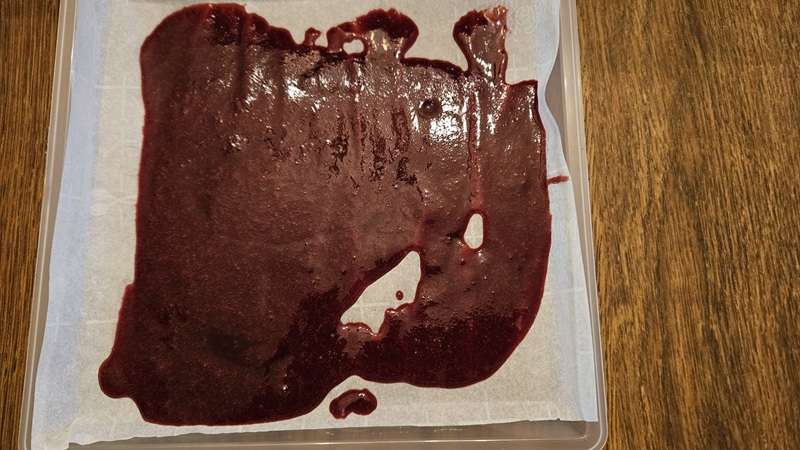
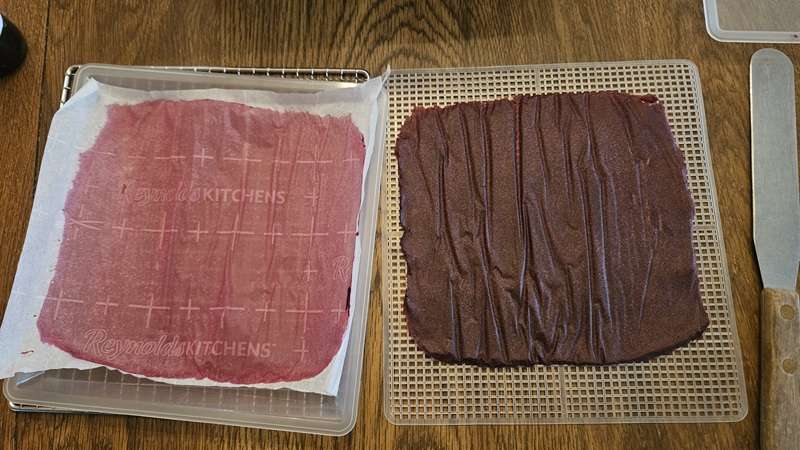
Fruit Leather on Parchment Paper
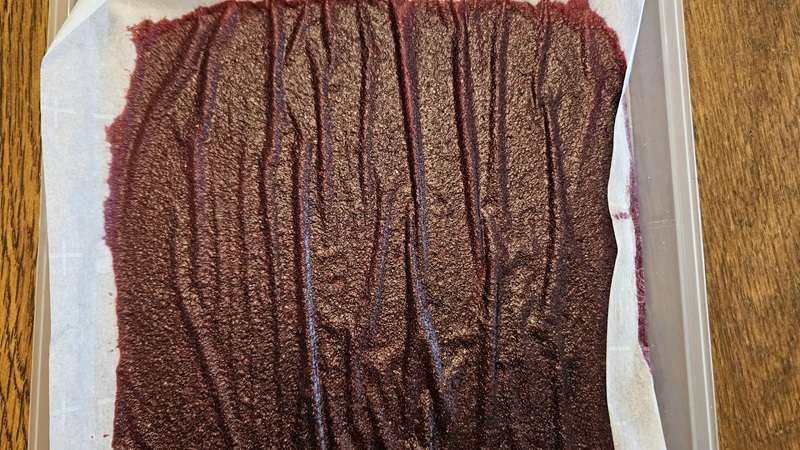
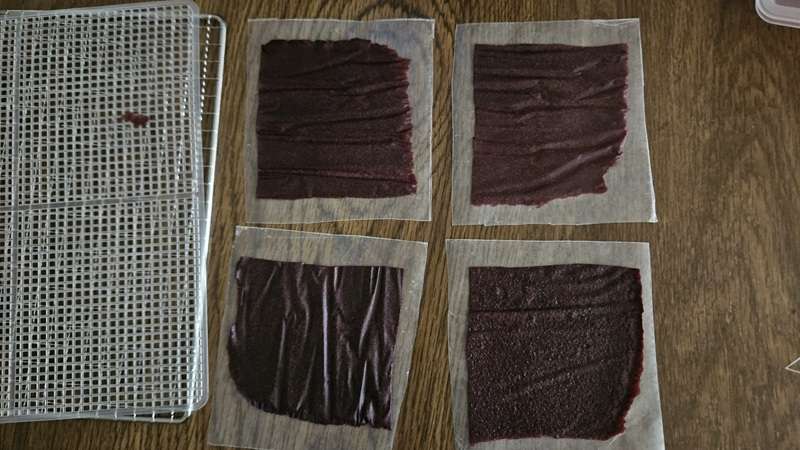
First, I checked the cherry fruit leather that I had placed on the parchment paper. As you can see in the photo above, the parchment paper wrinkled due to the moisture of the cherry puree. I believe because of that, it was thicker in spots and was still damp in the thicker spots.
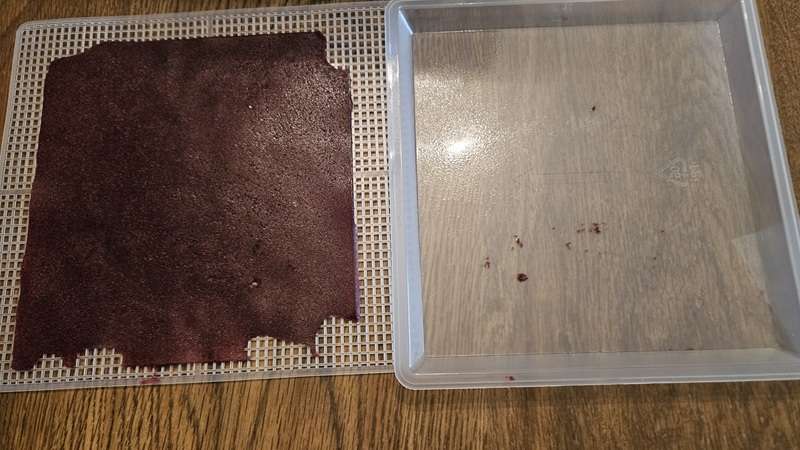
Fruit Leather on Oiled Tray and Plastic Freezer Bag
The cherry puree that I had put on the plastic bag was quite a bit dryer than it was on the parchment paper. It was still a bit tacky to the touch, but not bad. It was also nice and smooth.
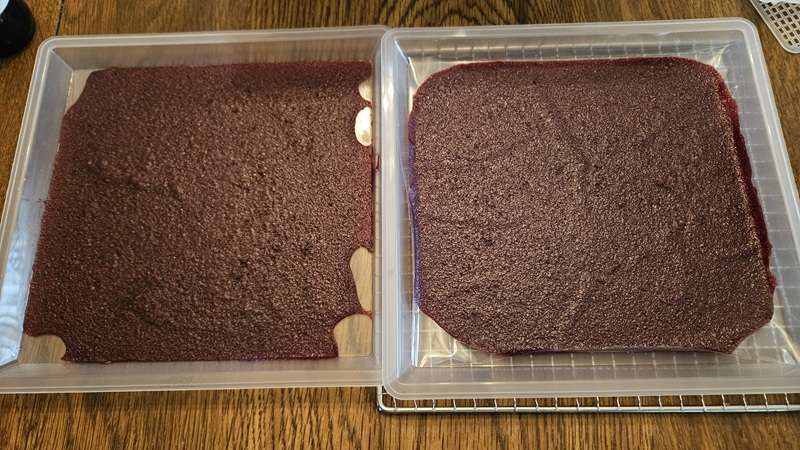
Similar to the fruit leather that I put on the plastic freezer bag, the fruit leather on the oiled tray was also quite dry, but still a bit tacky in spots.
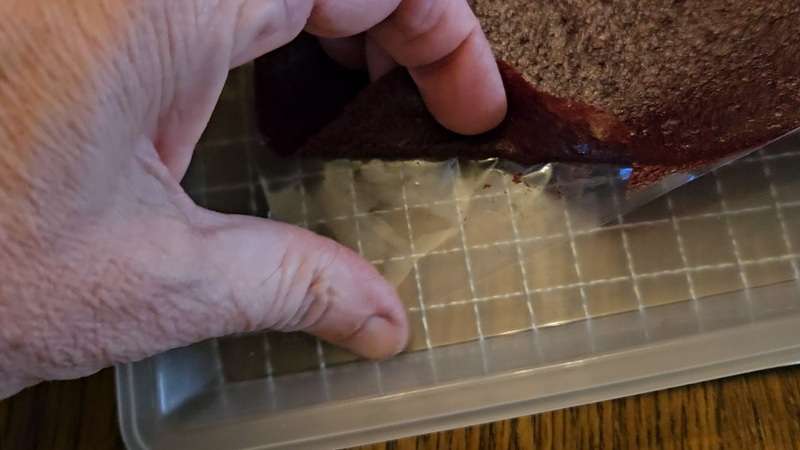
It was dry enough for me to lift about 1/4 of the leather off without tearing, but when I hit a wet spot, a small amount stuck on the tray, so I knew it wasn’t dry enough to peel off.
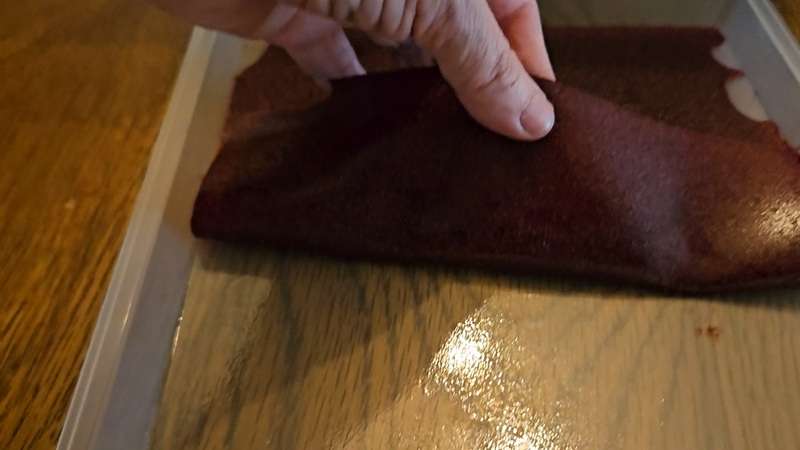
I put all of the fruit leather trays back into the dehydrator for another hour.
Cherry Fruit Leather After 6 Hours in the Dehydrator
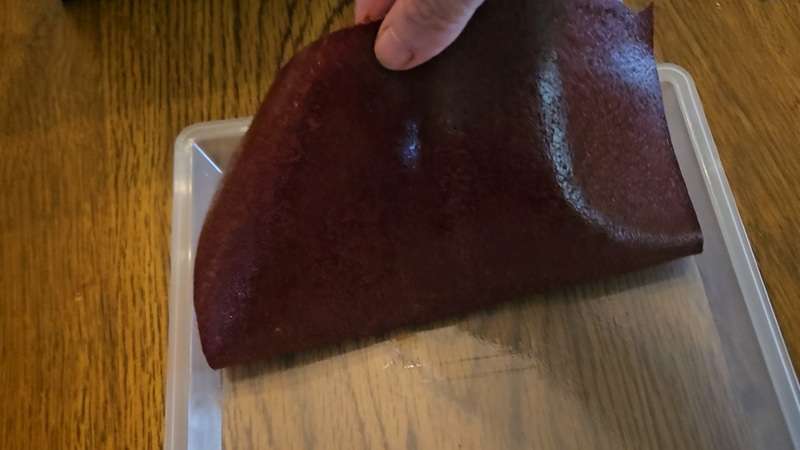
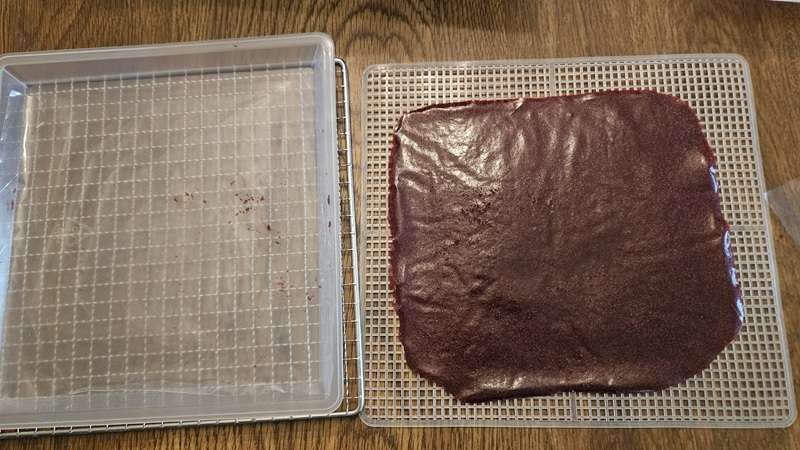
After 6 hours in the dehydrator, all of the fruit leather was dry enough to peel off the parchment paper, plastic wrap, or oiled tray.
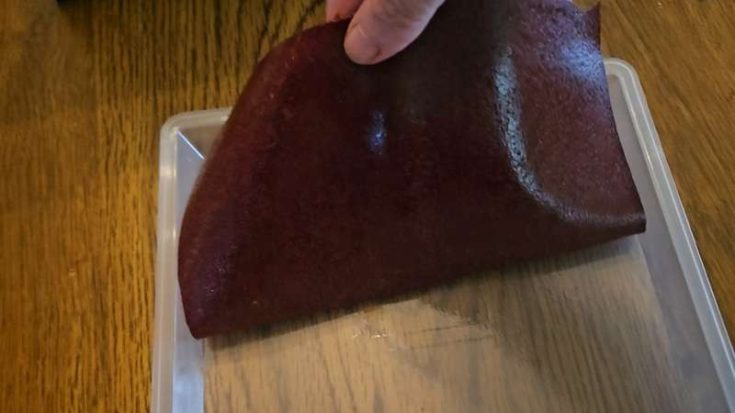
By far, the easiest one to peel off was the cherry fruit leather on the slightly oiled tray. I was able to pull it off very easily, with very little resistance.
The next easiest one to peel off was the fruit leather on the parchment paper. I had to be careful with it, but it came off pretty easily.
The hardest one to peel off was the fruit leather on the ziptop plastic. Part of the issue was that the plastic was so thin and flexible, I found it hard to grab onto the fruit leather. However, once I got it going, it came off pretty easily.
Transfer the Fruit Leather to Mesh Trays
At this point the fruit leather was very close to being dry, but it was still tacky in spots.
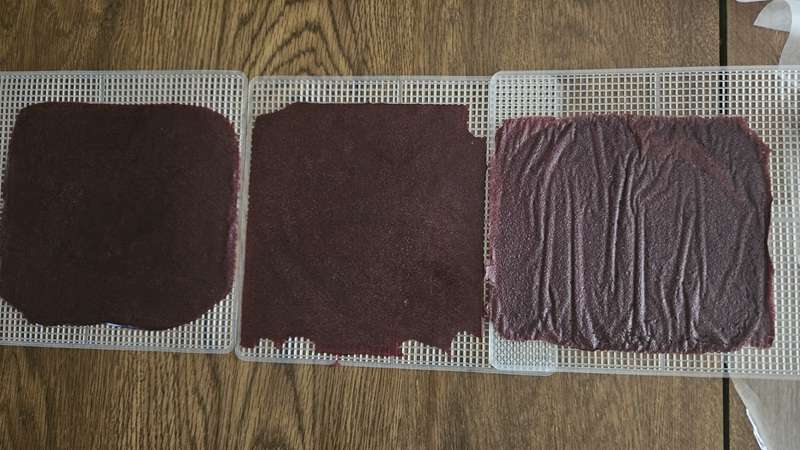
Because of this, I flipped the fruit leather over (so the bottom side was up so it could dry better) and put it on mesh trays so it would get better airflow.
I dehydrated it for an additional hour or so, until there were no longer any damp spots.
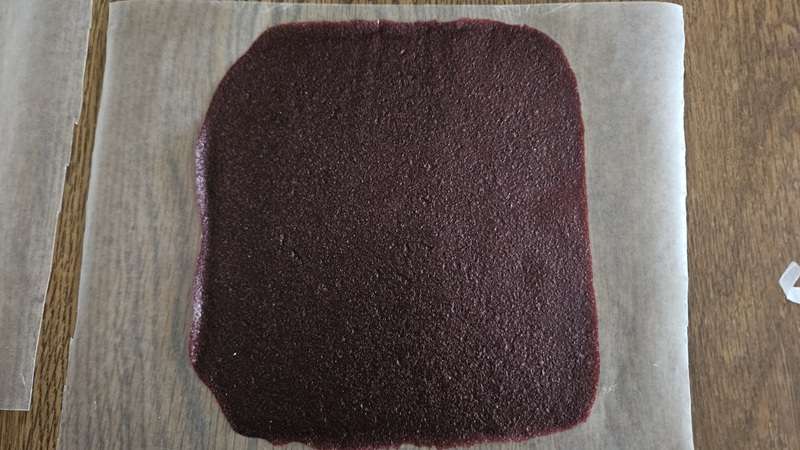
After that, they were perfectly dry—pliable but not sticky.
Storing Your Cherry Fruit Leather
Once cooled, I did a few things:
- Cut each fruit leather into fourths (remember, these are mini trays).
- Stored some flat in a Ziploc bag with wax paper between layers.
- Rolled others up in wax paper and cut into strips for a classic fruit roll-up look.
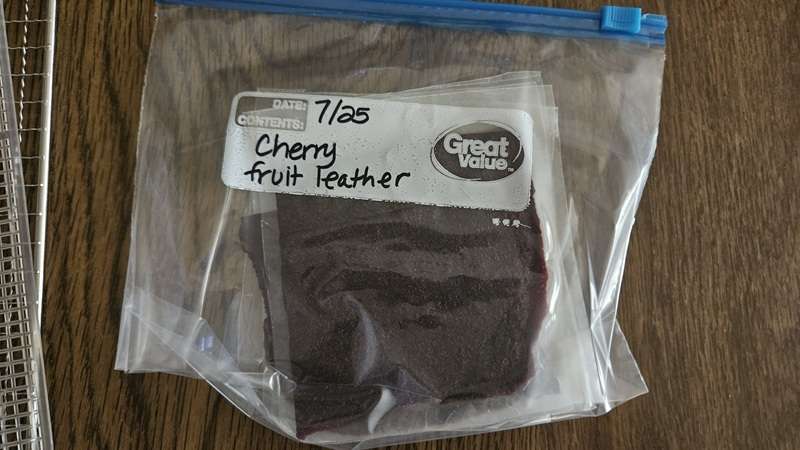
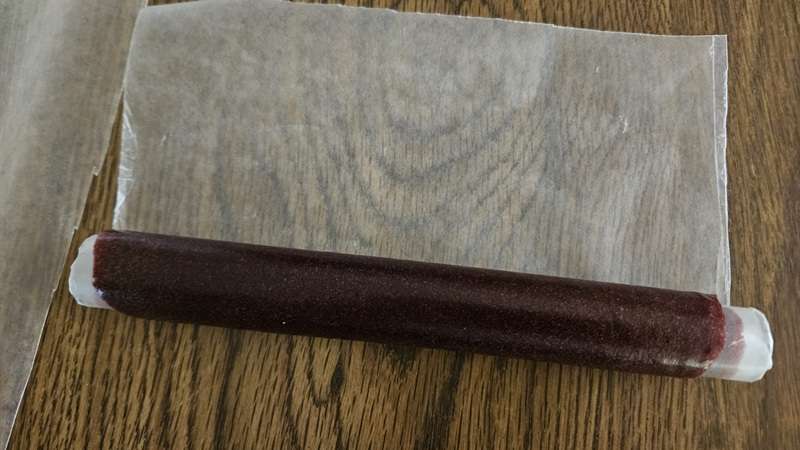
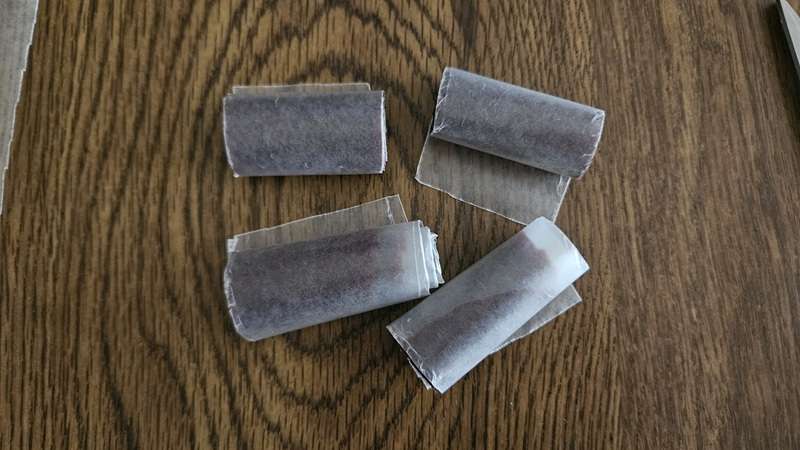
If you’re planning to store these long term, skip the oil and use parchment or plastic. But for short-term snacking, and a moderate storage life (e.g. months instead of years) a touch of oil makes cleanup and removal so much easier—and it’s unlikely to affect shelf life much since it’s such a small amount.
Tips for Fruit Leather Success
- Use cornstarch and lemon juice for better texture and preservation.
- Spread puree evenly by tilting and tapping trays.
- Lightly oil trays for easy removal (or test your favorite method!).
- Flip and finish drying on mesh trays to avoid any sticky undersides.
- Store with wax paper to keep pieces from sticking together.
Ready to Try It?
This cherry fruit leather was simple to make, packed with flavor, and didn’t end in a tray-scraping headache. If you’re curious how it all comes together, check out the step-by-step how-to card below.
Pin it for Later

Print it for Later
How to Make Cherry Fruit Leather in a Food Dehydrator
Learn how to make cherry fruit leather at home using a food dehydrator. This step-by-step guide shows you how to prep cherries, blend, dry, and store homemade fruit leather that’s flavorful and easy to remove from trays.
Materials
- 4 cups pitted fresh cherries
- 2 tablespoons lemon juice
- 1½ teaspoons cornstarch
- Wax paper or parchment paper (for storing or rolling)
- Optional: parchment paper, plastic freezer bag, or small amount of oil (for lining trays)
Tools
- Cherry pitter
- Blender or food processor
- Stainless steel pot
- Food dehydrator (mini or full-size)
- Dehydrator fruit leather trays or liners
- Offset spatula (optional, for smoothing puree)
- Mesh dehydrator sheets (optional, for final drying)
- Kitchen scissors or knife
- Zip-top bags or airtight containers (for storage)
Instructions
Pit the cherries
Use a cherry pitter to quickly pit enough cherries to yield about 4 cups.
Make the puree
Add pitted cherries, lemon juice, and cornstarch to a blender or food processor. Blend until smooth.
Simmer the puree
Pour puree into a stainless steel pot. Bring to a boil, then reduce heat and simmer for 2 minutes, stirring frequently. Let it cool slightly.
Prepare dehydrator trays
Choose a method to prevent sticking:
1. Line trays with parchment paper
2. Use a cut plastic freezer bag
3. Lightly oil trays with a very small amount of oil
Spread the puree
Use ½ cup puree per tray for a mini dehydrator (or ~1 cup for full-size trays). Spread puree evenly using tray tilting, tapping, or an offset spatula.
Dehydrate
Set dehydrator to 135°F and dry for about 6 hours. Check after 4.5 hours—leather should feel dry but flexible.
Transfer and finish drying
Remove fruit leather from trays, flip onto mesh dehydrator sheets (bottom side up), and dry for 1–1.5 more hours if needed.
Cool and store
Once fully dried, let cool. Cut into pieces or strips. Store flat with wax paper between layers or roll up in wax/parchment paper.
Notes
Recommended Products
As an Amazon Associate and member of other affiliate programs, I earn from qualifying purchases.



💬 I’d love to hear from you!
Have you tried this yourself? Have a question or tip to share? Leave a comment below — your experience or question could help someone else, too!