

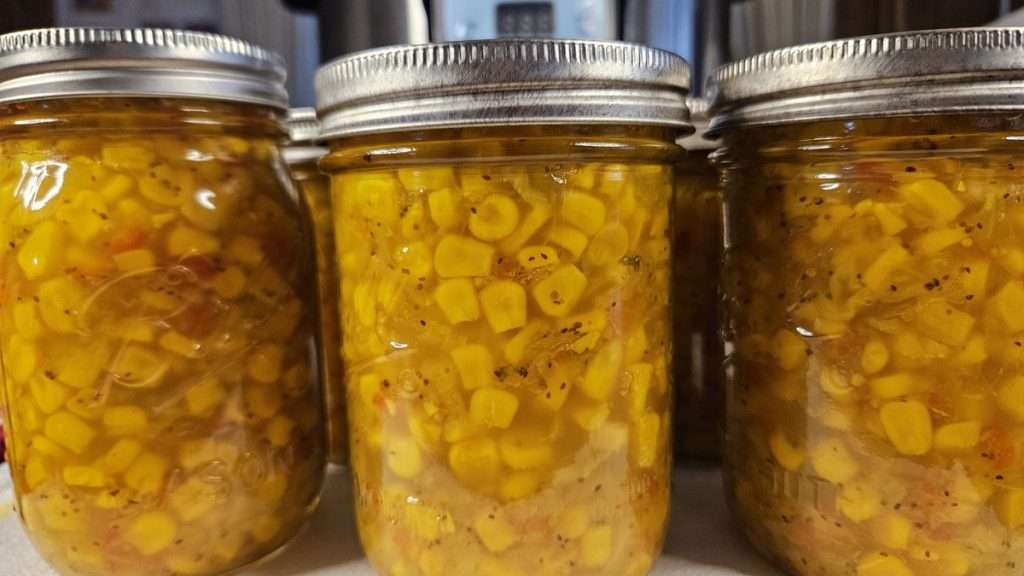
I recently snagged a great deal on cabbage, so looked for ways to preserve it. With just a few exceptions, canning cabbage is not recommended, but I came across an approved corn relish recipe that uses a small amount of cabbage, so I decided that canning corn relish was one easy way to safely can at least some of my cabbage.
This article includes affiliate links.
I decided to use the traditional corn relish recipe from The Ball Complete Book of Home Preserving (Amazon). This book was the very first canning book that I purchased, and it’s in large part how I learned how to can. The recipe for canning corn relish is at the front of the book, and as such is a great place to start if you’re new to canning. Whether or not you’re new to canning, or if you simply want a good way to preserve some corn and cabbage, then be sure to keep reading!
This sweet and tangy relish is perfect for burgers, sandwiches, and even stirred into pasta salad for a burst of flavor.
As usual, I put my own spin on things to make the recipe work for my equipment and kitchen setup—especially since I use a Nesco canner (Amazon) and prefer steam canning.
📌 Note: This post walks you through the full step-by-step process. The printable recipe card with ingredients and basic instructions is at the bottom of the post.
A Few Notes Before You Start
Processing Time Depends on Your Altitude
The original recipe calls for a 15-minute water bath processing time. However, if you live at a higher elevation like I do, you’ll need to add time. As an example, due to my altitude, I process mine for 20 minutes. If you’re unsure how to adjust recipes for your altitude, check out this post where I explain how to safely adapt recipes based on elevation.
Steam Canning in the Nesco
While the Nesco canner isn’t officially approved for steam canning, I use it for that purpose based on safe guidelines from RoseRed Homestead. I’ve written a full post on how I steam can safely in the Nesco if you want to give it a try.
If that’s not for you, you can absolutely water bath can this recipe—just be sure your jars are covered by at least 1 inch of water during processing.
Ingredients for Canning Corn Relish
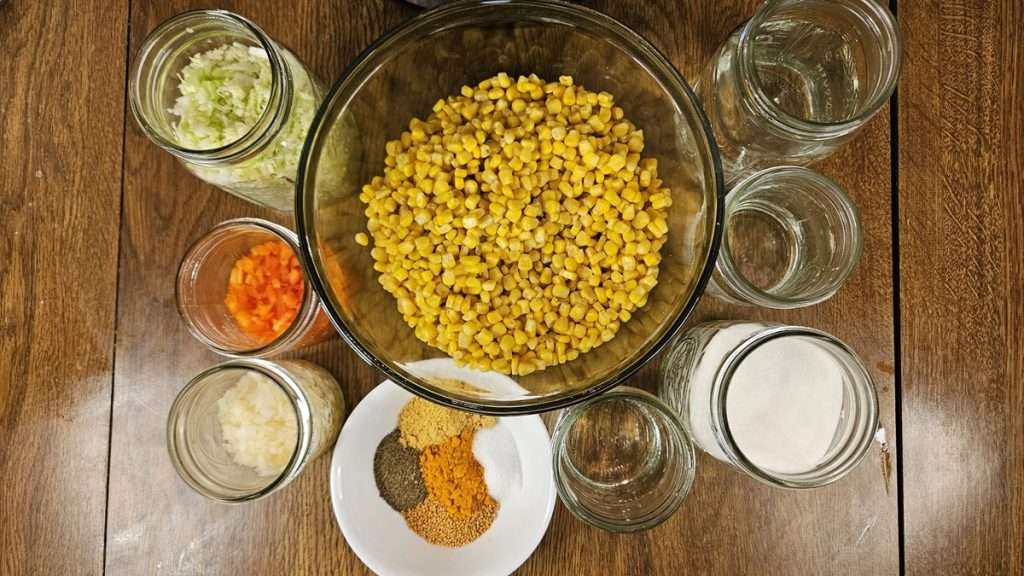
Here’s what you’ll need to make a batch of corn relish. Scroll down to the recipe card if you want the exact amounts.
- Corn kernels (I used frozen) – Sweet and juicy, this is the main ingredient and gives the relish its signature flavor.
- Finely chopped cabbage – Adds a bit of crunch and body to balance out the sweet corn.
- Finely chopped onion – Gives it that classic relish sharpness.
- Finely chopped red bell pepper – For color and a subtle sweetness.
- White vinegar – Keeps the recipe safe for canning and adds tangy brightness. Be sure to use 5% acidity vinegar.
- Granulated sugar – Provides the sweet contrast to the vinegar.
- Water – Helps everything simmer together without reducing too fast.
- Dry mustard – Adds a nice zing and blends beautifully with the sugar and vinegar.
- Celery seed – A classic relish ingredient that adds an herby, old-fashioned flavor.
- Mustard seeds – Add a bit of texture and pop.
- Salt (I used canning and pickling salt that I picked up on Amazon) – Enhances flavor without clouding the brine.
- Ground turmeric – Adds that gorgeous golden color and a hint of earthy flavor.
🧯 Want a bit of heat? You can toss in some red pepper flakes if you like things a little spicier.
Step-by-Step: How to Make and Can Corn Relish
Here’s how I made this corn relish, including a few modifications I made along the way. I’ve broken this into simple steps so you can follow along—and I’ll be including plenty of process photos to walk you through it visually.
Step 1: Prep the Ingredients
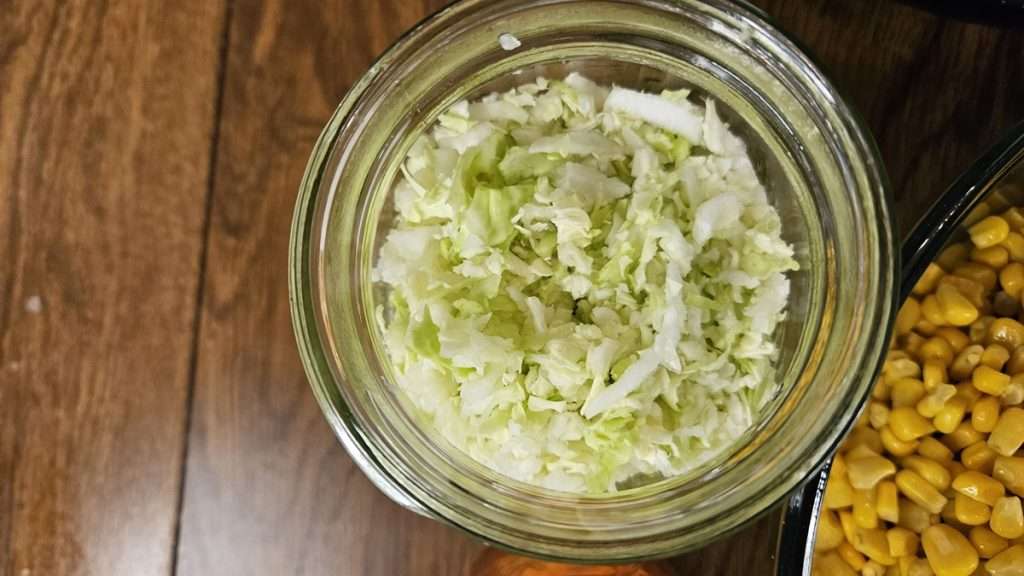
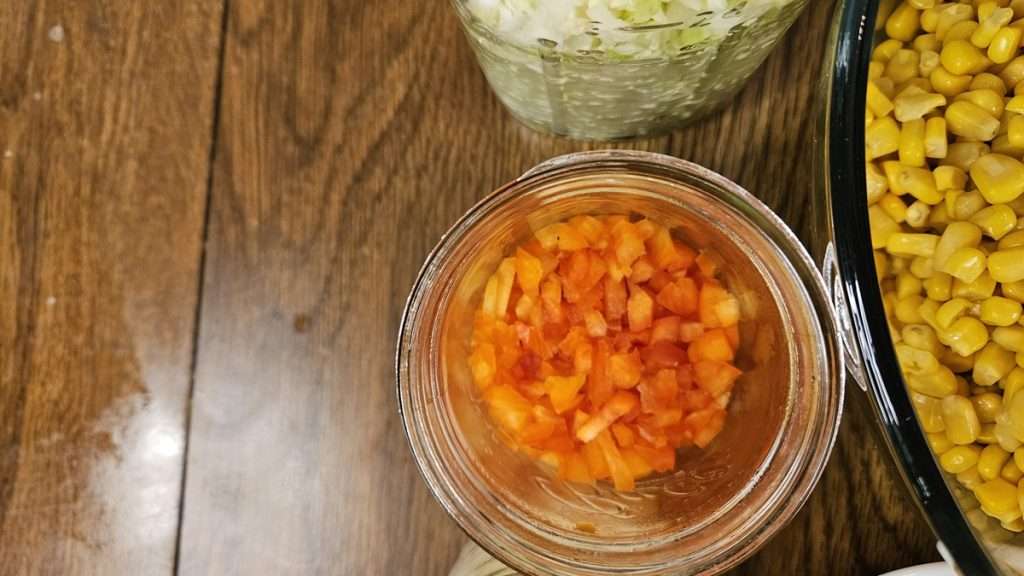
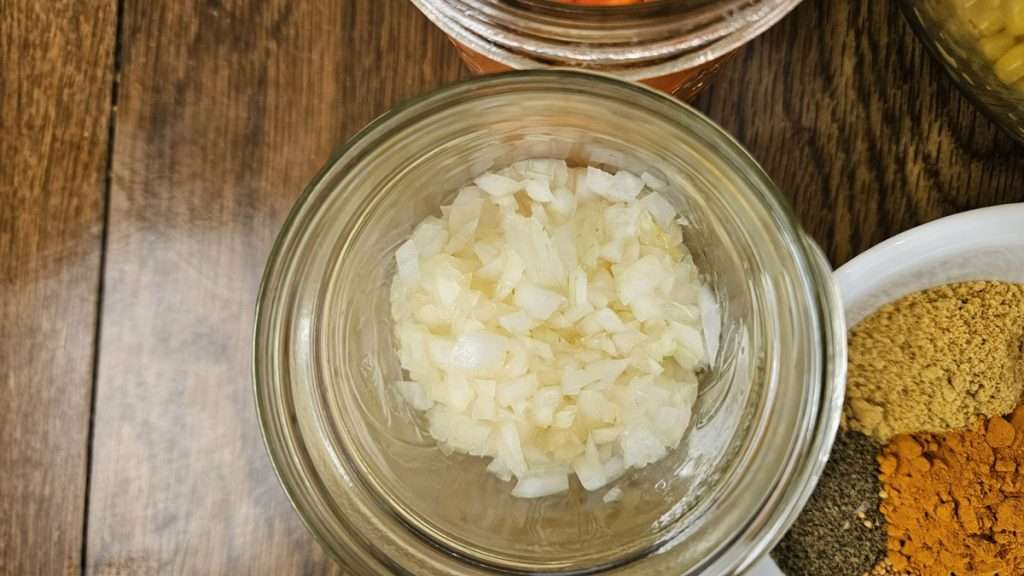
Finely chop your cabbage, onion, and red bell pepper. If you’re using frozen corn (like I did), make sure it’s completely thawed before getting started.
Step 2: Combine the Corn Relish Ingredients in a Stainless Steel Pot

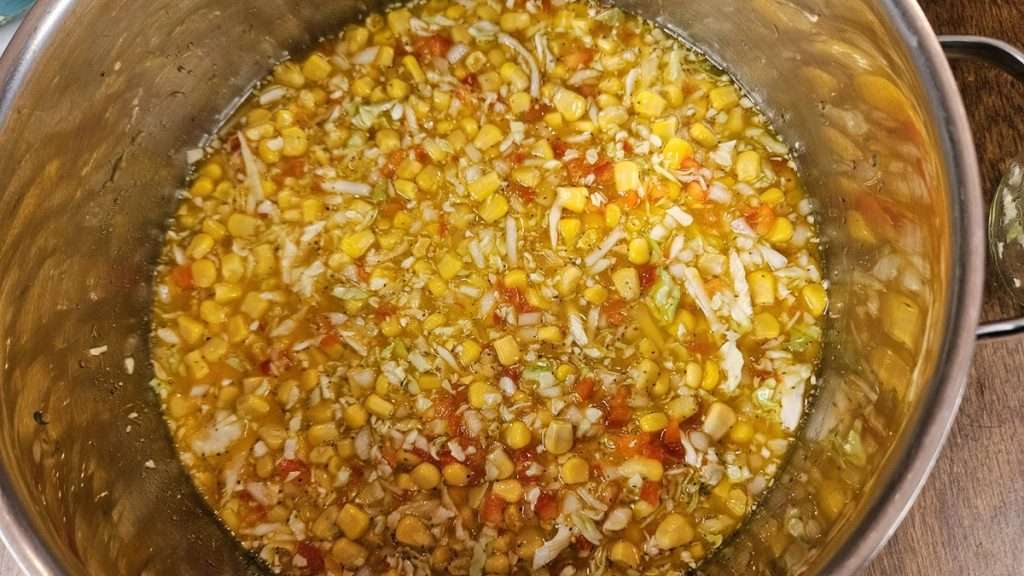
Add the corn, cabbage, onion, bell pepper, vinegar, sugar, water, and all the spices to a large stainless steel pot. Stir everything together well.
Step 3: Heat and Simmer the Relish
Bring the mixture to a boil over medium-high heat, stirring frequently. Once it reaches a boil, reduce the heat and simmer.
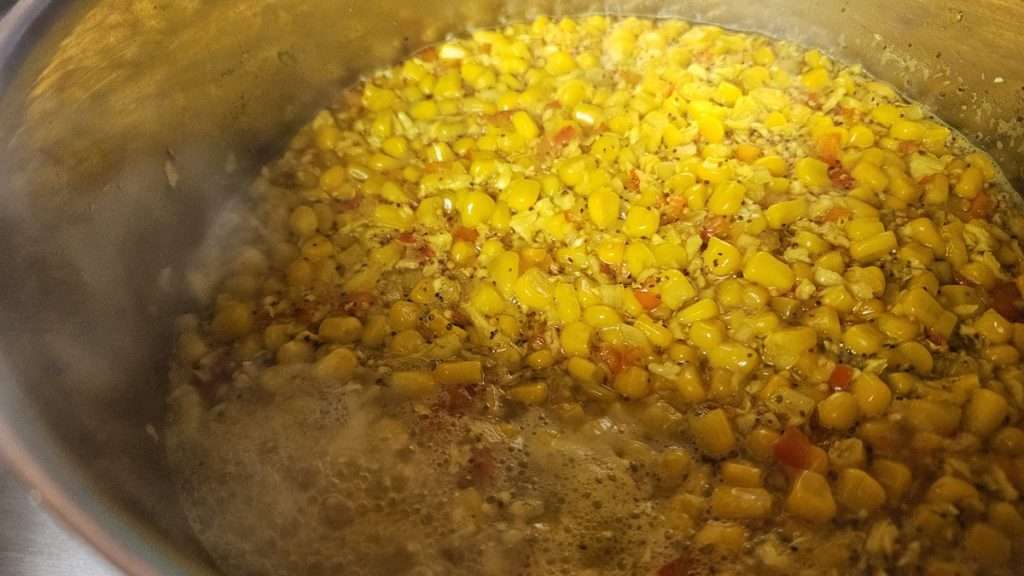
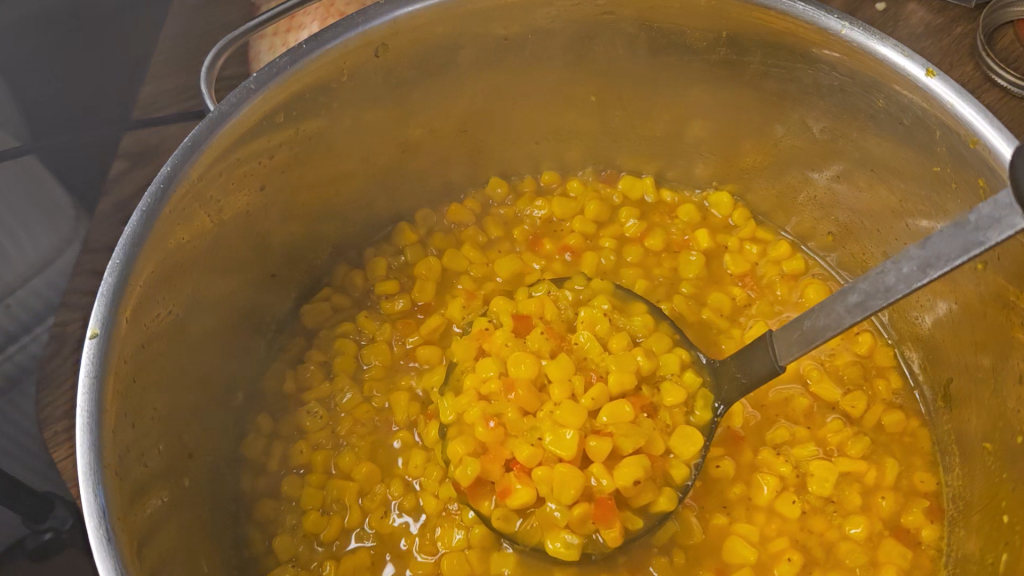
The original recipe says to simmer the corn relish for 25 minutes, but I ended up simmering mine for 35 minutes because it hadn’t cooked down enough. I could tell that it was way more than would fit into the 5 pints jars I had prepared, so I wanted to cook it down a bit more before filling the jars.
Step 4: Preheat Your Jars
While the relish is simmering, you’ll want to preheat your jars. I do this right in my Nesco canner. (You can read exactly how I preheat jars in the Nesco in this post.)
Step 5: Fill the Jars
Once the relish is ready and your jars are hot, it’s time to fill them. I used 4 wide mouth pint jars and 1 regular mouth pint jar because it makes them easier to remove from the canner.
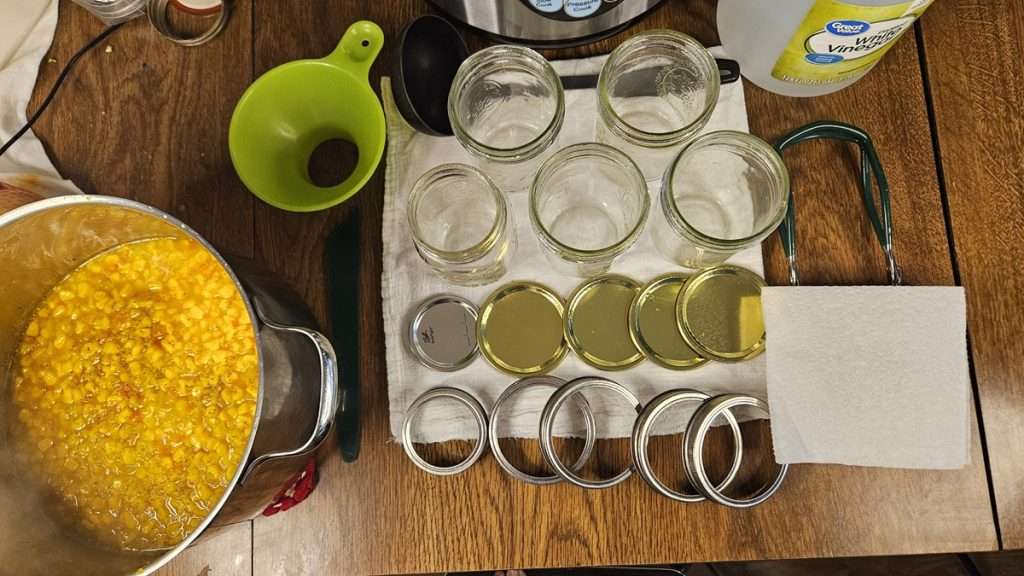
Using a canning funnel, ladle the hot relish into the jars, leaving ½ inch of headspace.

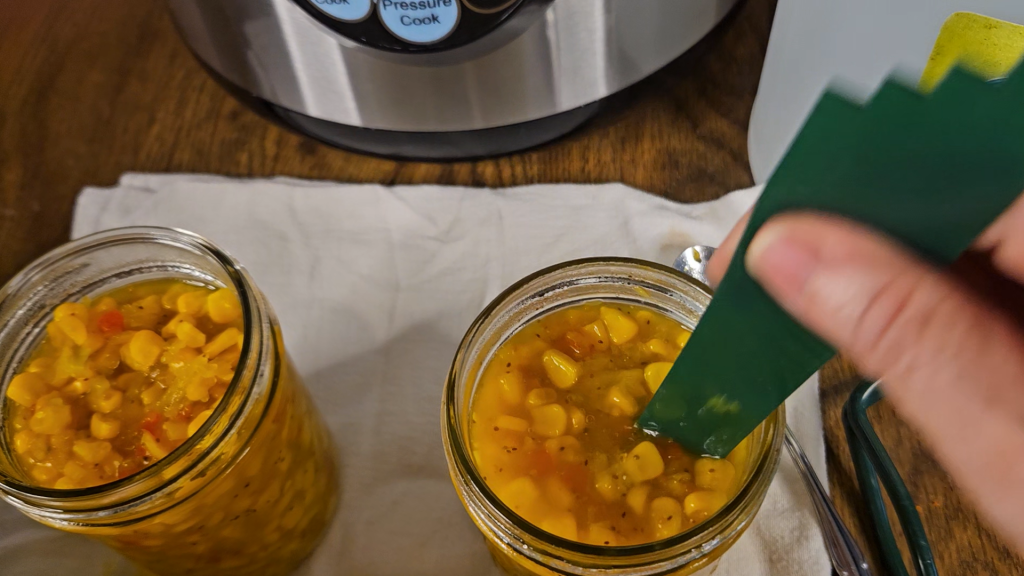
I like to use this bubble remover tool (Amazon) to release any trapped air, because it also doubles as a headspace measuring tool.
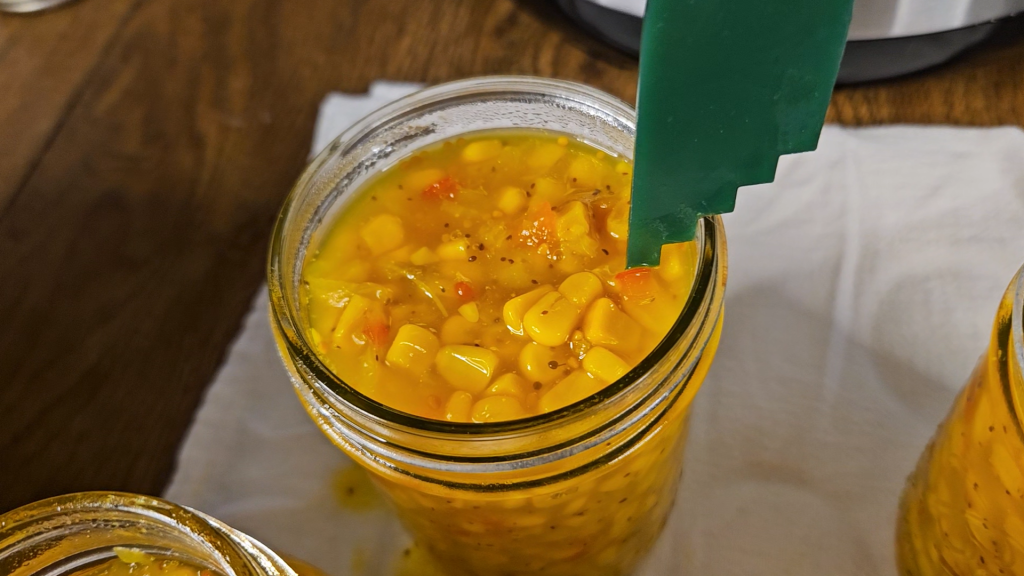
Then top off as needed to maintain that ½-inch space.
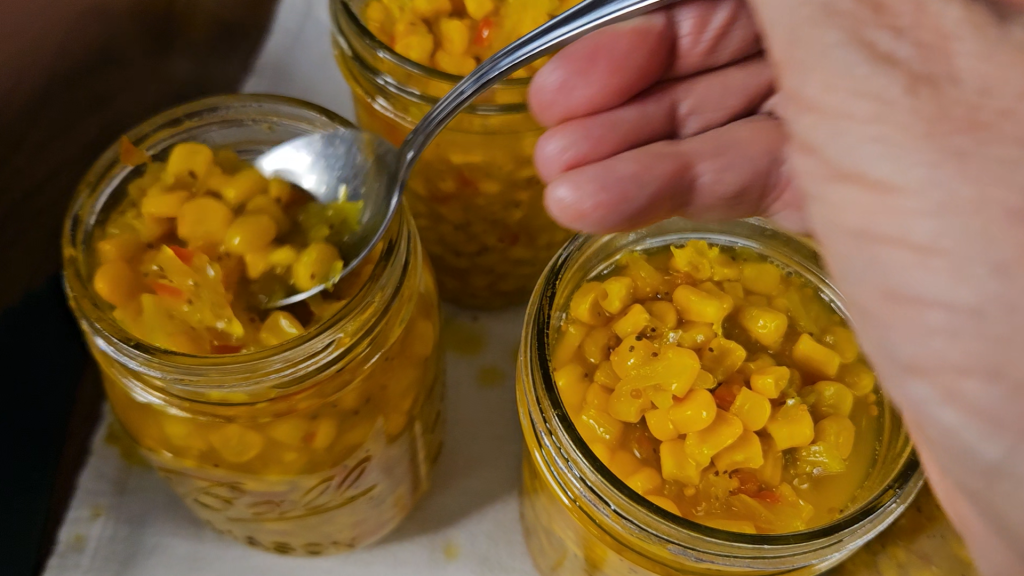
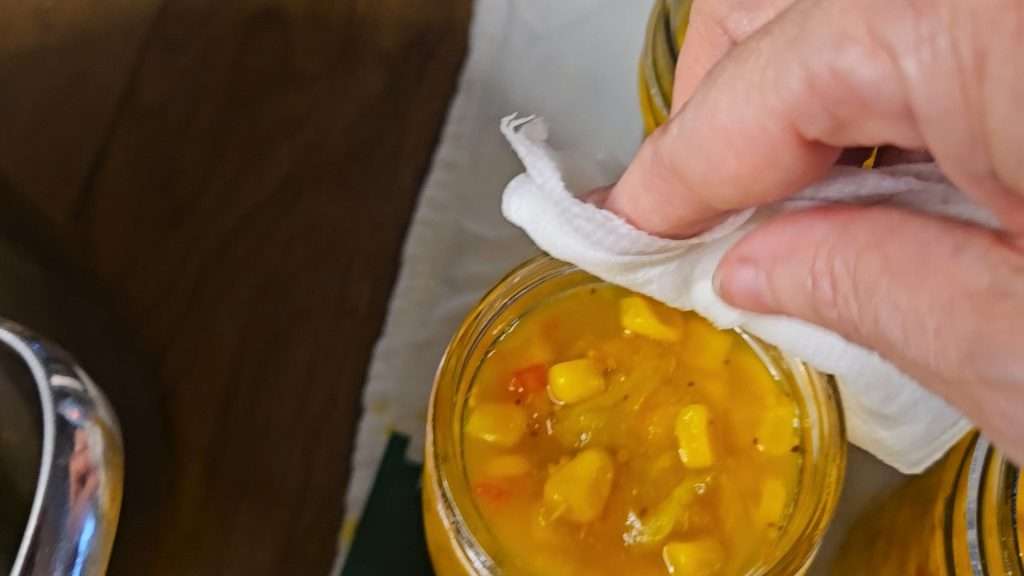
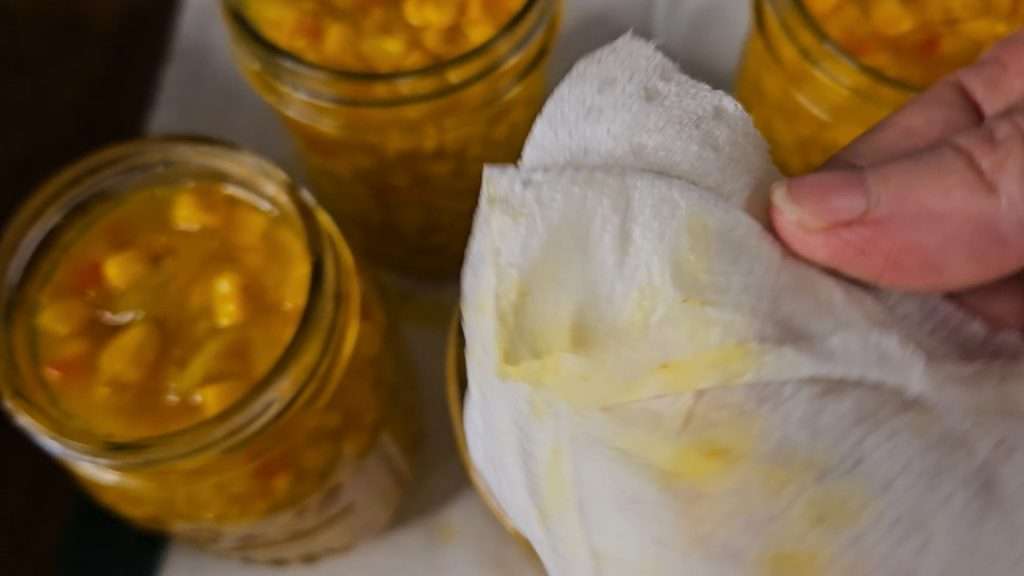
Wipe the rims with a clean, damp cloth to remove any food particles.
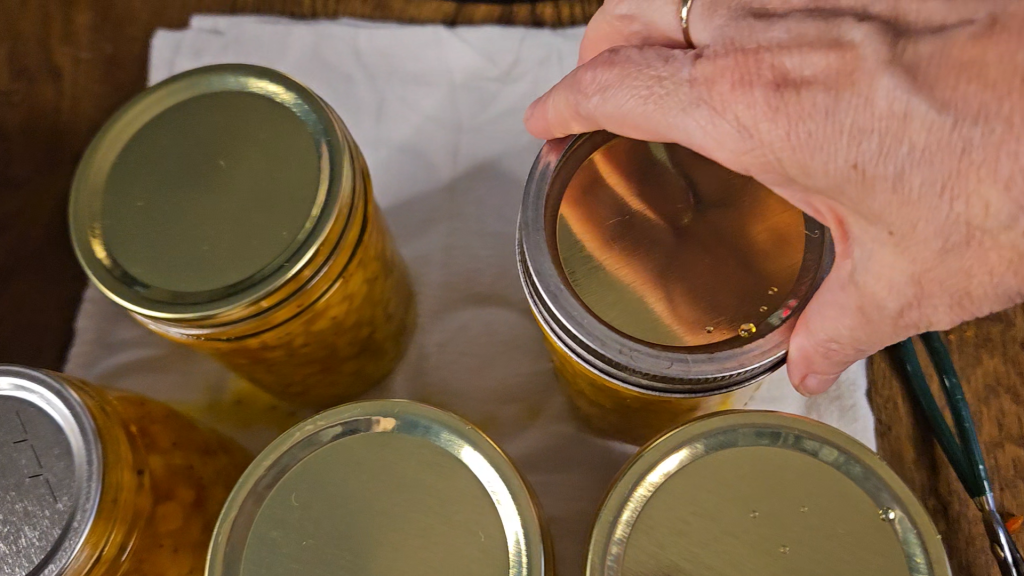
Place the lids on top and screw on the bands fingertip tight. Don’t overtighten.
Step 6: Process the Jars
Now you’re ready to process your corn relish. I steam canned mine in the Nesco using the method I mentioned earlier.
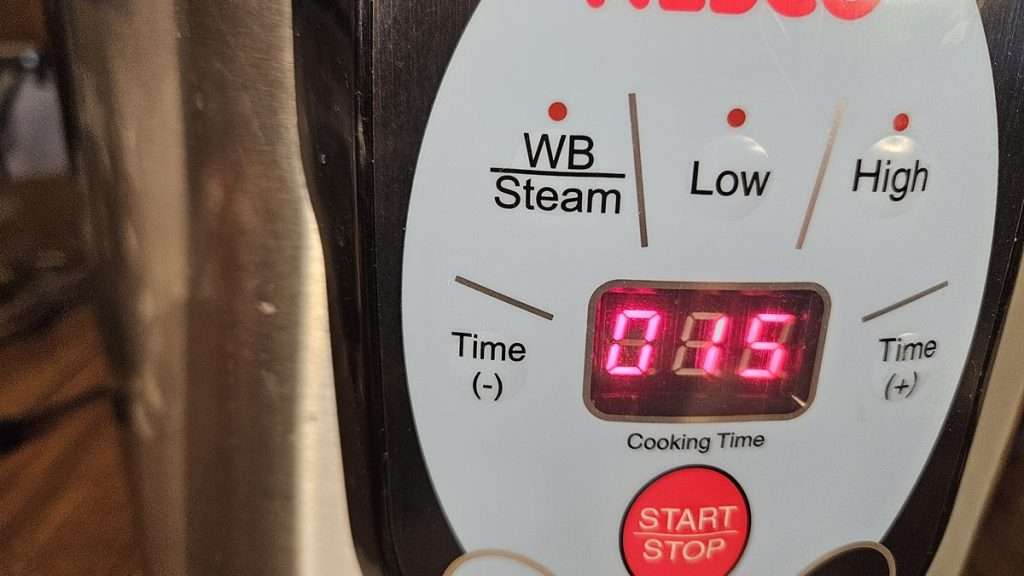
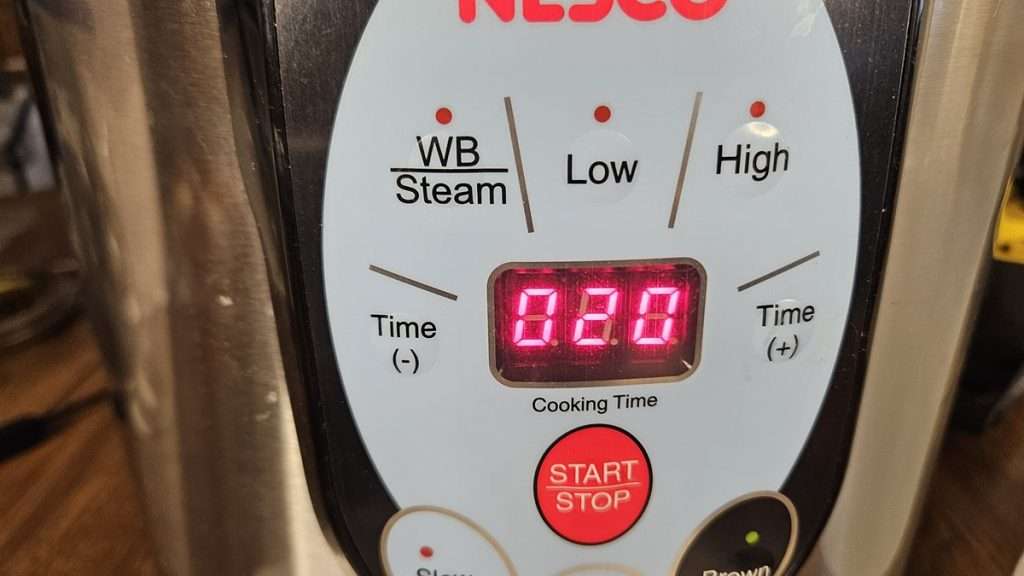
If you’re not comfortable steam canning in the Nesco, you can water bath can this recipe instead—just make sure the jars are fully submerged in at least 1 inch of water.
Process the jars for 15 minutes, adjusting for altitude. Since I live at a higher elevation, I added 5 extra minutes and processed for 20 minutes total.
Step 7: Cool the Jars
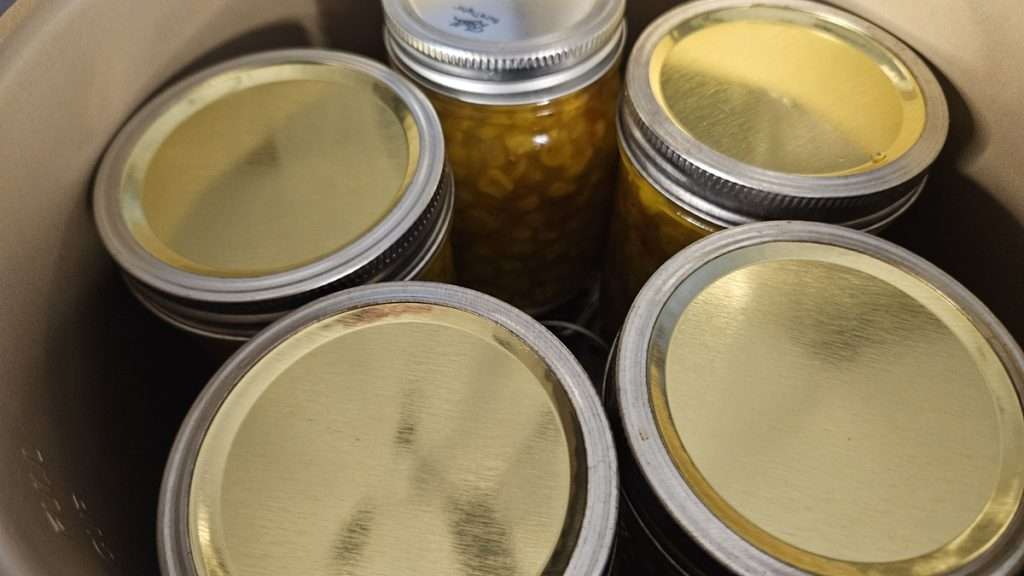
Once the time is up, unplug your canner (or turn off the heat if using a stovetop canner). I like to let the canner sit for a few minutes before turning the lid to the open position. Next, I prop it open with a a wooden spoon or my canning jar lifter, and let it sit for about 5 minutes. I then open the lid the rest of the way, and let it sit open for an addition 5 minutes before removing the jars. While this isn’t 100% necessary, it does tend to reduce siphoning, so I recommend doing it whever possible.
Set the jars on a towel in a draft-free spot and let them cool undisturbed for 12–24 hours.
Step 8: Check the Seals
After the jars have been sitting for 12-24 hours, check the seals by pressing the center of each lid. If it doesn’t flex up and down, you’ve most likely got a good seal! I also like to remove the rings and lift up the jars by the lids. If the jars are properly sealed, the lids won’t come loose. If I have any jars that didn’t seal, I stick them in the fridge and eat within a couple of days.
Final Thoughts on Canning Corn Relish
This traditional corn relish turned out deliciously sweet and tangy with just the right amount of crunch. It’s a great way to use up extra corn (frozen or fresh) in addition to some fresh cabbage. And it’s a great way to add something flavorful to your pantry shelves.
Don’t forget—you can grab the printable recipe with exact measurements and abbreviated steps in the recipe card below. And if you’re new to adapting recipes for altitude, using the Nesco for steam canning, or preheating jars in the Nesco, I’ve got you covered with posts that walk you through each step.
👇 Keep scrolling for the recipe card!
Pin it for Later
Print the Canning Corn Relish Recipe and Instructions
Traditional Corn Relish (Water Bath or Steam Canned)
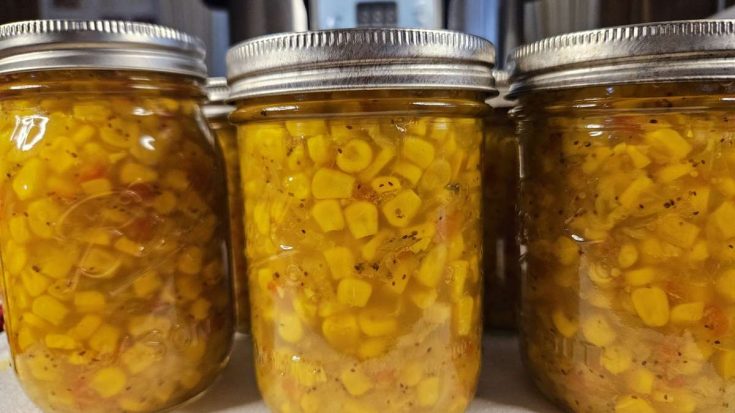
This sweet and tangy corn relish is a delicious way to preserve summer flavor! Made with corn, cabbage, red pepper, and spices, this traditional recipe is perfect for sandwiches, burgers, or pasta salads. Safe for water bath or steam canning, with altitude adjustments as needed.
Ingredients
- 9 cups frozen corn kernels, thawed
- 3 cups finely chopped cabbage
- 1 cup finely chopped onion
- 1 cup finely chopped, seeded red bell pepper
- 4 cups white vinegar (5% acidity)
- 3 cups granulated sugar
- 1 cup water
- 2 tablespoons dry mustard
- 1 tablespoon celery seed
- 1 tablespoon mustard seeds
- 1 tablespoon canning and pickling salt
- 1 tablespoon ground turmeric
- Optional: ¼–1 teaspoon red pepper flakes (for heat)
Instructions
In a large stainless steel pot, combine all ingredients. Stir well.
Bring to a boil over medium-high heat, stirring frequently.
Once boiling, reduce heat and simmer uncovered for 25–35 minutes, or until vegetables are tender-crisp and liquid is slightly reduced.
While relish is simmering, preheat jars using your preferred method (such as in a canner or warm oven).
Ladle hot relish into hot jars, leaving ½ inch headspace. Remove air bubbles and adjust headspace as needed.
Wipe jar rims, apply lids, and tighten screw bands to fingertip-tight.
Process in a water bath canner for 15 minutes (adjust for altitude; see notes).
After processing, turn off heat and let jars sit for 5 minutes before removing.
Place jars on a towel and cool undisturbed for 12–24 hours.
Check seals, label, and store in a cool, dark place.
Notes
🏔️ Altitude Matters: Add time based on elevation—at my altitude, I process for 20 minutes. Check the blog post for instructions on adapting for altitude.
💨 Steam Canning Option: I steam canned this recipe in my Nesco canner, following safe guidelines. If you’re unsure about steam canning in your Nesco, check out my detailed how-to post.
🔥 Make it Spicy: Add red pepper flakes for a hot-and-sweet twist.
🫙 I used 4 wide mouth pint jars and 1 regular mouth pint jar for easier removal from the canner.
Recommended Products
As an Amazon Associate and member of other affiliate programs, I earn from qualifying purchases.
-
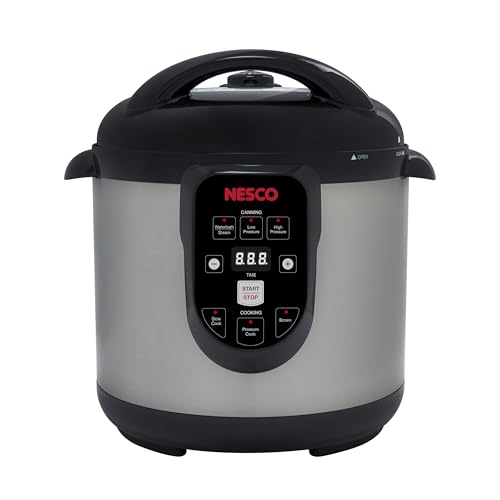 Nesco Electric Canner
 -
 Ball Wide Mouth Pint 16-Ounce Glass Mason Jar with Lids and Bands, 12-Count
 -
 Ball Regular Mouth Pint (16 oz.) Mason Jars with Lids and Bands, for Canning or Drinkware, 8 Count
 -
 Ball Wide Mouth Lids for Glass Mason Jars,
 -
 Regular Mouth Canning Lids
 -
 Canning Funnel
 -
 Norpro Canning Jar Lifter
 -
 NORPRO Canning Bubble Popper/Measurer, Green
 -
 Morton All Natural Canning & Pickling Salt, 4 lb. Box
💬 I’d love to hear from you!
Have you tried this yourself? Have a question or tip to share? Leave a comment below — your experience or question could help someone else, too!