


Rebecca LivermorerlivermoreEdit Profile
What’s Inside: In this post, I’ll walk you through a simple and flavorful recipe for freezing green beans and tomatoes—perfect for small garden harvests or produce that needs to be used up quickly. You’ll learn how to prepare the vegetables, cook them into a make-ahead side dish, and package them for the freezer. I’ll also share helpful tips and photos every step of the way so you can stock your freezer with confidence
This article includes affiliate links.
As much as I love canning (and I really do!), sometimes it’s nice to have an easier, quicker way to preserve food. That’s why I’ve grown to love freezing as a food preservation method. It’s fast, doesn’t require special equipment, and is a great way to capture the flavor of fresh produce—especially when you have a small harvest or limited time.
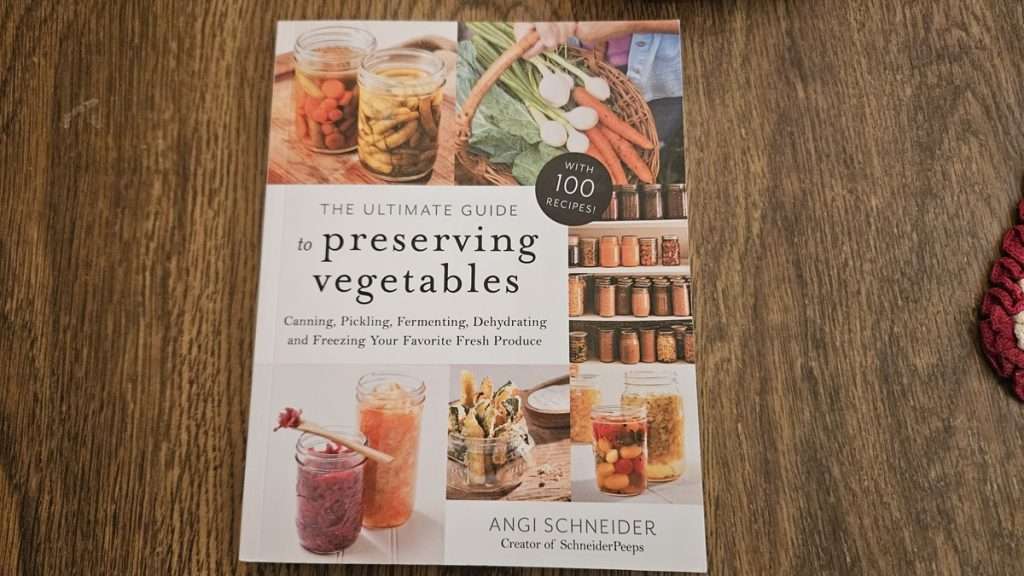
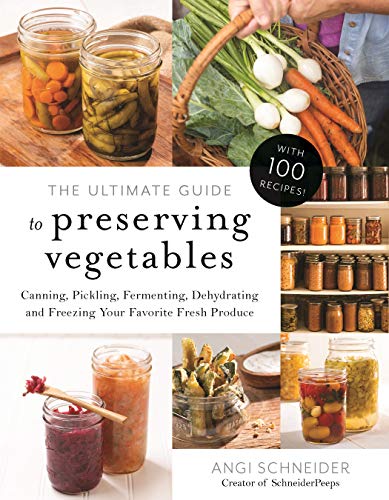
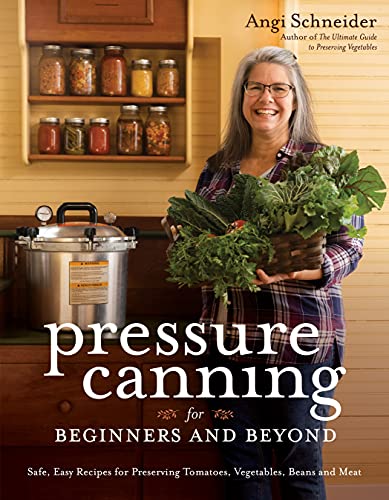
This recipe, adapted from Angi Schneider’s book The Ultimate Guide to Preserving Vegetables (Amazon), is a perfect example of that. If you’ve followed my blog for a while, you know I’m a big fan of Angi’s book, Pressure Canning for Beginners and Beyond (see my other blog posts using her canning recipes!).
But today, we’re talking about freezing—and not just individual veggies. I’ve started freezing more side dishes lately, and I have to say, it’s quickly becoming a favorite. It’s a great option when I buy produce and don’t have time to can or dehydrate right away. And in this case, I had just enough ripe tomatoes from my small urban garden to make this side dish (plus a few for eating fresh!).
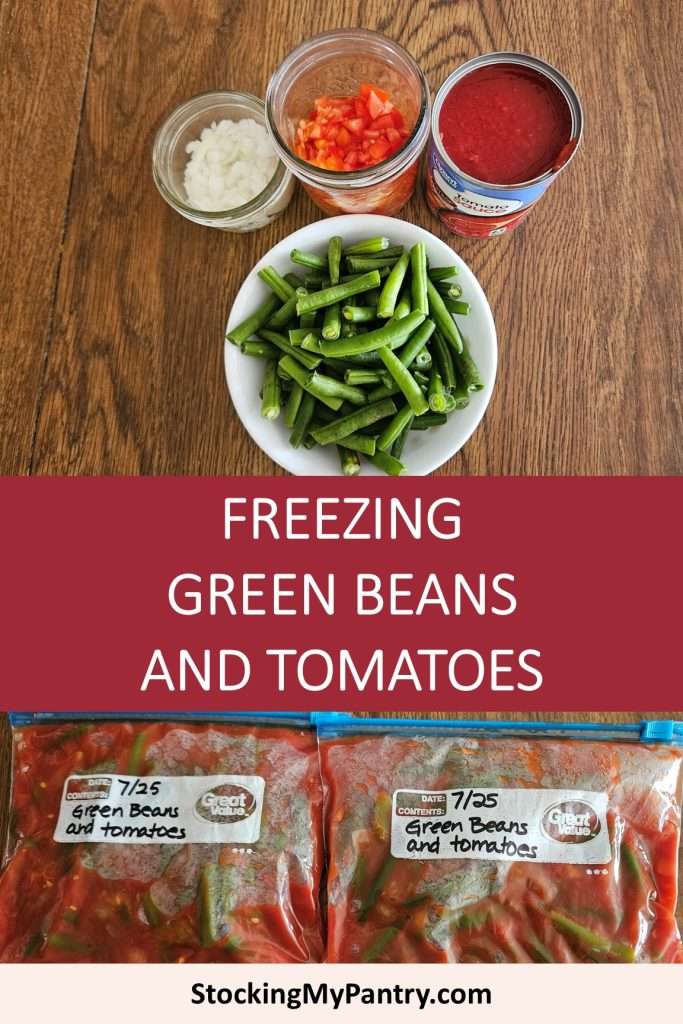
Freezing Green Beans and Tomatoes is a Step Up from Basic Frozen Green Beans!
This green bean and tomato dish is different from the frozen green beans you grab at the grocery store. It’s simmered briefly in tomato sauce with onions and chopped tomatoes—giving it much more flavor and making it a ready-to-go side dish straight from the freezer.
Ingredients
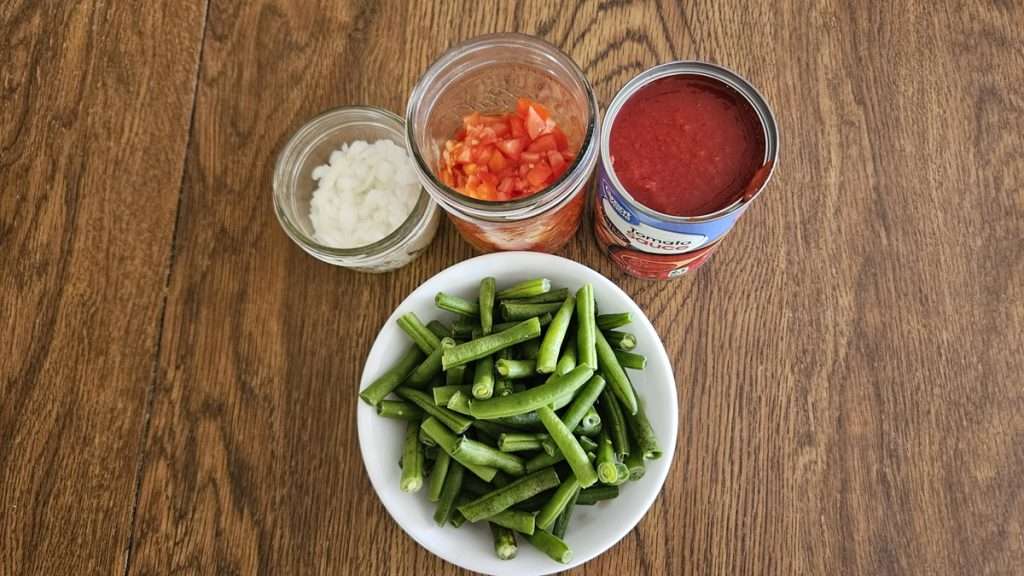
Here’s a quick overview of what you’ll need:
- Tomato Sauce – You can use home-canned or store-bought tomato sauce.
- Green Beans – Snap beans, trimmed and cut into bite-sized pieces. If needed, string the beans.
- Chopped Onions – Adds great flavor to the mix.
- Chopped Tomatoes – Fresh, ripe tomatoes work best here.
Prepping the Ingredients

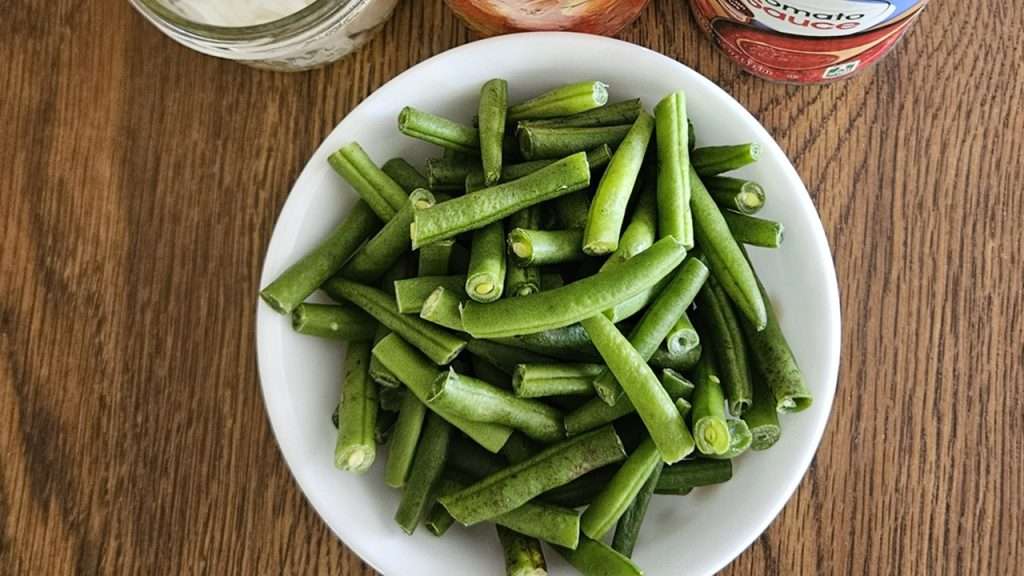
Start by trimming the ends off your green beans.
If your beans need stringing, go ahead and do that too. I’ll embed a helpful video in the post for anyone unfamiliar with how to string beans.
Cut the beans into 1- 2-inch pieces and prep your other ingredients.
Cooking the Green Beans and Tomatoes Mixture
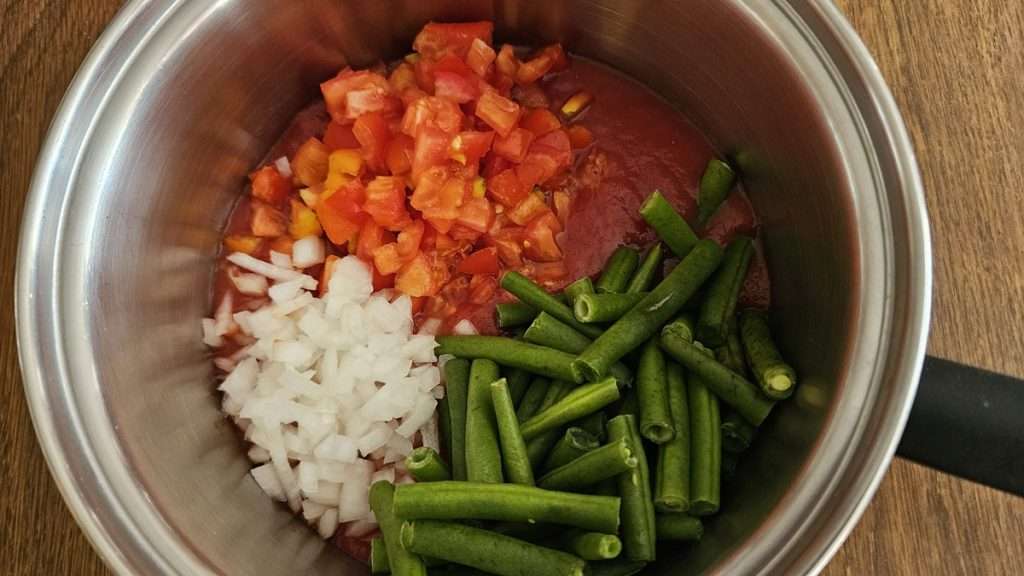
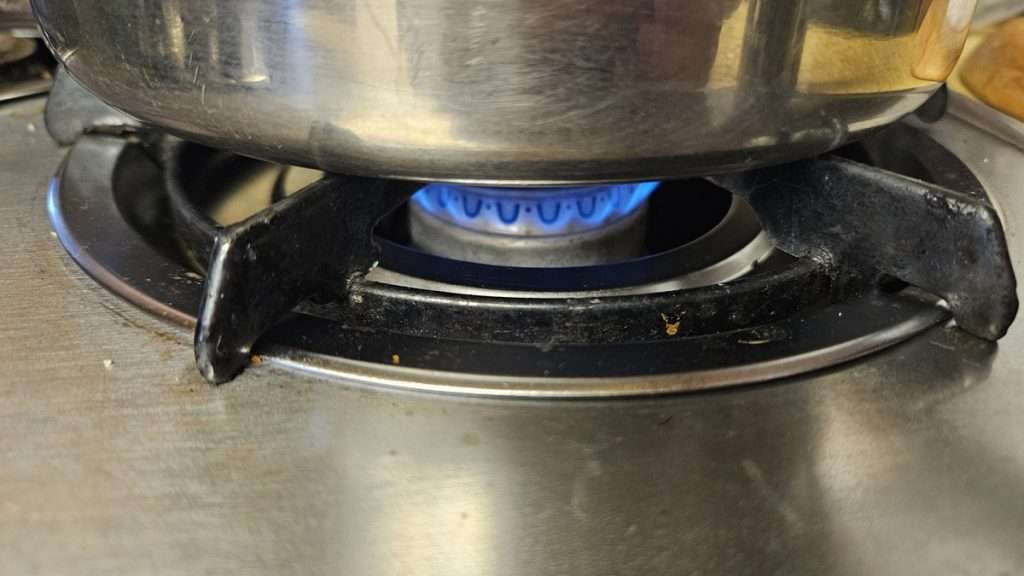
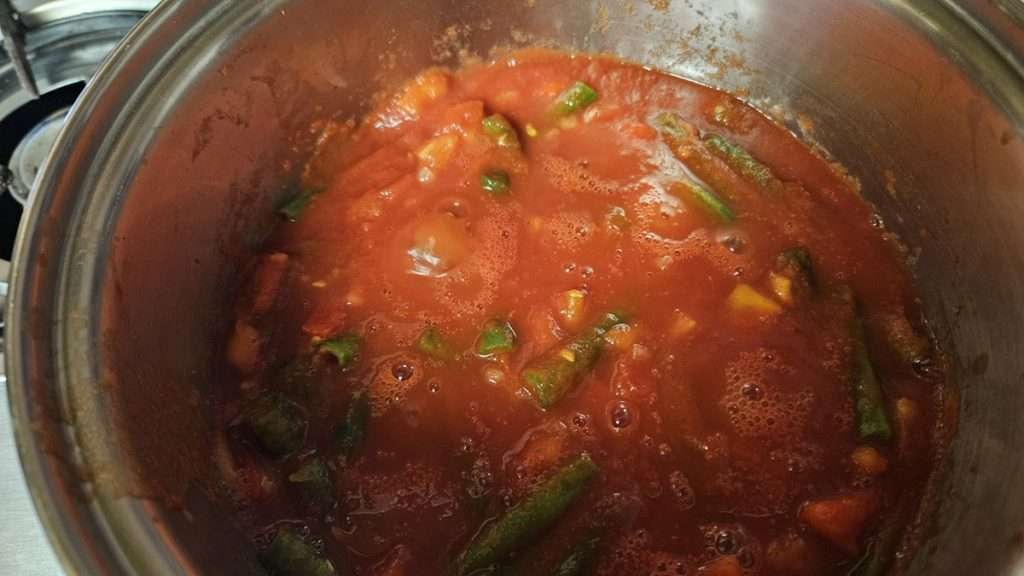
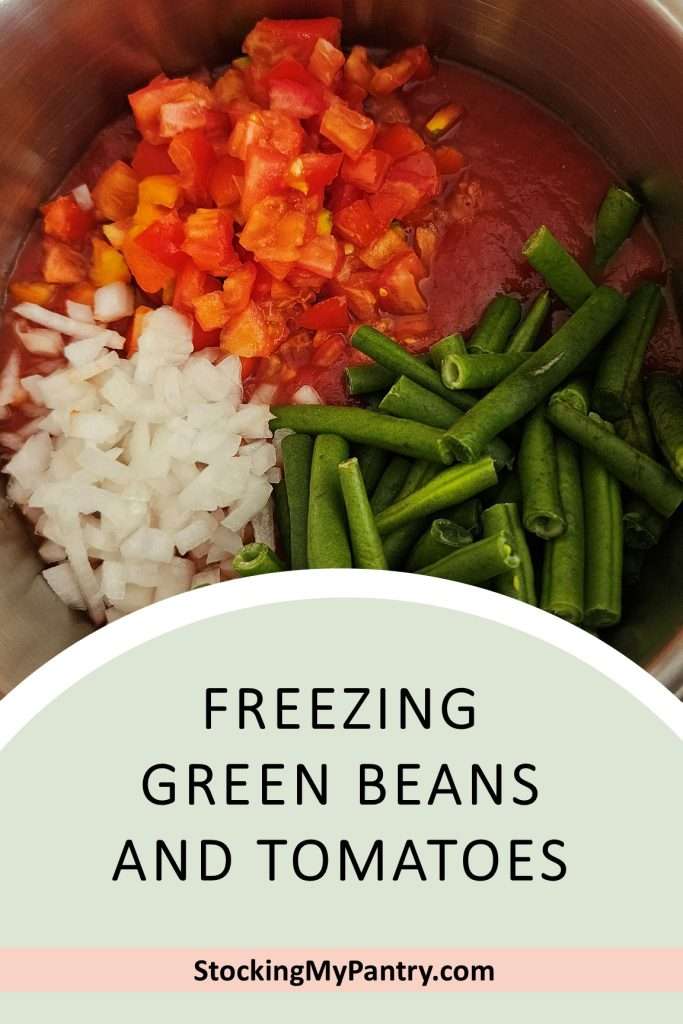
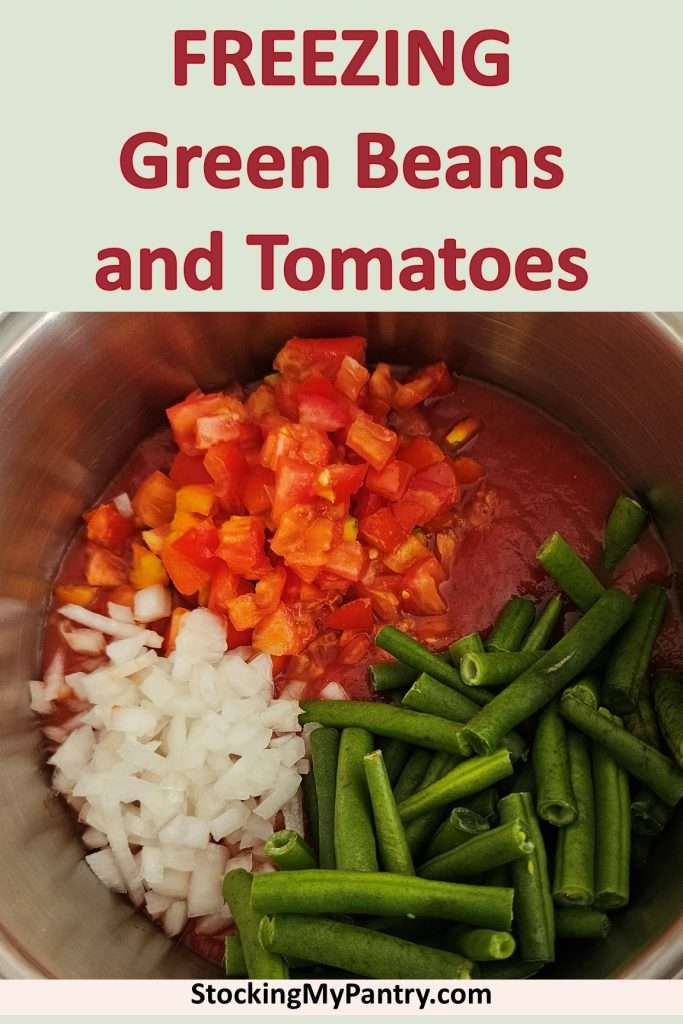
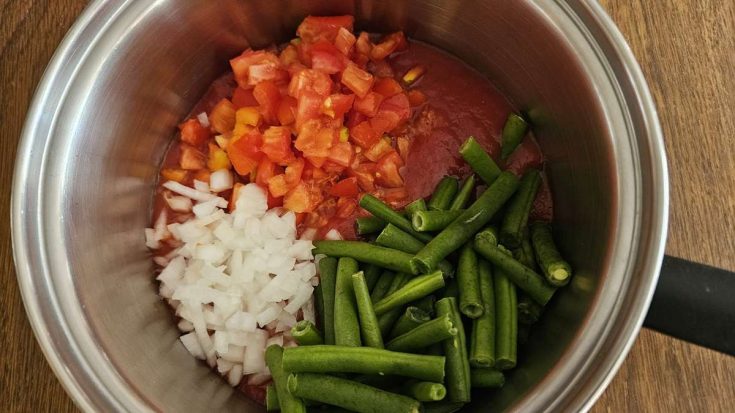
You can heat the tomato sauce first and then add the vegetables, or do what I did and add everything to the pot at once.
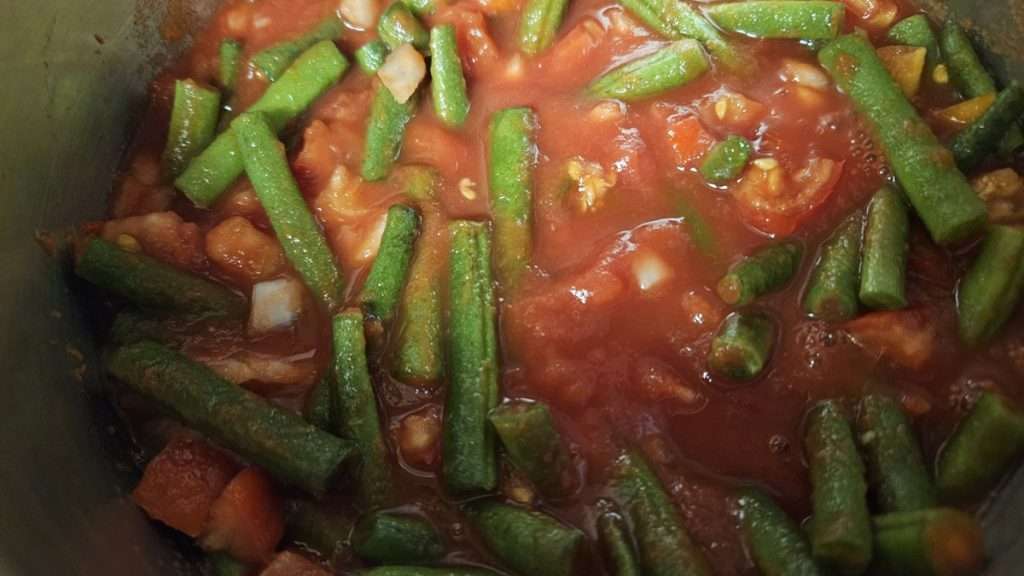
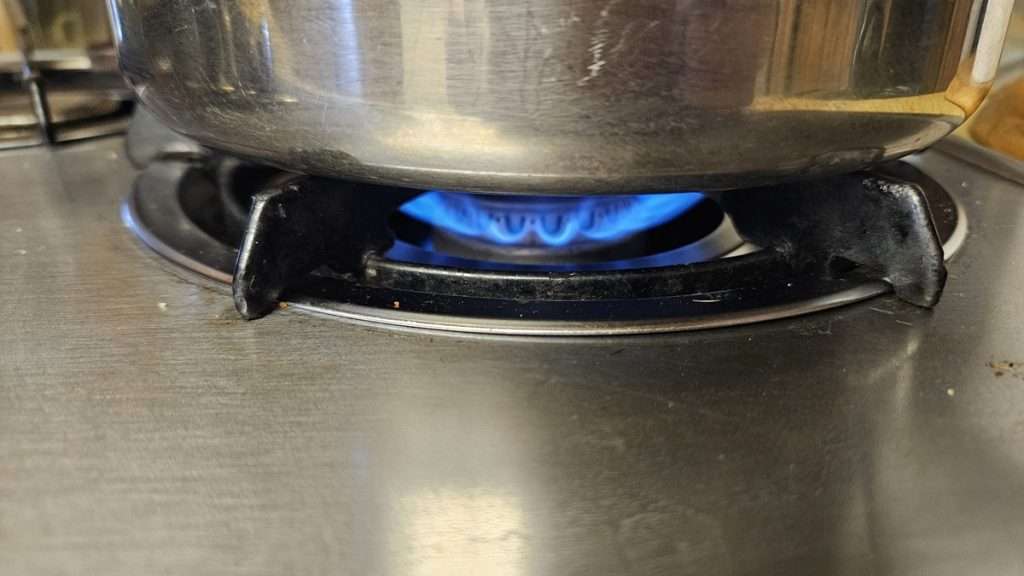
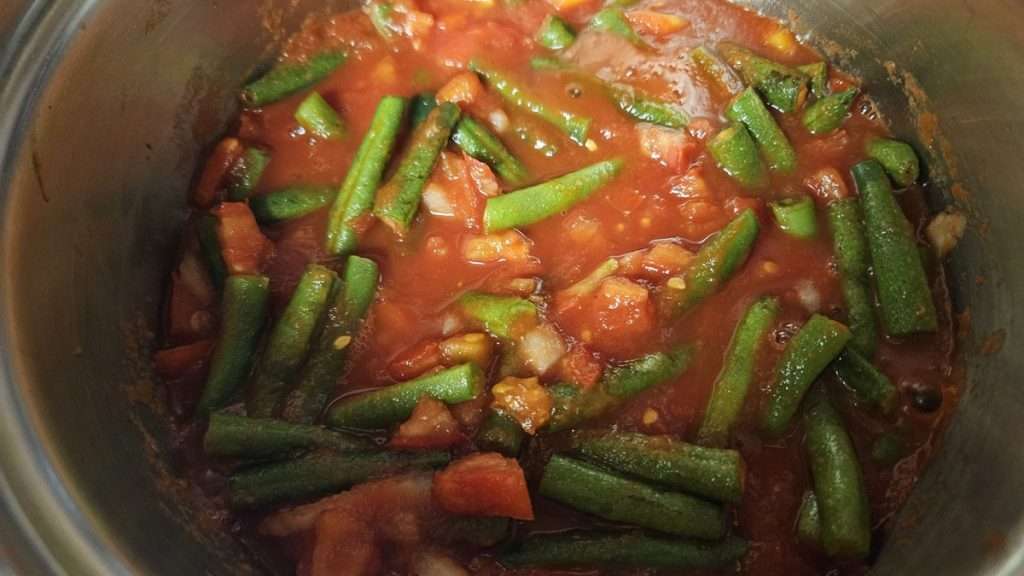
Bring it all to a boil, then lower the heat and let it simmer for 3 minutes. That’s the same amount of time you’d blanch green beans if freezing them solo—so no need to blanch separately.
Cooling and Packaging
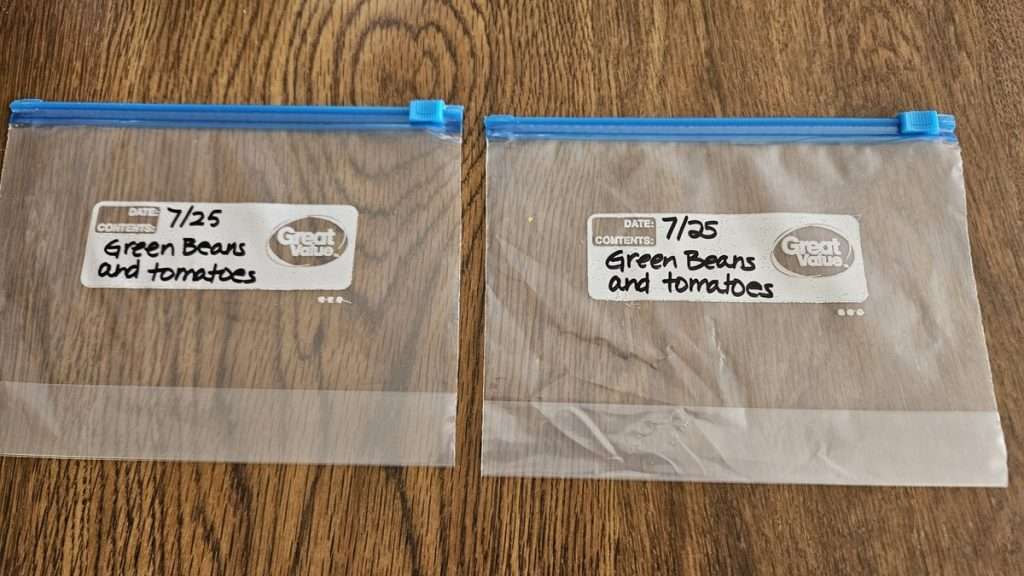
Let the green bean and tomato mixture cool before dividing it into freezer-safe containers or zip-top bags. Portion sizes are flexible—choose what works best for your household.
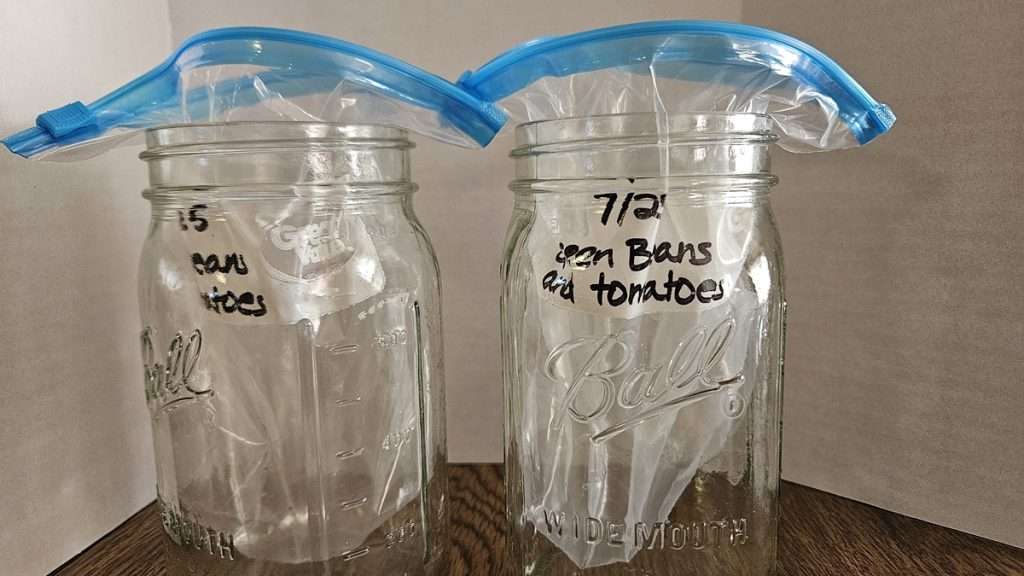
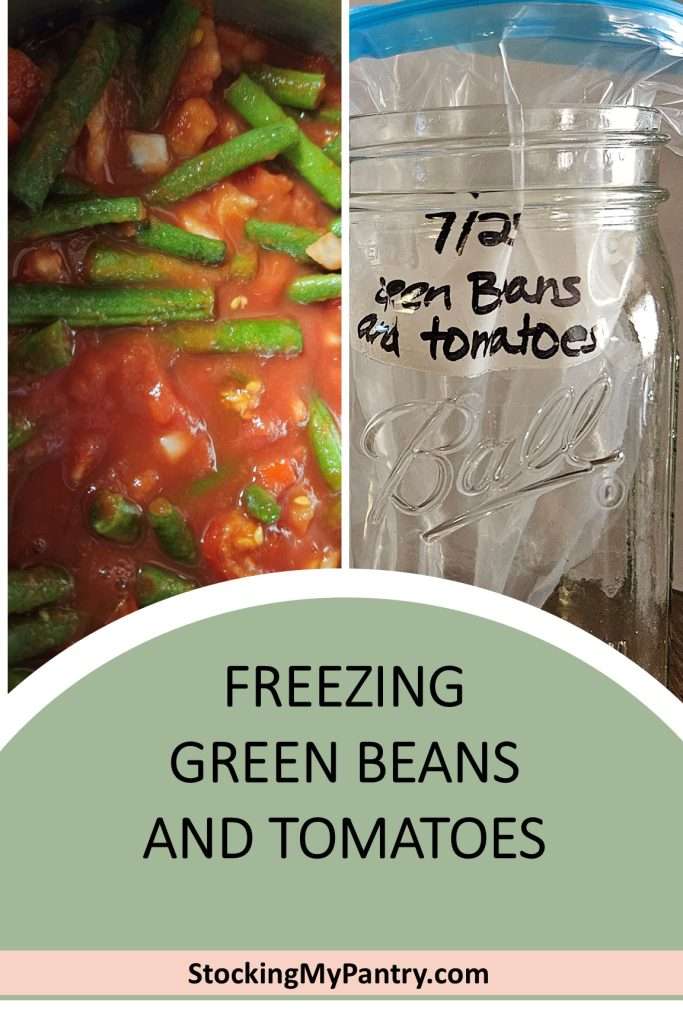
To make bag-filling easier, I fold the top of the bag over a wide-mouth quart mason jar.
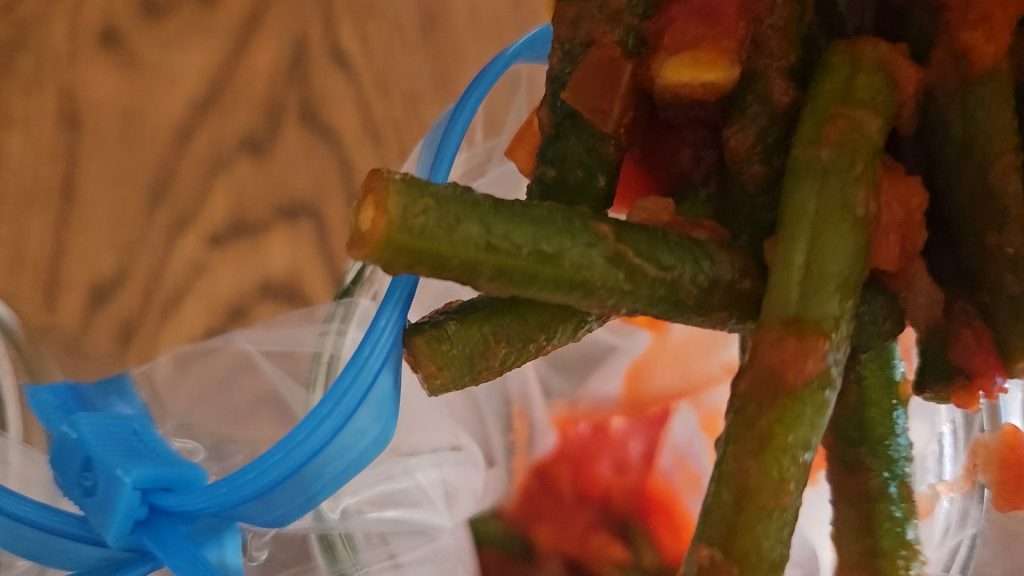
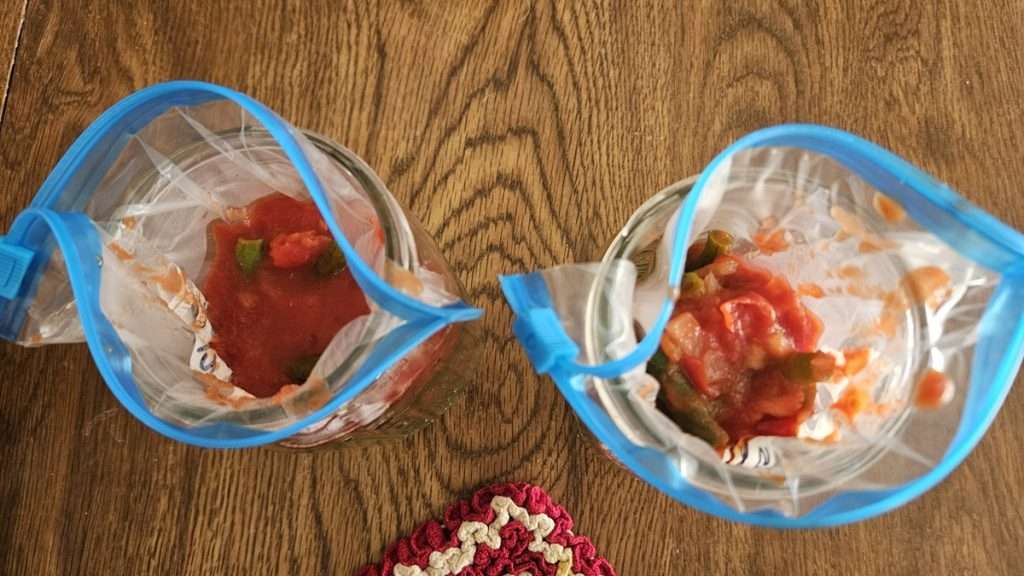
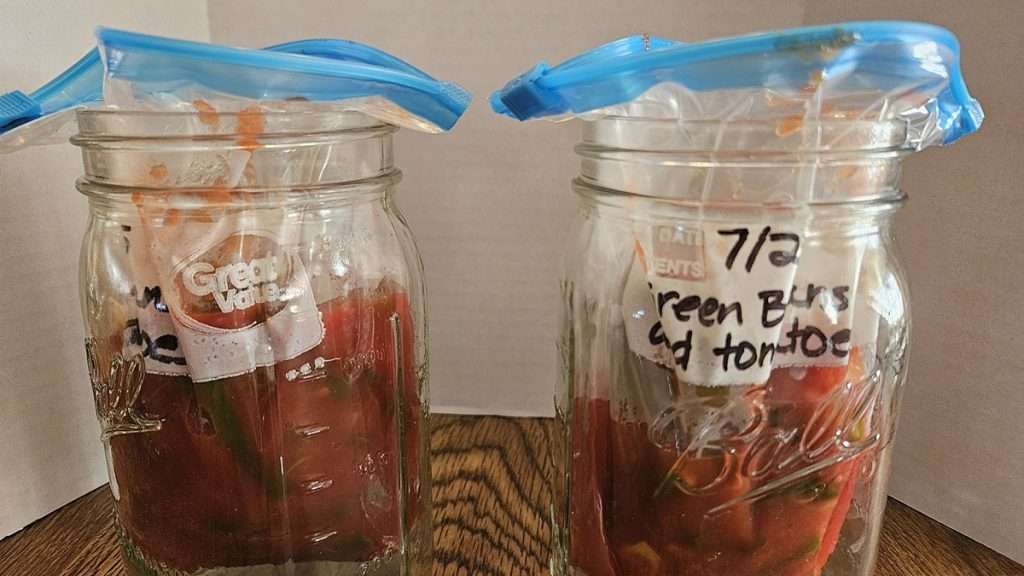
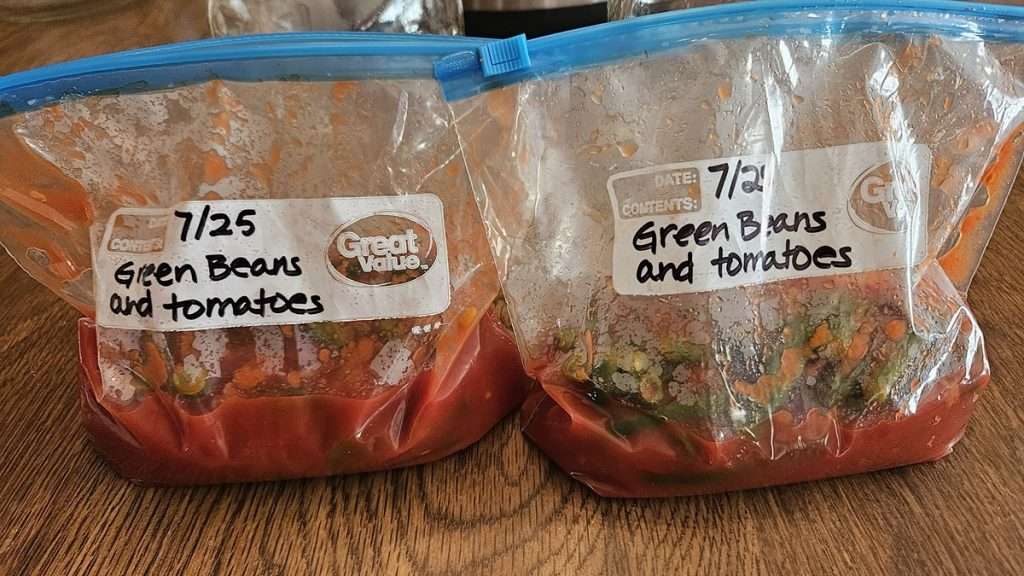
Once filled, I press out the air, seal the bags, and lay them flat.
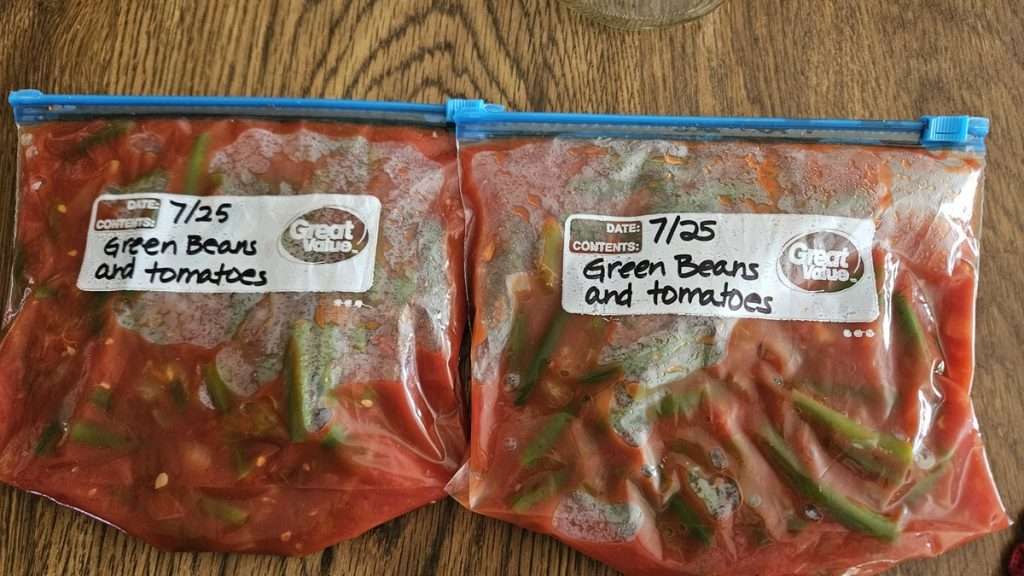
Flash freezing the bags (not stacked) on a baking sheet helps prevent sticking. Once frozen, I stack them in the freezer with other ready-made side dishes.
Pro tip: Check out my small but growing collection of freezer-related blog posts!
Freezing Green Beans and Tomatoes is a Great Use for Small Harvests
Whether you buy your produce or grow it, this is a perfect recipe when you don’t have a large quantity to work with. It makes good use of a small harvest and helps avoid waste. It’s also one of those side dishes that’s great to pull out for a quick meal on a busy night.
If you want to learn more about freezing green beans in general, check out my post How to Freeze Green Beans and if you’re into canning, you might enjoy How to Can Green Beans and Mushrooms.
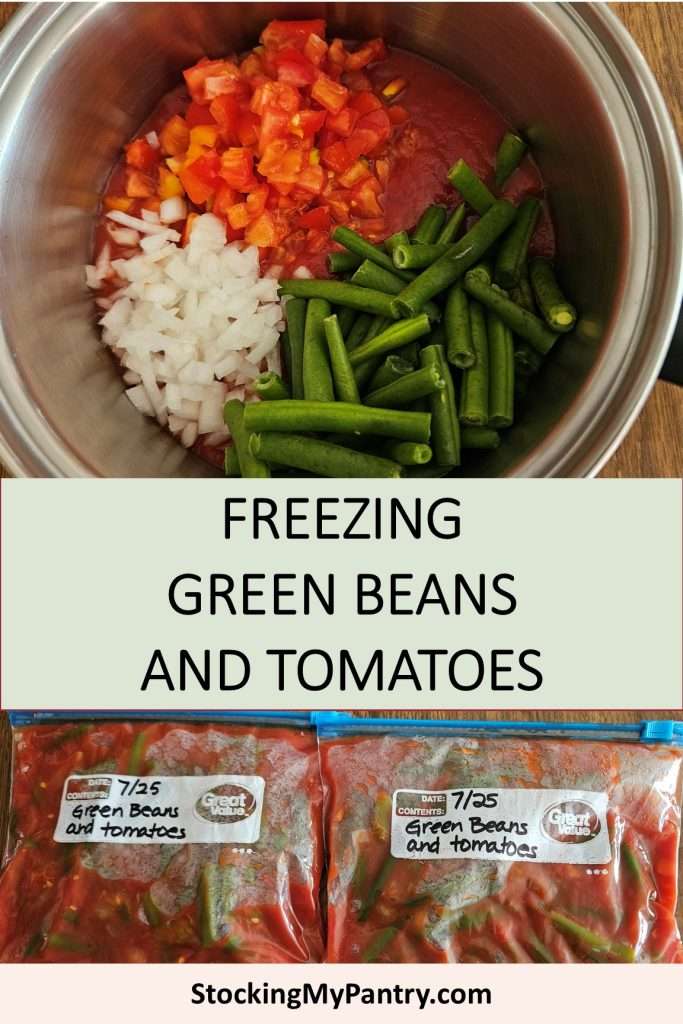
Pin it for Later
Print it for Later
Freezing Green Beans and Tomatoes
A simple and flavorful freezer side dish made with green beans, tomatoes, onions, and tomato sauce. Perfect for using up a small garden harvest or preserving fresh produce you don’t want to go to waste. Adapted from Angi Schneider’s The Ultimate Guide to Preserving Vegetables.
Ingredients
- 2 cups tomato sauce – store-bought or home-canned
- 3 cups green beans – trimmed, cut, and stringed if necessary
- 1/2 cup chopped onions – for added flavor
- 1 1/2 cups chopped tomatoes – ripe and fresh work best
Instructions
- Add all ingredients to a medium saucepan.
- Bring to a boil over medium-high heat.
- Reduce the heat and simmer for 3 minutes.
- Remove from heat and let the mixture cool.
- Once cooled, divide into freezer-safe containers or bags.
- Label with contents and date. (If using freezer bags, it's easier to label them before filling.)
- Flatten bags for easier storage and quicker thawing.
- Flash freeze if desired, then stack in the freezer.
Notes
Serving Notes: Portion according to your family size—for my family of 3, I divided into two freezer bags. Divide into larger or smaller portions as needed, before freezing.
Storage Notes: Best used within 3–6 months for ideal flavor and texture. Store bags flat to save space and make thawing faster.
Recipe Credit: Adapted from The Ultimate Guide to Preserving Vegetables by Angi Schneider
Recommended Products
As an Amazon Associate and member of other affiliate programs, I earn from qualifying purchases.
💬 I’d love to hear from you!
Have you tried this yourself? Have a question or tip to share? Leave a comment below — your experience or question could help someone else, too!