

When cherries went on sale for just $0.99 a pound, I stocked up — big time! The only problem? I didn’t have time to process them all right away. So I did the next best thing: I pitted and froze them. Once I had a bit of time, I decided to make freezer cherry pie filling.
If you’re short of time, like me you can pit and freeze your cherries, but if you have just a bit of time, you can pit and instead of freezing plain cherries, making freezer cherry pie filling instead is a great option. It’s quicker than canning, easy to portion out, and incredibly convenient when you’re craving a cherry dessert later on.
This article includes affiliate links.
This recipe is from the 38th edition of the Ball Blue Book Guide to Preserving, with a few of my own notes and observations to help you get the best results.
🍒 A Quick Note About the Cherries
The original recipe calls for tart cherries, which are commonly used for pie filling because their sourness balances the sweetness of the added sugar.
However, the cherries I purchased were definitely not tart — they were sweet cherries. The result? A pie filling that was super sweet. Still delicious, but if you’re not using tart cherries, I recommend cutting back the sugar a bit. More on that below.
✅ Pro Tip: You can use fresh cherries (just pit them first), frozen cherries from the store, or even cherries you froze yourself ahead of time. If you want to freeze cherries before turning them into pie filling, check out my post: How to Freeze Cherries.
📋 Ingredients You’ll Need
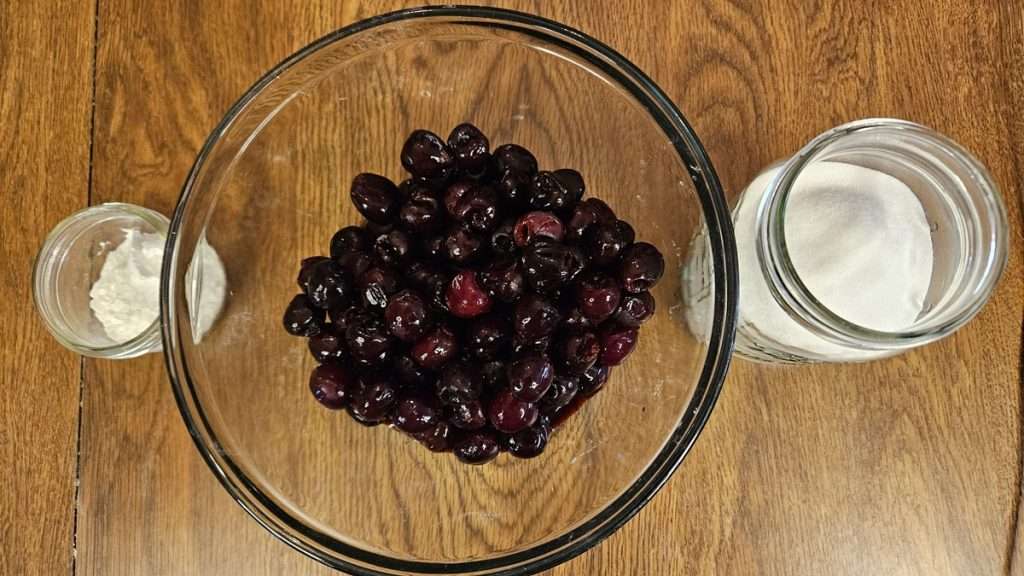
This freezer cherry pie filling recipe only uses three basic ingredients:
- Cherries
- Sugar
- Cornstarch
You’ll find the exact amounts and instructions in the printable recipe card at the bottom of this post. But before you scroll, let me walk you through how it all comes together and a few things I learned along the way.
🥄 Step-by-Step Instructions
1. Prepare the Cherries
If using fresh cherries, wash, drain, and pit them. (This is the most time-consuming part!)


I have to admit that pitting cherries isn’t my favorite task. But using a cherry pitter that pits multiple cherries at the same time helps a lot! Here is the cherry pitter that I picked up on Amazon.
If using frozen cherries, make sure they’re already pitted, and thaw them before moving on to the next step.
2. Mix the Dry Ingredients
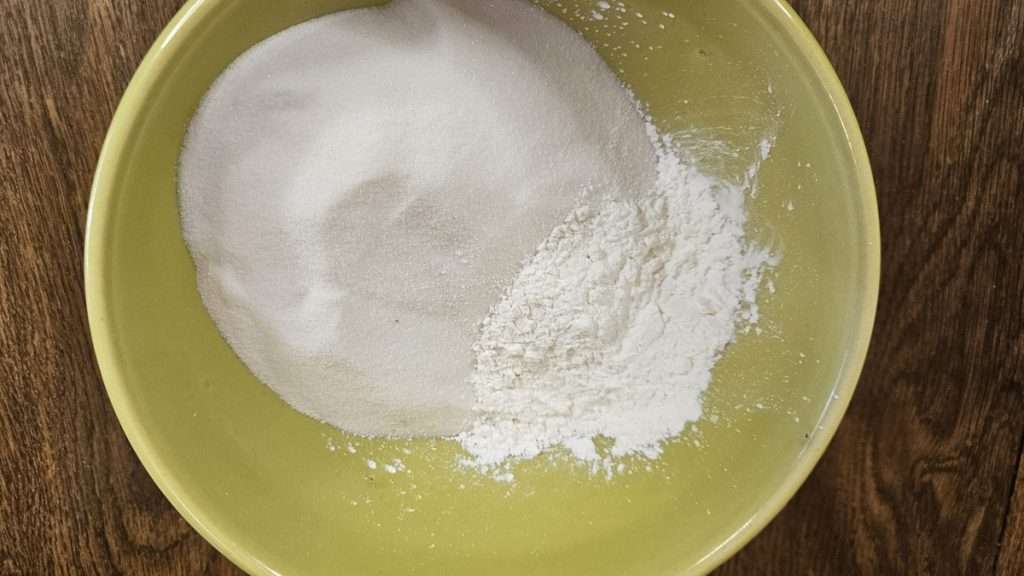
In a small bowl, combine the sugar and cornstarch.
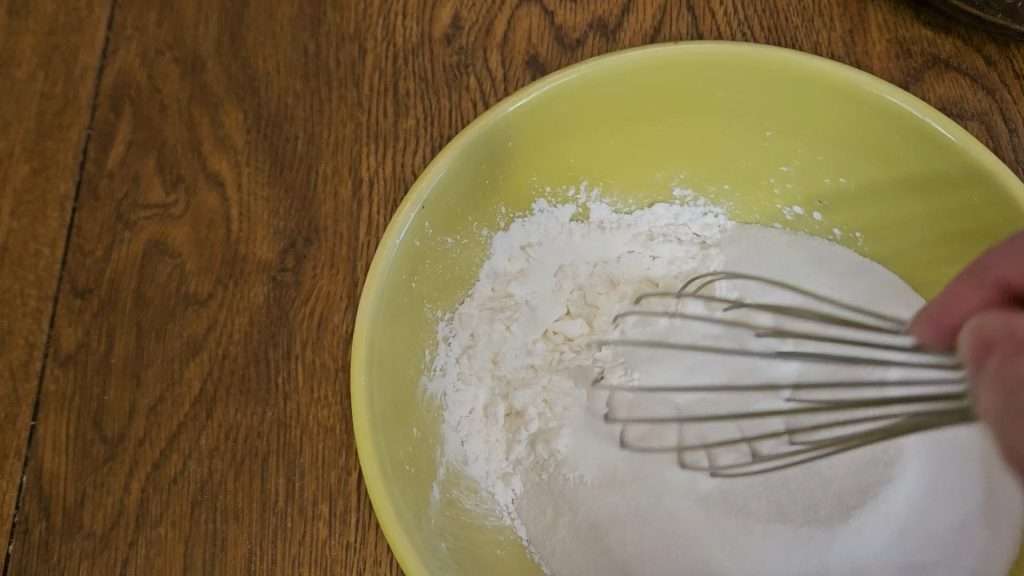
3. Combine the Cherries with the Sugar and Cornstarch and Let Sit
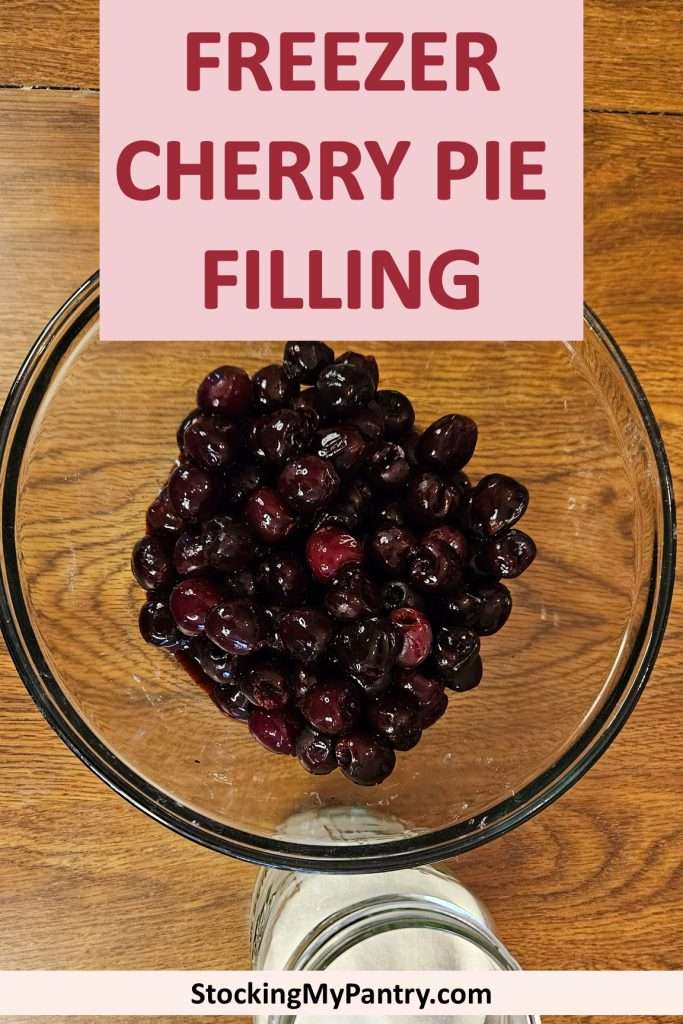
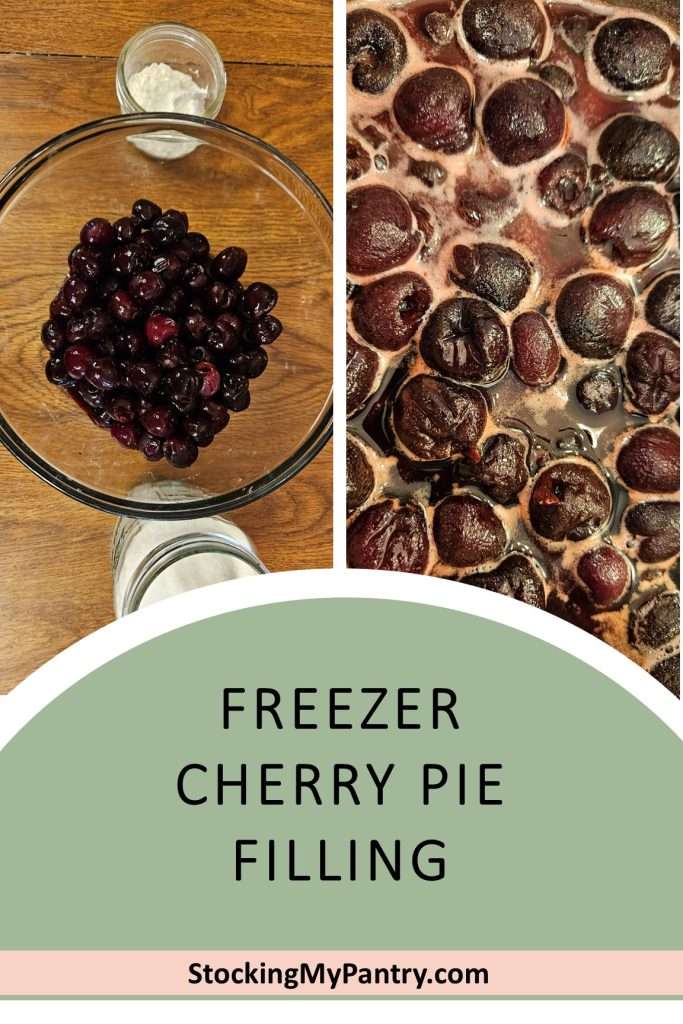
Add the sugar-cornstarch mixture to the cherries and gently mix to coat. Let it sit for about 30 minutes, until the cherries start to release their juices.
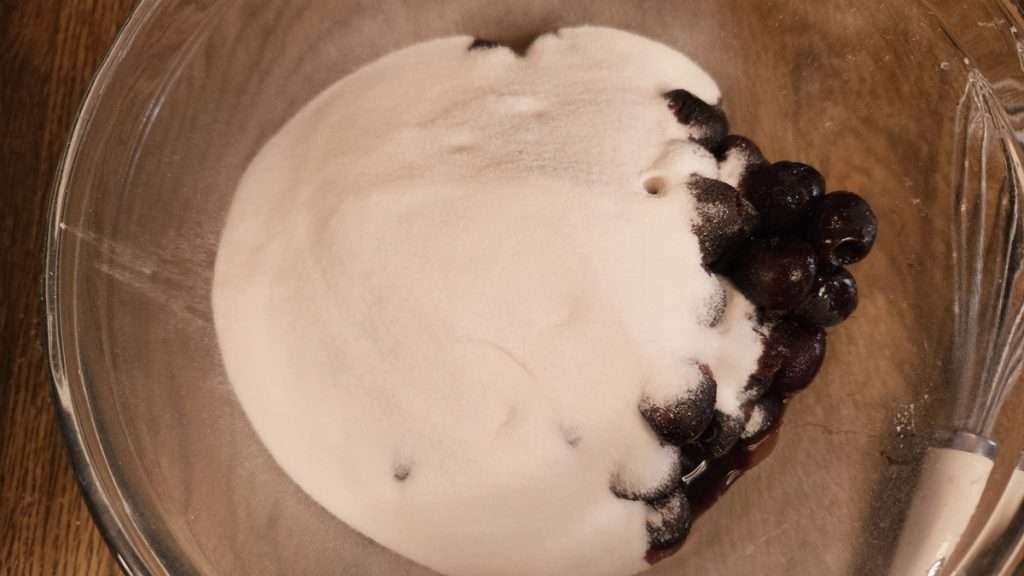
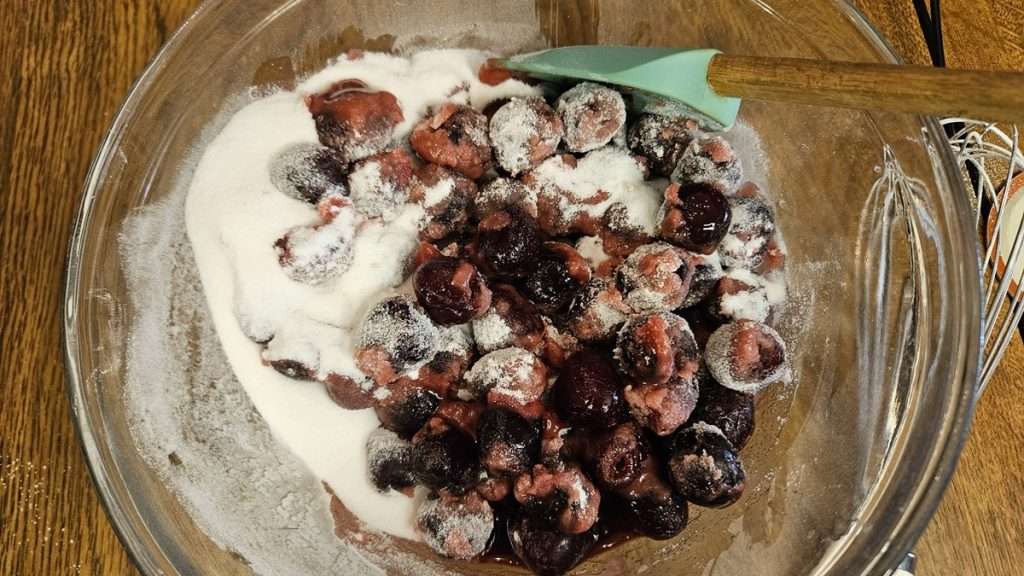
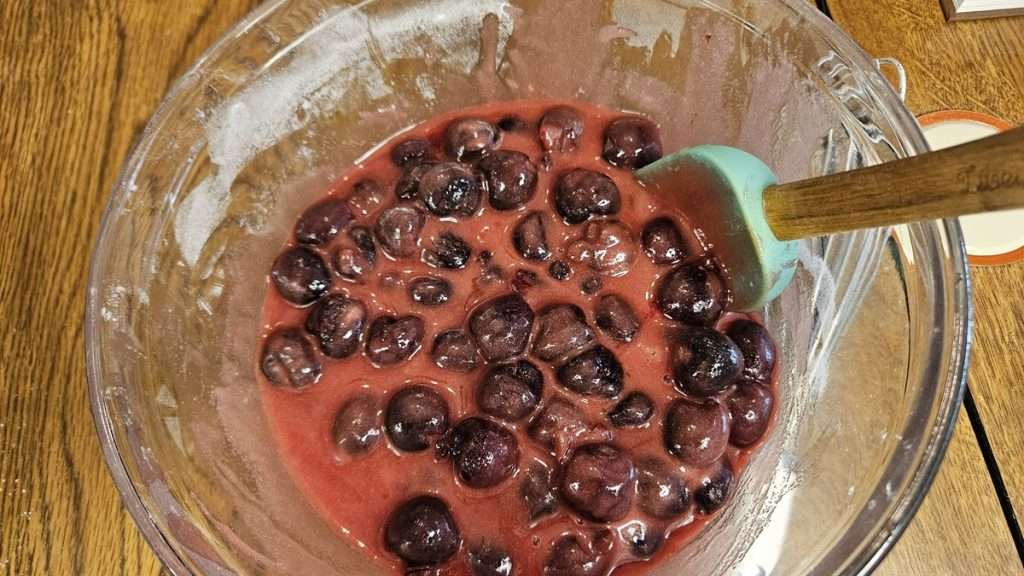
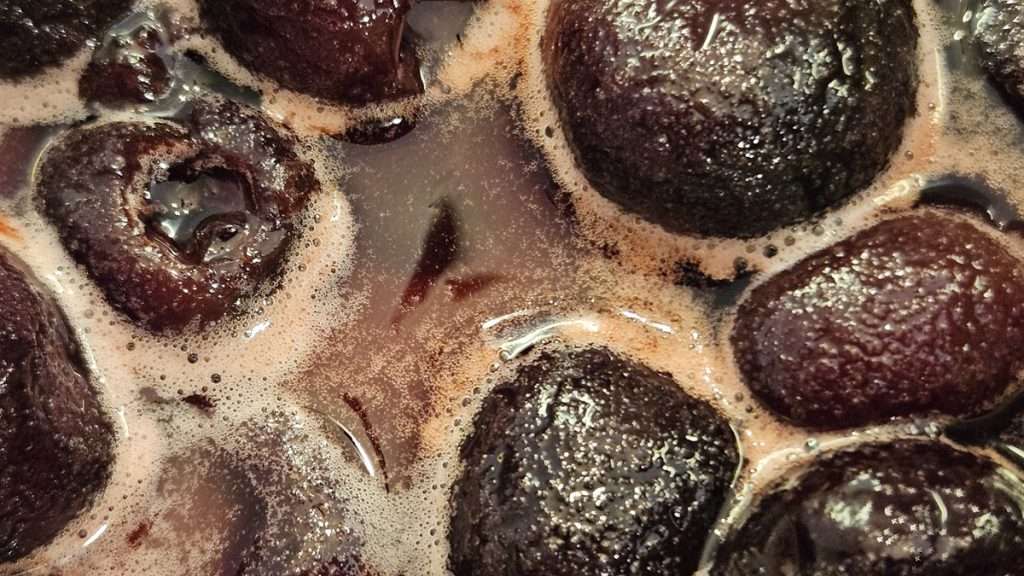
4. Cook the Chery Pie Filling Until Thickened
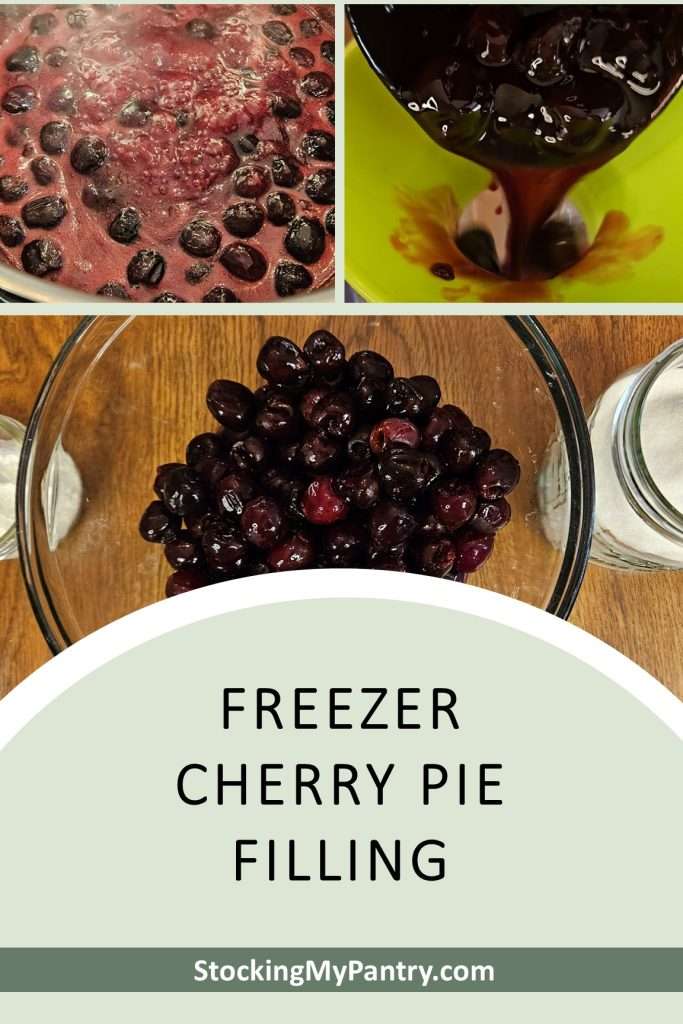
Transfer the cherry mixture to a large stainless steel pot and place it over medium heat. Cook until the mixture thickens. Stir occasionally to prevent sticking or scorching.
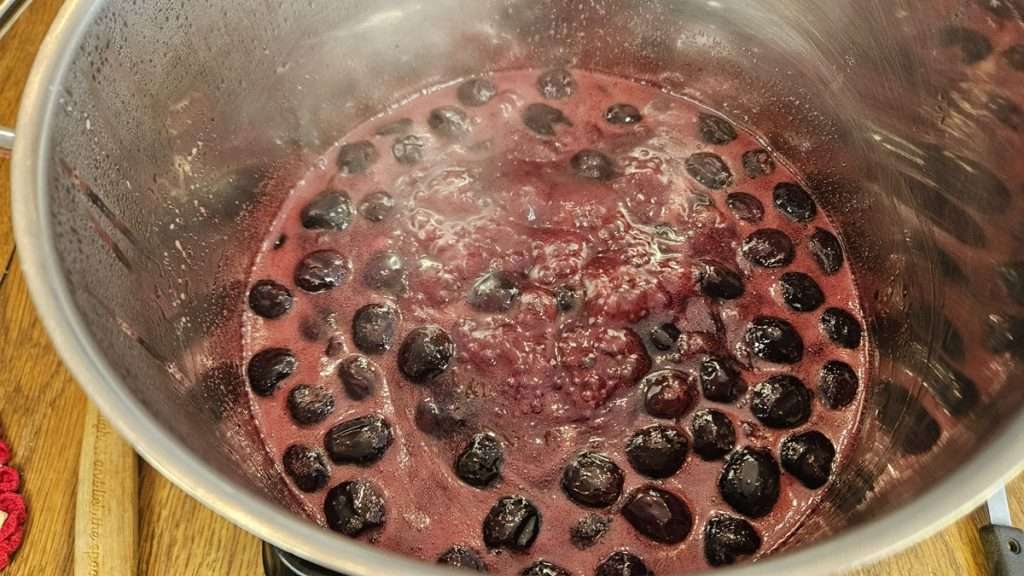
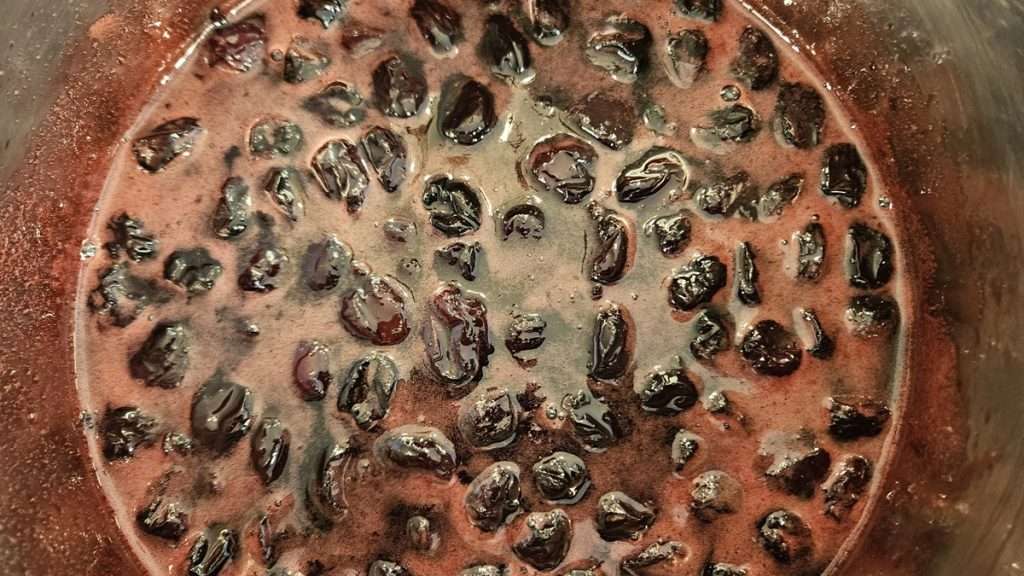
⏱️ How long does it take?
The original recipe didn’t say to stir, but I did — and it took a good 10 minutes of steady cooking and stirring before it thickened up.
5. Cool and Transfer to Freezer Bag
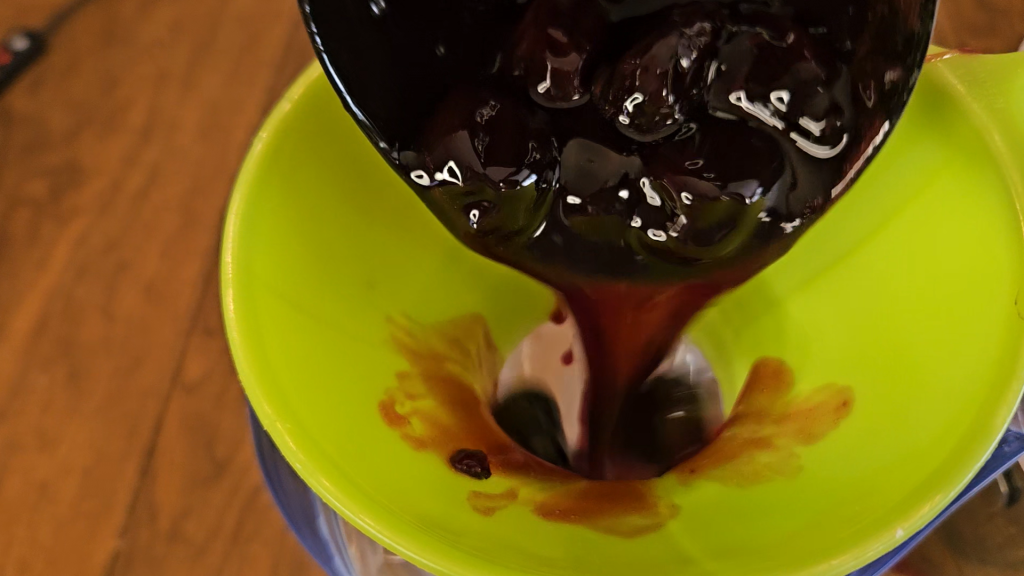
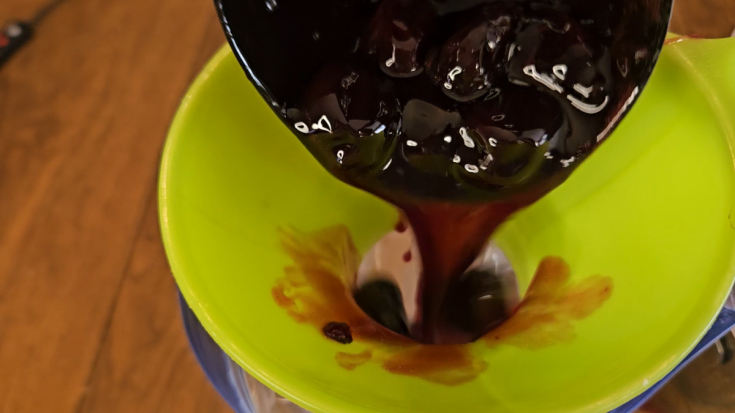
Let the cherry pie filling cool slightly before transferring it to a freezer-safe bag or container. I used a gallon-size freezer bag and came up with a creative (but not perfect!) way to fill it.
🛠️ What I Tried:
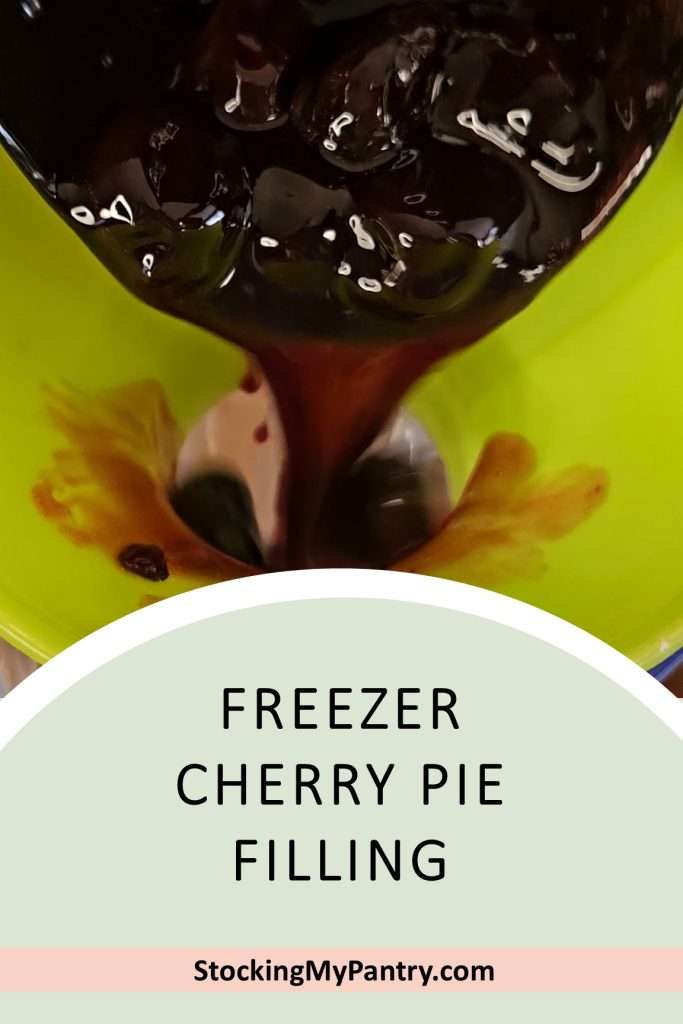
I placed the freezer bag inside a half-gallon mason jar, folded the top of the bag over the rim, and then ladled the cherry mixture in using a canning funnel. It worked, but removing the filled bag was trickier than expected.
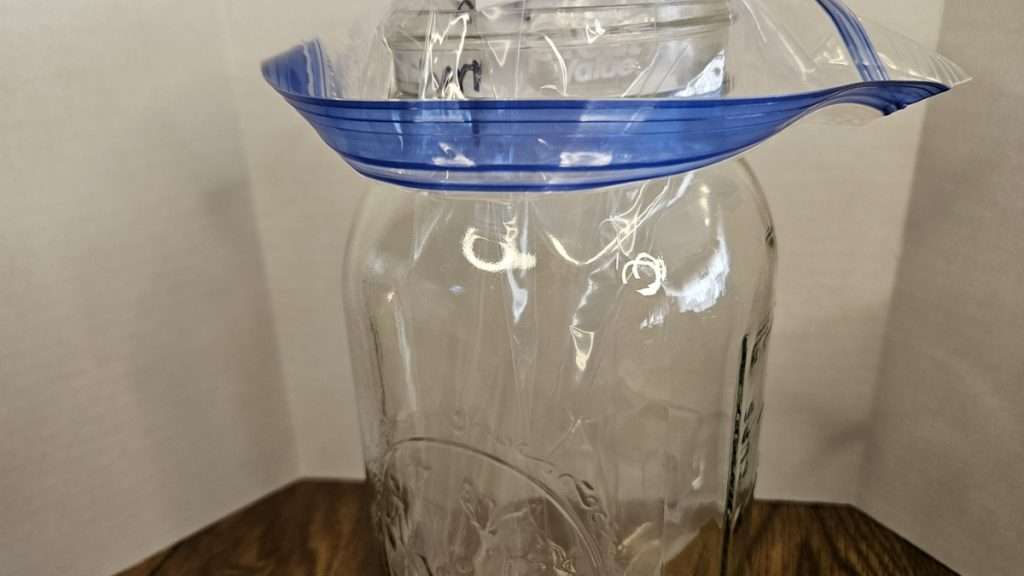
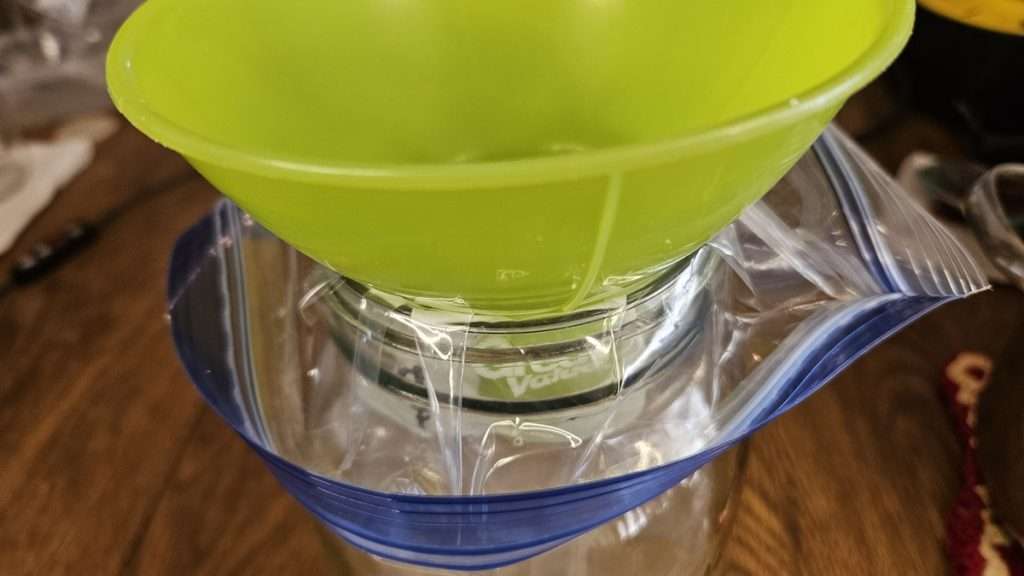
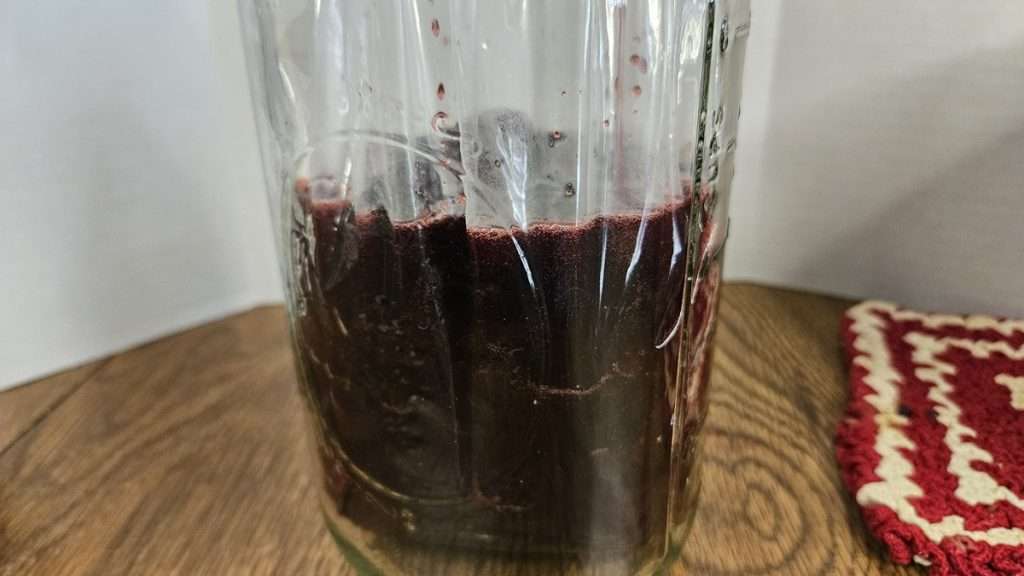
As you can see, as would be expected, the freezer cherry pie filling went all the way to the bottom of the freezer bag. What I didn’t anticipate was how difficult it would be to lift the filled freezer bag out of the jar. Thankfully, there was quite a bit of empty space at the top of the bag, so the potential crisis of having cherry pie filling to all over the place was averted. 😆
If you have a freezer bag holder like these on Amazon, I’d recommend using that instead!
6. Label, Seal, and Freeze
Before filling the bag, I wrote the contents and date on it. You can do this after filling, but it’s much easier to write on a flat, empty bag.
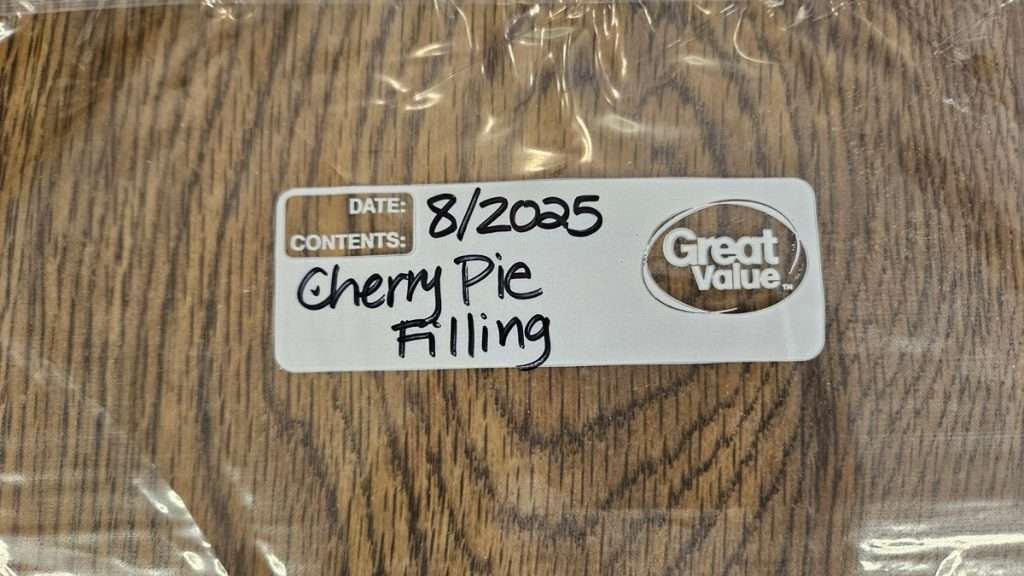
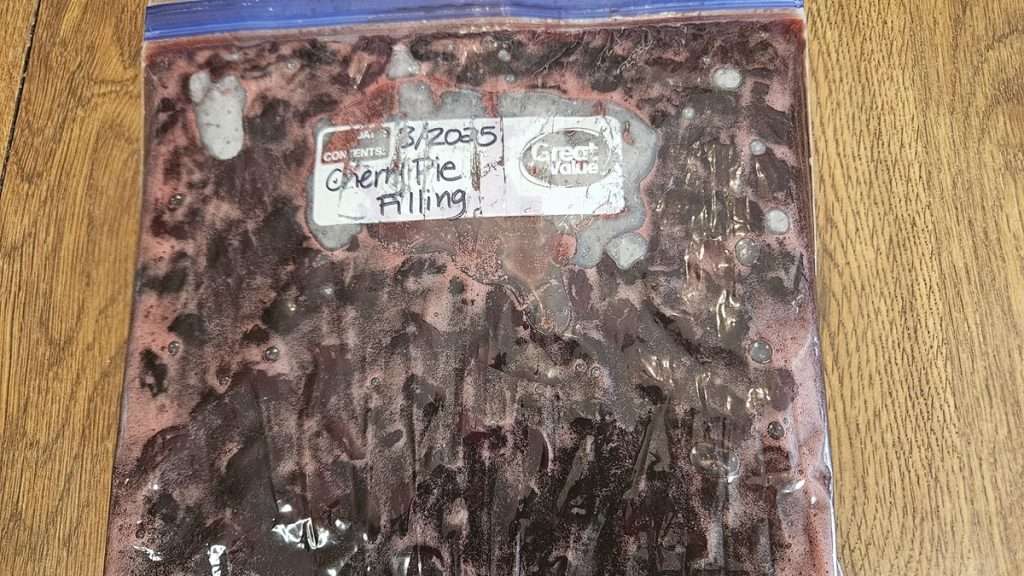
Once filled, squeeze out as much air as possible, seal the bag, and lay it flat in the freezer. This helps it freeze evenly and makes storage easier — no toppling cherry bags when you open the freezer door! It also thaws faster when frozen flat compared to if it’s in a big chunk.
🥧 How to Use Frozen Cherry Pie Filling
When you’re ready to use your pie filling, just thaw it overnight in the fridge.
Then you can:
- Use it in a classic double-crust pie
- Spoon it into a graham cracker crust and decorate with whipped cream
- Turn it into an easy cherry cobbler (my personal favorite — no pie crust required!)
⚖️ A Word About Sugar
If you’re using tart cherries, stick with the sugar amount in the recipe card. But if you’re using sweet cherries like I did, I recommend cutting back the sugar by at least ½ cup. Otherwise, the filling may end up overly sweet — especially if you’re planning to serve it with whipped cream or ice cream.
💬 Will I Make This Again?
Absolutely! Freezing cherry pie filling is a super easy way to preserve cherries — and it’s a lot less work than canning. Plus, having homemade pie filling ready to go in the freezer means quick desserts all year long.
📌 Pin it for Later!
Pin this post so you can easily find it the next time cherry season rolls around.
Related Articles
If you enjoyed this article, you are sure to enjoy these related articles:
🧾 Printable Recipe Card
Freezer Cherry Pie Filling (Ball Blue Book Recipe)
This freezer cherry pie filling is a quick and easy way to preserve cherries, using a classic recipe from the Ball Blue Book Guide to Preserving (38th edition). Perfect for pies, cobblers, or spooning into a graham cracker crust, it freezes beautifully and is ready whenever you need a homemade cherry dessert.
Ingredients
- 8 cups pitted tart cherries (fresh or thawed if frozen)
- 2 1/2 cups granulated sugar
- 5 tablespoons cornstarch
Instructions
- Wash, drain, and pit the cherries if using fresh. If using frozen cherries, thaw them first and ensure they’re pitted.
- In a small bowl, whisk together the sugar and cornstarch until fully combined.
- Add the sugar and cornstarch mixture to the cherries and stir to coat evenly. Let the mixture sit for about 30 minutes to allow the cherries to release their juice.
- Transfer the cherry mixture to a large stainless steel pot and place over medium heat. Stir occasionally to prevent sticking and cook until the mixture thickens — about 10 minutes.
- Remove from heat and allow the filling to cool slightly before transferring to a labeled freezer-safe bag or container.
- Press out excess air, seal, and lay the bag flat to freeze. Thaw overnight in the refrigerator before using.
Notes
💬 I’d love to hear from you!
Have you tried this yourself? Have a question or tip to share? Leave a comment below — your experience or question could help someone else, too!