

If you’ve spent any time researching how to can dry beans, you’ve probably seen people claim that you can simply put dry, unsoaked beans into jars, cover them with water, and pressure can them.
The problem?
👉 There are no tested, safe canning guidelines that support canning beans this way.
Safe canning recipes for beans assume that the beans have been soaked and heated first. Skipping those steps means you are no longer following a tested process—and when it comes to canning, that matters.
In this post, I’ll show you how to quick soak beans for canning, explain why soaking and partially cooking beans is critical for safety, and walk you through the exact method recommended by the National Center for Home Food Preservation.
Why Beans Must Be Soaked and Heated Before Canning
Pressure canning times for beans are not designed for dry beans straight from the bag.
Here’s why soaking and partial cooking beans before canning matters:
- Dry beans without soaking and partially cooking are not even partially hydrated
Processing times assume the beans have already absorbed water. - Dry beans are not hot
Canning recipes assume hot beans are going into hot jars. Cold, dry beans change heat penetration. - Beans expand significantly
If beans swell inside the jar during processing, they can:- Absorb too much liquid
- Leave the jar with insufficient liquid
- Interfere with proper heat circulation
- Shelf-stable moisture matters
Beans can continue absorbing liquid as they sit on the shelf. Starting with dry beans increases the risk of too little liquid long-term.
Soaking and partially cooking beans before canning ensures:
- Proper hydration
- Predictable expansion
- Adequate liquid levels
- A process that matches tested safety guidelines

NCHFP-Approved Methods for Preparing Dry Beans for Canning
According to the National Center for Home Food Preservation, dry beans must be soaked and then boiled before canning.
They give two approved soaking methods:
“Place dried beans or peas in a large pot and cover with water.
Soak 12 to 18 hours in a cool place. Drain water.To quickly hydrate beans, you may cover sorted and washed beans with boiling water in a saucepan. Boil 2 minutes, remove from heat, soak 1 hour and drain.
Cover beans soaked by either method with fresh water and boil 30 minutes.”
Why I’m Using the Bean Quick Soak Method Today
Normally, I prefer the overnight soak method. It’s simple, hands-off, and works well when I plan ahead.
But today, I need to make and can chili con carne, and I didn’t soak my beans overnight.
Instead of skipping the soak (which would not be safe), I’m using the NCHFP-approved quick soak method—and that’s what I’m demonstrating step by step below.
How to Quick Soak Beans for Canning (Step-by-Step)
Step 1: Sort the Dry Beans

Pour the dry beans into a large bowl so you can easily inspect them.
Step 2: Remove Bad Beans and Debris

Pick out:
- Broken or shriveled beans
- Discolored beans
- Small rocks or debris
This step is important for both food safety and quality.
Step 3: Rinse the Beans

Place the beans in a colander and rinse thoroughly under running water.
Step 4: Transfer Beans to a Pot

Move the rinsed beans into a large pot with plenty of room for expansion.
Step 5: Cover with Water

Add enough water to fully cover the beans.
Step 6: Bring to a Boil
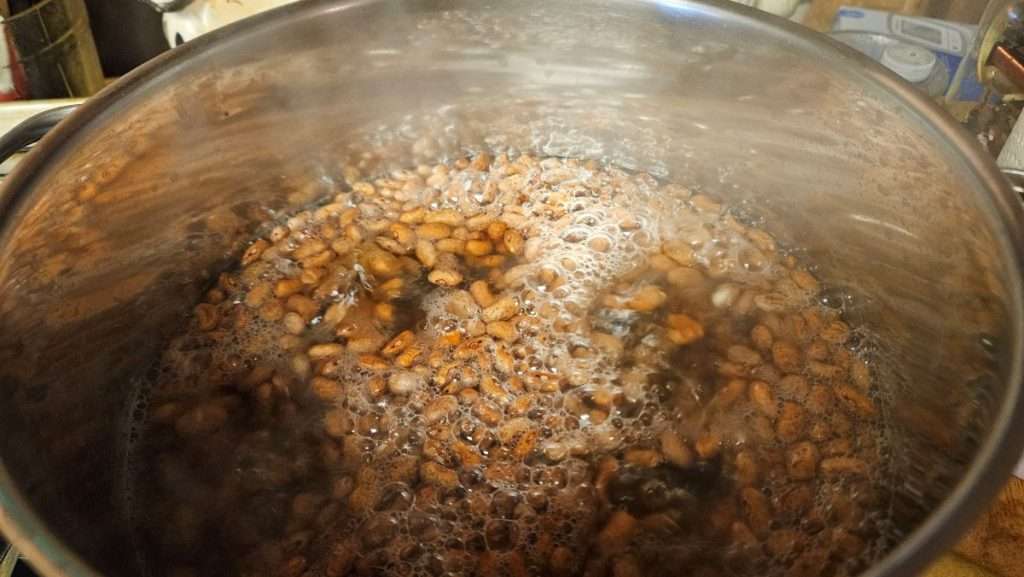
Bring the beans and water to a rolling boil.
Step 7: Boil for 2 Minutes, Then Soak
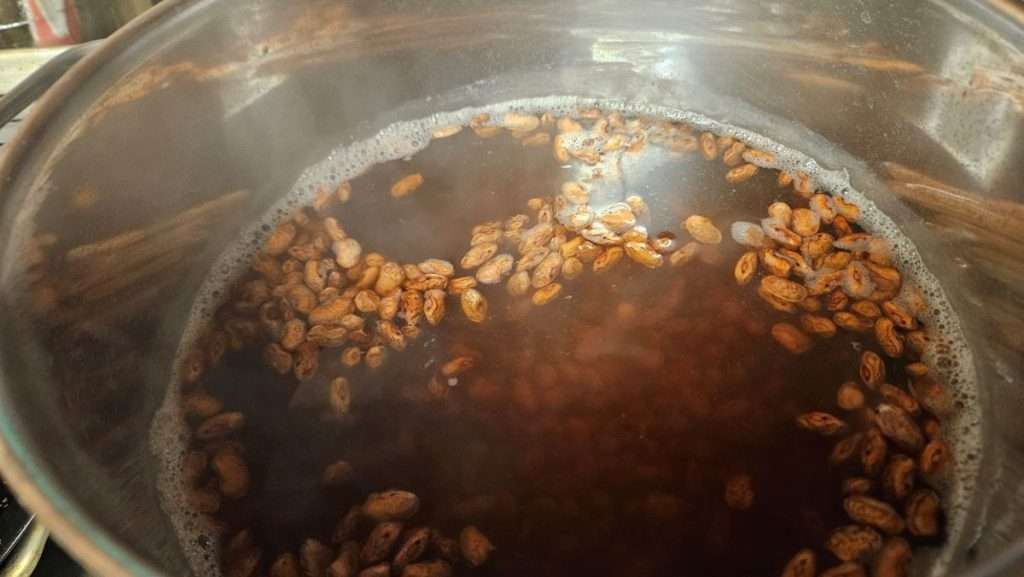
Boil for 2 minutes, then:
- Remove from heat
- Cover the pot
- Let the beans soak in the hot water for 1 hour
This is the quick soak step.
Step 8: Drain the Soaking Liquid
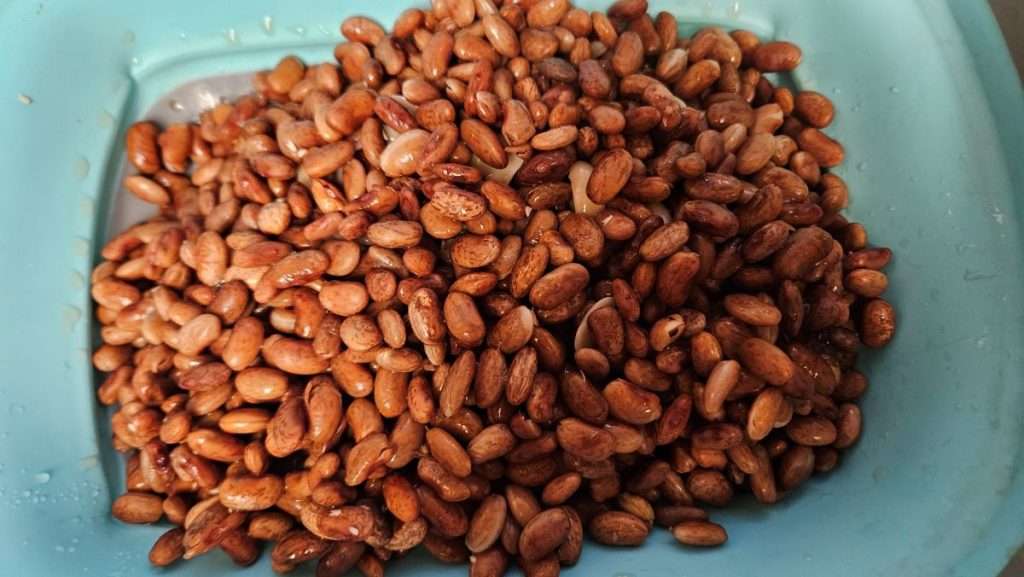
After soaking, drain the beans and discard the soaking liquid.
Step 9: Cover Beans with Fresh Water
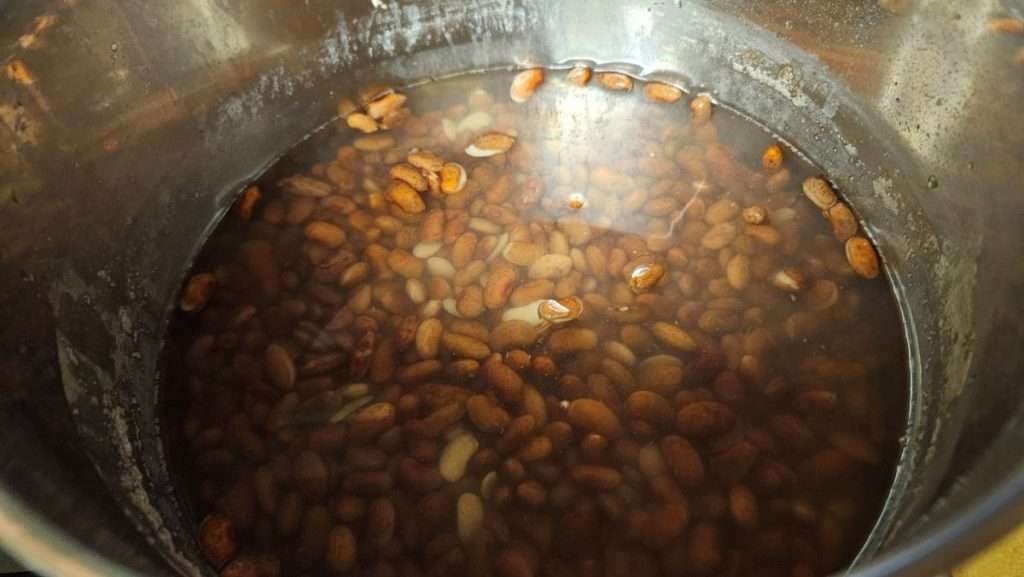
Return the beans to the pot and add fresh water.
Step 10: Boil for 30 Minutes
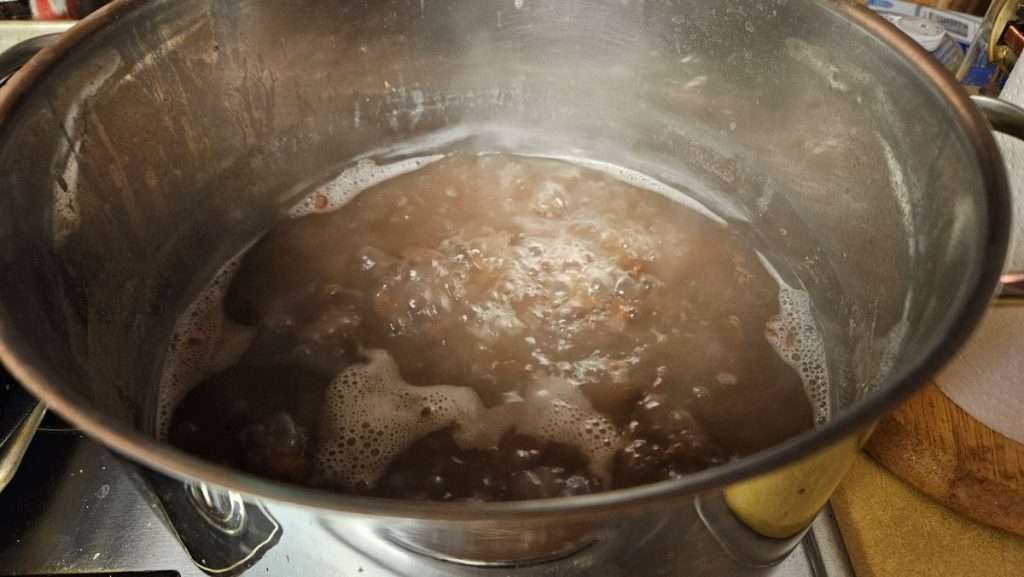
Bring the beans back to a boil and boil for 30 minutes.
This partial cooking step is required regardless of which soaking method you use.
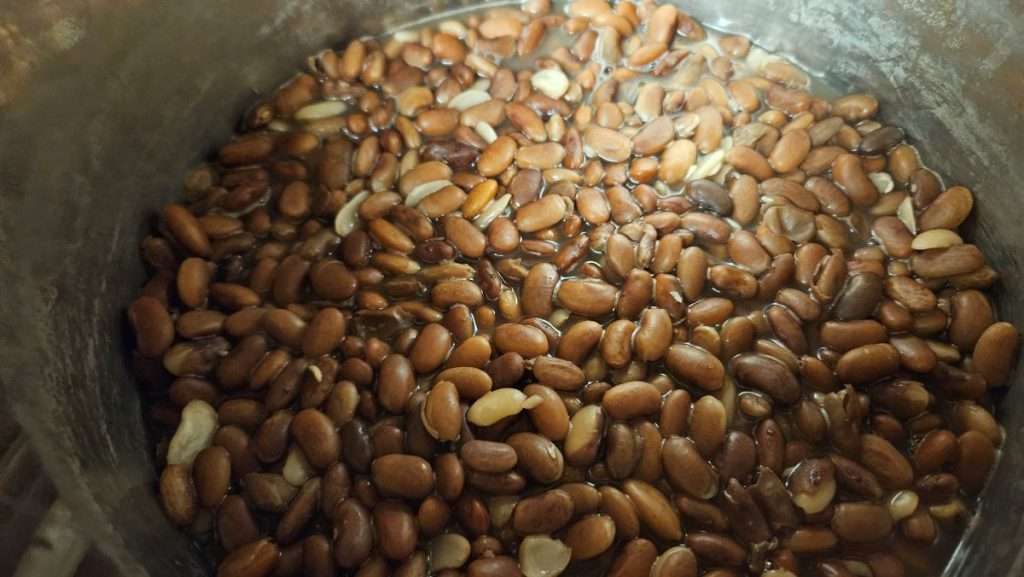
Step 11: Drain the Partially Cooked Beans
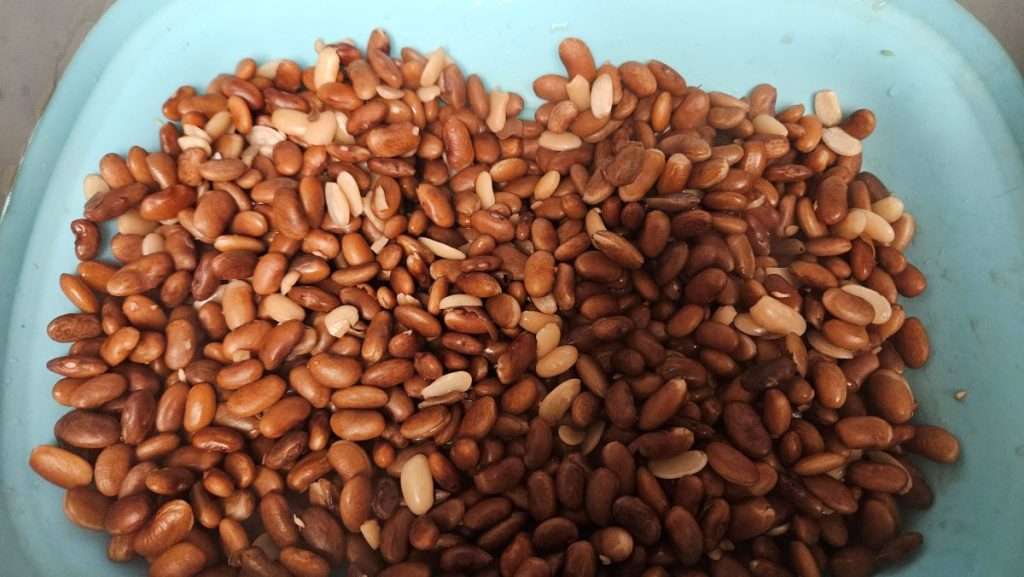
Drain the beans once the 30-minute boil is complete.
How to Safely Can Dry Beans
At this point, your beans are:
- Properly hydrated
- Partially cooked
- Safe to use in any tested canning recipe calling for dry beans
Here are the options for canning prepared dry beans.
Option 1: Use Prepared Beans in a Canning Recipe
You can now add these beans to recipes like chili, soups, or stews that will be pressure canned.
Option 2: Can Plain Beans
To can beans by themselves:
- Fill jars with the hot, partially cooked beans
- Top off with fresh cooking liquid
- Leave 1″ headspace
Optional salt (for flavor only):
- ½ teaspoon per pint
- 1 teaspoon per quart
Processing Time for Canning Dry Beans
Once you’ve filled your jars, debubbled, and put the lids and rings on, you need to pressure can the beans. Pressure can pints of dry beans for 75 minutes and quarts for 90 minutes.
Final Thoughts on Bean Canning Safety
Soaking and partially cooking beans before canning isn’t an optional step—it’s built into the safety of tested canning recipes.
If you’re short on time, the bean quick soak method is a safe, approved alternative to overnight soaking—but skipping soaking altogether is not.
When it comes to home canning, following tested guidelines is always worth the extra step.
How to Quick Soak Beans for Safe Home Canning

This how-to explains the approved quick soak method for preparing dry beans for home canning. Soaking and partially cooking beans before pressure canning is required for safety and helps ensure proper hydration, heat penetration, and liquid levels in the jar. This method follows tested canning guidelines and is a safe alternative when you didn’t soak beans overnight.
Materials
- Dry beans
- Water
Tools
- Large pot
- Colander
- Spoon or ladle
- Stove
Instructions
- Sort the beans Pour dry beans into a bowl and remove broken, shriveled, or discolored beans, along with any rocks or debris.
- Rinse the beans Place the beans in a colander and rinse thoroughly under running water.
- Cover beans with water Transfer rinsed beans to a large pot and add enough water to fully cover them.
- Bring to a boil Bring the beans and water to a rolling boil.
- Boil for 2 minutes Boil the beans for 2 minutes to begin hydration.
- Soak for 1 hour Remove the pot from heat, cover, and let the beans soak in the hot water for 1 hour.
- Drain soaking liquid Drain the beans in a colander and discard the soaking water.
- Add fresh water Return the beans to the pot and cover with fresh water.
- Boil for 30 minutes Bring the beans back to a boil and boil for 30 minutes to partially cook them.
- Drain the beans. They are now ready to use in any tested canning recipe calling for dry beans.
Notes
- Dry beans must be soaked and partially cooked before canning to follow tested safety guidelines.
- This quick soak method is a safe alternative to overnight soaking when time is limited.
- Beans prepared this way can be used in pressure-canned recipes like chili, soup, or canned plain.
- Optional salt may be added when canning beans (½ teaspoon per pint or 1 teaspoon per quart), but salt is not required for safety.
Pin it for Later

Related Articles
If you enjoyed this article, you’re sure to enjoy these related articles:
💬 I’d love to hear from you!
Have you tried this yourself? Have a question or tip to share? Leave a comment below — your experience or question could help someone else, too!