

When it comes to prepping meals ahead of time, freezer side dishes are a lifesaver. One of my favorite discoveries is freezer slaw. If you’ve ever wondered how to freeze coleslaw without it turning into a soggy mess, this recipe from the Ball Blue Book Guide to Preserving (38th edition) is the answer. It makes a crisp, tangy freezer salad that you can pull out anytime — just thaw, drain, and stir in mayonnaise before serving.
Why Make Freezer Slaw?
Freezer slaw is perfect if you want the convenience of coleslaw without having to shred cabbage at the last minute. Unlike traditional coleslaw, which doesn’t freeze well once mayo is added, this recipe freezes the cabbage mixture with a vinegar-based dressing. The result? A side dish that still has a fresh crunch after months in the freezer. And don’t worry – if you like a creamy coleslaw like my family does, all you need to do is add in some mayonnnaise right before serving.
My family honestly couldn’t believe it came from the freezer — they thought it was freshly made! While it isn’t exactly the same as straight-from-the-garden slaw, it’s close enough to fool most people.
Ingredients You’ll Need
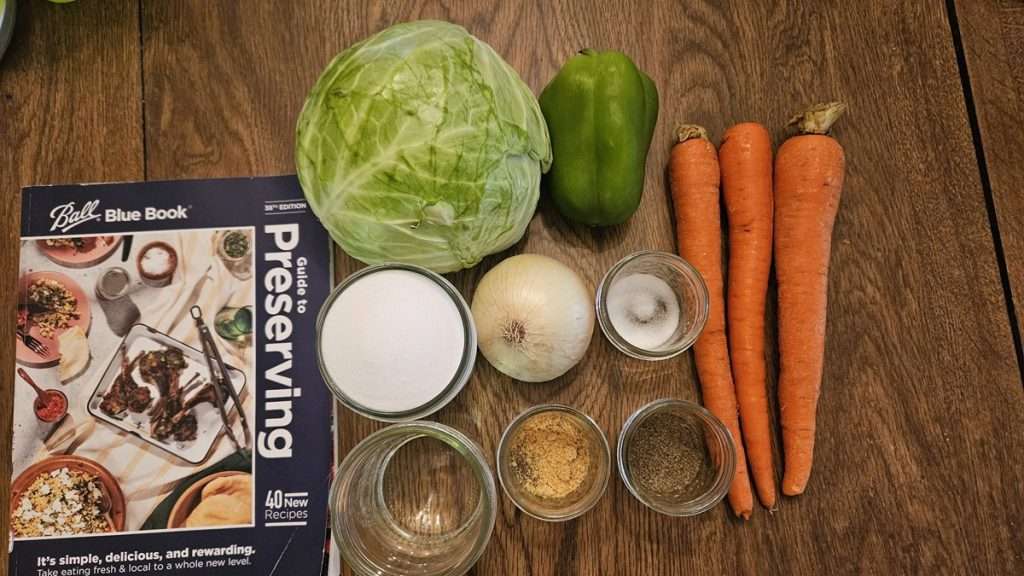
👉 This recipe is adapted from the Ball Blue Book, 38th edition. I’ve written it in my own words based on my experience, but I want to give credit to the original source.
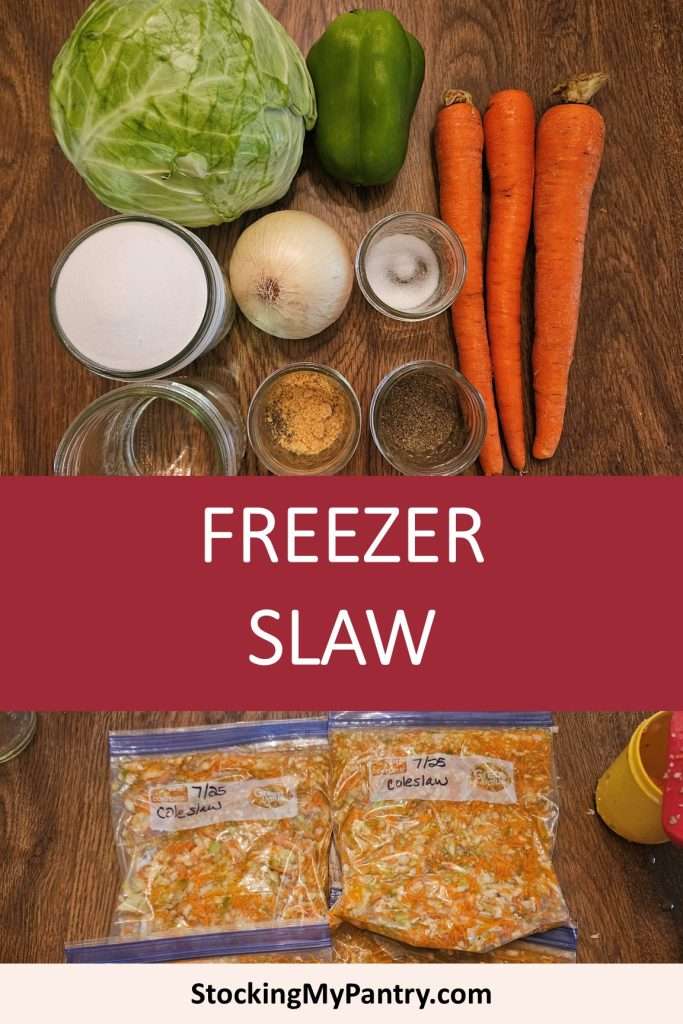
Here are the ingredients. (The full recipe is in the printable recipe card at the end of this post.)
- Green cabbage
- Carrots
- Green bell pepper
- Onion
- Salt
- Sugar
- Dry mustard
- celery seed
- Vinegar (5% acidity)
- Water
Step 1: Wash and Prep Your Vegetables
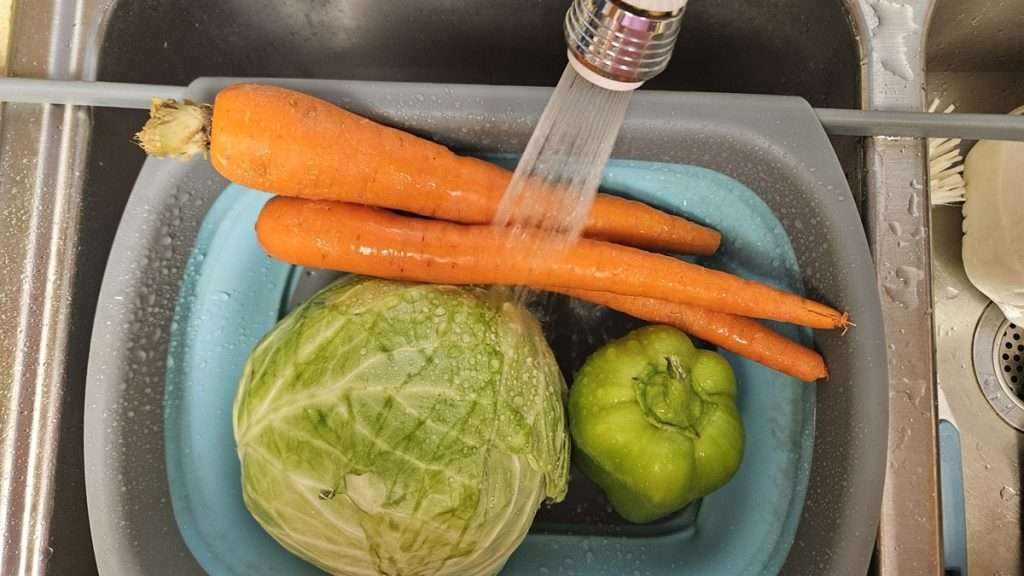
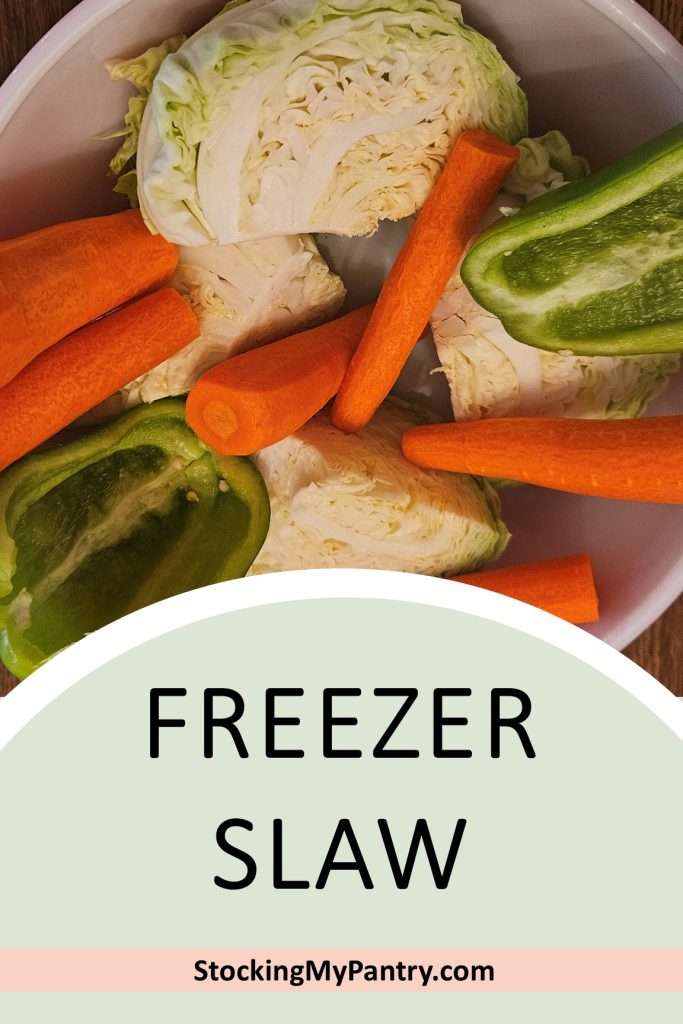
I started by rinsing the cabbage, carrots, and bell pepper under running water.
Next, I removed the outer leaves from the cabbage and cut it into four sections. The book says to quarter it, but I cut it in half first, removed the core, and then halved it again. Same end result, just my preferred method.
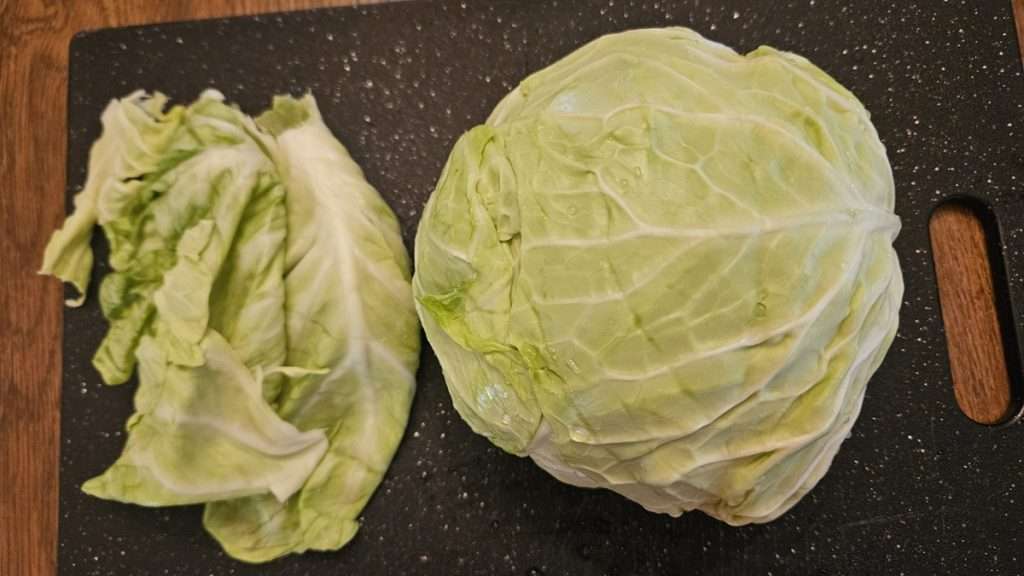
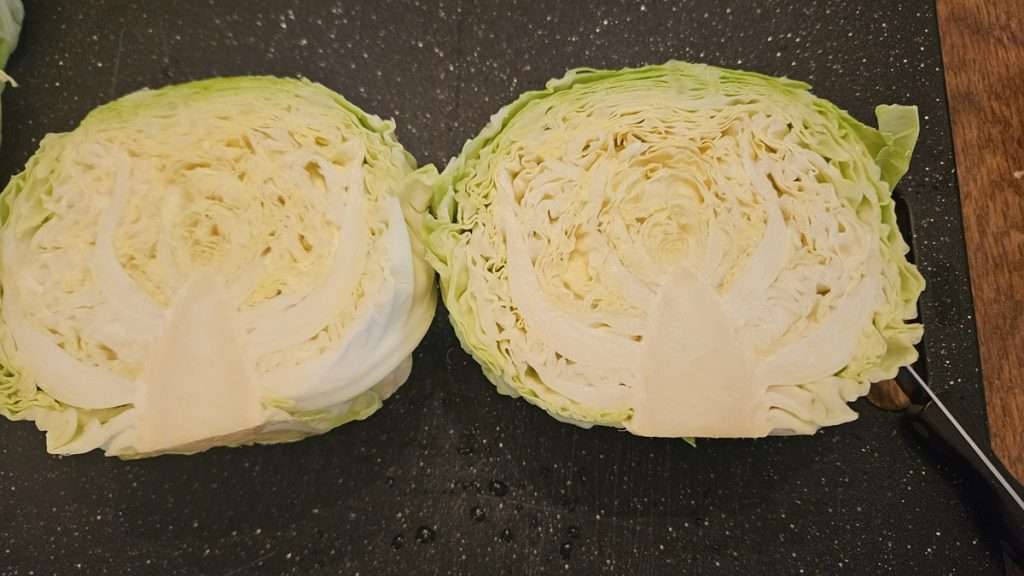
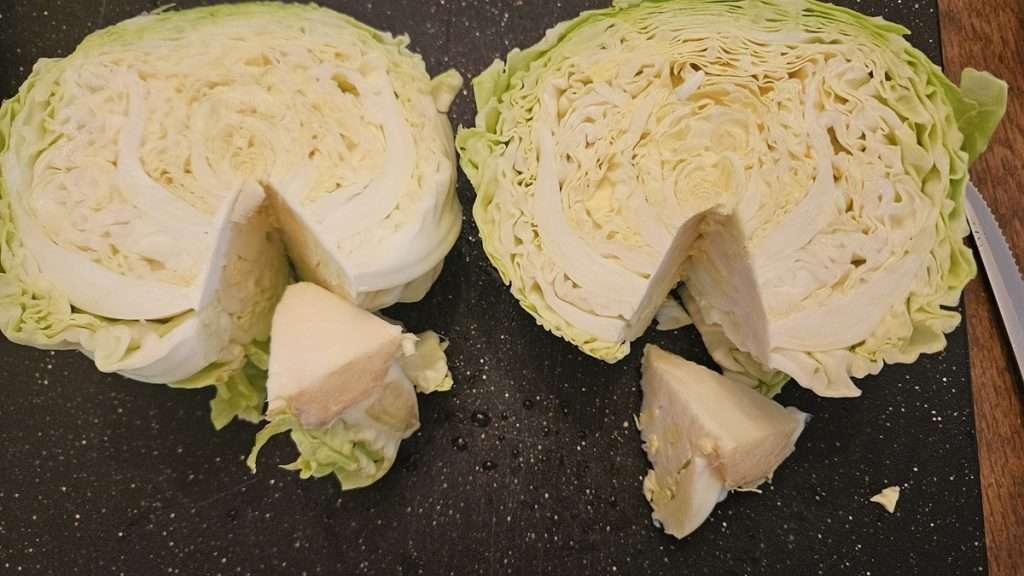
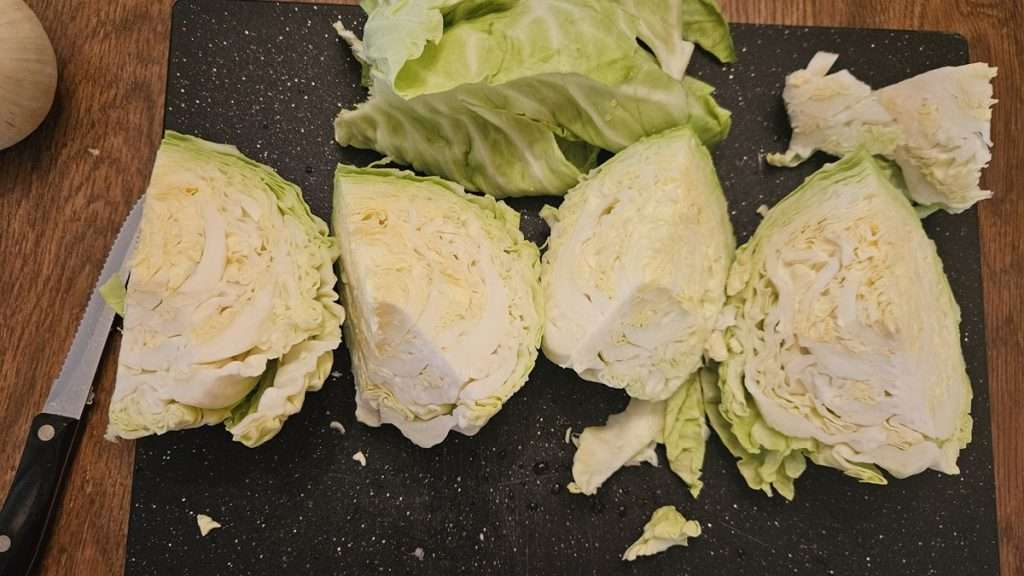
The bell pepper was halved, seeded, and cleaned.
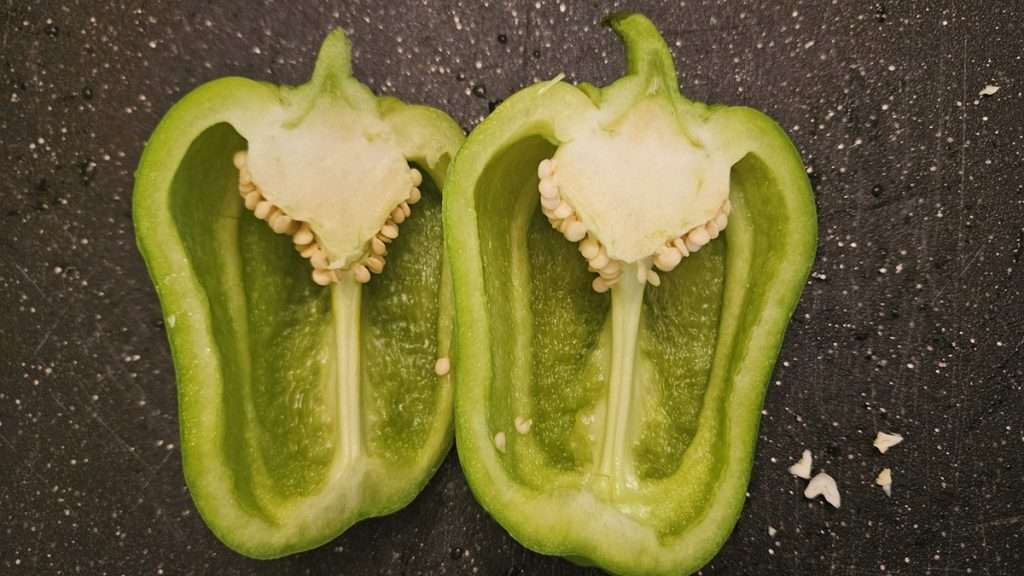
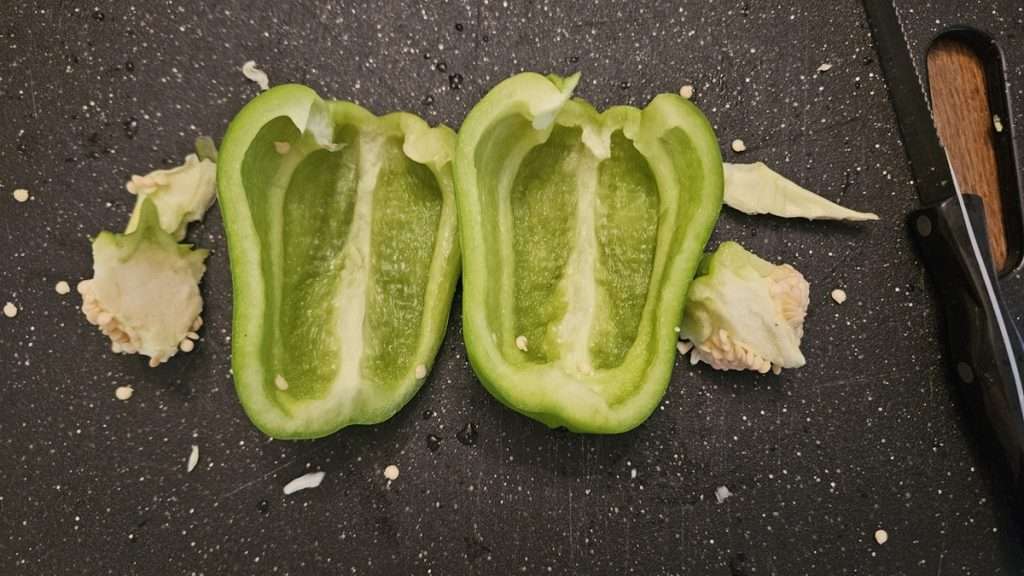
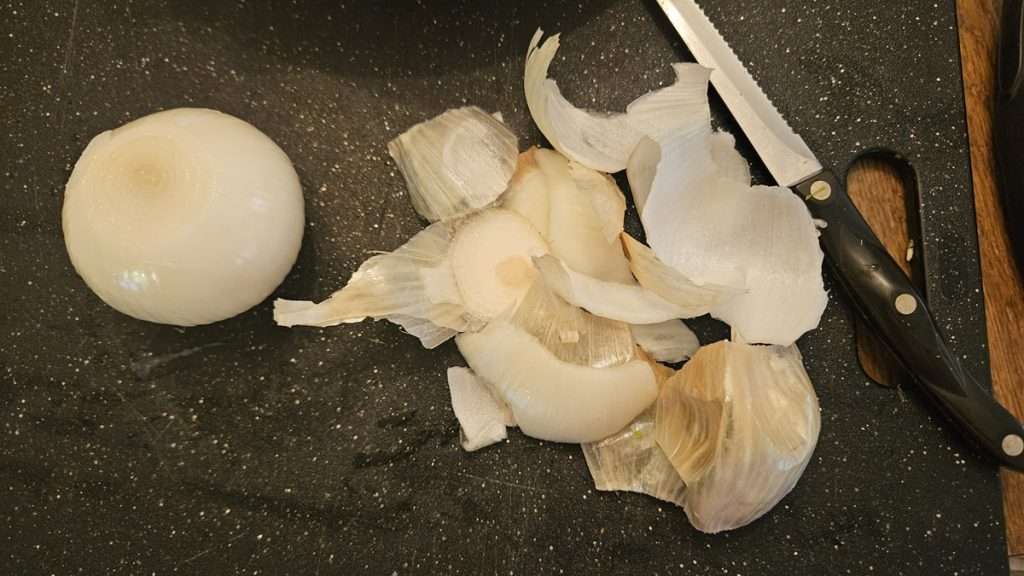
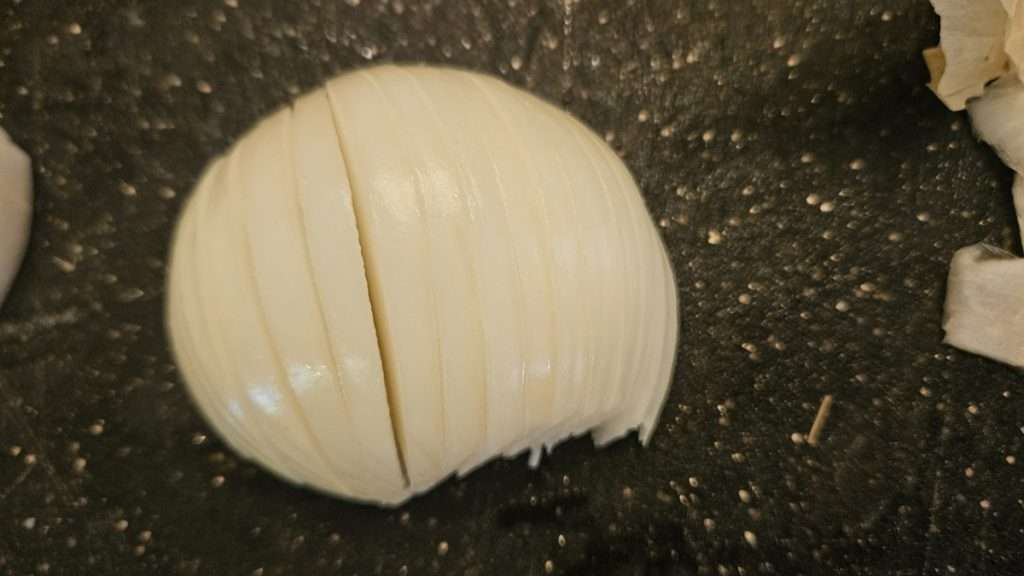
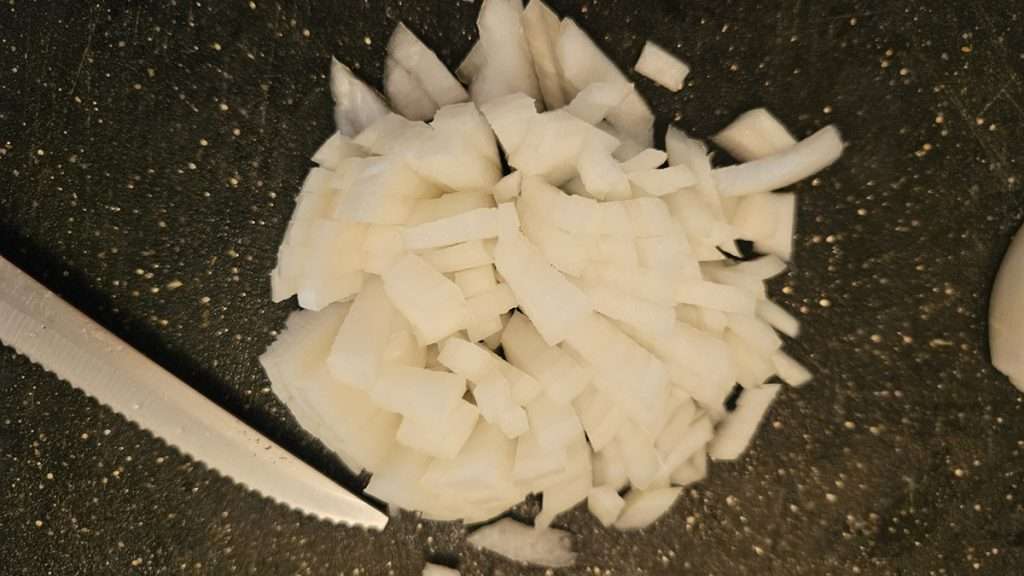
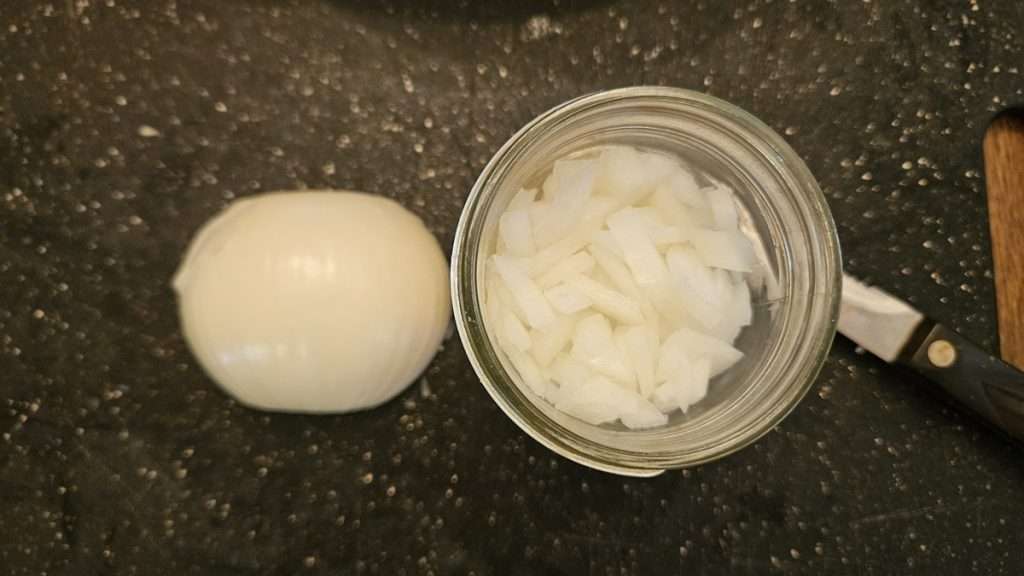
Carrots were trimmed and peeled, and the onion peeled and diced.
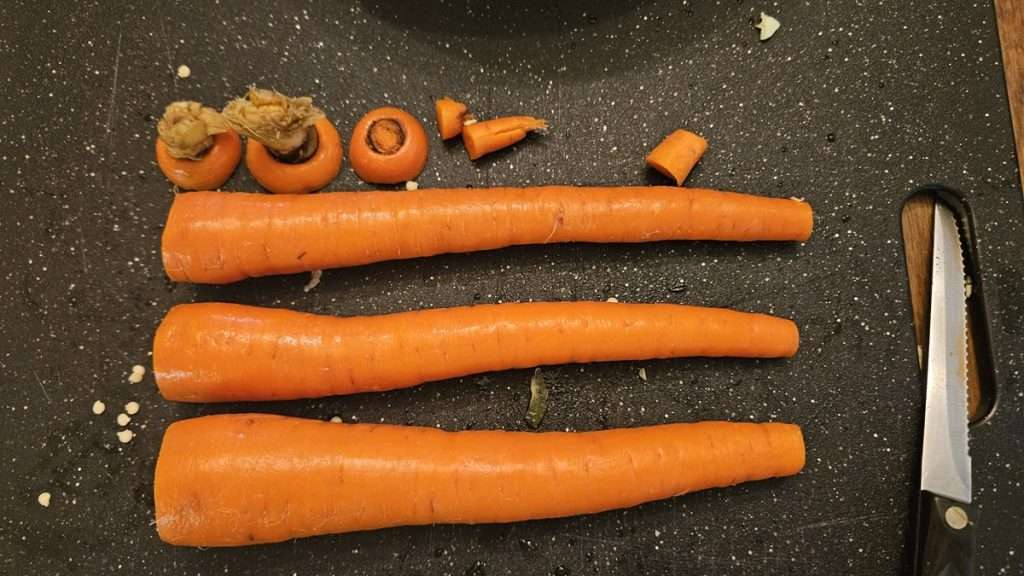
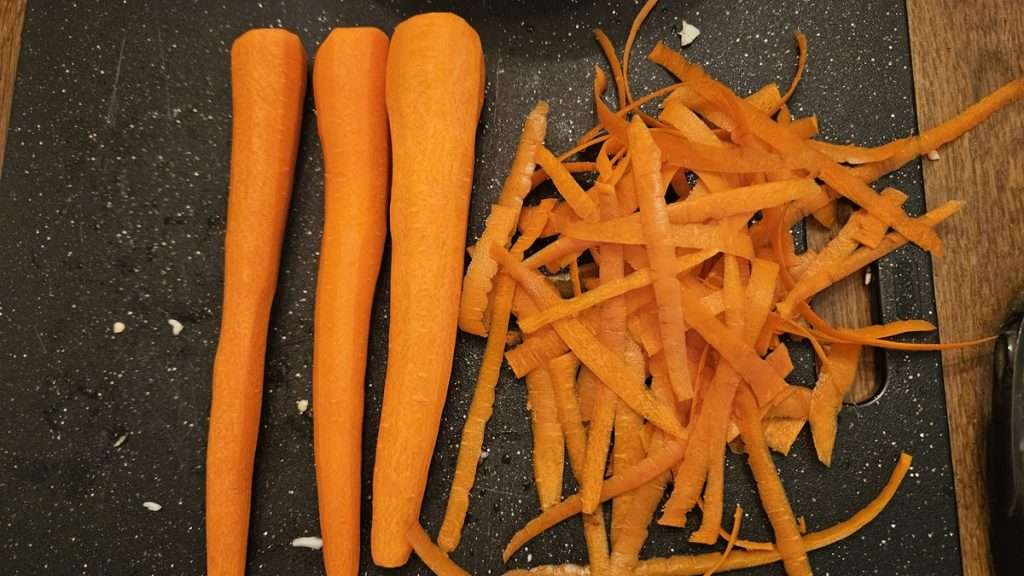
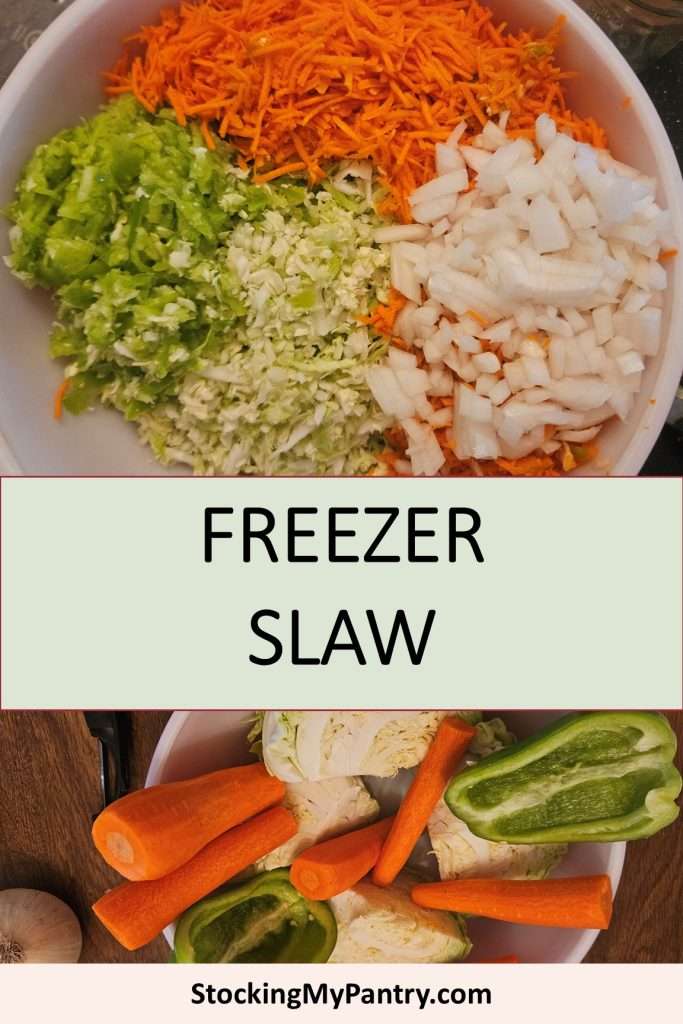
Step 2: Shred and Chop Freezer Slaw Ingredients
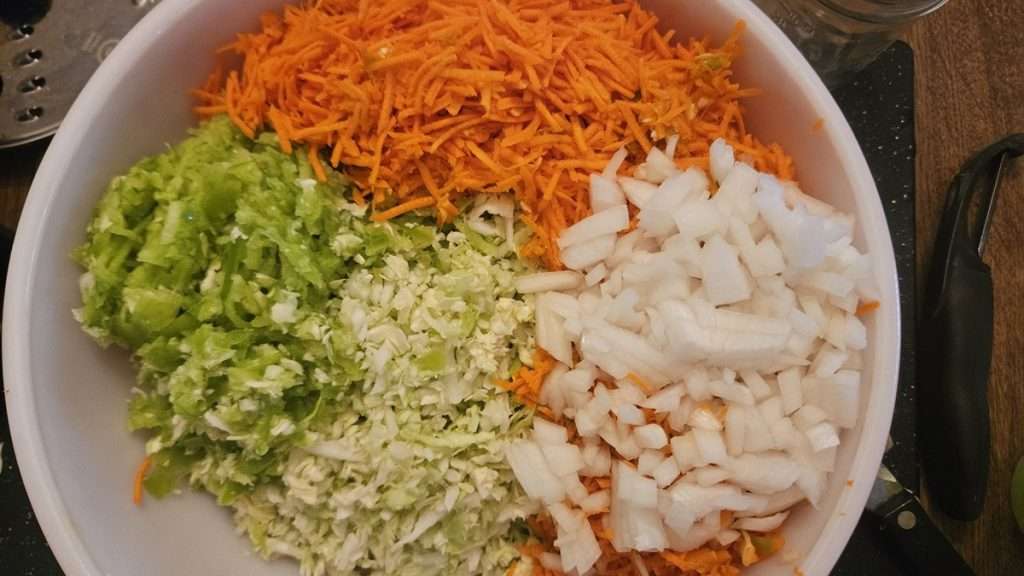
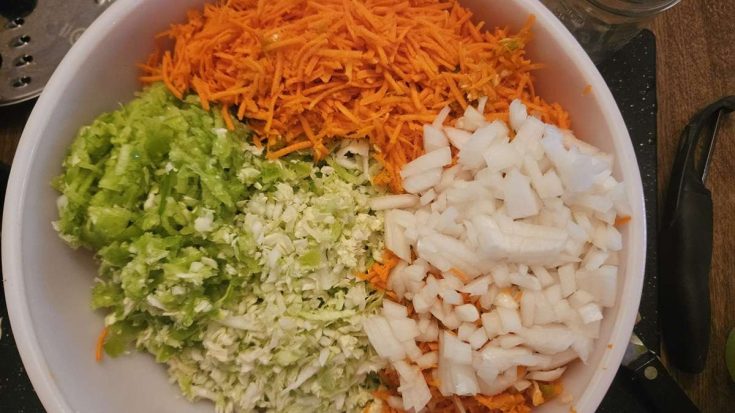
I used my food processor with different shredding blades:
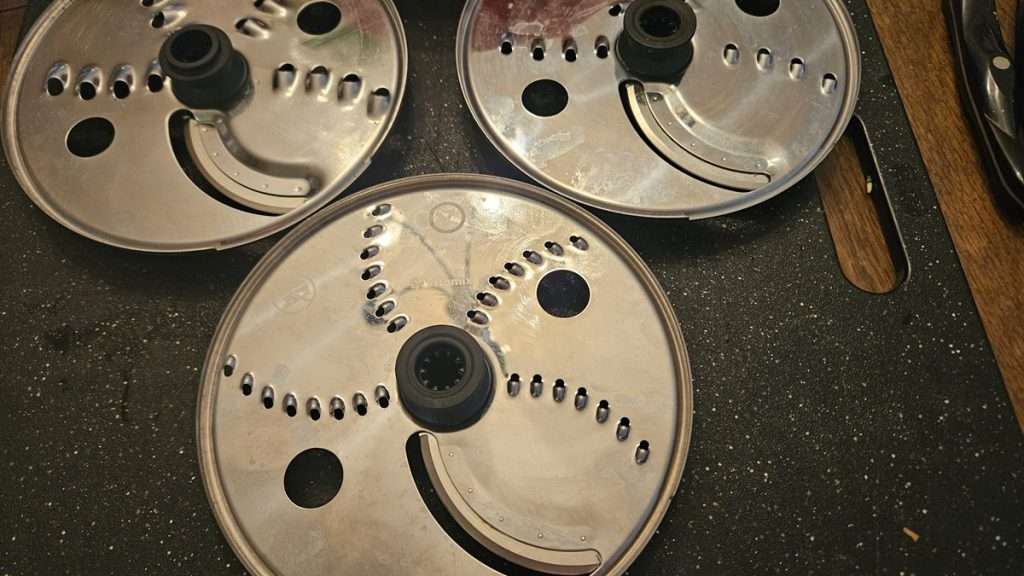
- Coarse blade for the cabbage
- Medium blade for the bell pepper (though next time I’ll just dice it with a knife — the processor made it too mushy and juicy)
- Fine shredding blade for the carrots
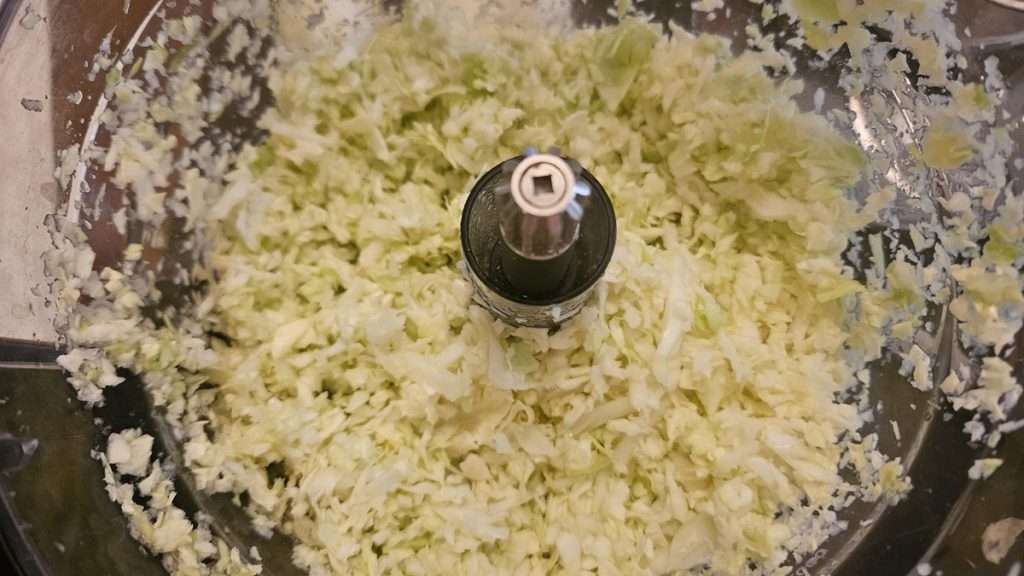
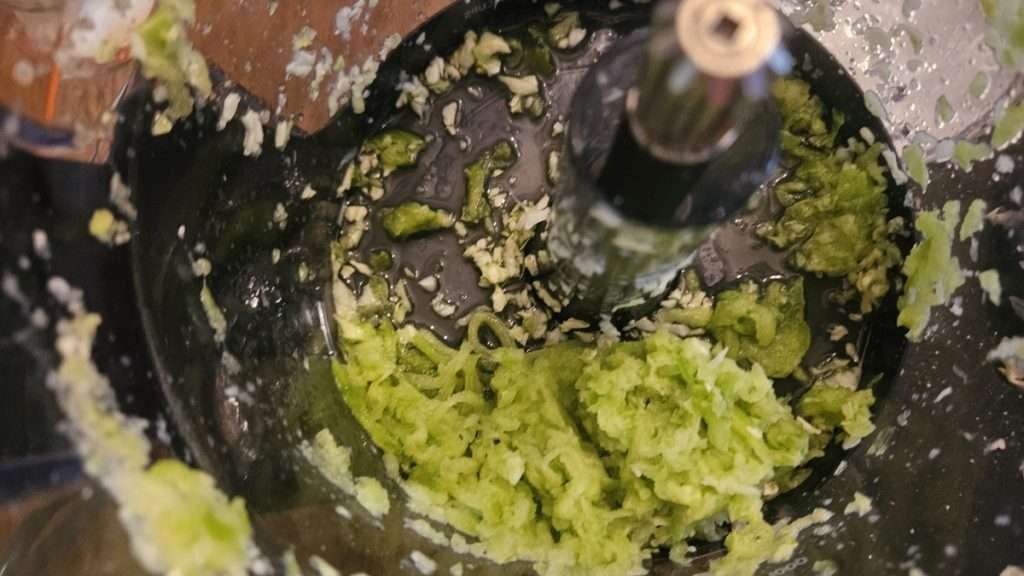
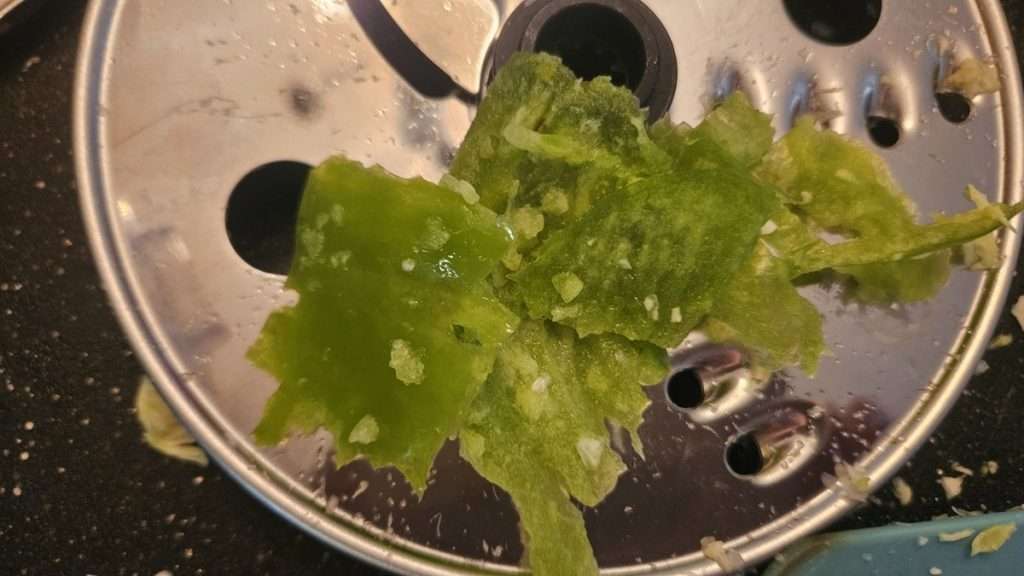
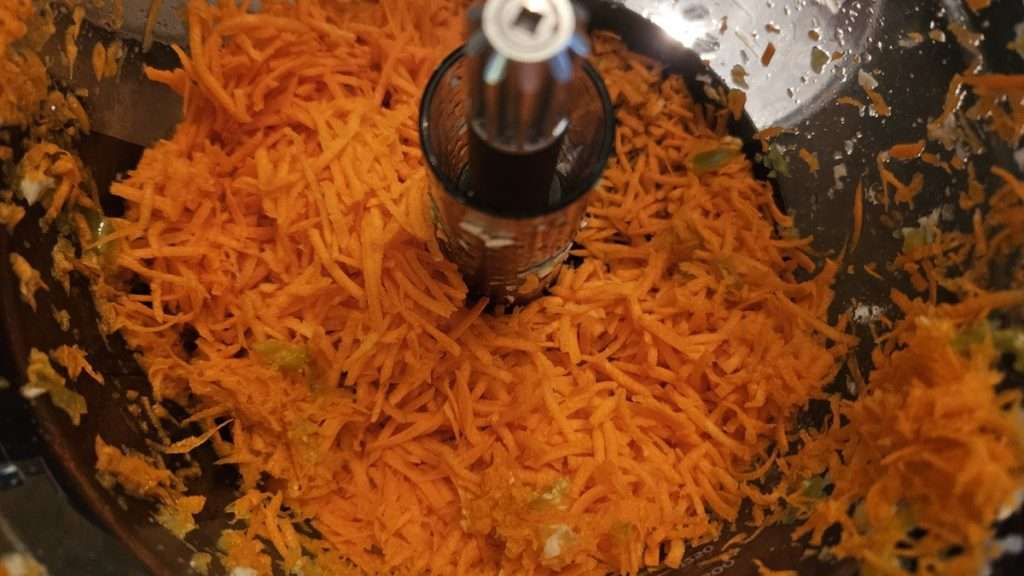
All the prepared veggies went into a big bowl.
Step 3: Salt and Drain
I sprinkled salt over the mixture and tossed it with my hands. The salt draws out extra liquid so the slaw won’t be watery later. After resting for an hour, I pressed the mixture through a sieve to drain off the liquid.
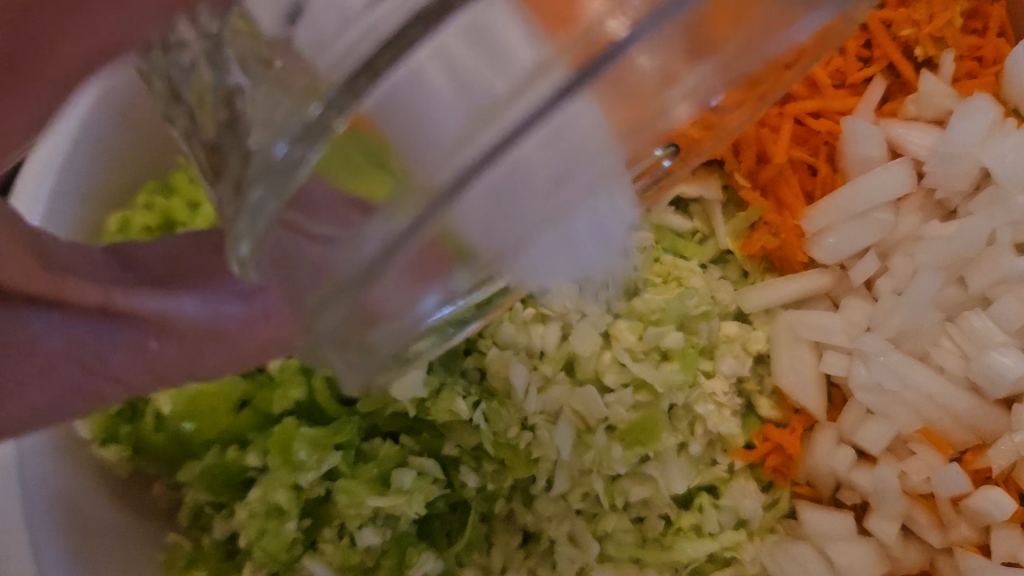
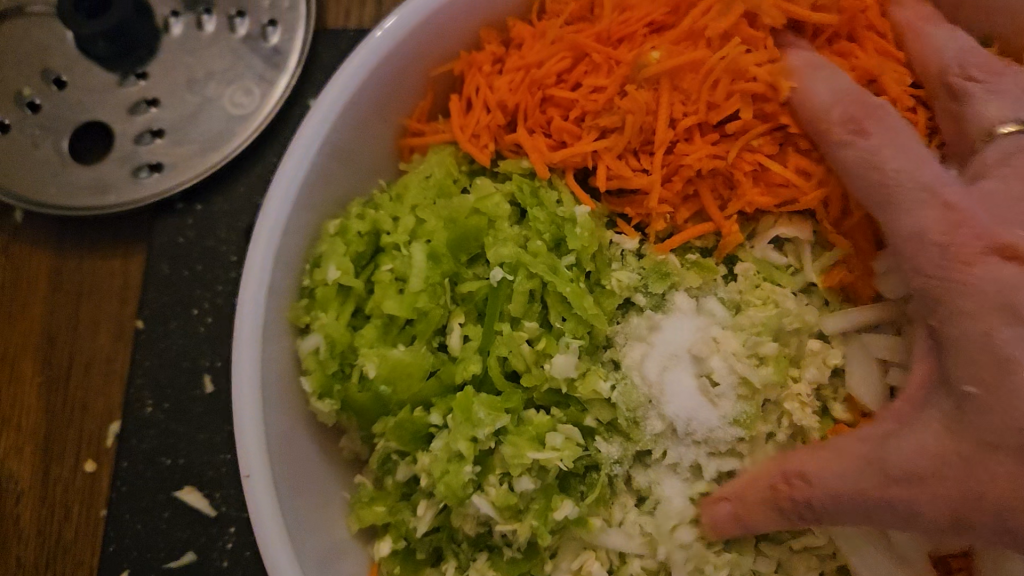
Let the salted freezer slaw ingredients sit for 1 hour, to allow the salt time to draw the liquid out of the vegetables. This step is super important, because it’s what yields a nice crisp coleslaw after the slaw has been frozen.
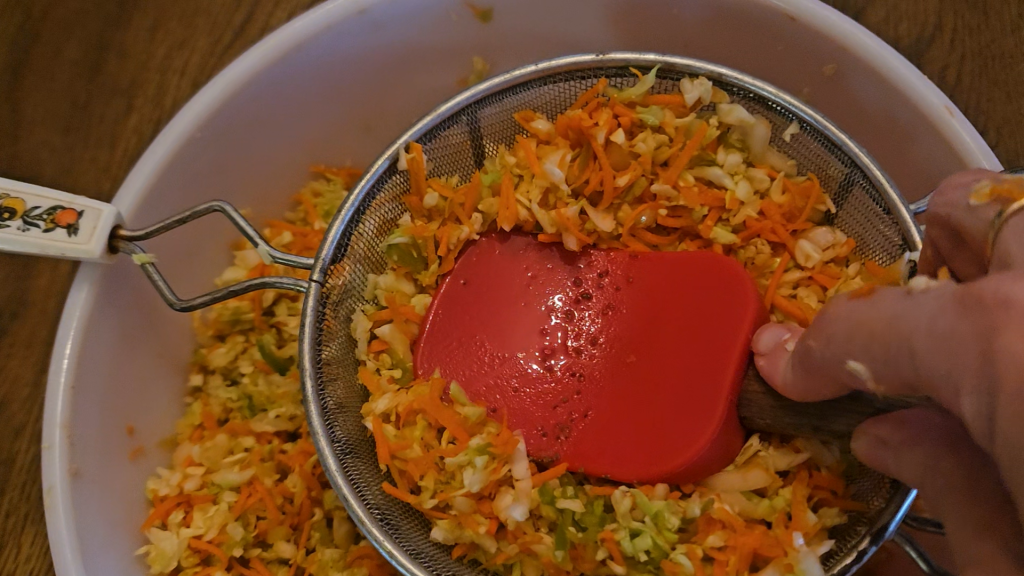
After waiting an hour, I put the vegetables into a sieve, and pressed with the back of a spatula to press out the liquid.
As I finished pressing the liquid out, I put the “pressed” coleslaw ingredients into a separate bowl.
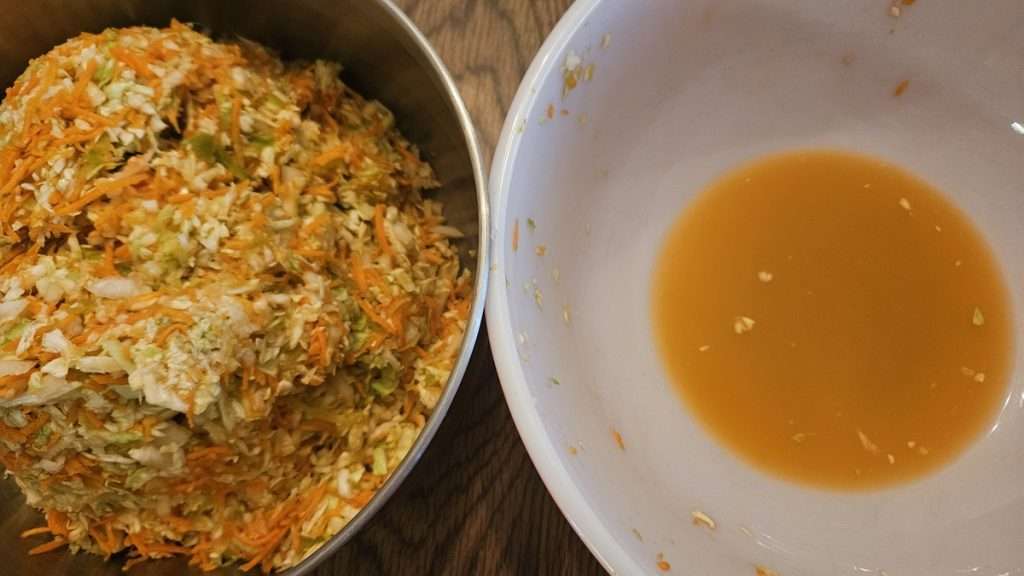
Step 4: Make the Coleslaw Dressing
The vinegar dressing is what gives coleslaw the characteristic mix of sweetness and zing. I combined sugar, spices, vinegar, and water in a saucepan, brought it to a boil, and let it simmer for a few minutes.
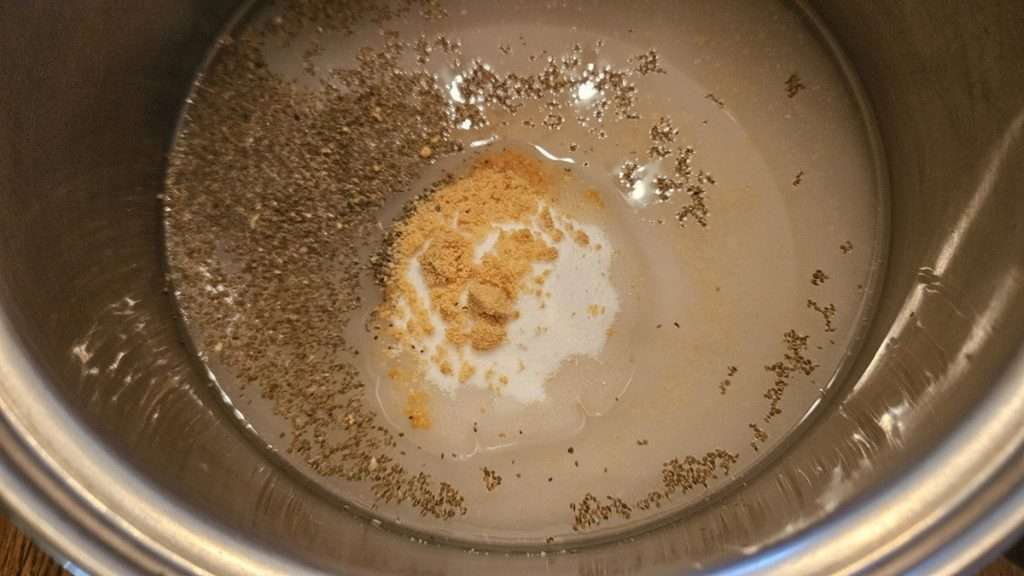
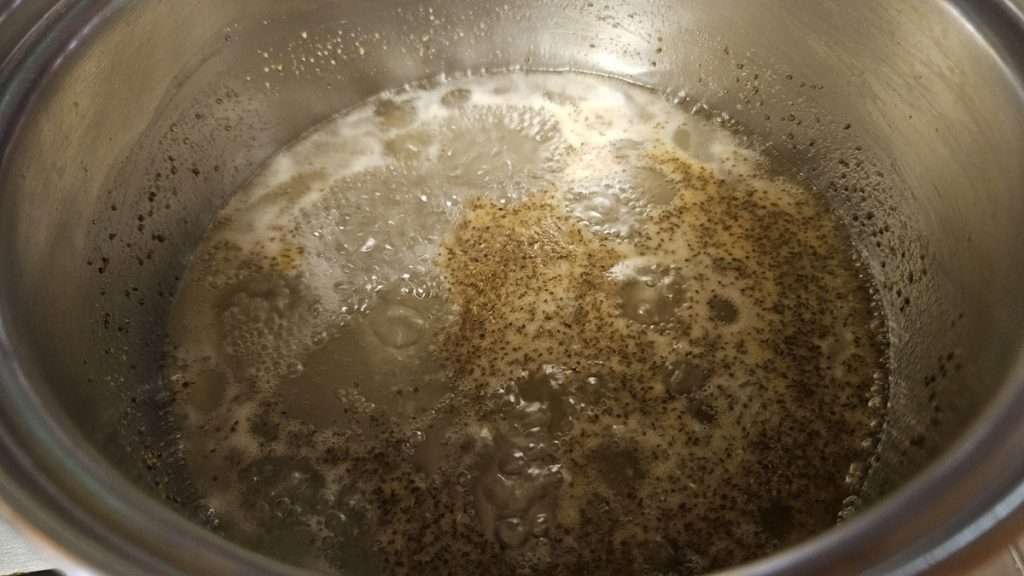
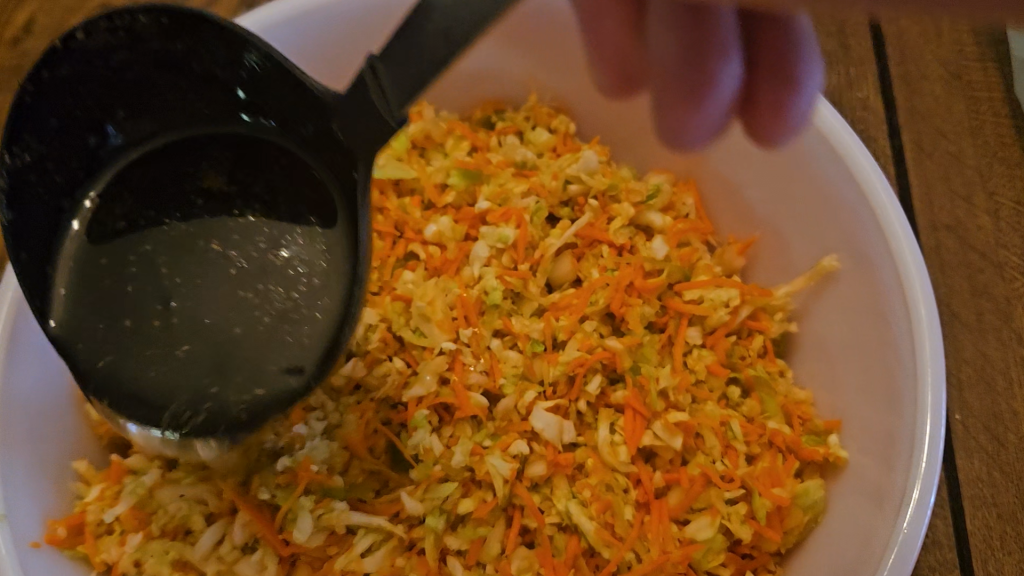
Then I ladled the hot dressing over the drained vegetables, mixed it all together, and let it sit for five minutes.
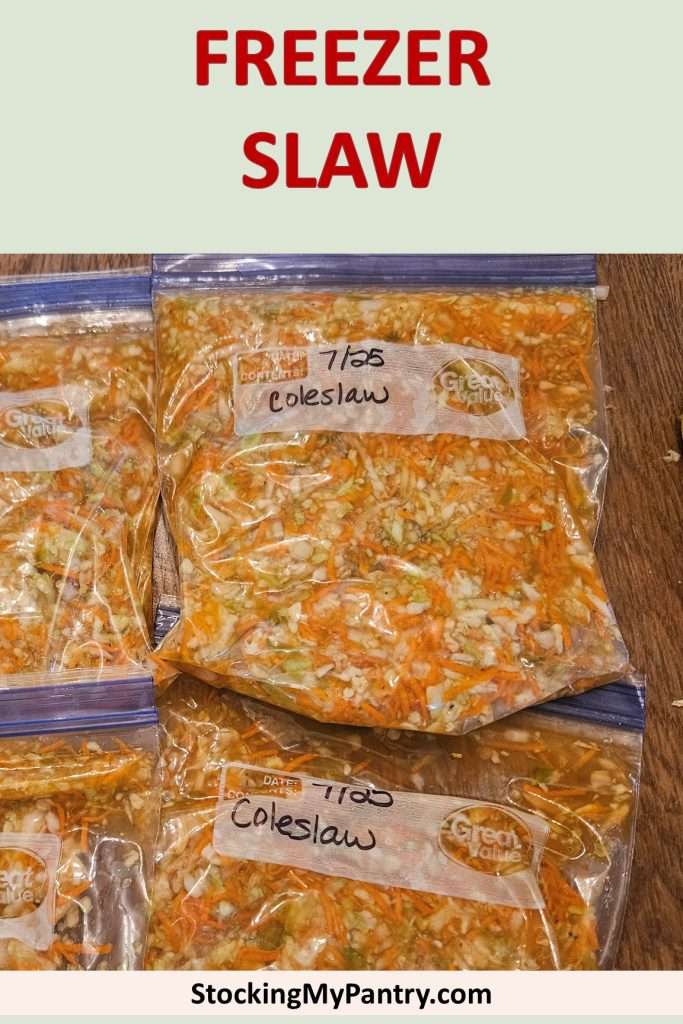
Step 5: Pack and Freeze the Slaw
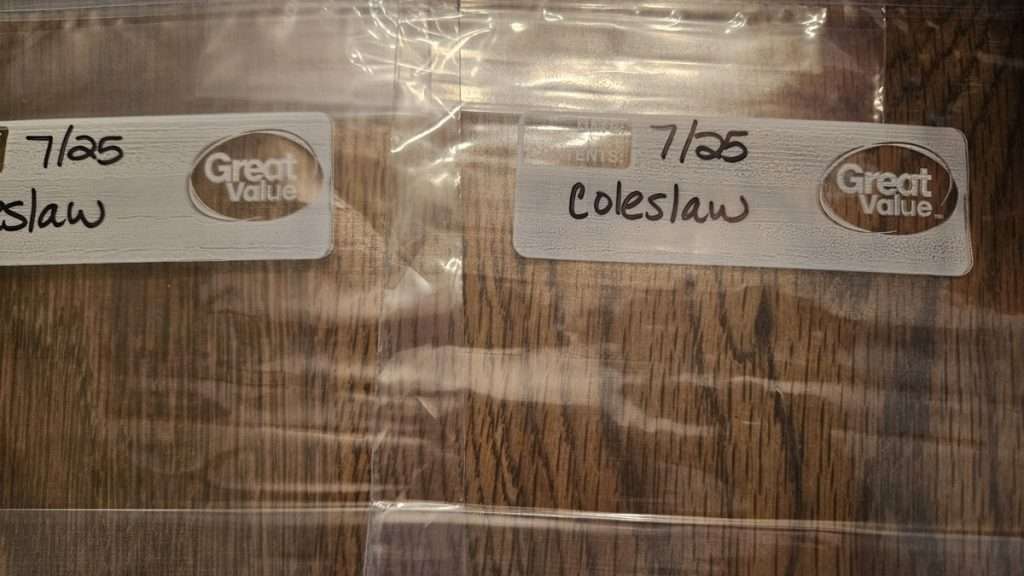
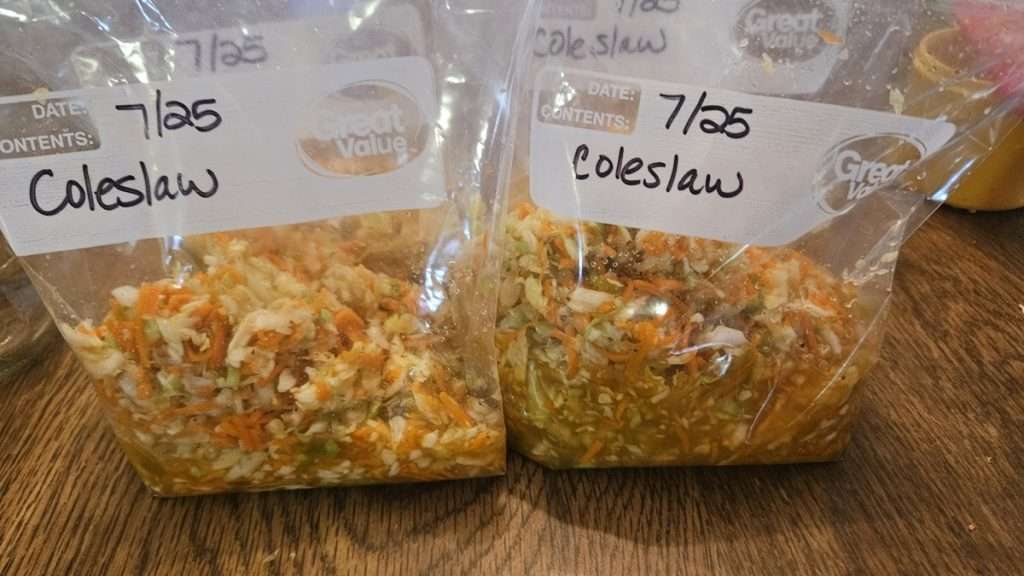
I always label my freezer bags before filling them — it’s so much easier when they’re flat and empty.
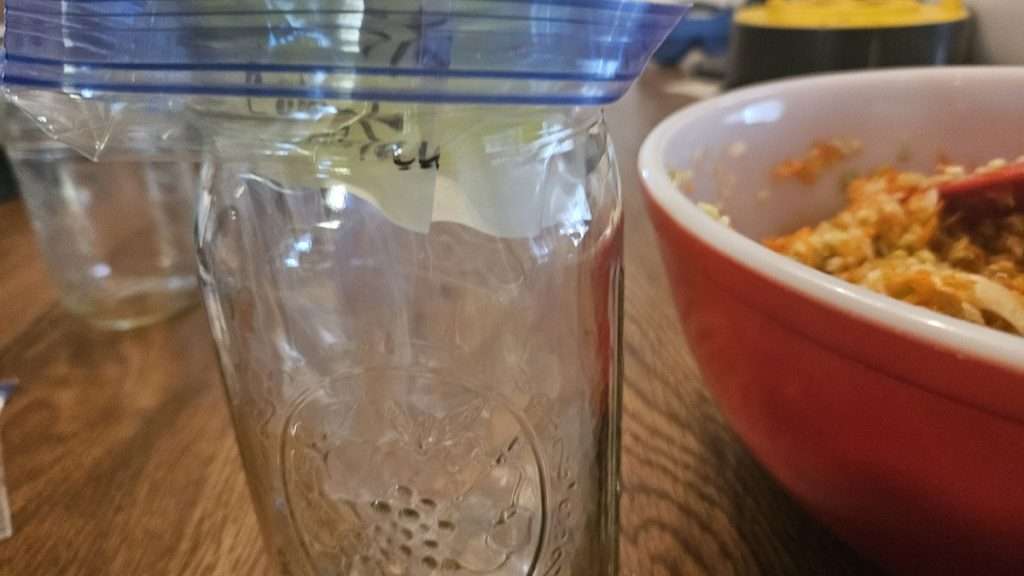
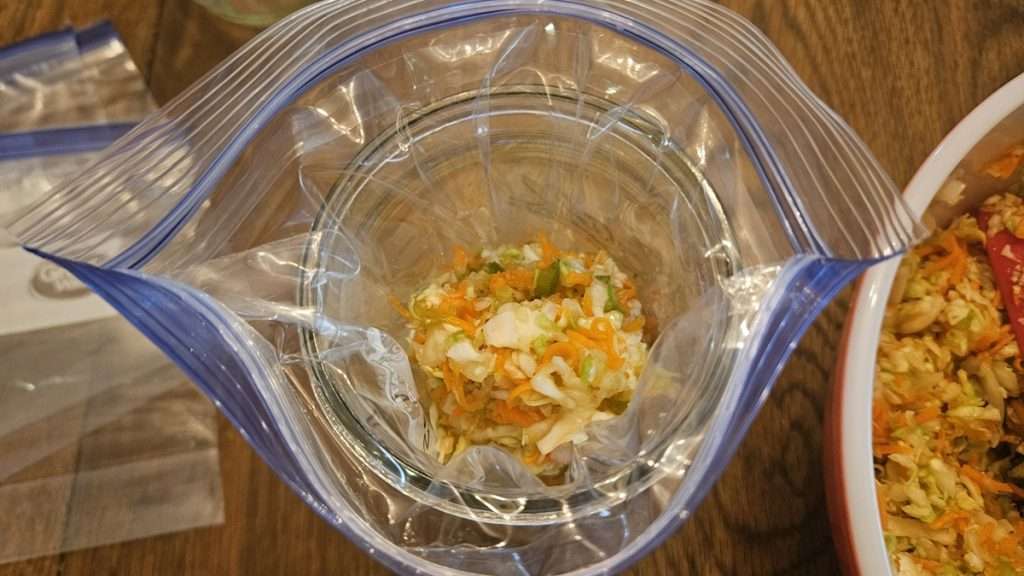
To make filling easier, I placed each bag inside a wide-mouth mason jar with the top folded over the rim.
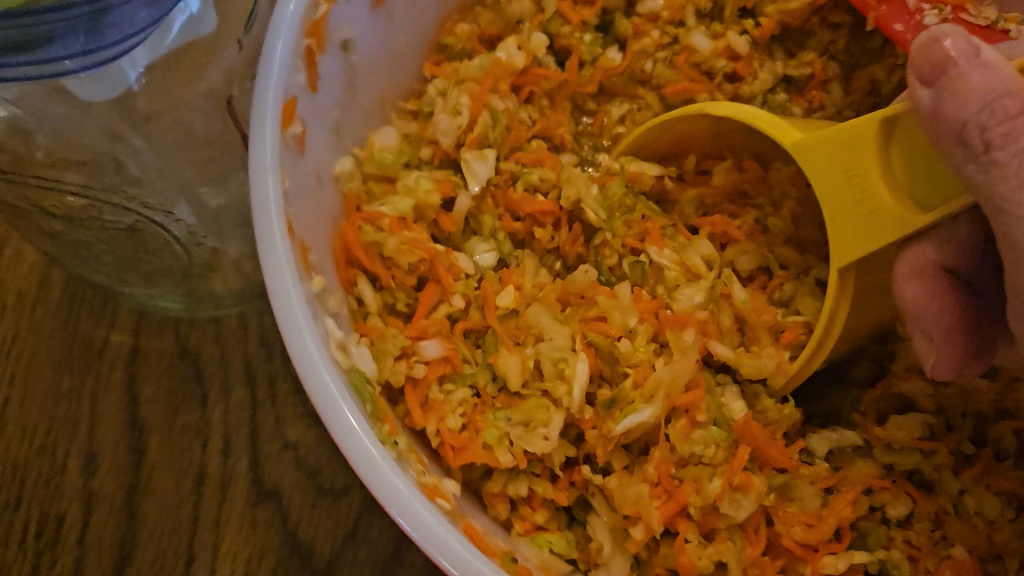
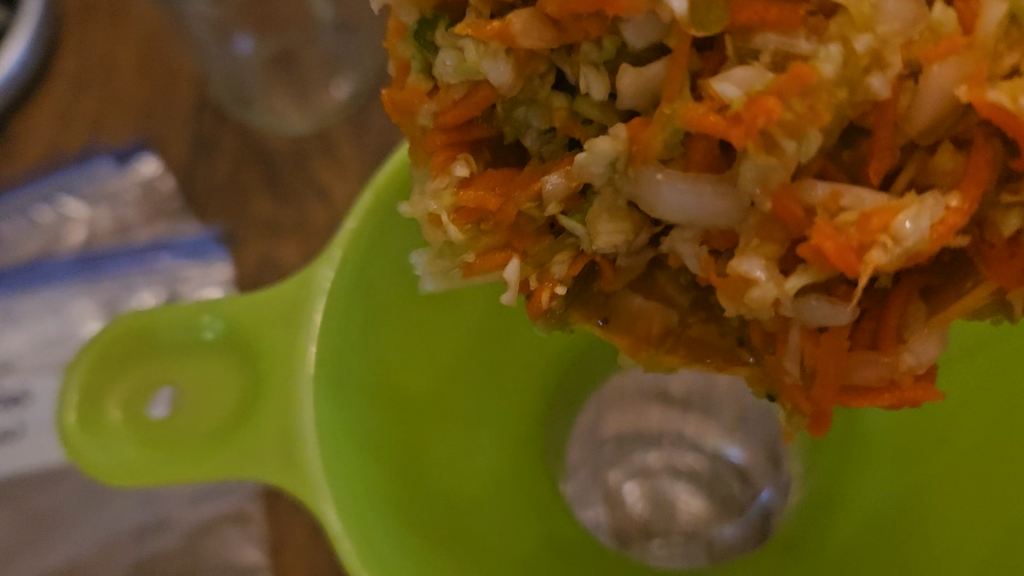
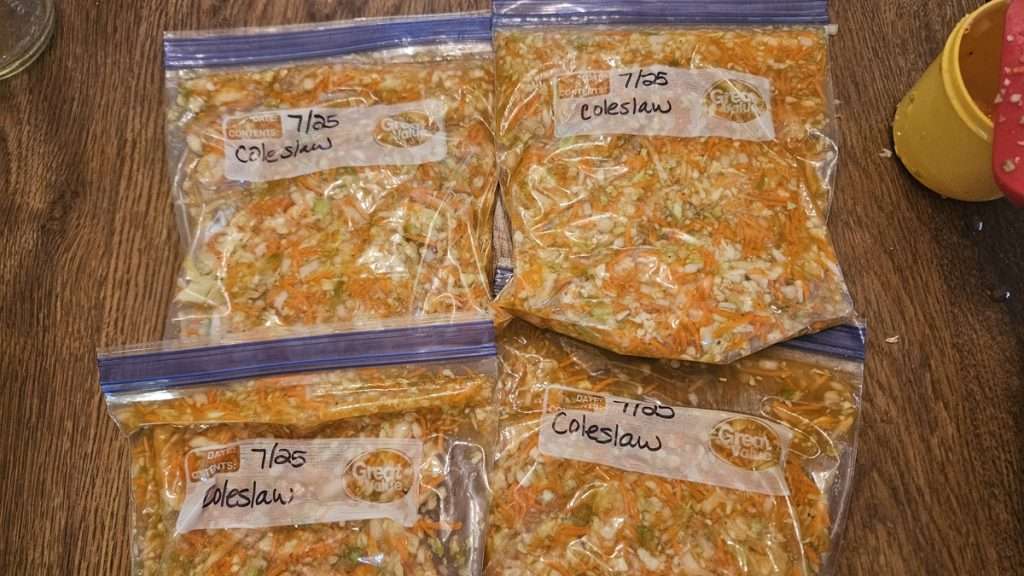
Once filled, I flattened the bags and pressed out the air. This makes them much easier to stack in the freezer.
Serving Freezer Slaw
When you’re ready to serve, thaw the slaw in the refrigerator overnight. Drain any extra liquid, then stir in mayonnaise. Do not freeze it with mayonnaise — it doesn’t freeze well and will ruin the texture.
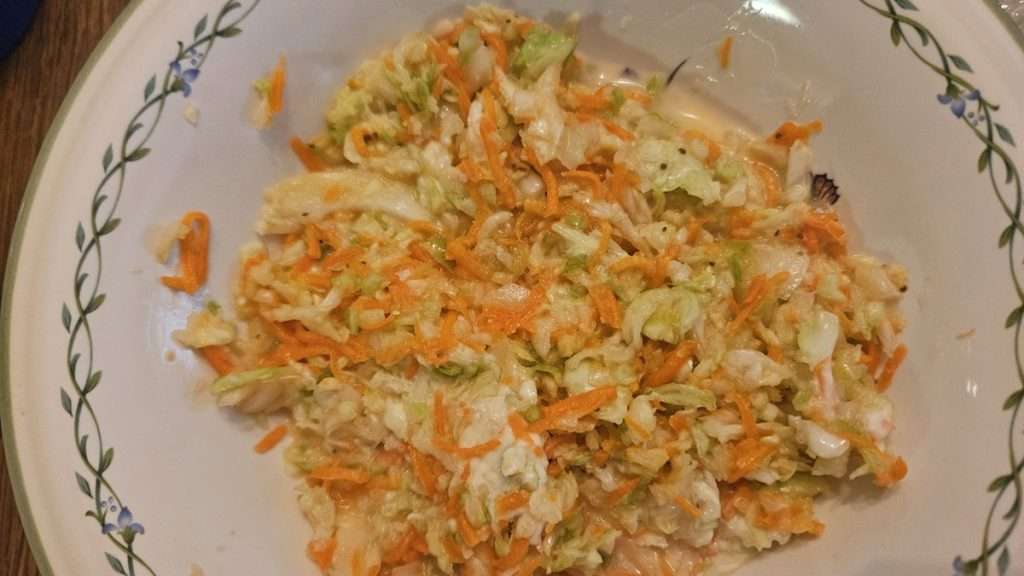
My family loved it so much that I plan to stock my freezer with other cabbage-based salads. Freezer salads are a great way to have fresh-tasting side dishes ready year-round.
Tips and Takeaways
- Don’t skip the salt step — it keeps your slaw from being soggy.
- Label first, fill later — so much easier than writing on full bags.
- Shred smart — cabbage and carrots shred great in the processor, but peppers are better diced by hand.
- Always add mayo last — after thawing.
Final Thoughts
If you’re looking for a crisp, refreshing freezer side dish, give freezer slaw a try. It’s an easy way to learn how to freeze coleslaw successfully without sacrificing crunch. Whether you serve it at a summer cookout or a winter dinner, this freezer salad is a time-saver that tastes surprisingly fresh.
Related Articles
If you enjoyed this article, you’re sure to enjoy these related articles.
- How to Freeze Breaded Zucchini for a Delicious Side Dish or Snack
- Freezing Green Beans and Tomatoes | Easy Freezer Side Dish
- Freezer Cherry Pie Filling
Pin it for Later
Print it for Later
Freezer Slaw (Make-Ahead Freezer Coleslaw)
This freezer slaw is a crisp, tangy side dish made from cabbage, carrots, peppers, and onion in a vinegar-based dressing. It freezes beautifully and is the perfect way to enjoy coleslaw anytime — just thaw, drain, and stir in mayonnaise before serving. Adapted from the Ball Blue Book Guide to Preserving, 38th edition.
Ingredients
- 2 pounds cabbage
- 1 large green bell pepper
- 3 medium carrots
- 1 medium onion (about ¾ cup chopped)
- 1 teaspoon salt
- 2 cups sugar
- 1 teaspoon dry mustard
- 1 teaspoon celery seed
- 1 cup white vinegar (5% acidity)
- ½ cup water
Instructions
- Wash cabbage, carrots, and bell pepper under cold running water. Remove outer cabbage leaves. Cut into quarters and remove the core. Peel carrots and onion.
- Shred cabbage and carrots. Dice the bell pepper (avoid shredding — it gets too watery). Chop onion.
- Combine vegetables in a large bowl and sprinkle with 1 teaspoon salt. Toss well and let sit for 1 hour to draw out excess liquid. Drain thoroughly.
- In a saucepan, combine sugar, mustard, celery seed, vinegar, and water. Bring to a boil and simmer for 3 minutes.
- Pour hot dressing over drained vegetables. Stir well and let sit for 5 minutes.
- Pack into labeled freezer bags or containers, leaving ½ inch of headspace. Flatten bags for easier storage. Freeze.
To serve: Thaw overnight in the refrigerator, drain excess liquid, and stir in mayonnaise just before serving.
Notes
💬 I’d love to hear from you!
Have you tried this yourself? Have a question or tip to share? Leave a comment below — your experience or question could help someone else, too!