

Sweet potatoes are a classic fall favorite and a beloved Thanksgiving side dish — but they’re delicious any time of the year. And while sweet potatoes store well in the pantry or root cellar, pressure canning them is still incredibly worthwhile. Home-canned sweet potatoes are already peeled, cooked, cubed, and perfectly seasoned, ready to use at a moment’s notice.
This article includes affiliate links.
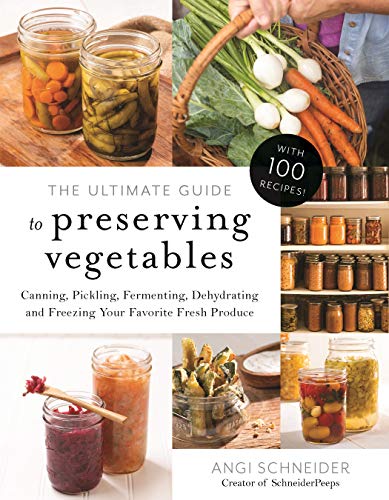
In this tutorial, I’ll walk you through how to can sweet potatoes in cinnamon syrup, using a recipe inspired by The Ultimate Guide to Preserving Vegetables (Amazon) by Angi Schneider (page 268). I made one small tweak to her process: instead of adding the sugar, lemon juice, salt, and cinnamon to my jars early in the process, I waited until after the sweet potatoes were peeled. This kept my heated jars from cooling down while I worked.
This recipe must be pressure canned, not water bath canned.
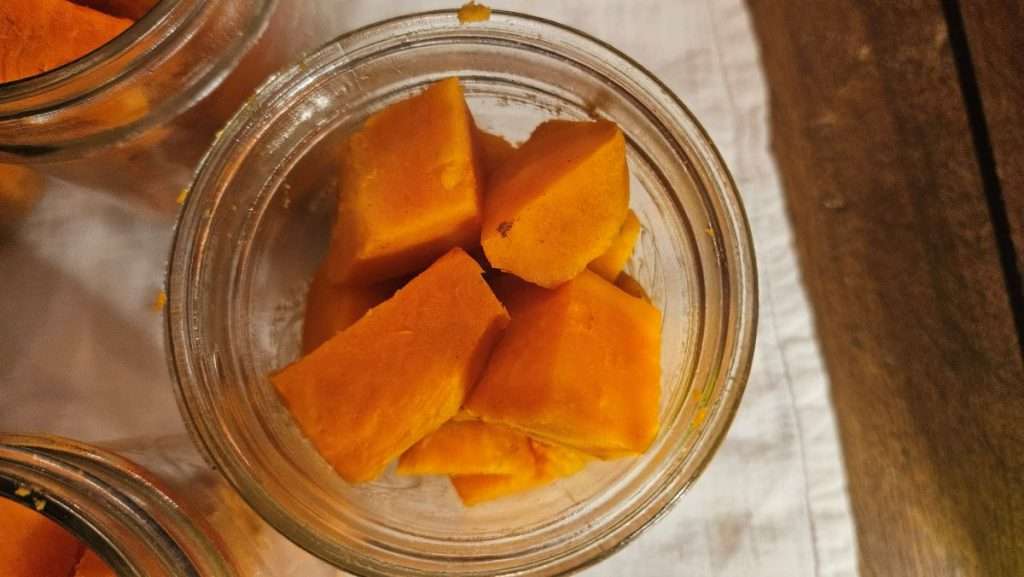
Why Can Sweet Potatoes?
Sweet potatoes store well fresh — but canned sweet potatoes offer advantages that raw storage can’t match:
- They’re shelf-stable for a year or longer, though quality may degrade after a year.
- They’re already cooked, which makes weeknight dinners faster.
- They’re seasoned and ready to heat and eat.
- They’re perfect for quick casseroles, lentil soups, bakes, and holiday dishes.
- Fall is the best time to buy sweet potatoes, when they’re freshest and most affordable.
Ingredients: Simple Pantry Staples That Let the Sweet Potatoes Shine
One of the things I love most about this recipe is how simple the ingredient list is. In fact, you’ll likely have everything on hand already — except for the sweet potatoes themselves. This recipe leans on basic pantry staples to create a lightly sweet, warmly spiced syrup that enhances the natural flavor of the sweet potatoes without overpowering them. Here’s a quick look at what each ingredient brings to the jars.
- Sweet Potatoes
Sweet potatoes are the star of the show, of course. Their natural sweetness and creamy texture make them ideal for canning, especially when paired with warm spices. Choose firm, smooth sweet potatoes without sprouts or soft spots. - Sugar
A little sugar helps balance the flavor of the sweet potatoes and creates a simple syrup right in the jar. It enhances the natural sweetness but doesn’t make the final product overly sugary. Sugar also plays a role in improving texture during storage, helping the cubes hold up beautifully on the shelf. - Lemon Juice
Lemon juice adds brightness and helps preserve color, keeping the sweet potatoes vibrant instead of dulling during processing. It also provides just the right amount of acidity to balance the richness and sweetness of the potatoes. - Salt
Salt may not seem essential in a sweet-leaning recipe like this, but it absolutely is. Just a small amount enhances the overall flavor, brings out the natural sweetness of the potatoes, and rounds out the warm spices. It doesn’t make the jars taste salty — it simply elevates everything else. - Ground Cinnamon
Cinnamon is what transforms this from a basic canned vegetable into a comforting, ready-to-use holiday-style side dish. It adds warmth and depth, making the sweet potatoes perfect for everything from casseroles to baked goods to quick weeknight meals.
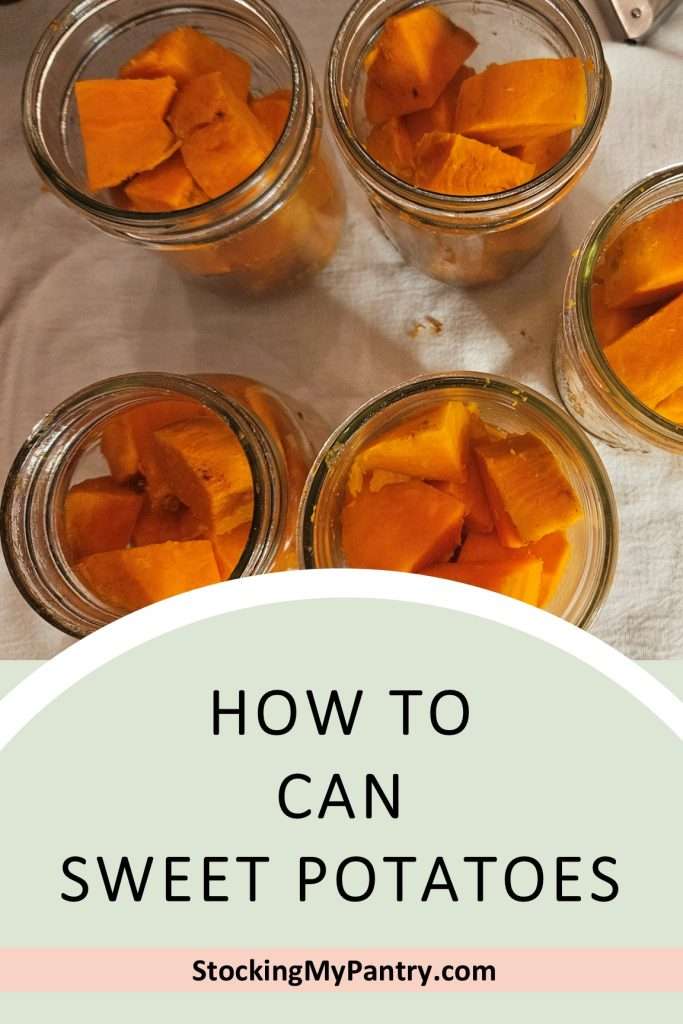
Equipment You’ll Need
Here’s the equipment you’ll need – all of it available on Amazon.
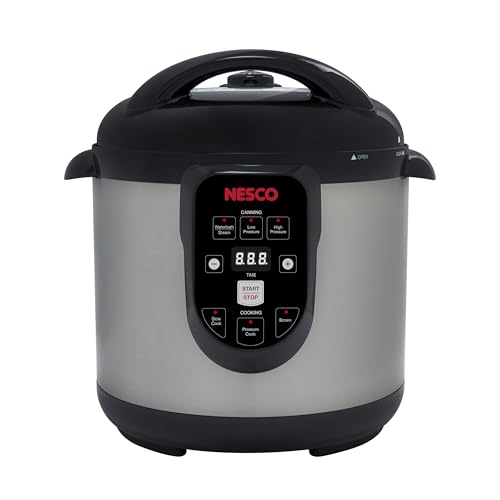
- Pressure canner (I used my Nesco Smart Canner)
- 5 pint-size canning jars (4 wide-mouth + 1 regular-mouth works beautifully)
- Jar lifter
- Debubbling/headspace tool
- Vinegar and paper towel
- Large pot for par-cooking sweet potatoes
- Tongs
- Cutting board and knife
How to Can Sweet Potatoes in Cinnamon Syrup
Now, without further ado, let’s get into how to can sweet potatoes in a delicious cinnamon syrup!
Prepare Your Canner and Jars
Before I even start prepping the sweet potatoes for canning, I like to heat my jars and water. If, like me, you are using the Nesco canner, I have instructions for doing that in this blog post, How to Heat Jars in the Nesco Canner.
If you are using another type of canner, place the canning rack in the bottom of the canner, and add a few inches of water. (The manual for your canner should tell you how much water to add.)
Put five pint jars into the canner, and heat until the water is approximately 180 degrees Fahrenheit. Once the water is heated, keep the lid on and the jars in the canner so they will stay warm until you’re ready for them.
Gather All of Your Ingredients
While the jars and water are heating, you’ll have plenty of time to gather all of your ingredients.
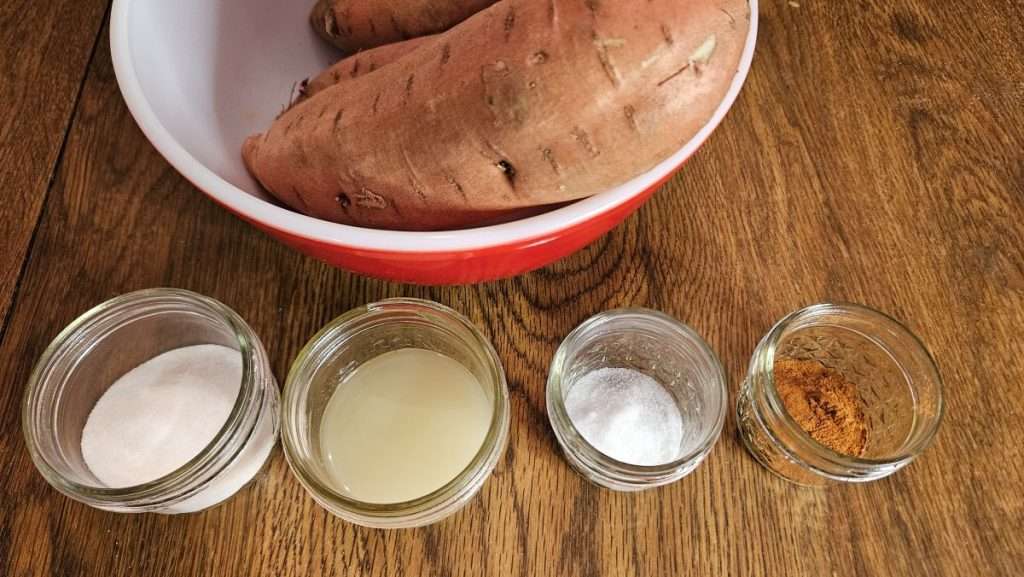
Above you can see the simple ingredients needed for canning sweet potatoes. From left to right is sugar, lemon juice, salt, and cinnamon. And of course you need sweet potatoes!
Par-Cook the Sweet Potatoes
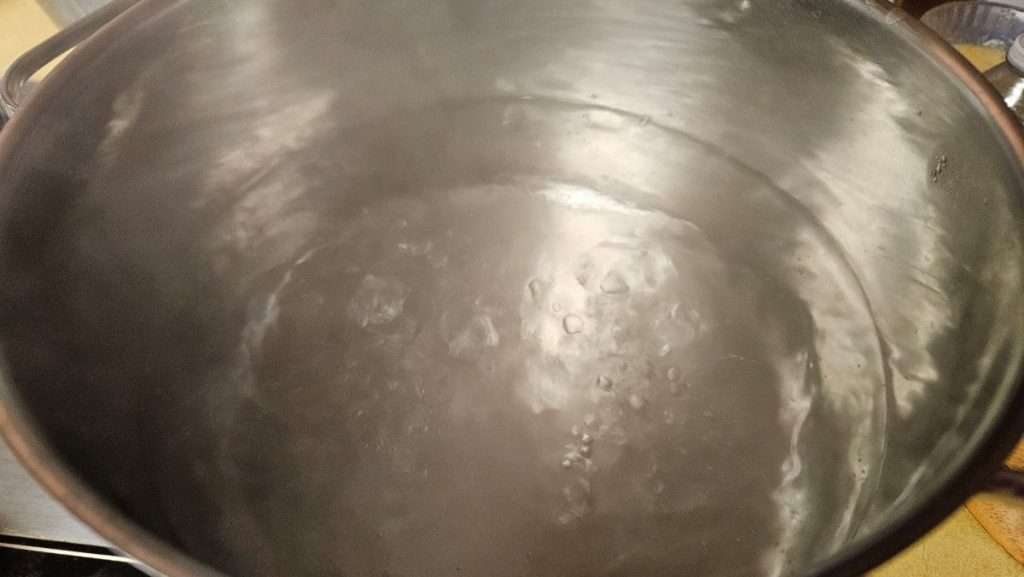
To prepare the sweet potatoes, fill a large pot about halfway with water and bring it to a full boil. Once the water is bubbling, add the whole, unpeeled sweet potatoes and let them cook until they’re just tender enough to peel easily—usually about 15 to 20 minutes. You don’t want them fully cooked at this stage; they should still feel quite firm in the center. Par-cooking them like this makes peeling much easier while still allowing the cubes to hold their shape during canning.
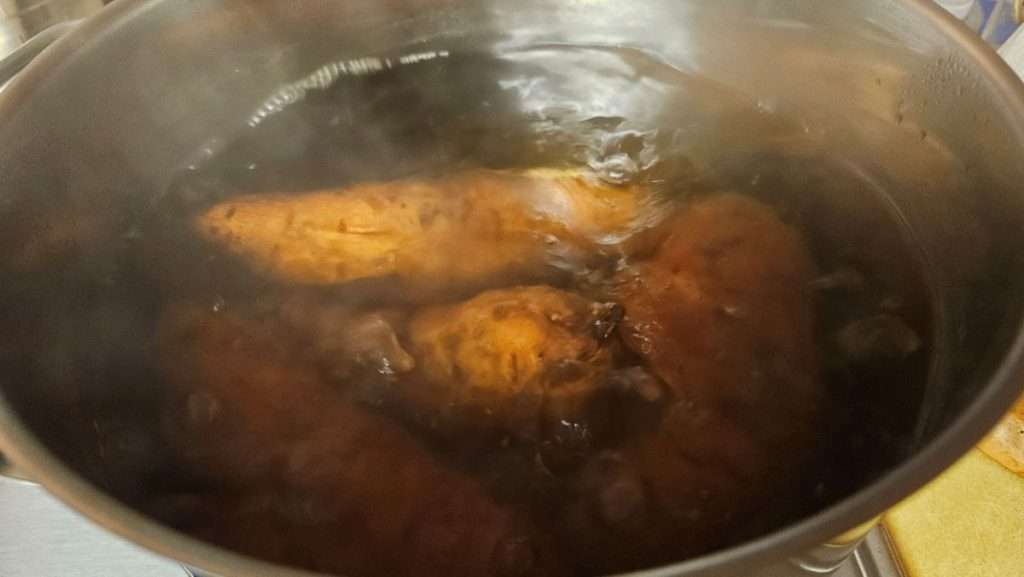
Allow the sweet potatoes to cool until they are just cool enough to handle. (You still want them warm when you put them into the jars.)
Add All Ingredients (except sweet potatoes) to the Jars
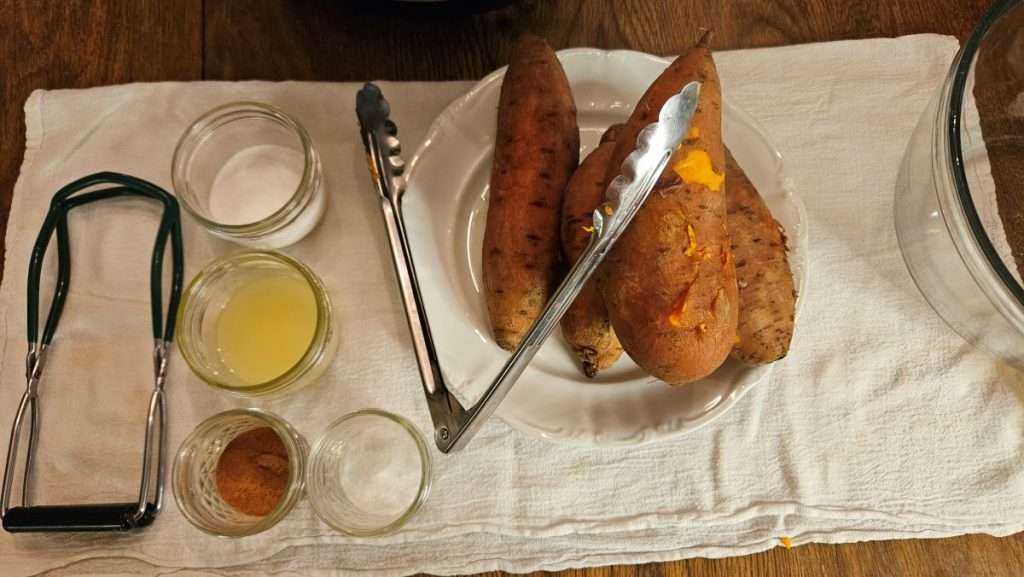
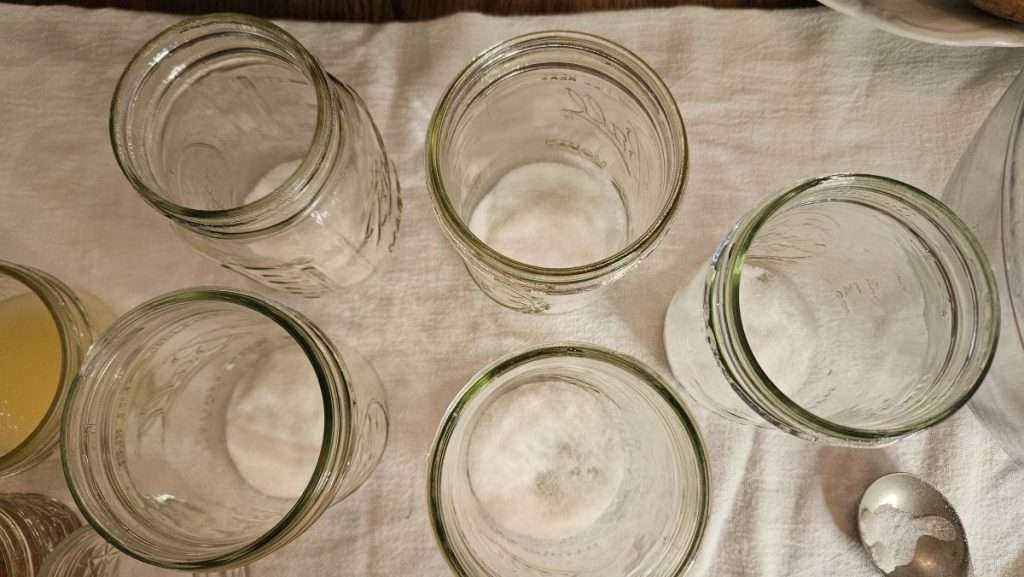
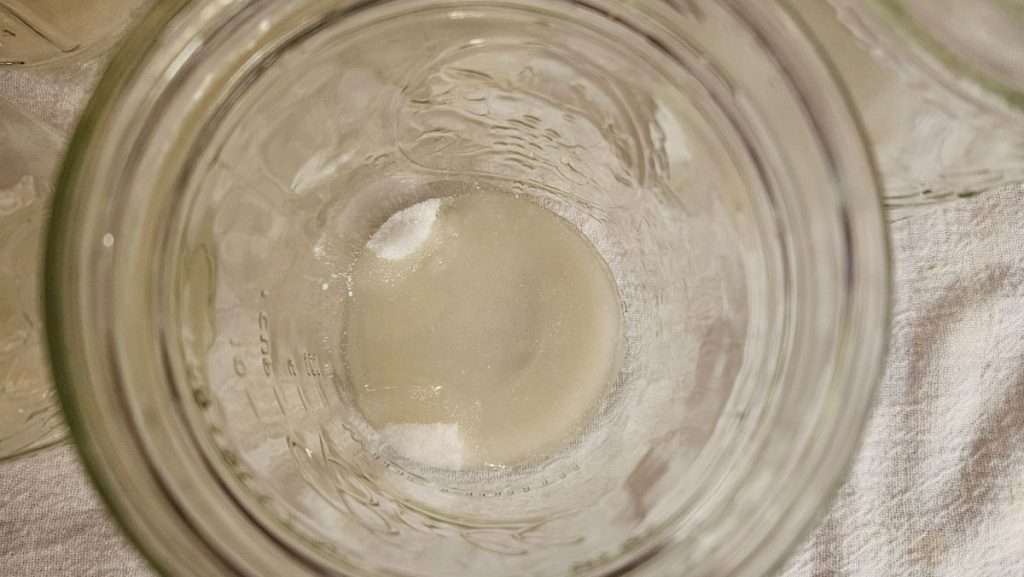
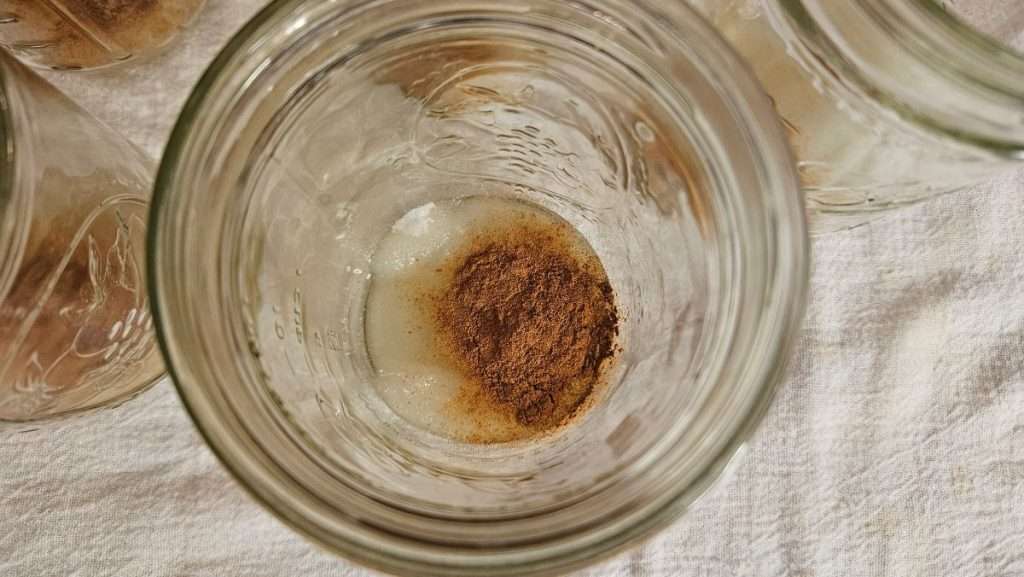
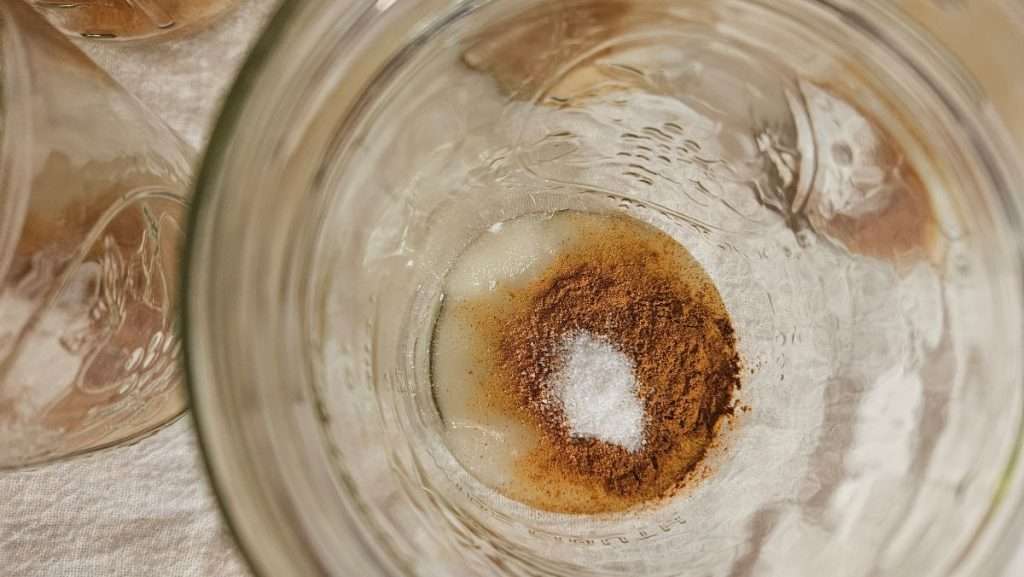
While you’re waiting for the sweet potatoes to cool enough to handle, you’ll want to put the other ingredients into the jars. It doesn’t really matter what order you add them to the jars, but here’s what I did. I first put in the sugar, then lemon juice, then cinnamon, then salt.
Peel and Cube the Sweet Potatoes
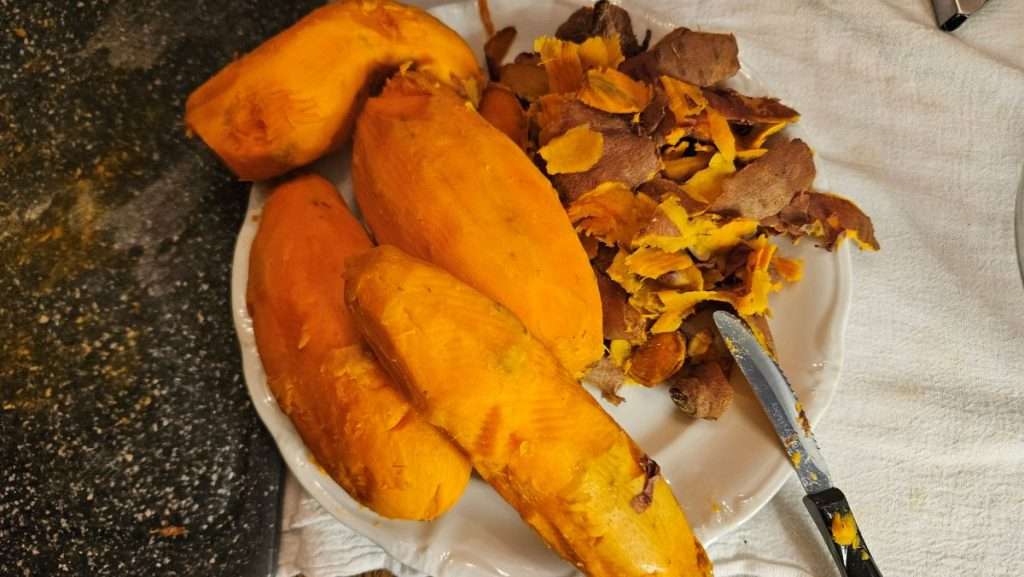
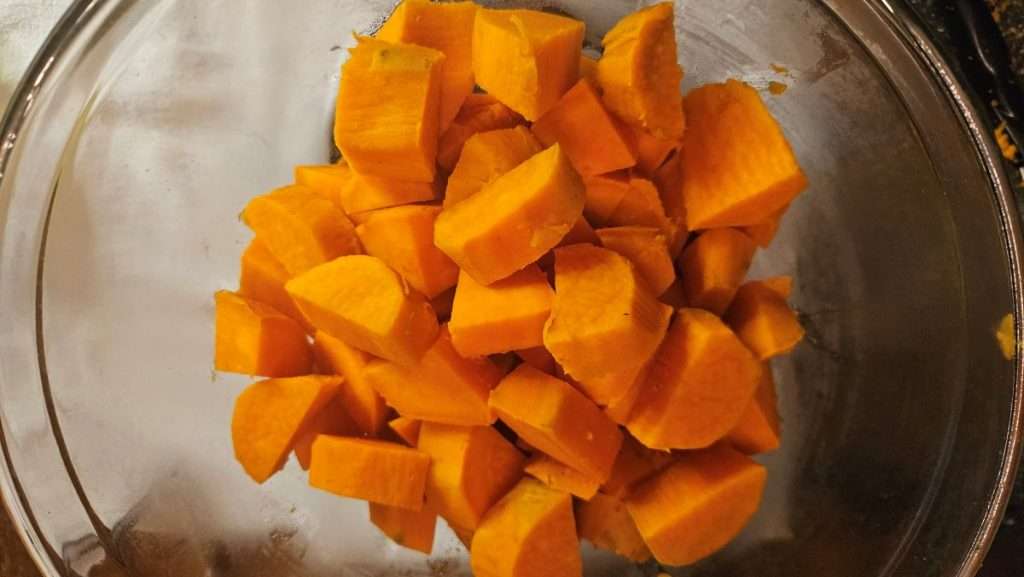
By now the sweet potatoes, while still hot, should be cool enough to handle. Peel them, and cut off any bad spots. Then cut them into 1″ cubes.
Fill Pint Sized Canning Jars with Sweet Potatoes
Fill each jar with sweet potato cubes, leaving 1 inch of headspace.
Pour in boiling water up to 1″ headspace.
Debubble the jars, and then add more water if needed to bring the water up to 1″ headspace.
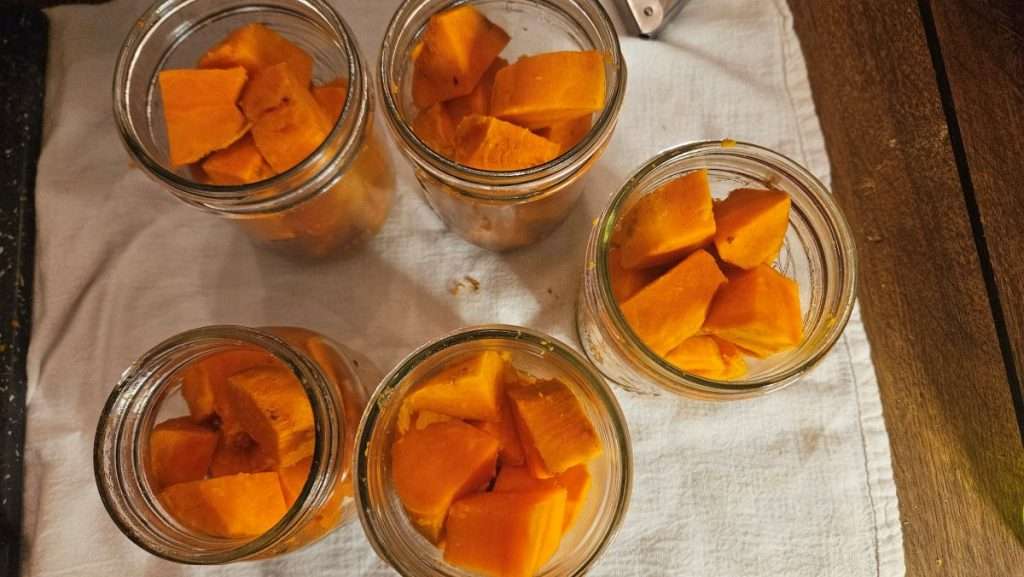
Pour boiling water into each jar to cover the sweet potatoes while still maintaining 1″ headspace.
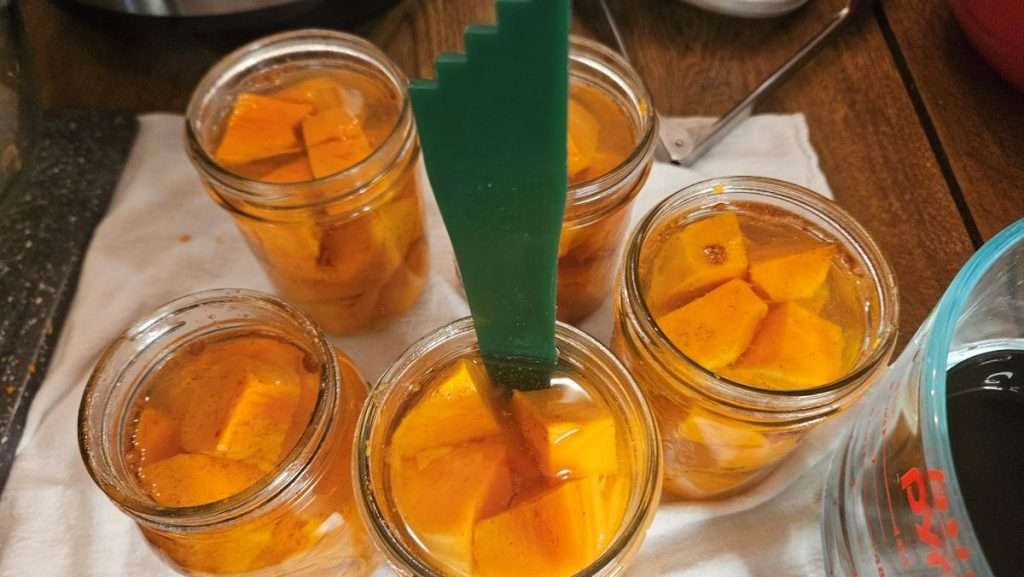
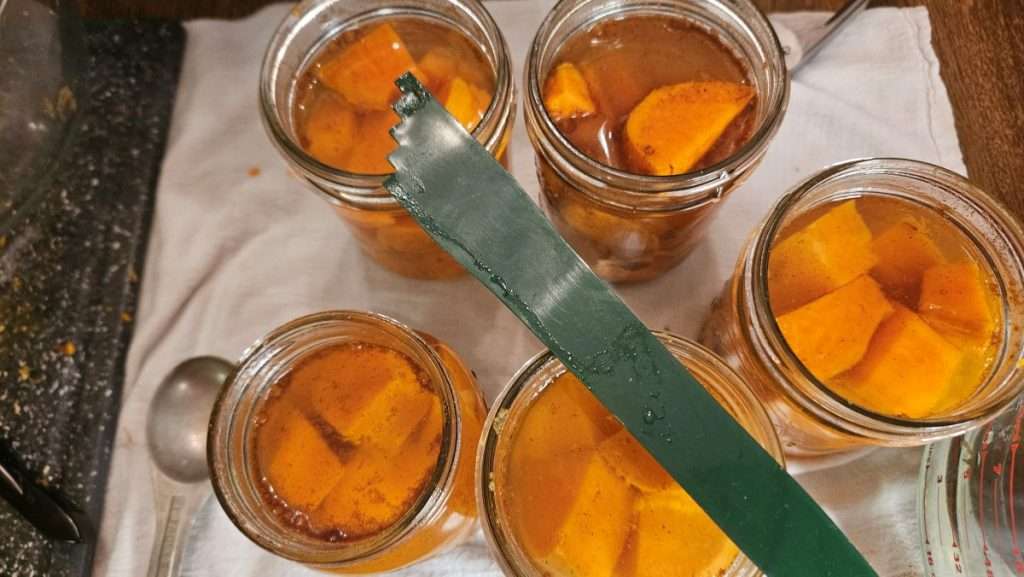
After debubbling, check the headspace again and if it’s less than 1″, add enough boiling water to bring it back up to 1″.
Clean Rims and Add Lids and Rings
Wipe rims with a paper towel or cloth dipped in vinegar to remove any bits of residue from the rims. Doing so helps to ensure that the jars seal properly.
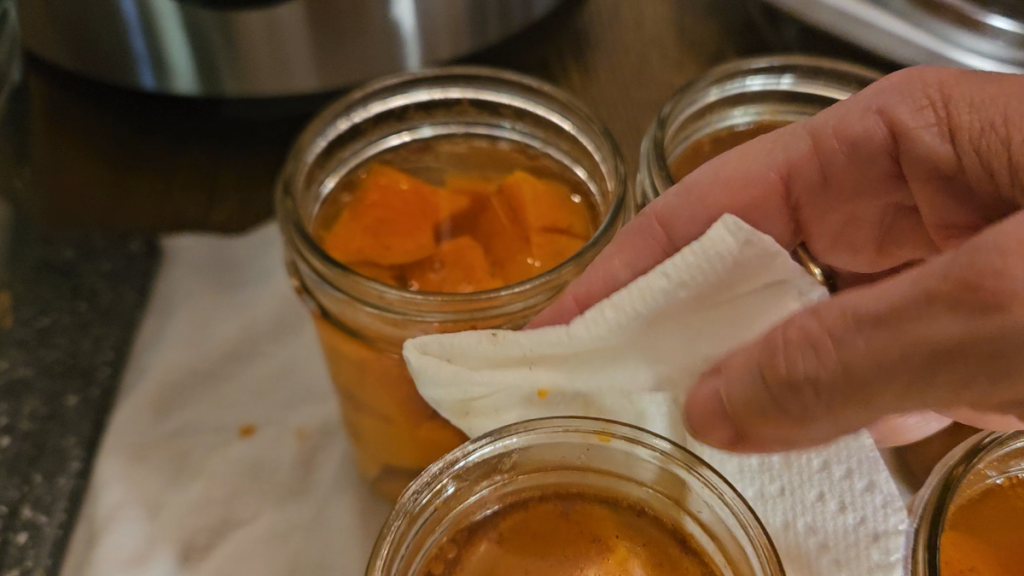
Add the lids on each jar.
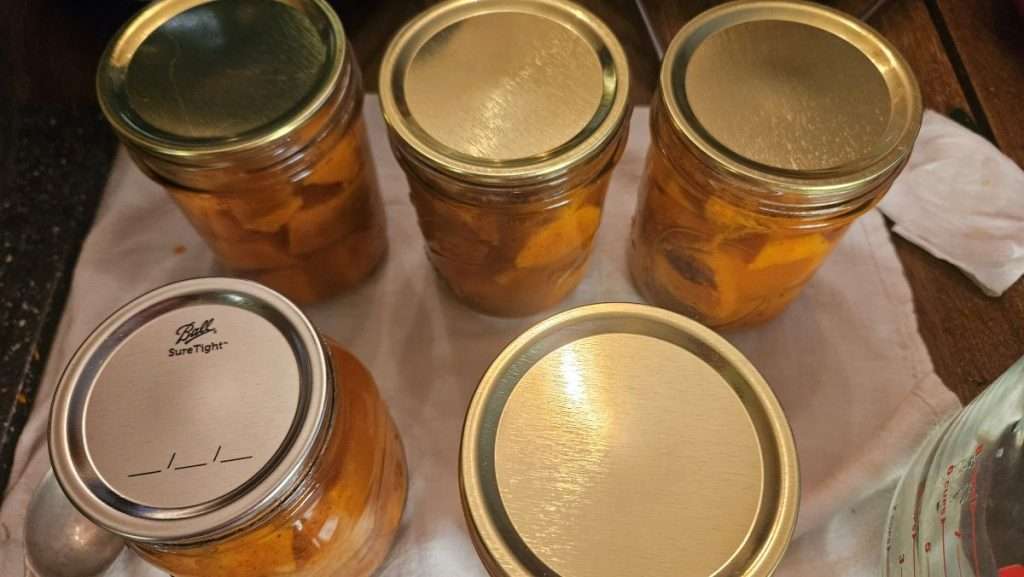
Put the rings on, fingertip tight.
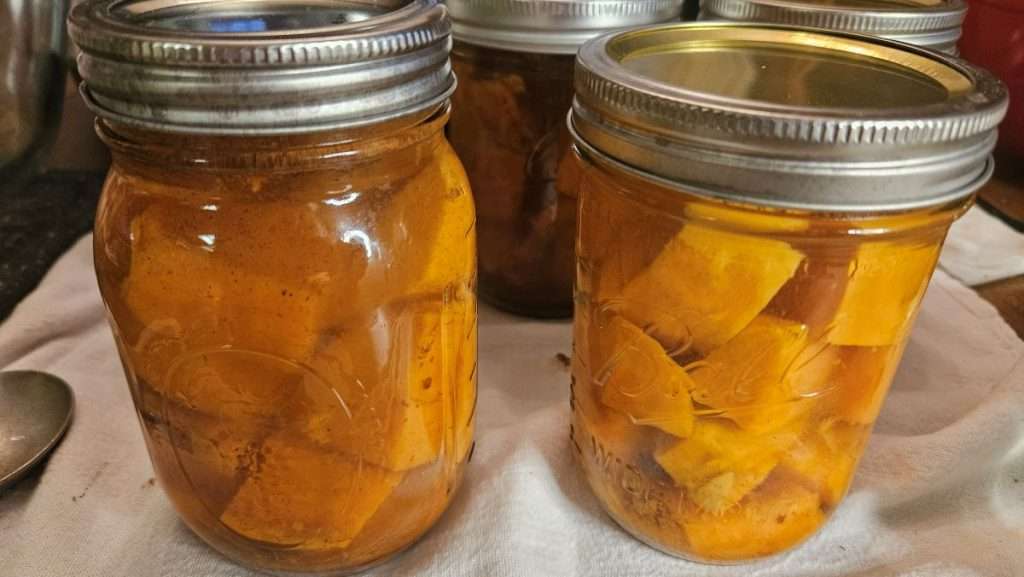
Load the Canner and Start the Canning Process
Now it’s time to put the jars into the canner and do the actual canning.
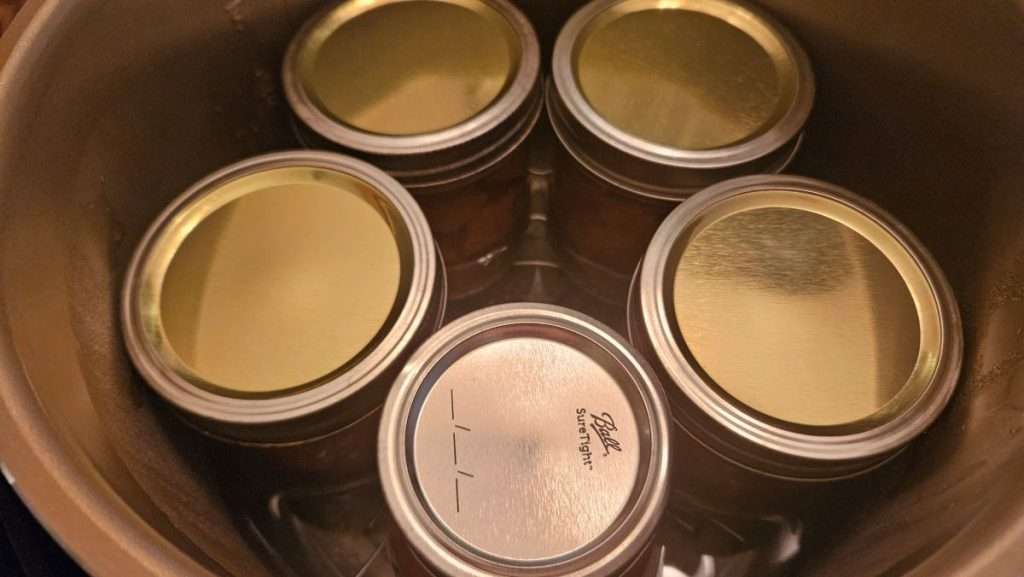
I’m using my Nesco canner, so I’ll give you instructions for that. If you are using another type of canner, be sure to follow the instructions in the manual that came with your canner.
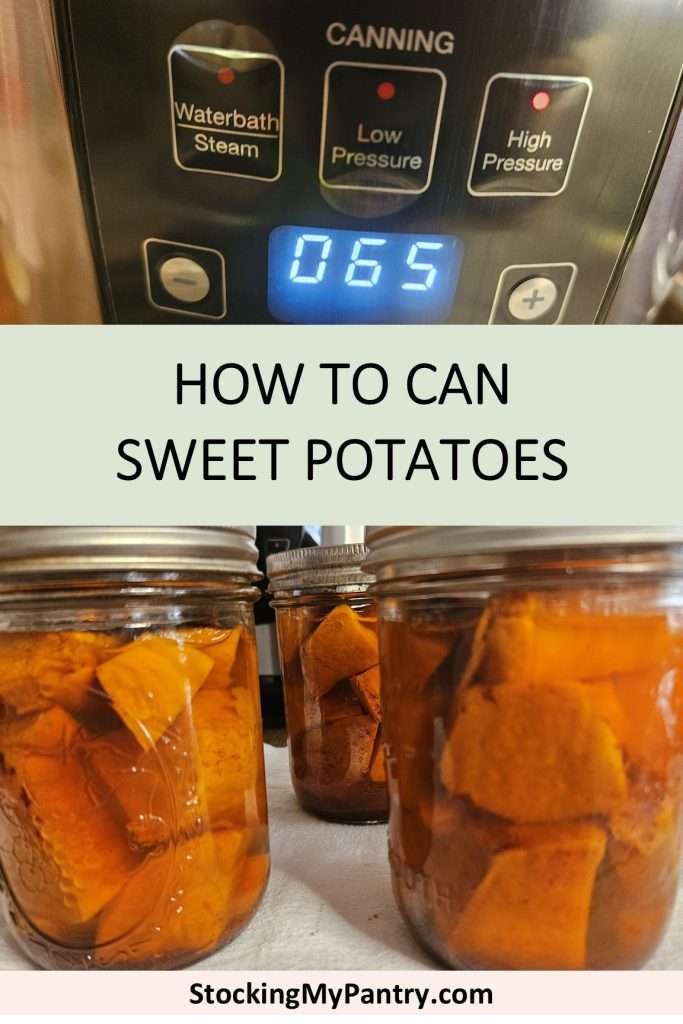
First, this is a pressure canning recipe, so you’ll select the HIGH PRESSURE button.
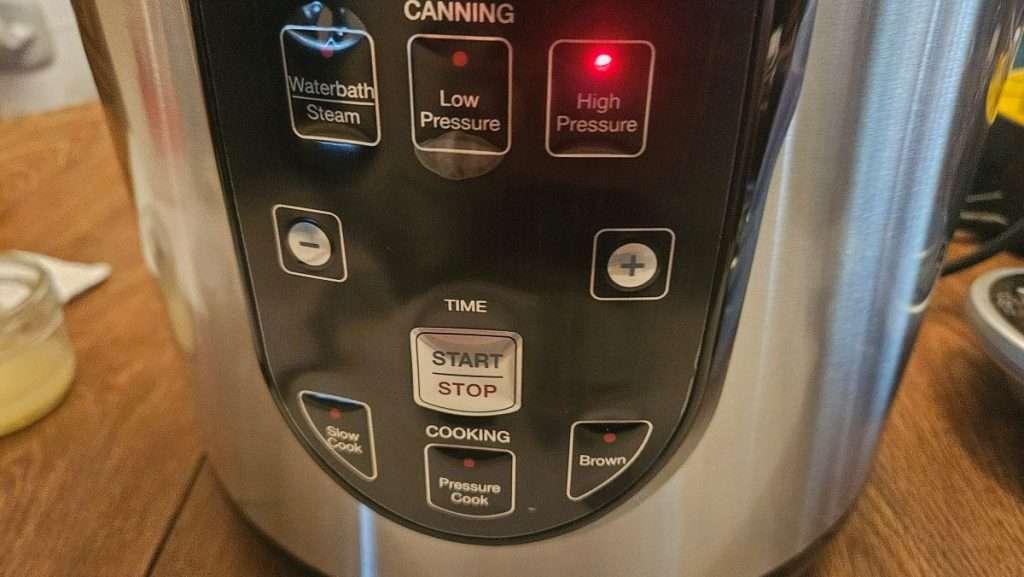
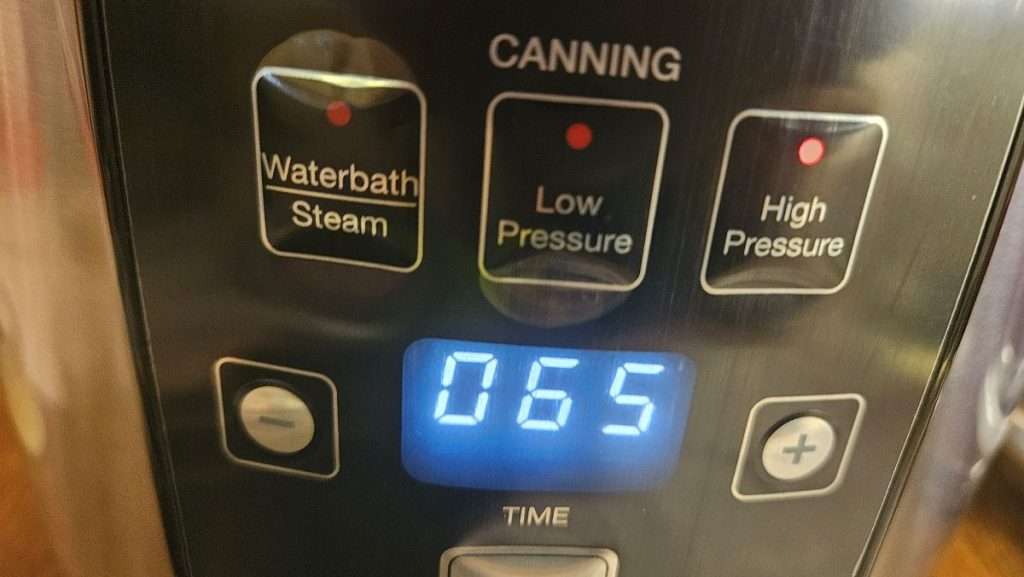
Set the time to 65 minutes for pint jars. Note that this recipe did not include instructions for quarts, so I recommend using pint jars or smaller. (However, at the end of this article I give you instructions for canning sweet potatoes in quarts.)
Vent the Canner (Important!)
Next, regardless of the type of pressure canner you’re using, you’ll want to vent the canner for 10 minutes.
When using the Nesco canner, start with the weight set on the Exhaust position. Note that I’m using the green weight for my canner, because I’m at an elevation that is over 1,000 feet. If you are 1,000 feet or lower, use the black weight.
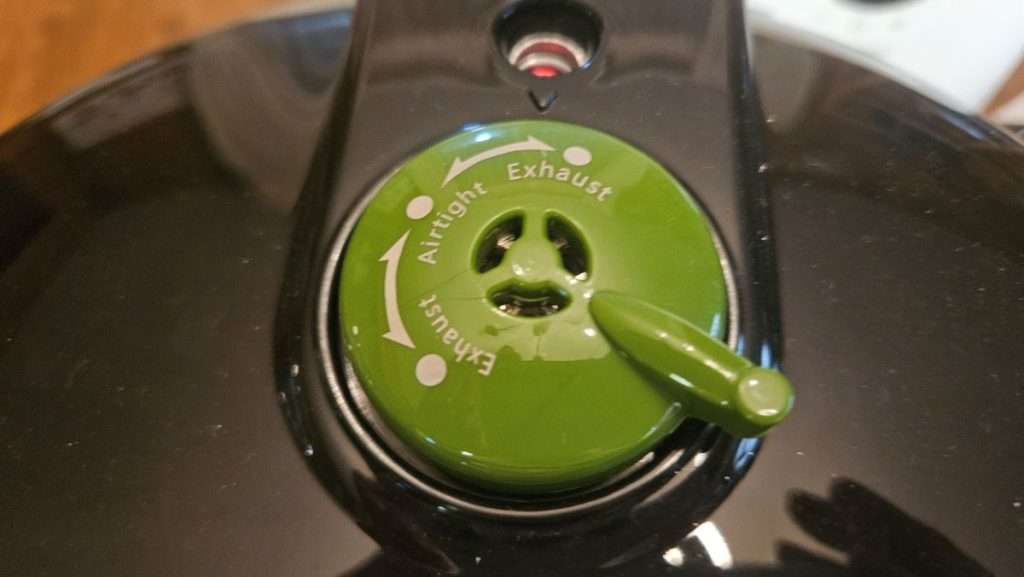
The canner will detect venting and show E10.
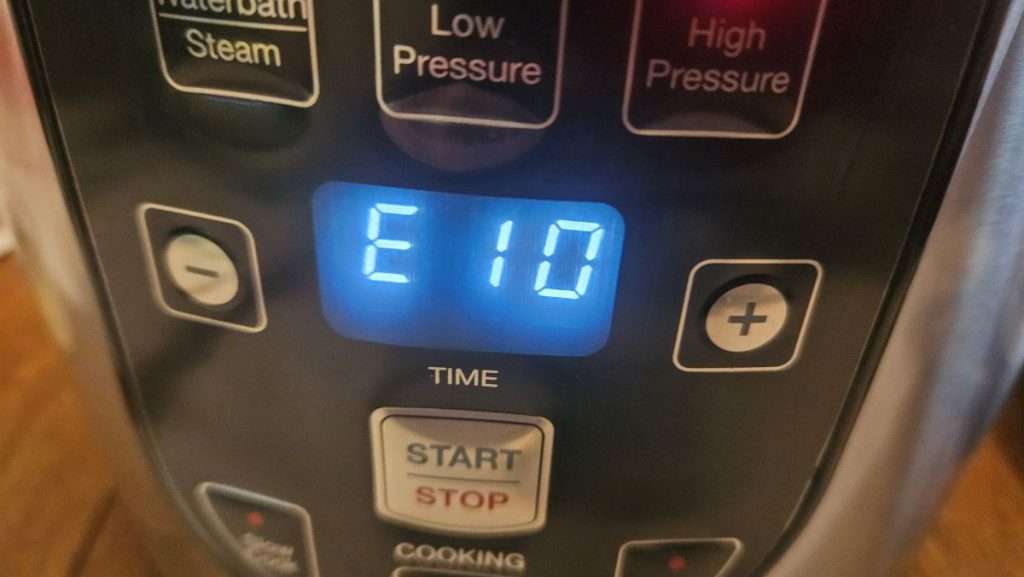
After venting is complete, it will show E0.
If you are using another type of canner, once there is a good, strong, steady stream of steam, set a timer for 10 minutes.
After the timer counts down to 0, set the pressure weight to the airtight position (or if using another type of canner, put on the weight at this point).
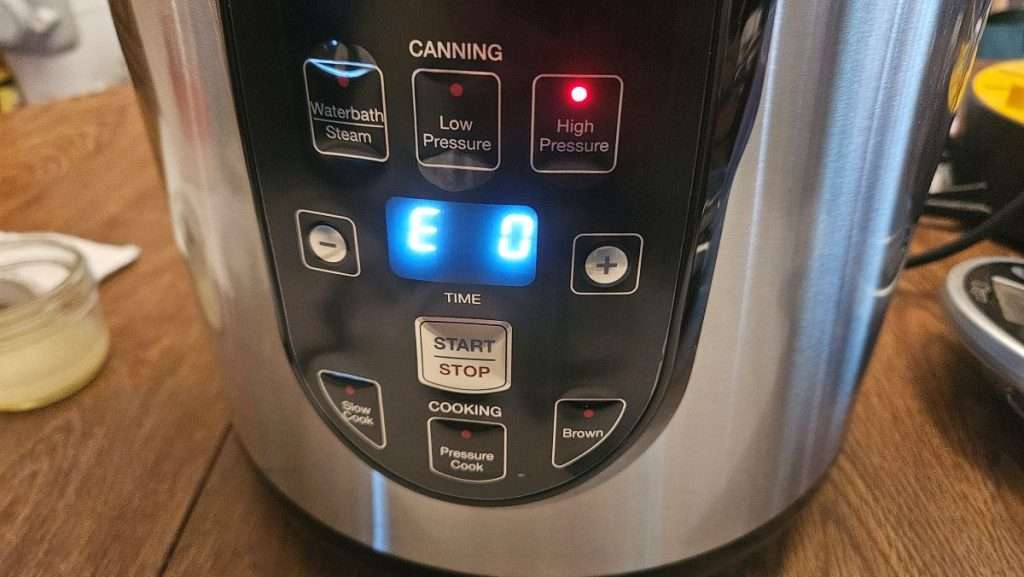
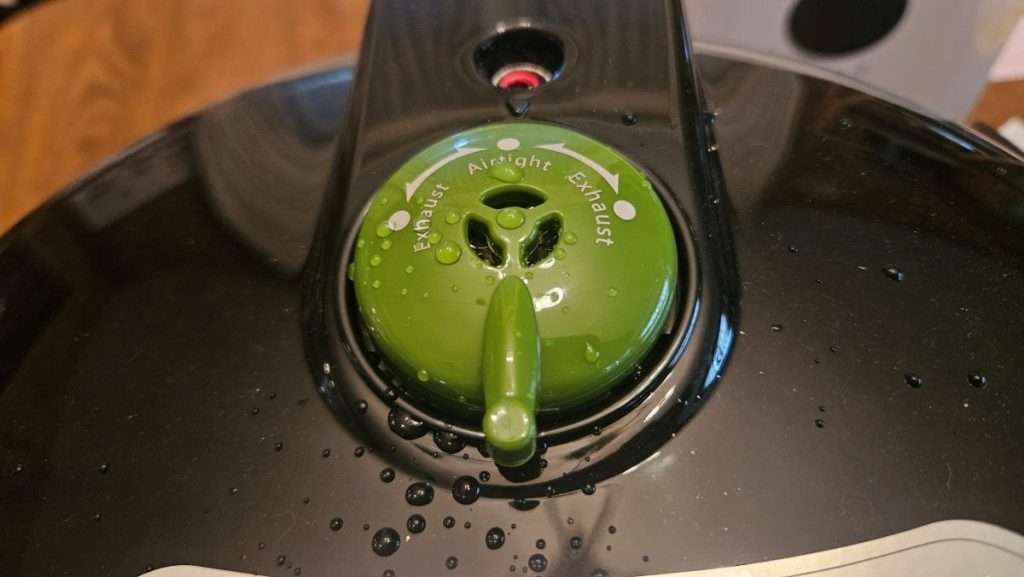
On the Nesco canner you’ll see the “digital chase” while pressure builds. In a regular stovetop canner, you’ll be waiting for the weight to start rocking.
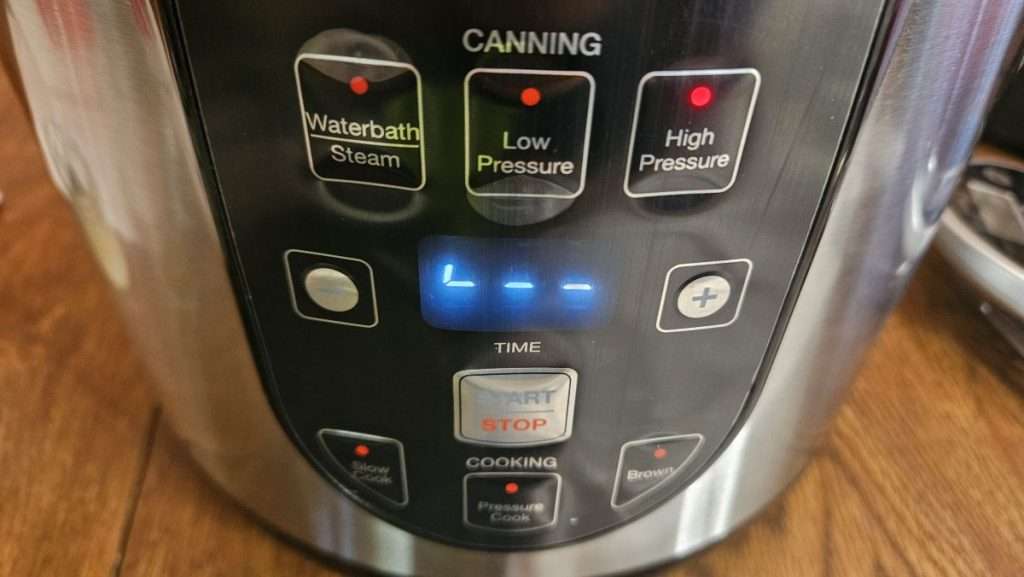
Once enough pressure builds, the display on the Nesco will show 65 minutes. The canner will count down automatically. If using another type of canner, set a timer for 65 minutes.
Let Pressure Release Naturally
When processing is done, the canner will beep. Let pressure return to zero naturally — do not force cool or do anything to try to speed it up.
Remove jars carefully and place them on a towel to cool 12–24 hours.
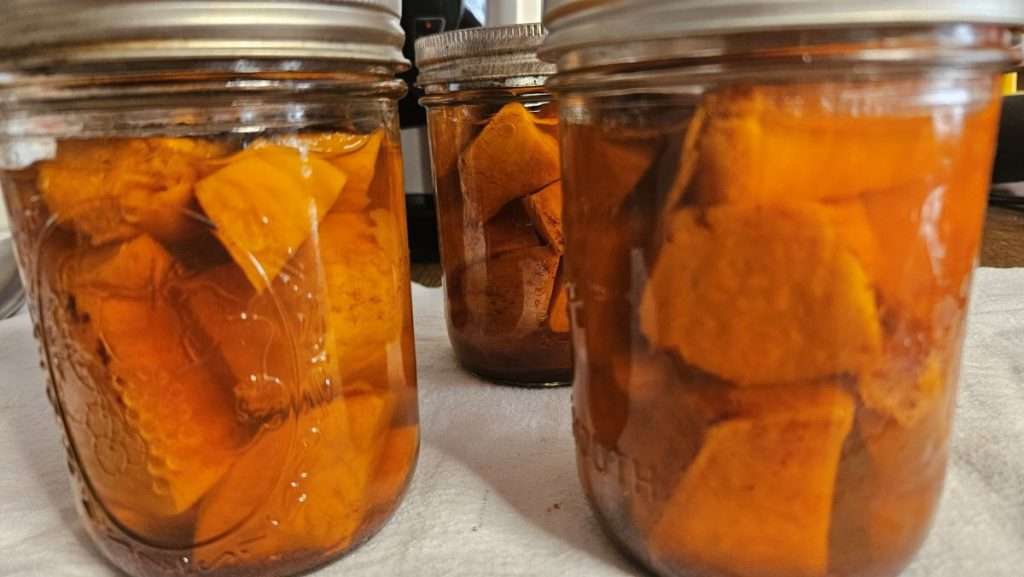
How to Use Home-Canned Sweet Potatoes
Your cinnamon-spiced sweet potatoes are perfect for:
- Quick Thanksgiving sides
- Lentil soups
- Pumpkin chili
- Purees
- Casseroles
- Breakfast bowls
- Baking and desserts
- Baby food (puree after opening)
I really like mashed sweet potatoes, so after opening, I drain the sweet potatoes and then mash them.
Pro tip: since the liquid in the jar has a lot of flavor, I reserve it when draining. After mashing the sweet potatoes, I add in the reserved liquid until the potatoes are the desired consistency.
If you prefer to have the sweet potatoes in chunks, you can heat them in the liquid that is in the jar. If using them in a casserole, drain them and either mash them or leave them in chunks, based on your preference.
Storage
Store your home-canned sweet potatoes in a cool, dark place up to a year and a half. Technically, they should be fine to consume after that, but quality degrades as time goes on. I prefer to eat mine within a year, and then can more the next year when sweet potatoes are on sale once again.
FAQ
Do sweet potatoes need to be pressure canned?
Yes — they are a low-acid vegetable. Water bath canning is not safe.
Can I omit the cinnamon?
Absolutely. Season to taste. You can even leave out the cinnamon, sugar, salt, and lemon juice and just use boiling water, but use all of the ingredients for the best taste.
Can I can them in quart jars?
This recipe called for pints, but according to the National Center for Home Food Preservation, you can can sweet potatoes in quarts with a processing time of 90 minutes.
Pin it for Later
Print it for Later
How to Can Sweet Potatoes in Cinnamon Syrup
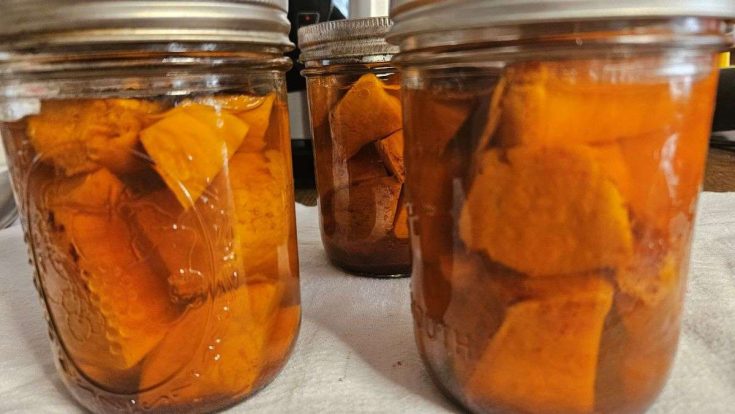
Learn how to pressure can sweet potatoes in a warm cinnamon syrup using simple pantry ingredients. These lightly sweet, perfectly seasoned sweet potatoes are fully cooked and ready to use straight from the jar — perfect for casseroles, holiday meals, soups, or quick weeknight sides.
Ingredients
- 3 lbs (1.4 kg) sweet potatoes, washed
- 5 Tbsp (75 g) sugar, divided
- 5 tsp (25 ml) lemon juice, divided
- 1 1/4 tsp (7 g) salt, divided
- 2 ½ tsp (10 g) ground cinnamon, divided
Instructions
- Heat the jars and water. Place 5 pint jars into your pressure canner (or into hot water) and keep them warm while preparing the sweet potatoes.
- Par-cook the sweet potatoes. Bring a large pot of water to a boil. Add whole, unpeeled sweet potatoes and simmer until they’re just tender enough to peel, about 15–20 minutes. They should still be firm in the center.
- Prepare the jars with the seasonings. Into each hot jar, add the sugar, lemon juice, cinnamon, and salt.
- Peel and cube the sweet potatoes. When they are cool enough to handle but still warm, peel the sweet potatoes, remove any blemishes, and cut them into 1-inch cubes.
- Fill the jars. Pack the sweet potato cubes into the prepared jars, leaving 1 inch of headspace. Add boiling water, maintaining the 1-inch headspace.
- Debubble and adjust headspace. Run a debubbling tool through the jars to release trapped air. Add more boiling water if needed to maintain 1 inch of headspace.
- Wipe rims and add lids. Clean the jar rims with a paper towel dipped in vinegar. Place lids on top and add bands, tightening to fingertip-tight.
- Process the jars. Place jars into the pressure canner. Process pint jars at high pressure for 65 minutes, adjusting for altitude as needed. (For quart jars: 90 minutes.)
- Allow pressure to release naturally. Let the canner depressurize completely before opening. Remove jars and let them cool undisturbed for 12–24 hours. Check seals before storing.
Notes
Recommended Products
As an Amazon Associate and member of other affiliate programs, I earn from qualifying purchases.


Related Articles
If you enjoyed this article, you’re sure to enjoy these related articles.
- Canning Russet Potatoes | How to Can Starchy Potatoes
- Canning Apples in Syrup
- How to Can Cranberry Sauce
💬 I’d love to hear from you!
Have you tried this yourself? Have a question or tip to share? Leave a comment below — your experience or question could help someone else, too!