

What’s Inside: In this article, I’ll show you how to freeze apples step by step, including how to prepare them to prevent browning, flash freeze the slices so they don’t stick together, and store them in freezer bags. I’ll also share tips from my own experience and some of my favorite ways to use frozen apples.
If you’ve ever wondered how to freeze apples, you’ll be happy to know that it’s an easy way to preserve fresh apples when they’re on sale or when you have more than you can use before they go bad.
I decided to freeze apples when I found them on sale for just 99¢ a pound. Normally, I might can or dehydrate them, but I didn’t have time for either of those things. Thankfully, freezing apples is much quicker and requires very little equipment.
Another reason I like freezing apples is that my husband and I drink smoothies almost every morning. I regularly purchase frozen berries and other fruit for our smoothies, but buying fresh fruit on sale and freezing it myself is a great way to reduce my grocery bill.
One thing you should know up front is that while apples freeze beautifully, they become soft when you thaw them. Because of this, frozen apples aren’t the best choice if you want crisp apple slices to eat after thawing.
However, I actually enjoy eating apples while they’re still frozen! They’re also wonderful in smoothies and cooked apple recipes, where the softer texture doesn’t matter.
How to Freeze Apples Step by Step
This article includes affiliate links.
Freezing apples is relatively simple, but there are a few things that are worth doing to get the best results.
Here’s exactly how I did it.
Step 1: Wash the Apples
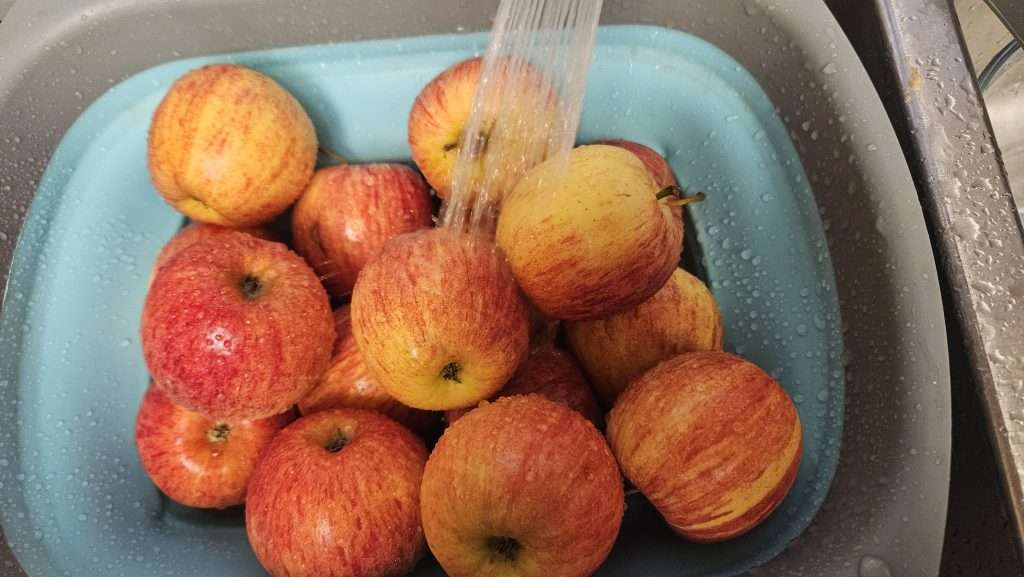
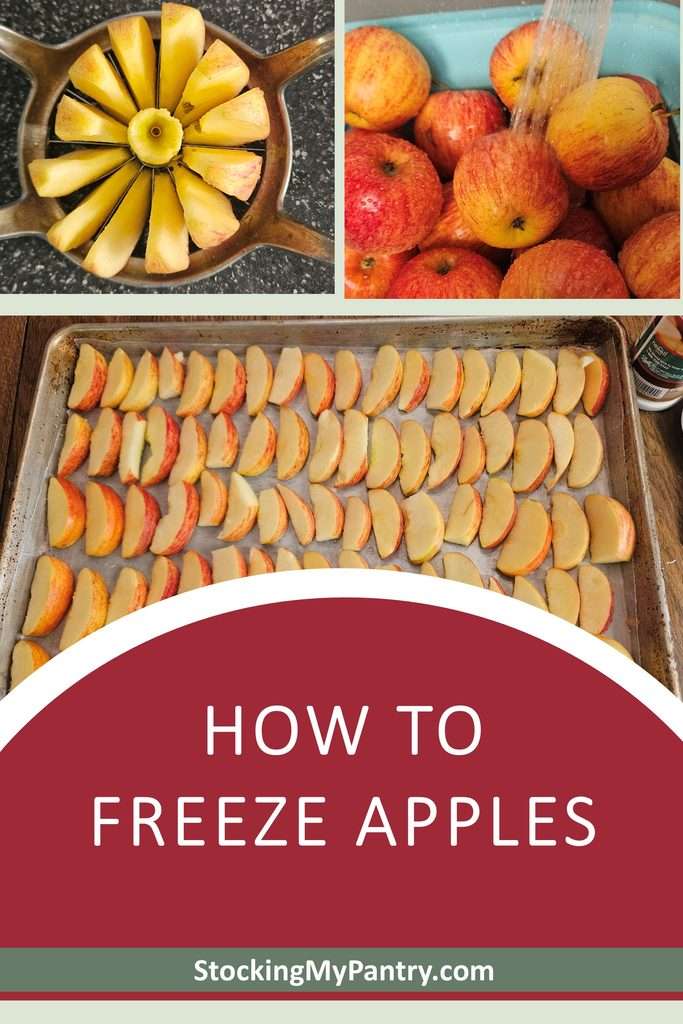
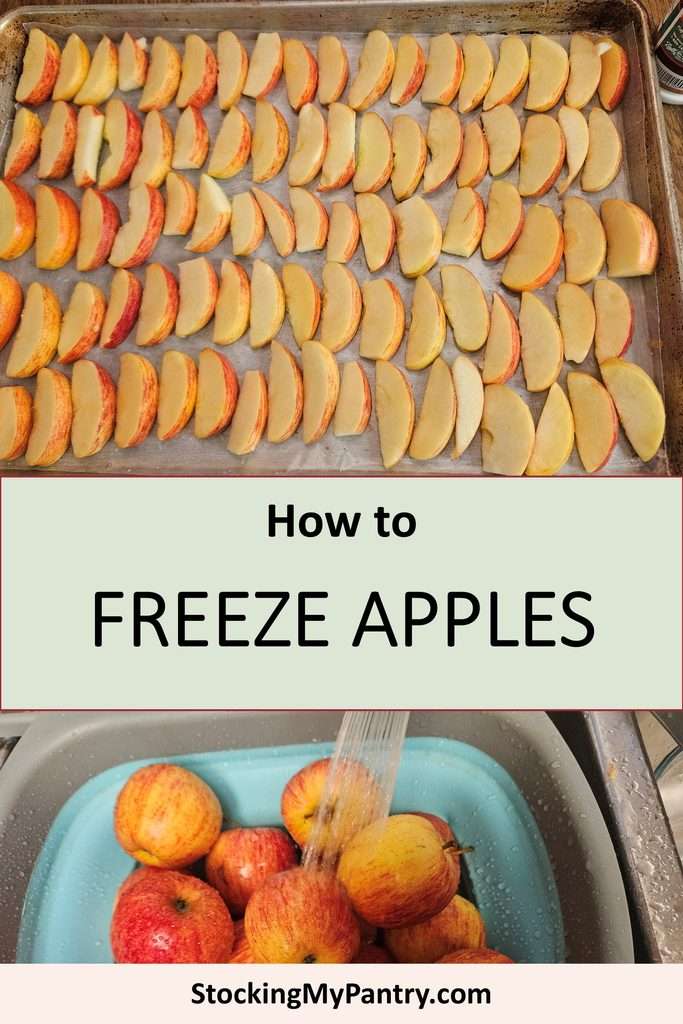
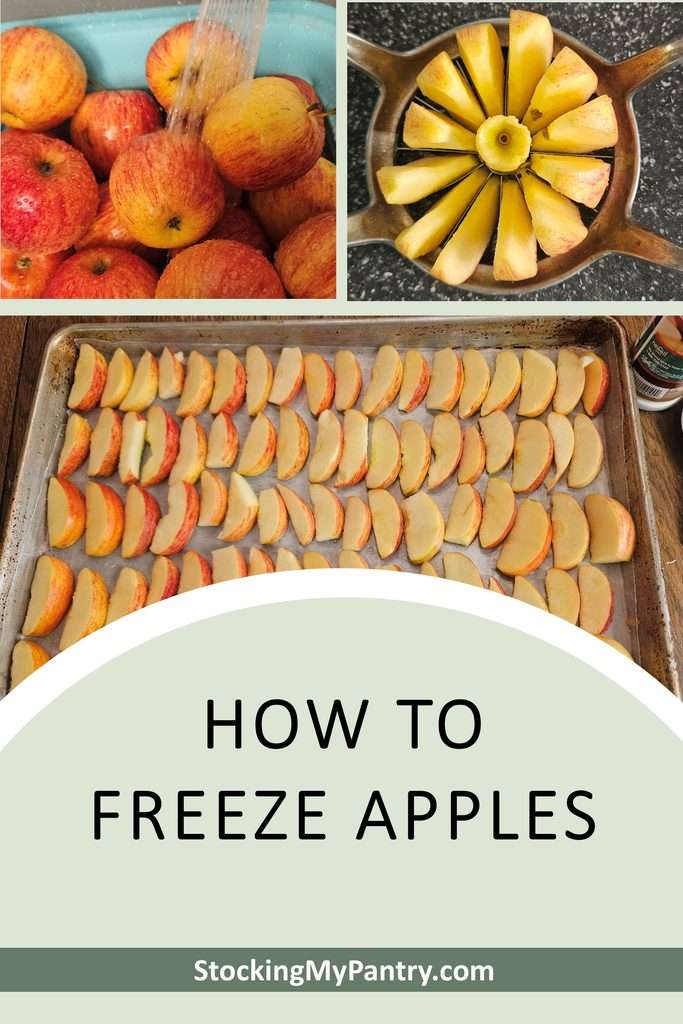
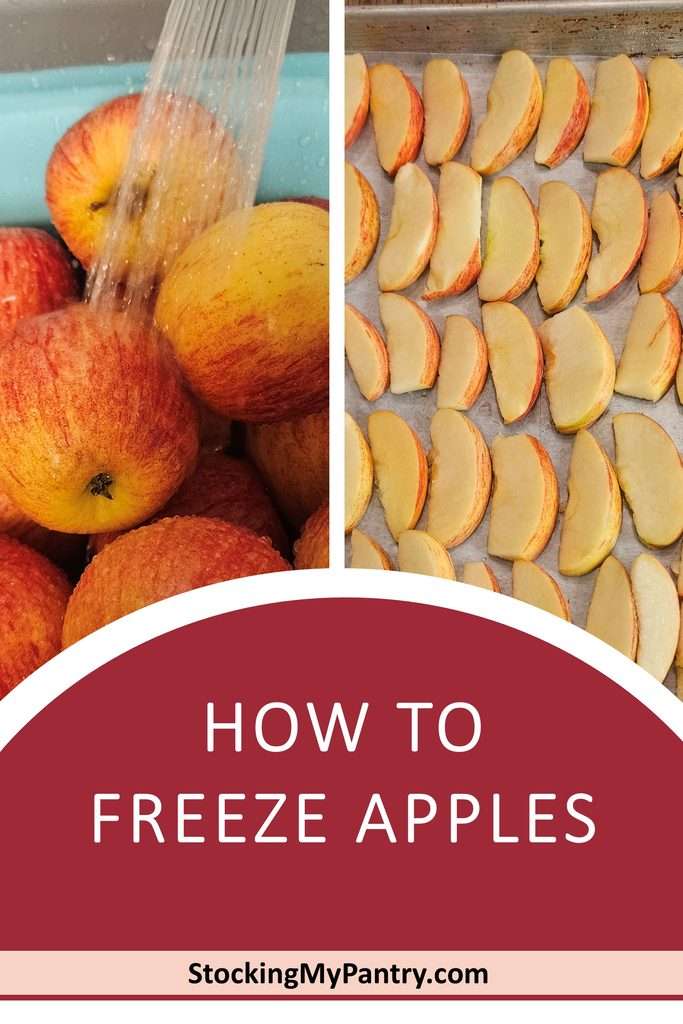
Start by thoroughly washing your apples under cool running water.
I recommend choosing fresh, firm apples for freezing. If you notice any bruised or damaged areas, you can trim those away when you’re preparing the apples. Discard apples that are moldy or spoiled.
Since I planned to leave the peels on my apples, I wanted to make sure they were nice and clean before cutting them up.
Step 2: Prepare a Solution to Prevent Browning
If you’ve ever sliced an apple and left it sitting on the counter, you know how quickly apples can start turning brown.
This happens because of oxidation, and while browning doesn’t necessarily mean that an apple is spoiled, it certainly isn’t very appealing!
Thankfully, there are ways to reduce browning before freezing apples.
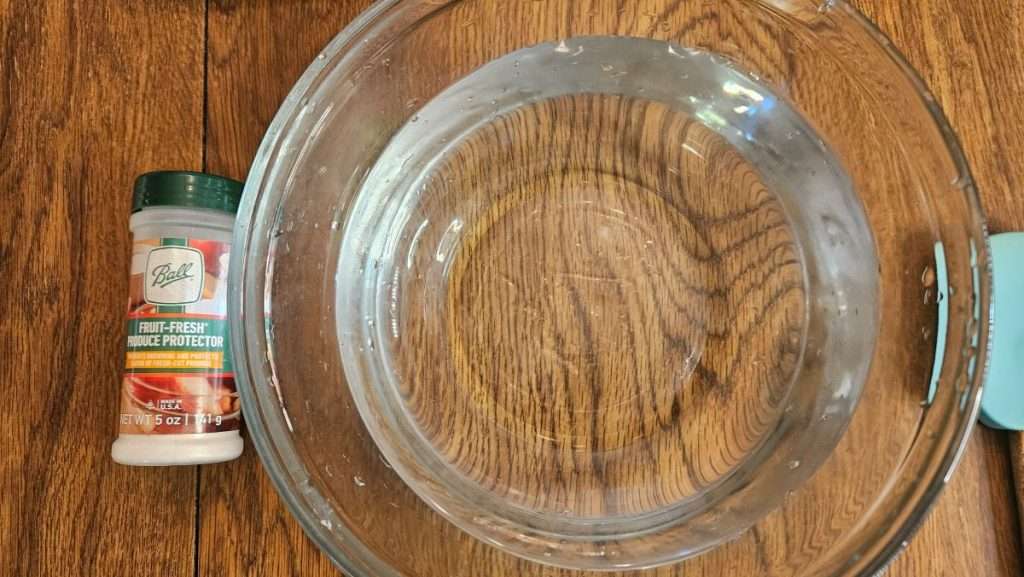
For this batch, I used Ball Fruit-Fresh Produce Protector, which contains ingredients that help prevent cut fruit from turning brown. I find it’s often not available, but citric acid that you can pick up on Amazon works as well. In fact, it’s less expensive and you can use less of it, so that’s what I recommend.
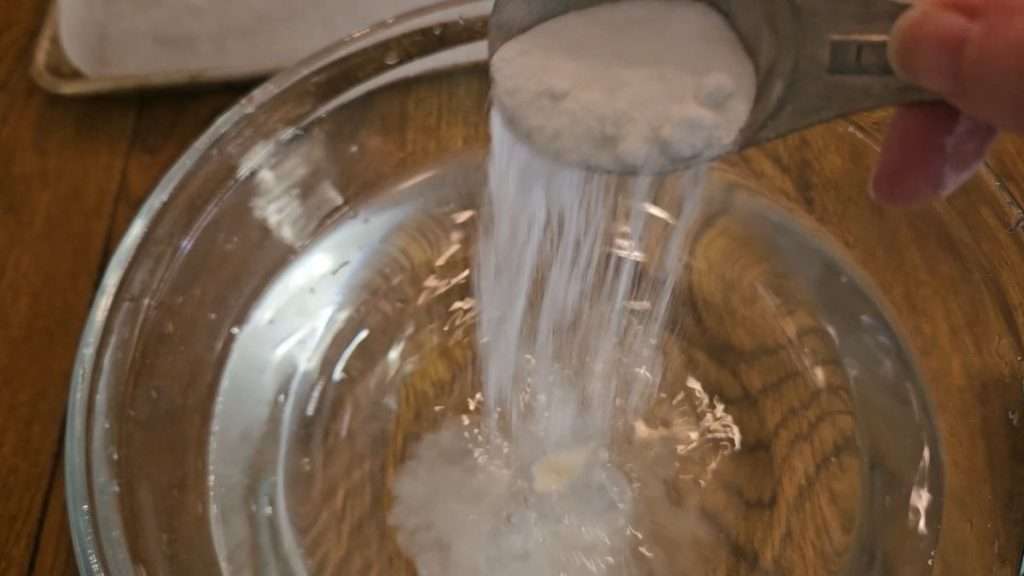
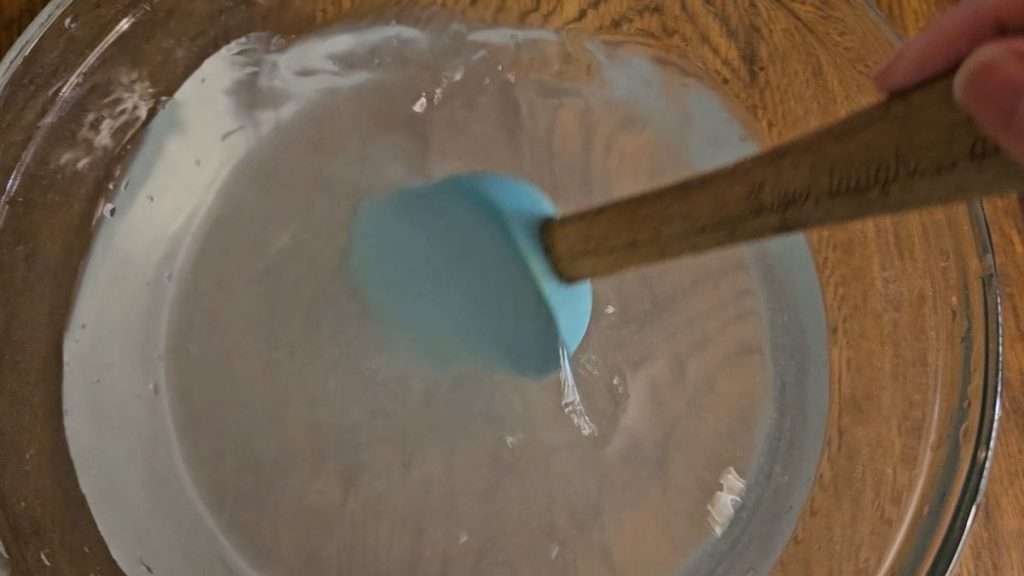
I mixed 2 tablespoons of Fruit-Fresh with 2 quarts of cold water, stirring until the powder dissolved. If you’re using citric acid (Amazon), use 1 teaspoon per gallon of water.
Can You Use Lemon Juice Instead?
Yes! If you don’t have Fruit-Fresh or citric acid, you can use lemon juice and water instead.
One option is to combine 2 tablespoons of lemon juice with 2 quarts of water.
The main downside of using lemon juice is that it can impart a slightly lemony flavor to your apples.
Depending on how you plan to use the apples, that might not matter at all. However, since I planned to use most of mine in smoothies, I preferred using Fruit-Fresh.
Set your prepared solution aside. You’ll use it as you slice your apples.
Step 3: Peel the Apples (Optional)
You can peel your apples before freezing them, but whether or not you should depends on how you plan to use them.
I chose not to peel my apples.
Since most of my frozen apples were destined for smoothies, I saw no reason to remove the peels. I have a good blender that handles apple peels without any problem.
Leaving the peels on also saves time, which is always a plus! The peels also contain a lot of fiber and nutrients, so if at all possible, I recommend leaving them on.
On the other hand, if you plan to use your frozen apples in recipes where you don’t want the peels, such as certain baked desserts or cooked apple dishes, you may want to peel them first.
It’s much easier to make that decision before freezing rather than trying to remove the peels later.
Step 4: Core and Slice the Apples
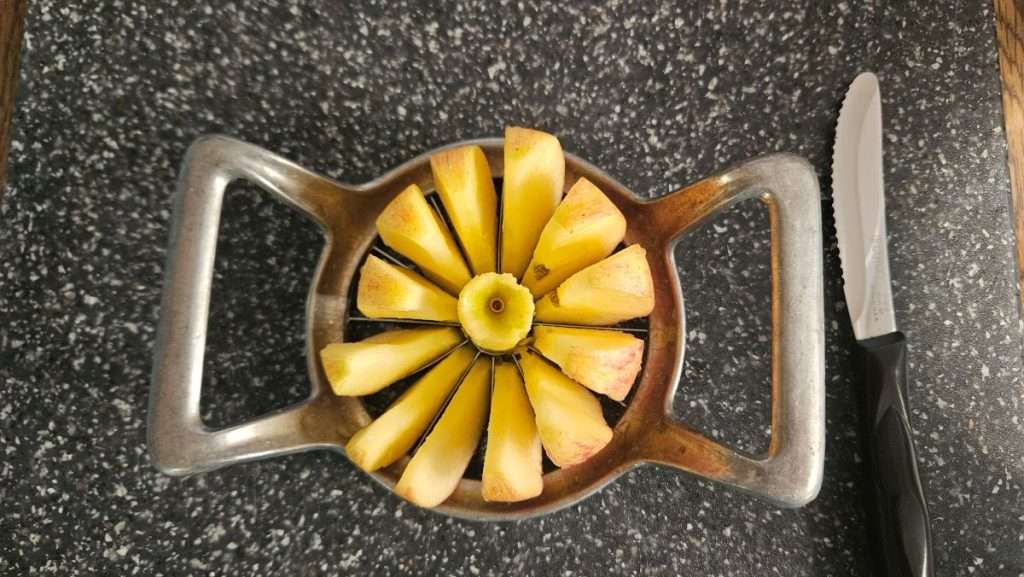
The next step is to remove the cores and cut the apples into pieces.
I used an apple corer and slicer (Amazon), which made this part of the process quick and easy.
However, you certainly don’t need a special tool. A sharp knife will work just fine.
One thing to keep in mind is how you plan to use your frozen apples.
For example, if you’re freezing apples for pie, you’ll probably want slices. If you’re planning to use them in smoothies, smaller chunks or slices will work equally well.
I went with slices because they were easy to prepare using my apple slicer, and I can always cut them into smaller pieces later if needed.
Trim Off Any Bad Spots
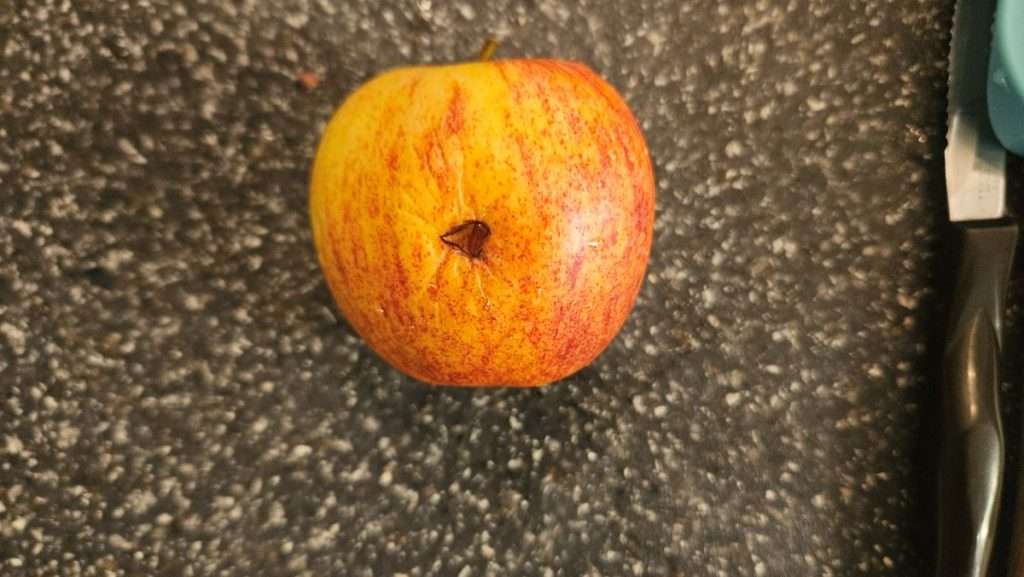
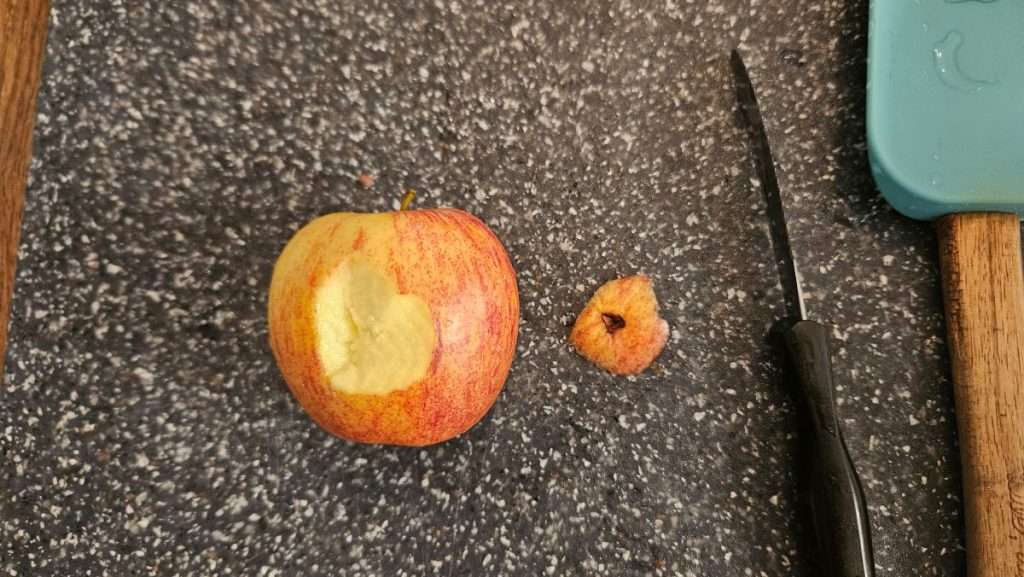
As you prepare your apples, check for bruises and other damaged spots.
I had a few apples with minor blemishes, so I simply cut away those areas before continuing.
There’s no reason to waste an otherwise perfectly good apple because of one small bruised spot!
A Tip for Unevenly Shaped Apples
Here’s something I discovered while using my apple corer and slicer.
Not all apples sit perfectly straight!
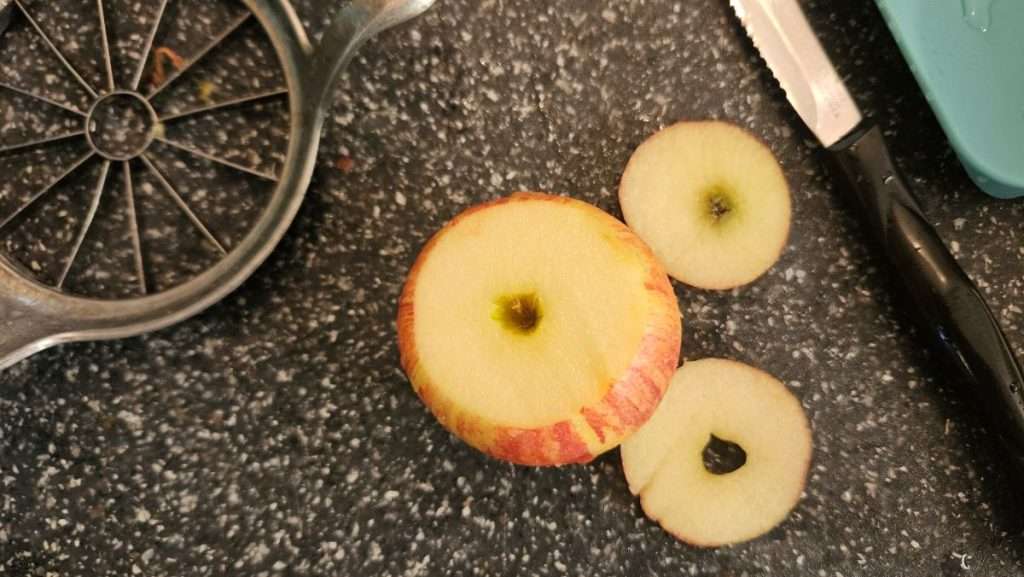
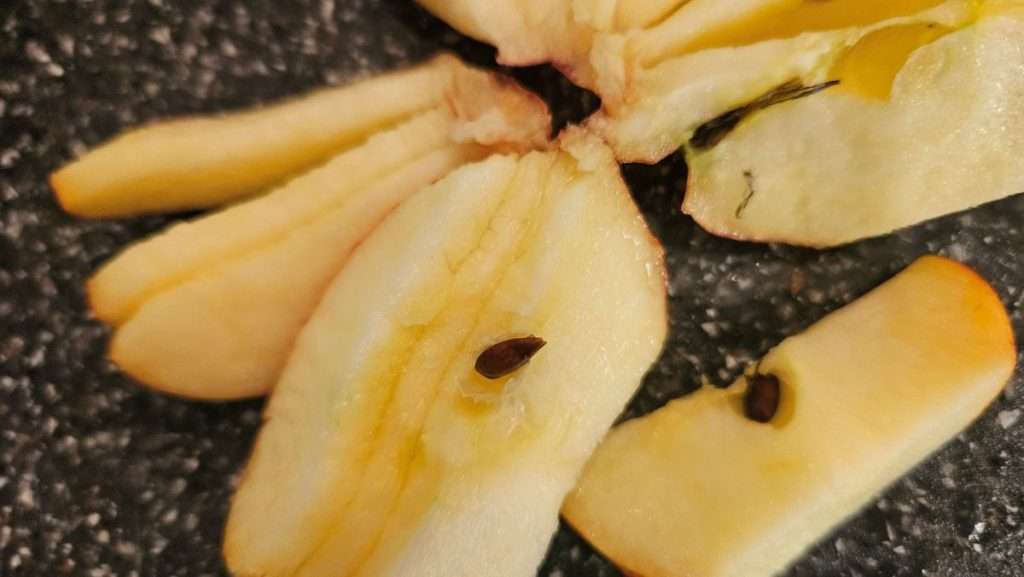
If an apple is tilted to one side, the corer and slicer may not go through the center properly. When this happens, you can end up with uneven slices and pieces of the core or seeds still attached.
One way to help prevent this is to trim a little off the top or bottom of the apple so that it sits more evenly before using the slicer.
Even with that precaution, it’s a good idea to check your apple slices for any remaining seeds or pieces of the core.
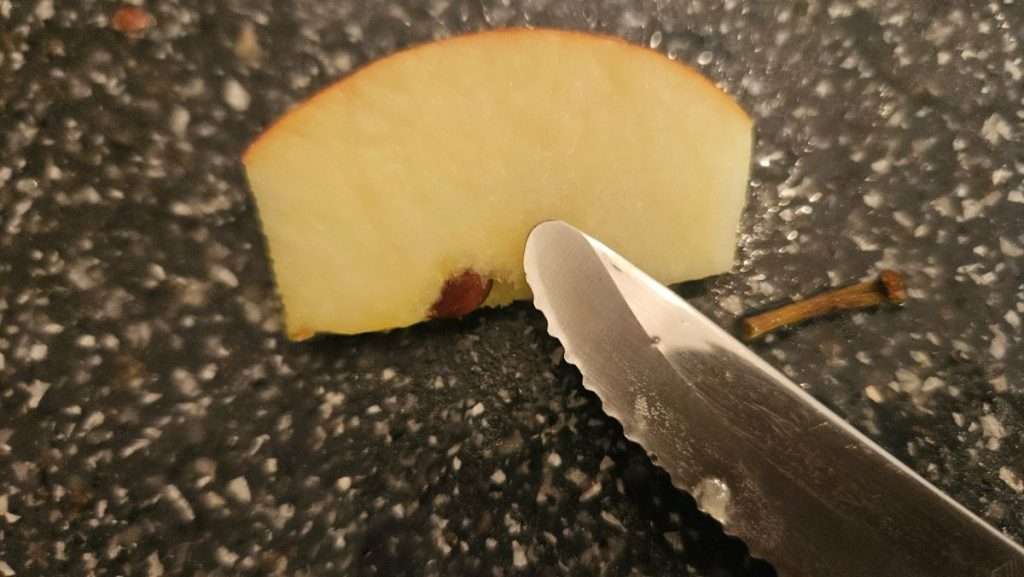
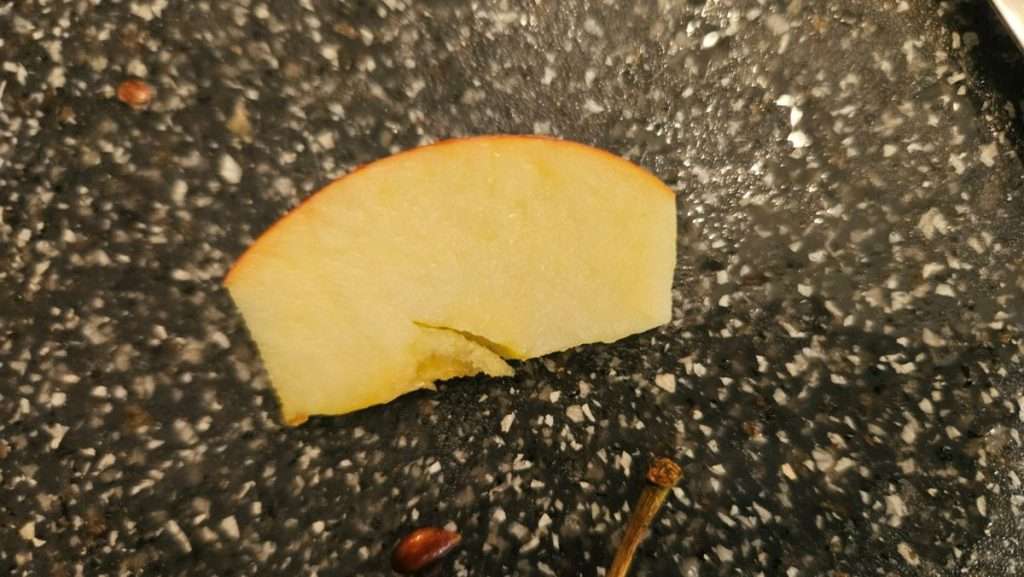
As you can see in my photos, I found a seed in one of my apple slices.
No big deal! I simply removed it with a knife.
The bottom line is that while an apple corer and slicer makes the job easier, it’s still important to check the slices before freezing them.
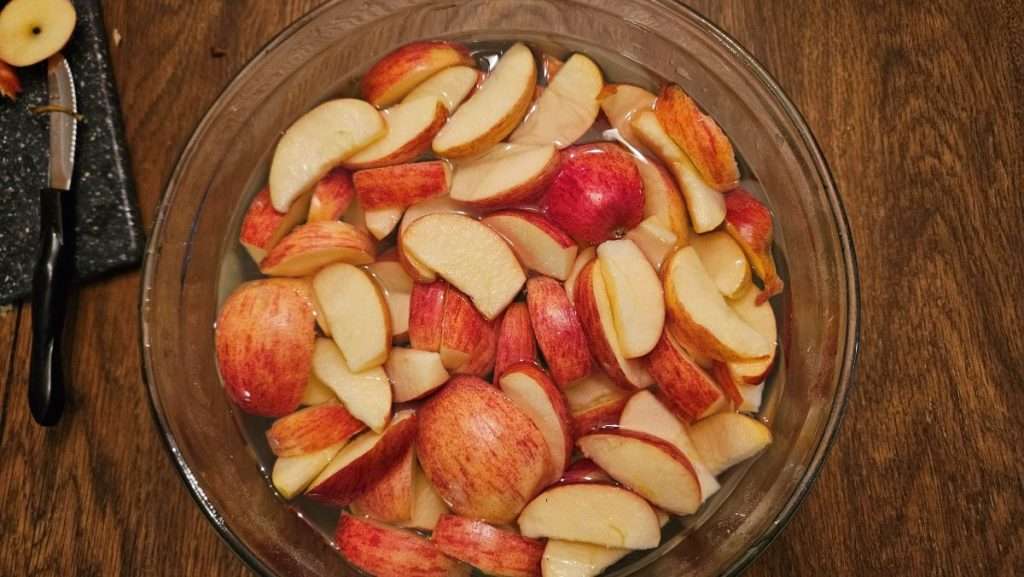
Step 5: Place the Apple Slices in the Prepared Water
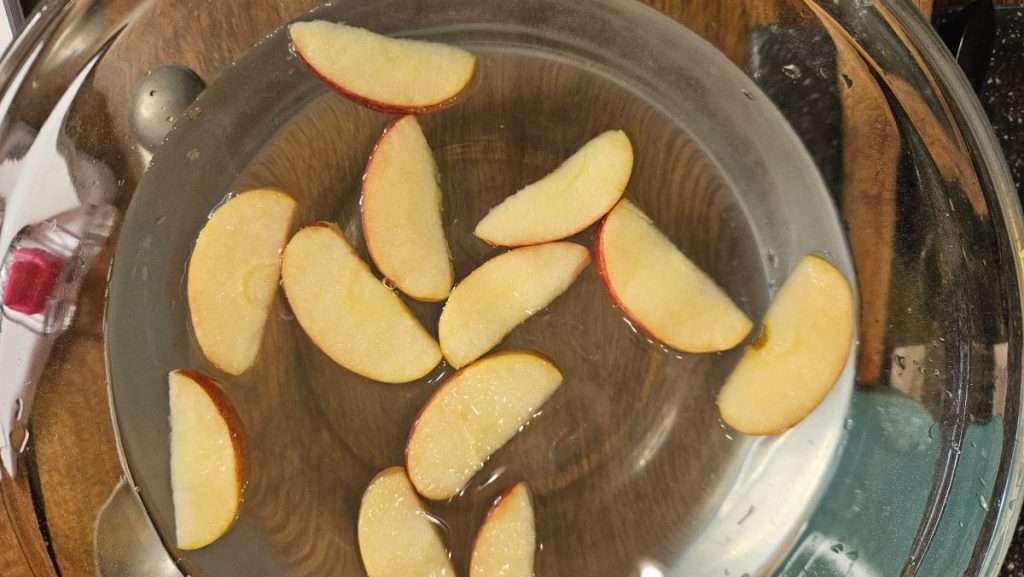
As I sliced the apples, I immediately placed them into the bowl of water that I had prepared with Fruit-Fresh.
This helps prevent the apples from turning brown while you’re working on the rest of the batch.
One thing I learned from my first batch is that it’s important to make sure the apples are adequately treated.
The first time I froze apples, I didn’t leave them in the solution very long. When I removed them from the freezer later, I noticed that they had browned slightly.
It wasn’t terrible, but I would have preferred for them to retain more of their original color.
The second time around, I made a point of moving the apple slices around in the solution and keeping them submerged for about three minutes.
For your own apples, follow the treatment directions for the product you’re using. If you’re using a lemon juice dip, soaking the slices for approximately 3–5 minutes is a common recommendation.
And don’t worry if your apples still develop a little browning. A slight change in color doesn’t mean that you’ve ruined them.
Step 6: Drain the Apple Slices
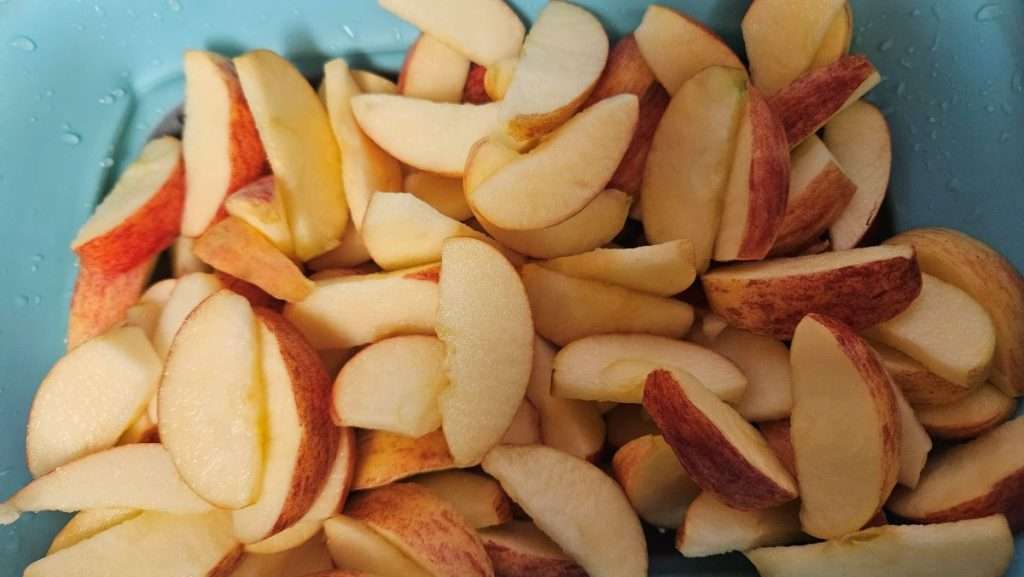
Once the apples have been treated to help prevent browning, transfer them to a colander (Amazon) and allow the excess water to drain off.
I didn’t bother patting my apples dry, but in hindsight, that’s something you may want to do.
The less excess water you have on your apple slices, the less ice will form on the surface when you freeze them.
You can use a clean flour sack towel or paper towels to gently pat them dry.
This step isn’t absolutely necessary, but it can help keep the frozen apple slices from sticking together.
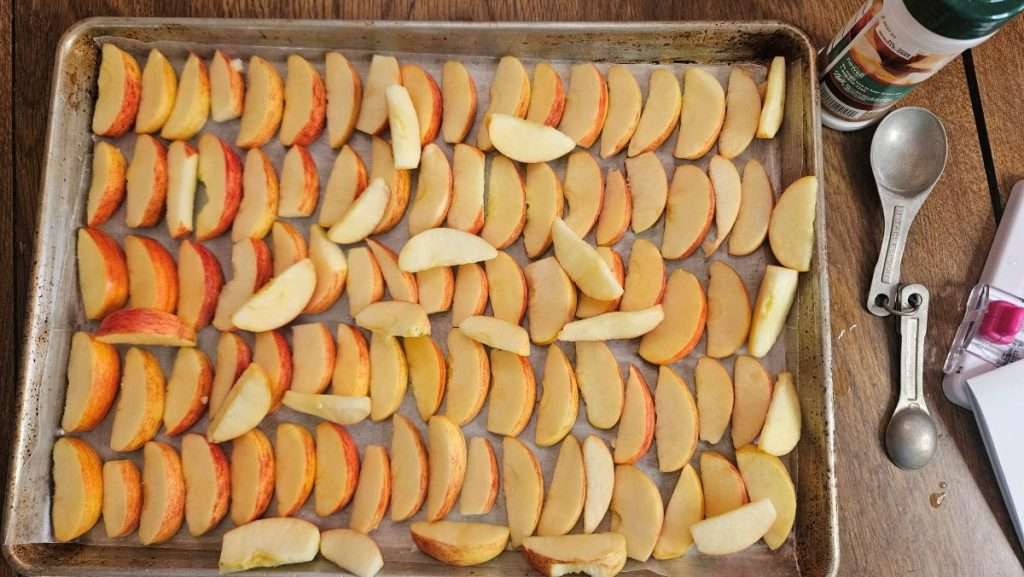
Step 7: Arrange the Apple Slices on a Baking Sheet
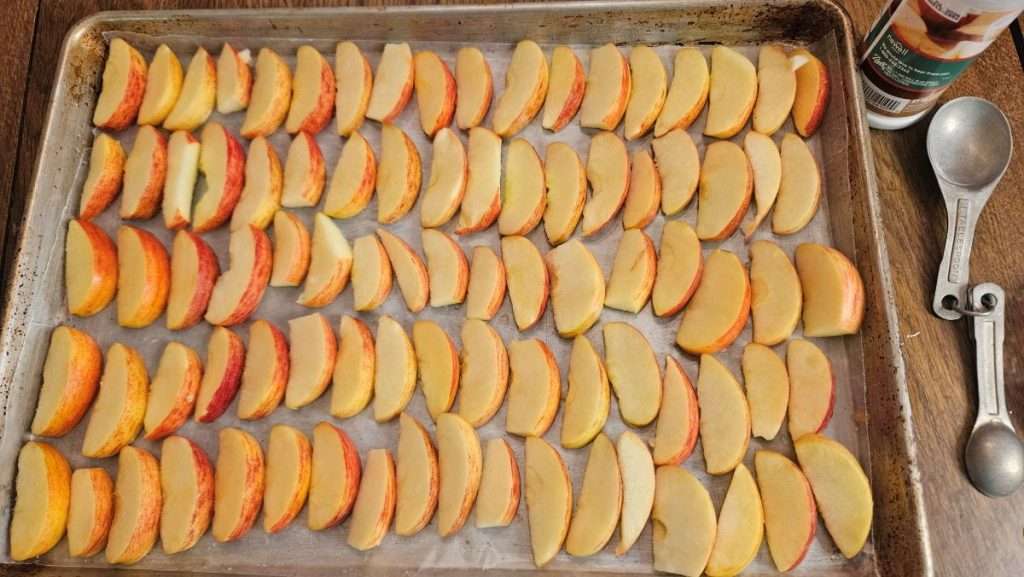
Next, line a rimmed baking sheet with parchment paper or wax paper.
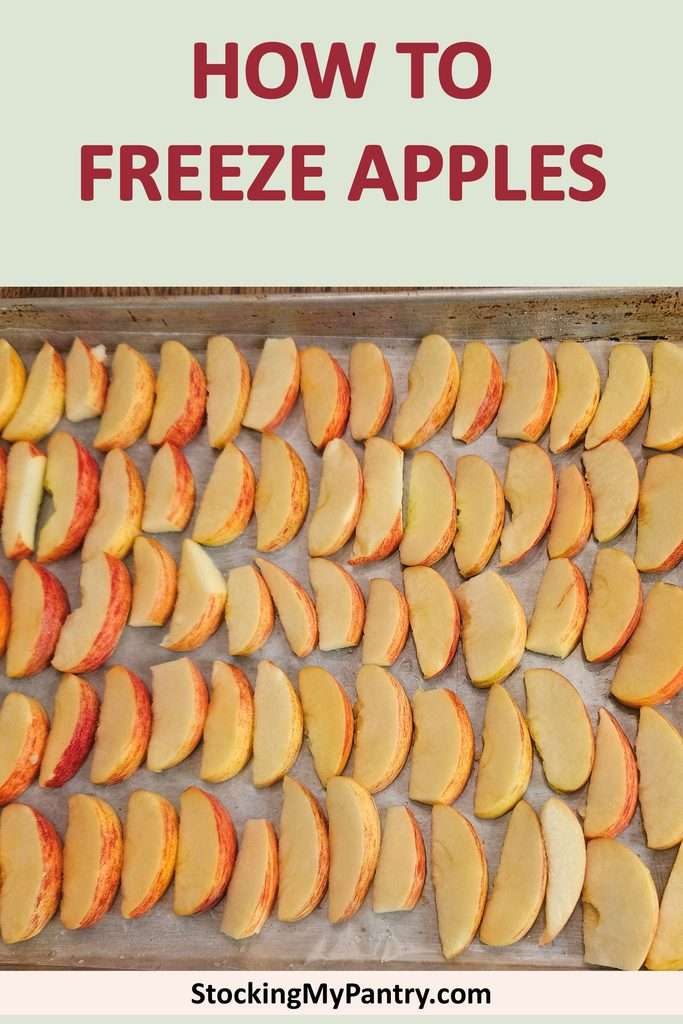
Arrange the apple slices in a single layer, leaving a little space between them whenever possible.
The reason for doing this is that we’re going to flash freeze the apples before putting them into freezer bags.
Flash freezing is simply the process of freezing individual pieces of food separately before transferring them to their final storage containers.
This is especially helpful when freezing fruit because it prevents the pieces from freezing together into one big clump.
I use this same basic method when freezing other types of fruit, including fresh figs and cranberries.
When you’re ready to use your frozen apples, you can simply take out the amount you need rather than having to thaw an entire bag.
That’s particularly useful when making smoothies!
What If All the Apples Don’t Fit on the Tray?
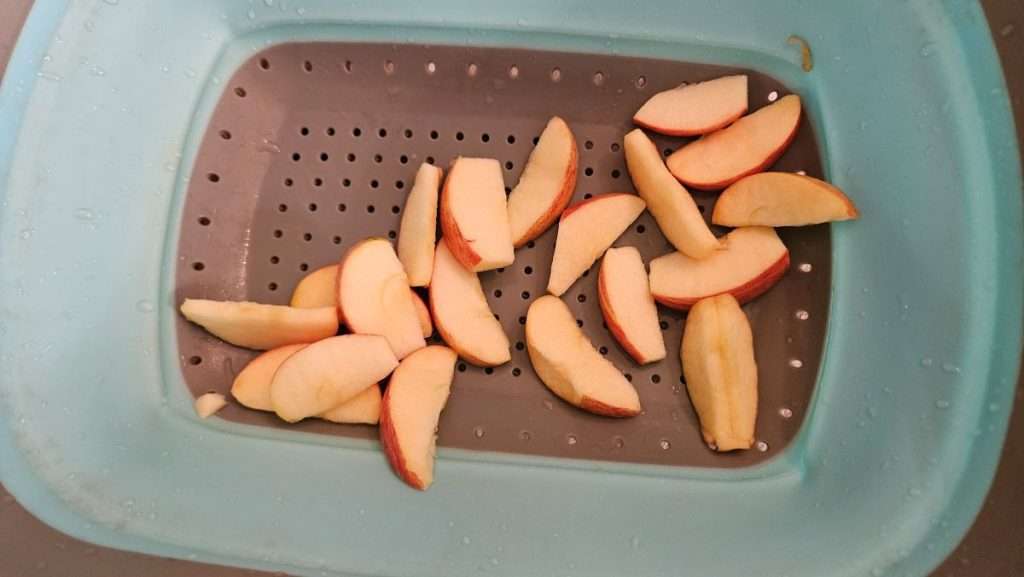
I had a few apple slices that didn’t initially fit on my baking sheet.
Since I didn’t have very many left over, I simply found room for them on the tray.
However, if you have quite a few extra apples, it’s better to use a second baking sheet or freeze them in batches rather than piling them on top of each other.
Remember, the goal is to freeze the slices individually so they won’t stick together.
Step 8: Flash Freeze the Apples
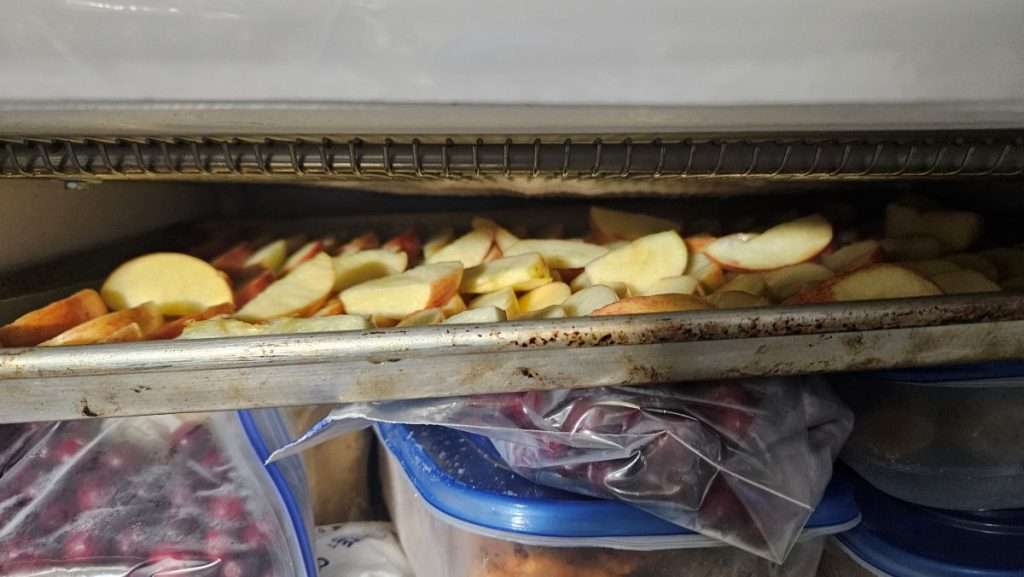
Once your apple slices are arranged on the baking sheet, place the tray in the freezer.
I recommend freezing the apples for at least three hours, or until they’re completely frozen.
Depending on the thickness of your slices and how cold your freezer is, it may take a little longer.
You can even leave them overnight if that’s more convenient, although I prefer transferring them to freezer bags as soon as they’re frozen solid.
The main thing is to make sure the slices are frozen before you transfer them to their final storage containers.
Otherwise, they may stick together.
Step 9: Transfer the Frozen Apples to Freezer Bags or Containers
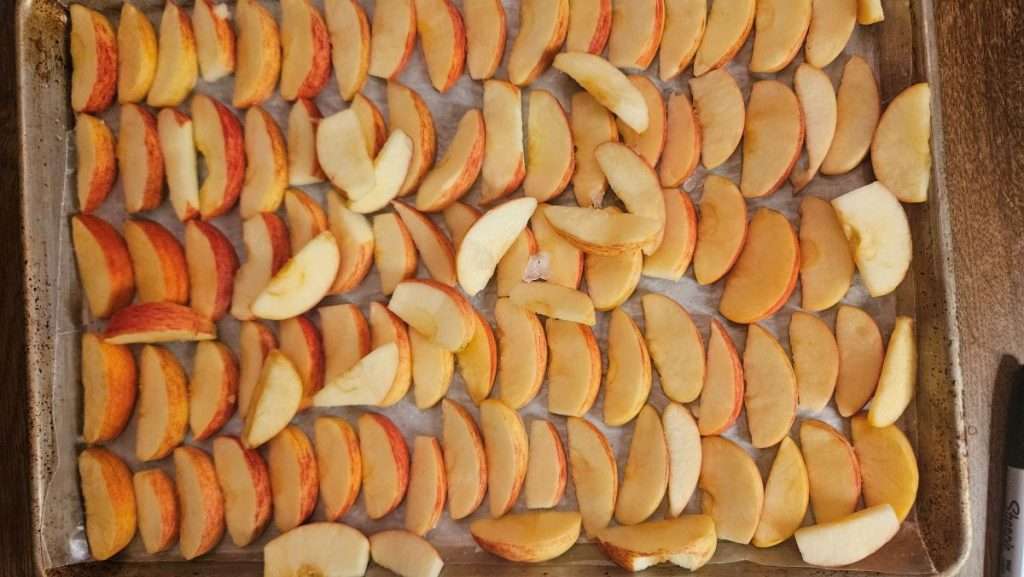
Once the apple slices are frozen solid, remove the baking sheet from the freezer.
If any of the slices have stuck together, gently separate them. Since they were flash frozen, you shouldn’t have much trouble with this.
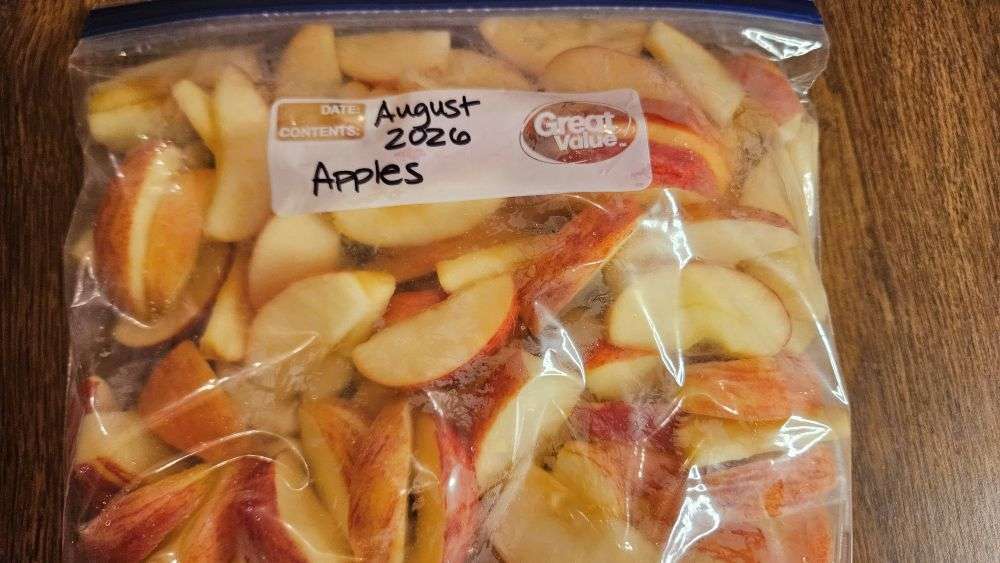
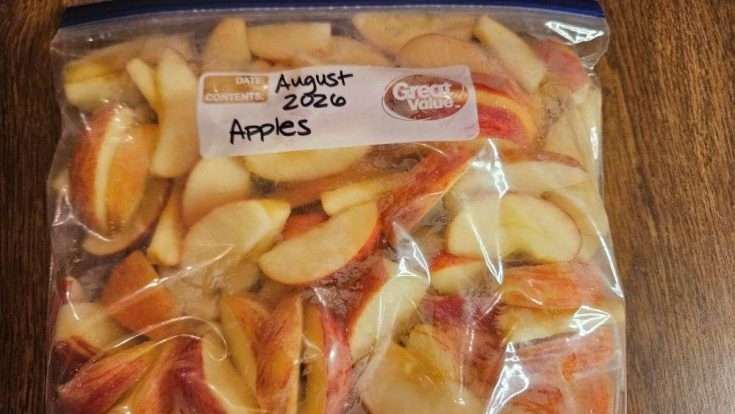
Transfer the frozen slices into freezer-safe bags or containers.
I prefer freezer bags because they take up less space in my freezer. I can also remove just a few pieces at a time without disturbing the rest.
Be sure to label your bags with the contents and the date.
Tip: Label your freezer bags before filling them. Trust me, it’s much easier than trying to write on a bag that’s already full of frozen fruit!
After filling the bags, press out as much excess air as possible before sealing them.
Then return the apples to the freezer.
That’s it! You now have frozen apples ready to use whenever you need them.
Do Apples Get Mushy When You Freeze Them?
Yes! This is probably the most important thing to understand before freezing apples.
Apples freeze beautifully, but they become soft when thawed.
Freezing causes ice crystals to form inside the fruit, and those ice crystals affect the texture. Once the apples thaw, they won’t have the same crisp texture as fresh apples.
I’ve found this to be quite different from some other fruits I’ve frozen.
For example, in my article on how to freeze oranges, I explain that oranges hold up surprisingly well to freezing. Once thawed, their texture is very similar to fresh oranges.
Apples are another story!
I wouldn’t recommend freezing apples if your main goal is to thaw them and eat them as you would fresh apple slices.
However, that doesn’t mean freezing apples isn’t worthwhile.
In fact, depending on how you plan to use them, the change in texture may not matter at all.
How to Use Frozen Apples
There are several great ways to use frozen apples, even though their texture changes after thawing.
Here are some of my favorites.
Eat Them While They’re Still Frozen
This may sound a little unusual, but I actually enjoy eating frozen apple slices!
I like their cold, firm texture, and they’re a refreshing snack.
Of course, they’re pretty hard when frozen solid, so you’ll want to be careful when biting into them. If they are too hard to comfortably bite into, you can let them thaw a bit at room temperature for just a few minutes. Just don’t allow them to sit too long or they’ll be mushy!
Add Frozen Apples to Smoothies
This is probably my favorite way to use frozen apples.
Since my husband and I drink smoothies almost every morning, we go through quite a bit of frozen fruit.
I love being able to purchase apples and other fresh fruit when they’re on sale and freeze them for future smoothies.
There’s no need to thaw the apples first. Simply add the frozen slices to your blender along with your other smoothie ingredients.
As long as you have a blender that can handle frozen fruit (and most do), this works beautifully.
And since everything gets blended anyway, the fact that the apples would become soft when thawed doesn’t matter at all.
Use Frozen Apples in Cooked Recipes
Frozen apples are also a great option for recipes where the apples will be cooked.
For example, you can use them for:
- Cooked apples with cinnamon
- Applesauce
- Apple crisp or crumble
- Apple pie and other baked apple desserts
- Other recipes where a soft apple texture is desirable
Depending on the recipe, you may be able to use the apples straight from the freezer.
Just keep in mind that frozen apples may release additional liquid as they thaw and cook, so some recipes may need a little adjustment.
For me, the biggest advantage is that the apples are already washed, cored, and sliced. That makes putting together an apple recipe much quicker!
How Long Do Frozen Apples Last?
For the best quality, I personally try to use my frozen apples within three months.
However, properly packaged frozen apples can keep their quality considerably longer, especially when stored at 0°F or below.
For my purposes, using them within three to six months is a reasonable goal.
Keep in mind that there’s a difference between food safety and food quality. Apples that remain continuously frozen at 0°F don’t suddenly become unsafe after a certain number of months, but their quality may decline over time.
Proper packaging also makes a difference. Removing excess air from the freezer bags helps protect the apples against freezer burn.
Since I regularly use frozen fruit in smoothies, I don’t anticipate having much trouble using them up!
Is Freezing Apples Worth It?
For me, absolutely!
When I found apples on sale for 99¢ a pound, I knew I wanted to take advantage of the price. But I also knew that I didn’t have time to can or dehydrate them.
Freezing turned out to be a quick and easy solution.
I was able to preserve the apples without spending a lot of time in the kitchen, and now I have another type of frozen fruit available for our morning smoothies, at a much cheaper price compared to frozen fruit I buy at the store.
The biggest thing to remember is that frozen apples won’t be crisp after thawing. But if you enjoy eating them frozen or plan to use them in smoothies or cooked recipes, that’s not a problem.
And the next time you come across a great sale on apples, you won’t have to pass it up just because you don’t have time for a more involved food preservation project.
Sometimes the simplest food preservation methods are the ones that make the most sense!
Related Articles
If you enjoyed this article, you’re sure to enjoy these related articles.
- How to Freeze Blueberries
- How to Freeze Oranges Step by Step
- How to Freeze Cranberries (So You Can Enjoy Them All Year Long)
- How to Dehydrate Cinnamon Sugar Apples
- How to Can Apples in Syrup
Pin it for Later
Print it for later
How to Freeze Apples
Freezing apples is a quick and easy way to preserve fresh apples for smoothies, snacks, and cooked recipes. This simple method uses a browning-prevention treatment and flash freezing to keep apple slices separated and ready to use.
Materials
- Fresh, firm apples
- Fresh Fruit Preserver or lemon juice
- Cold water
- Parchment paper or wax paper
- Freezer-safe bags or containers
Tools
Instructions
- Wash the Apples: Thoroughly wash apples under cool running water.
- Prepare the Browning-Prevention Solution: Prepare a Fruit-Fresh solution according to the product directions, or mix 2 tablespoons lemon juice with 2 quarts of water.
- Peel if Desired: Peel the apples or leave the peels on, depending on how you plan to use them.
- Core and Slice: Remove cores and cut apples into slices or pieces. Trim away any bruised spots and remove remaining seeds.
- Treat the Apples: Place the cut apples into the prepared solution to help prevent browning. Follow the treatment directions for your chosen product.
- Drain: Transfer the apple slices to a colander. Allow excess water to drain off, and pat dry if desired.
- Arrange on a Baking Sheet: Line a baking sheet with parchment or wax paper and arrange apple slices in a single layer.
- Flash Freeze: Place the baking sheet in the freezer for at least 3 hours, or until the slices are completely frozen.
- Package: Transfer frozen apples to labeled freezer bags or containers. Remove excess air, seal, and return to the freezer.
Notes
- Frozen apples become soft when thawed, so they're best for smoothies and cooked recipes.
- You can leave the apple peels on if you plan to use the apples in smoothies and have a blender that handles them well.
- Flash freezing prevents the slices from sticking together.
- I personally try to use my frozen apples within three months for the best quality.
- Frozen apple slices can be used directly from the freezer for smoothies and many cooked recipes.
💬 I’d love to hear from you!
Have you tried this yourself? Have a question or tip to share? Leave a comment below — your experience or question could help someone else, too!